
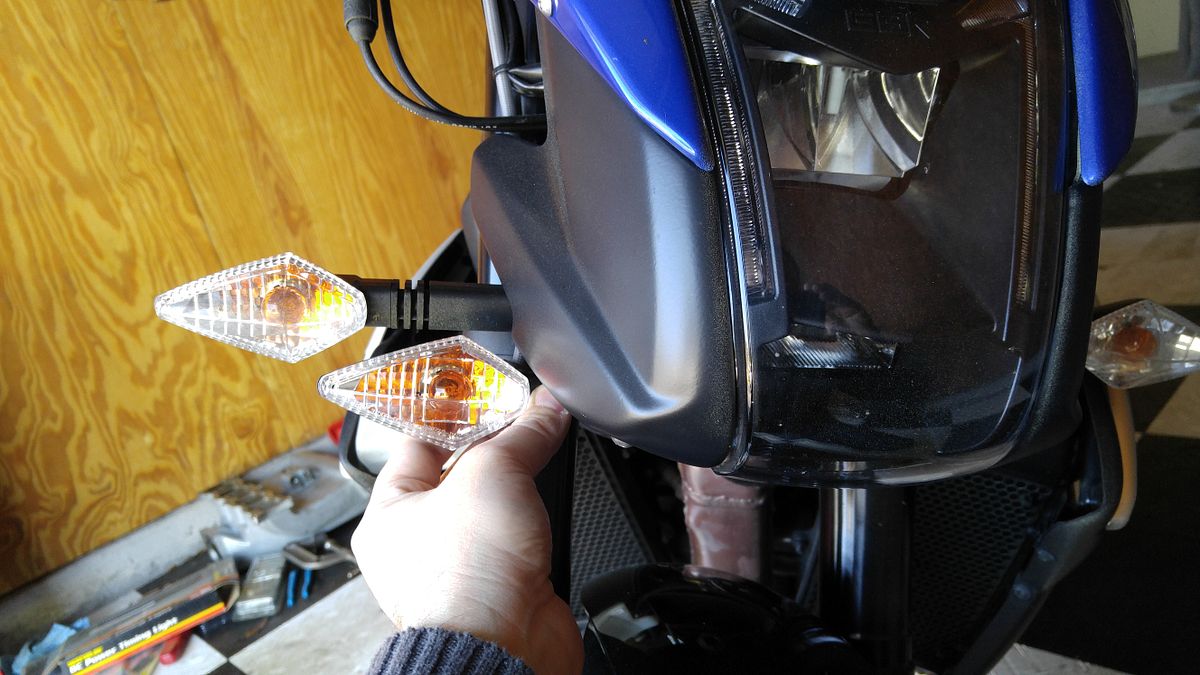
The front turn signals stand out quite a bit, and by shortening them, they bland in with the body much better. I reused the rear signals that I removed after doing a tail tidy. No cutting or splicing needed with this method.
The goal:
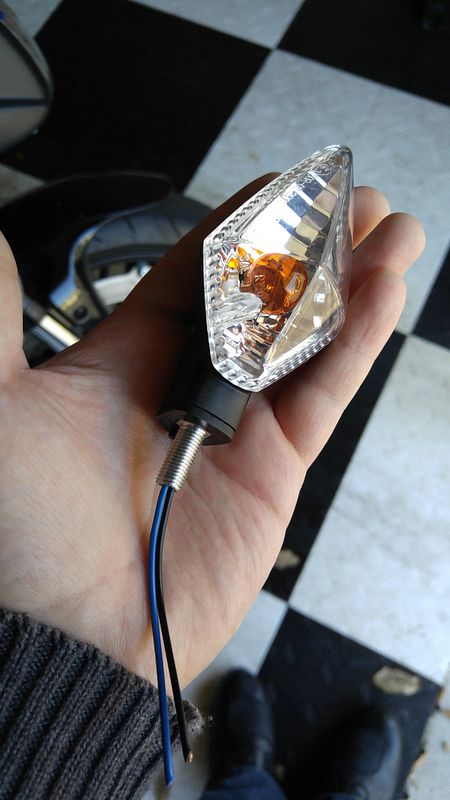
Step 1 - Disassemble stock rear turn signal:
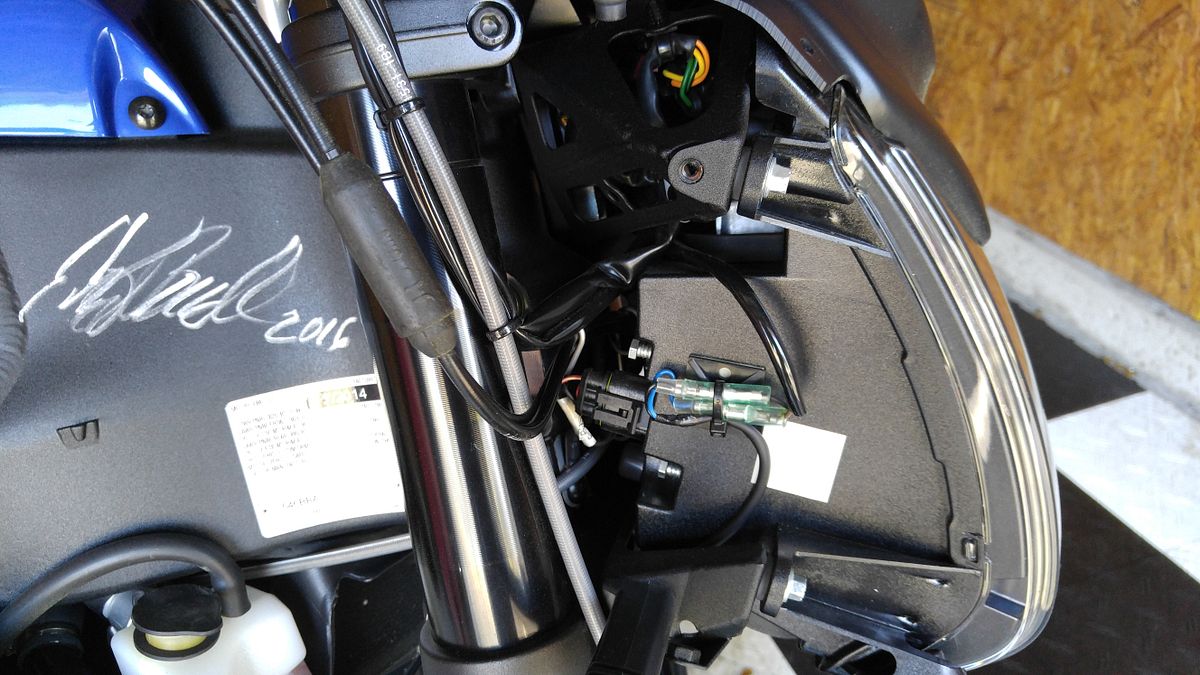
Step 2 - remove side panels to gain access to turn signal and wiring:
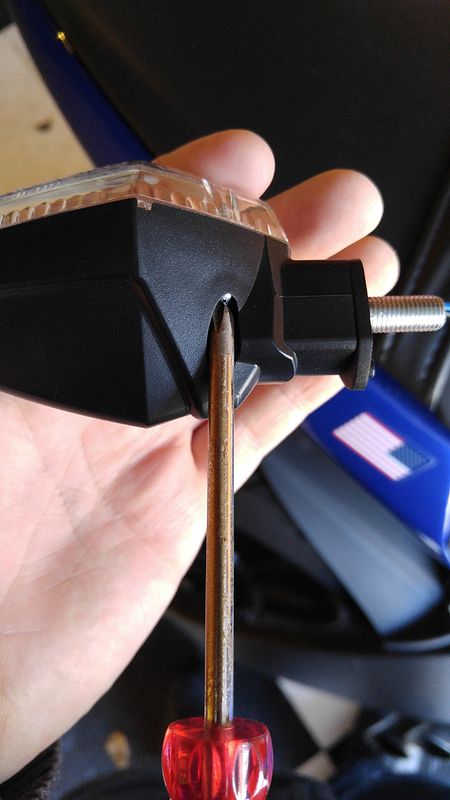
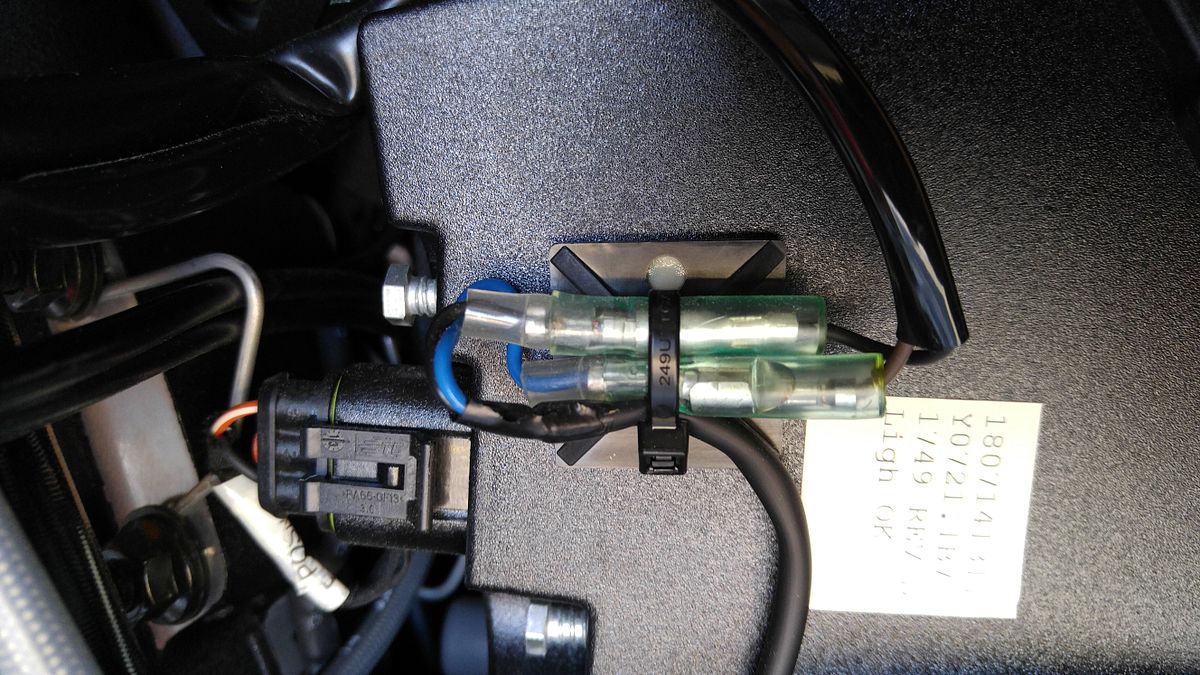
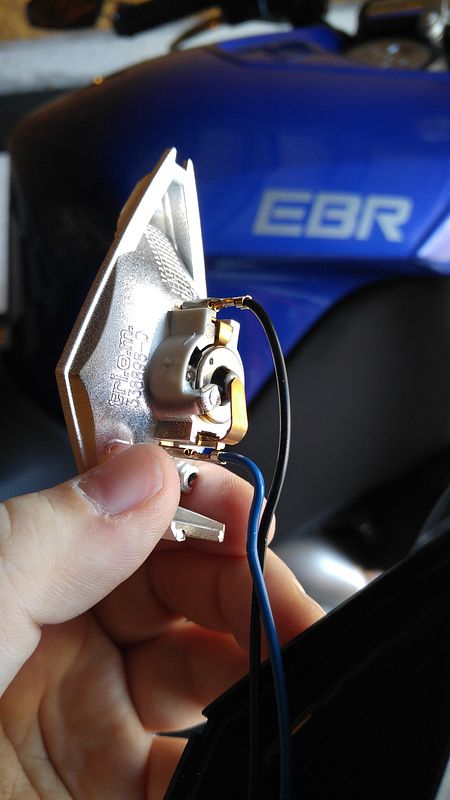
Step 3 - unplug wiring, remove turn signal, and disassemble:
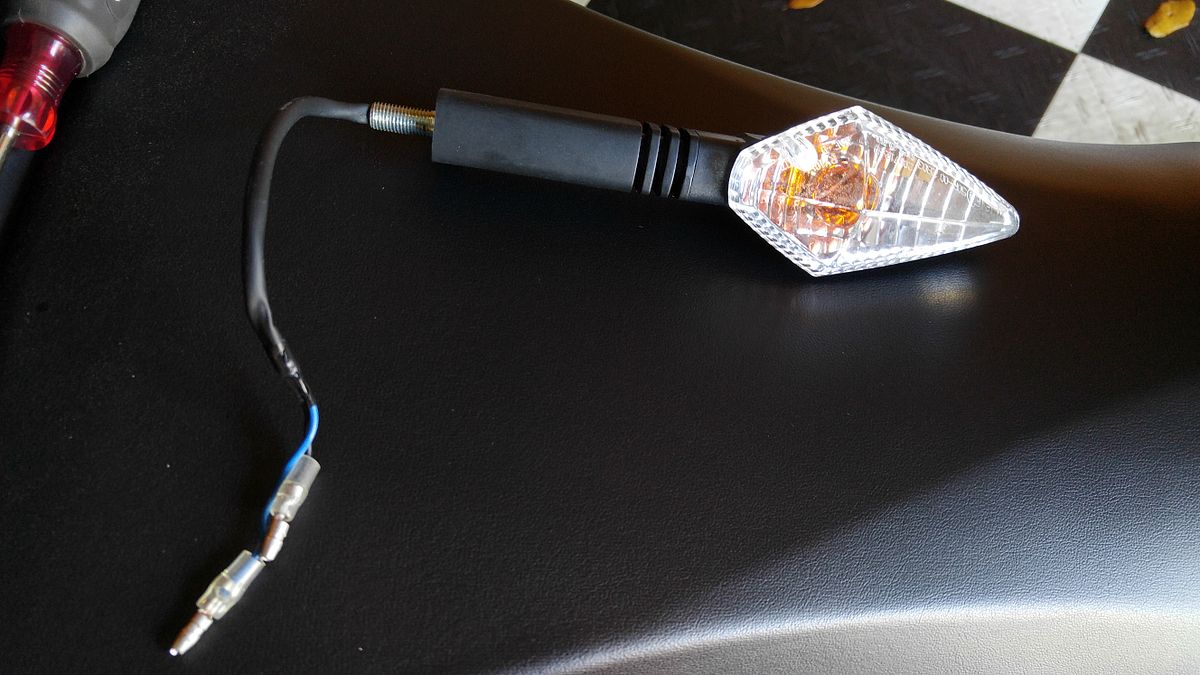
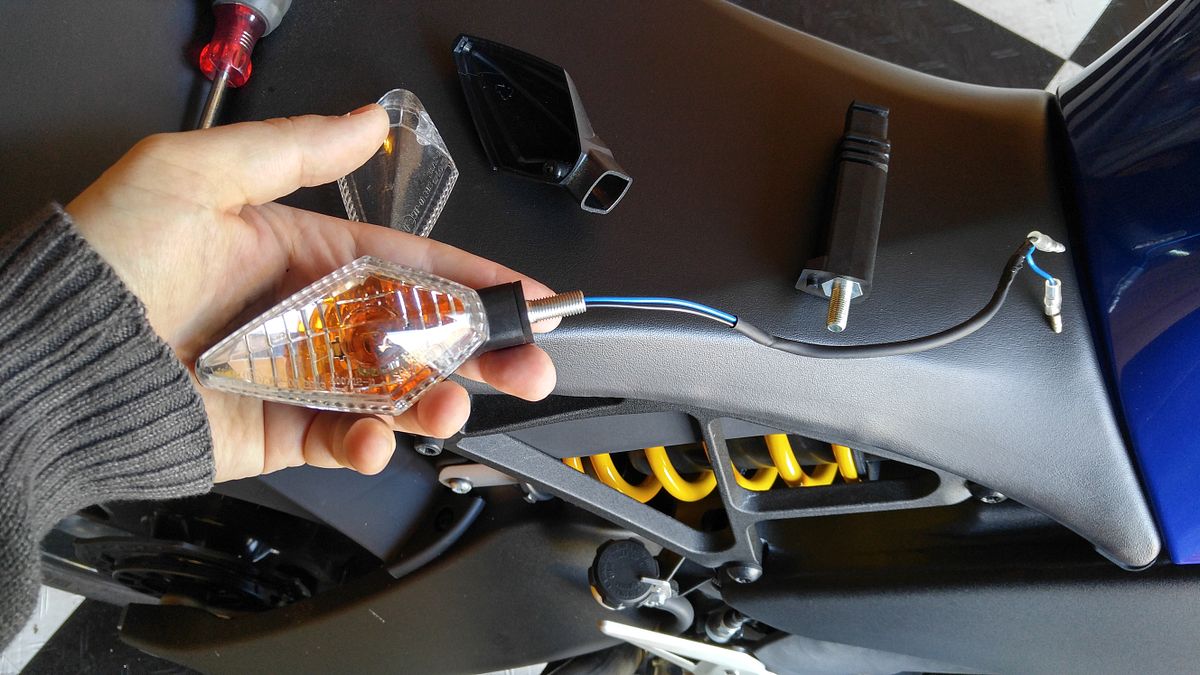
Step 4 - remove wiring from back of light bulb housing:
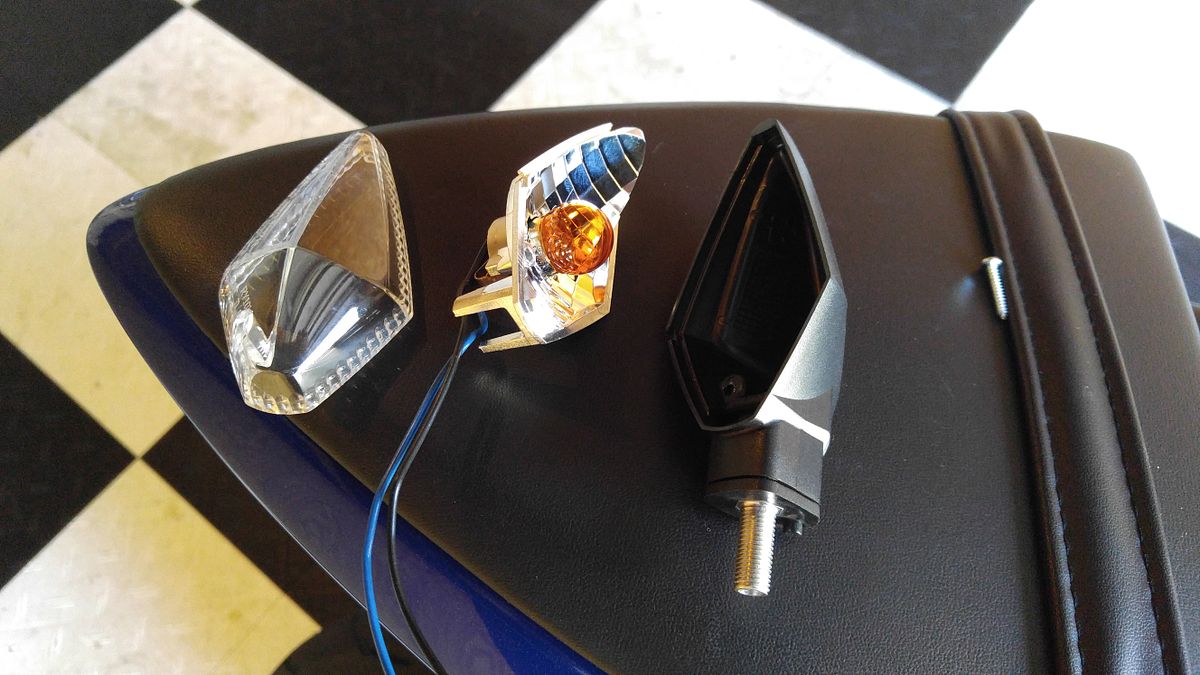
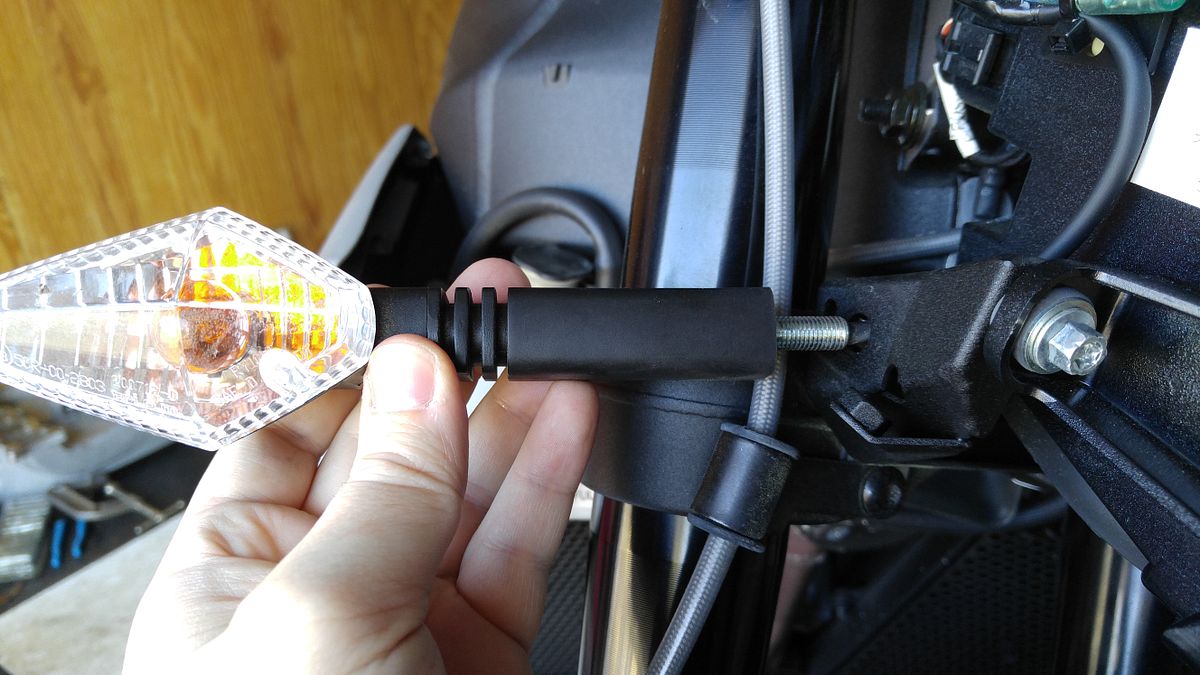
Step 5 - assemble housing using shorter stalk but with the longer wiring. Assemble in reverse order:
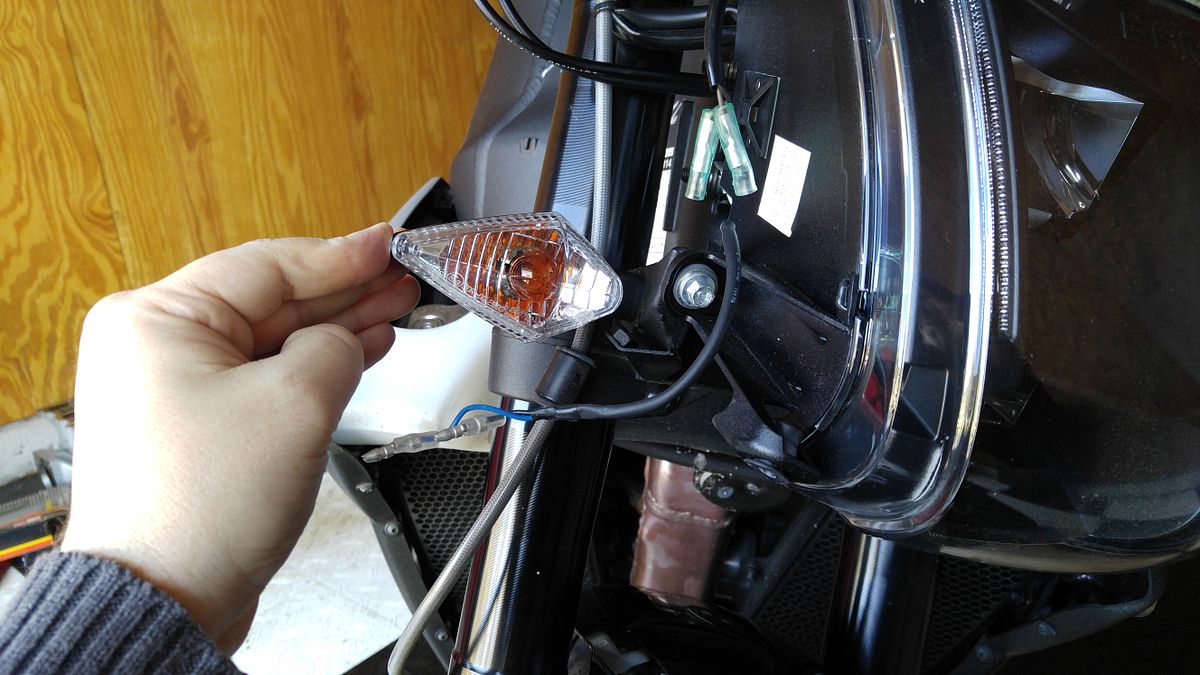
(Remember to test your work before buttoning everything up)
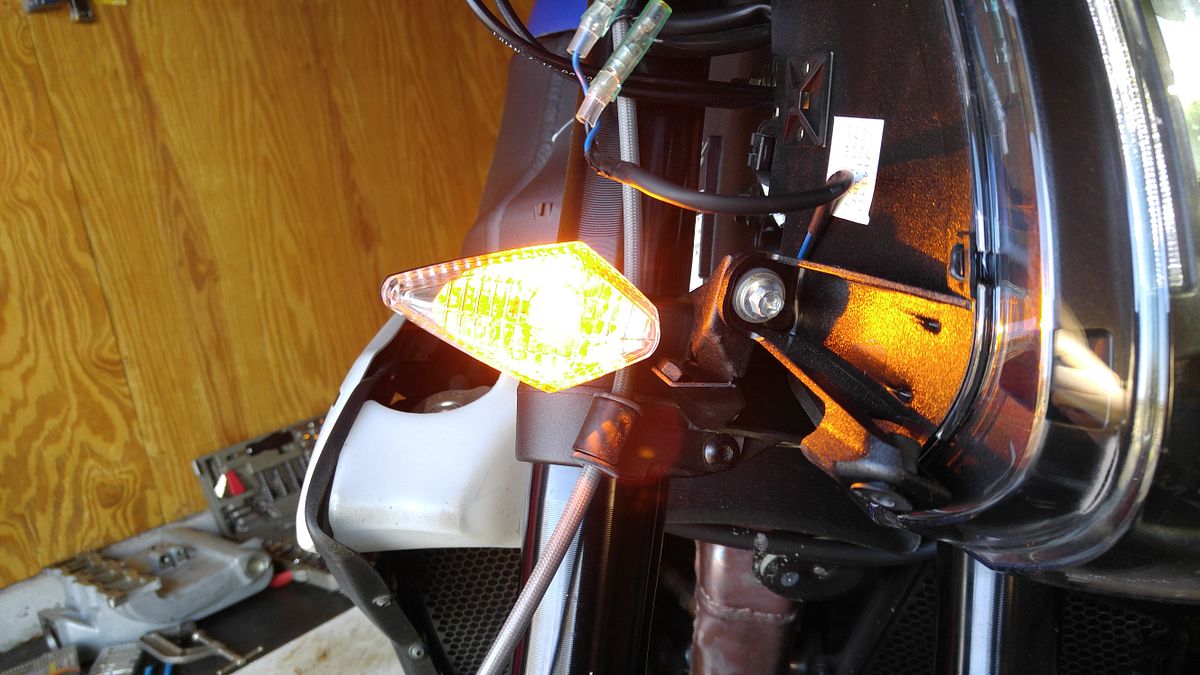
And you're done!

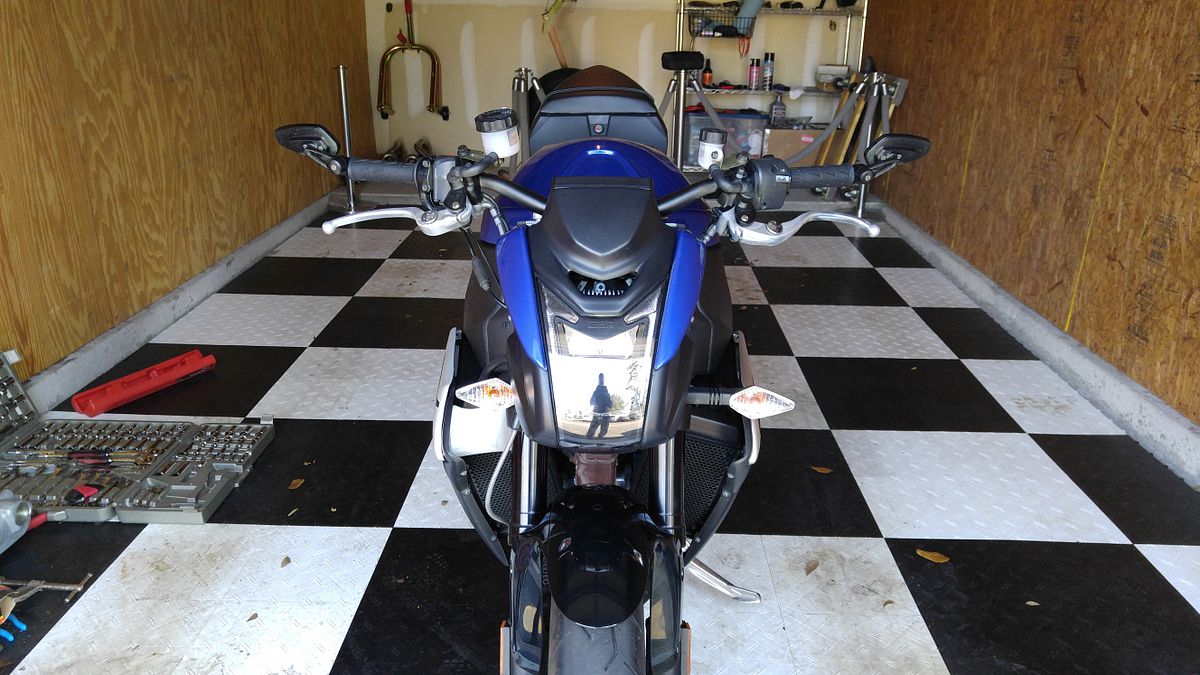
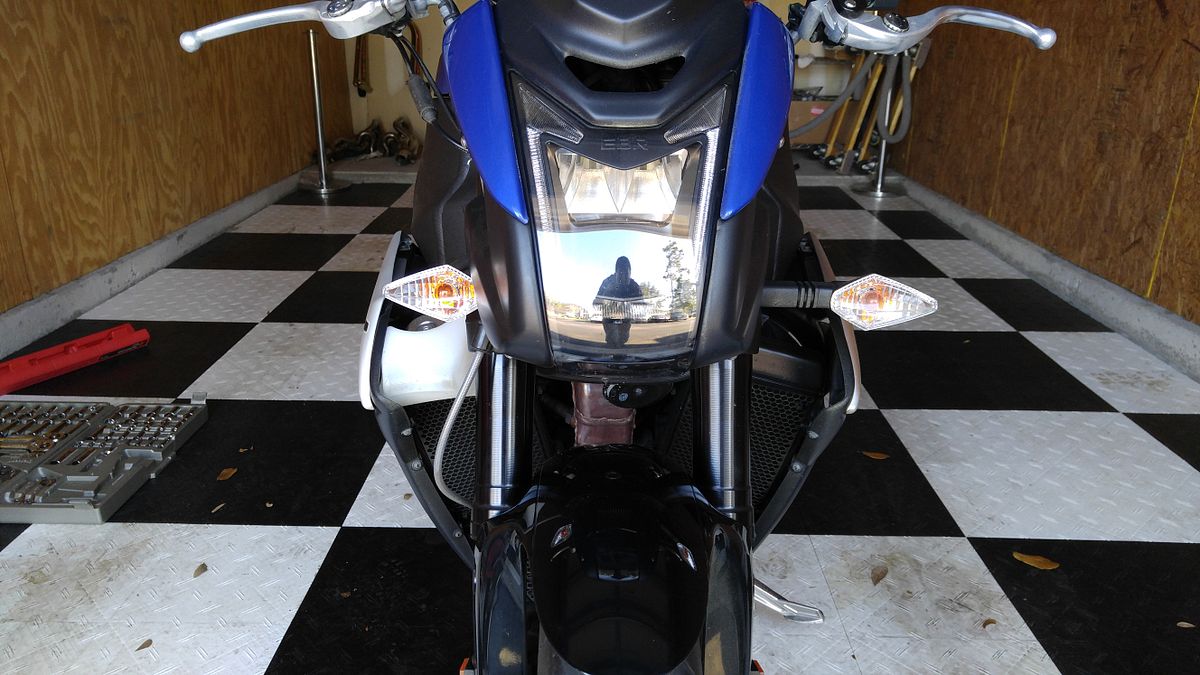
The goal:

Step 1 - Disassemble stock rear turn signal:


Step 2 - remove side panels to gain access to turn signal and wiring:


Step 3 - unplug wiring, remove turn signal, and disassemble:


Step 4 - remove wiring from back of light bulb housing:

Step 5 - assemble housing using shorter stalk but with the longer wiring. Assemble in reverse order:

(Remember to test your work before buttoning everything up)

And you're done!


