DIY Fix: Fan fuses blowing/Rocker Boxes leaking! *BIG*

Buellxb Forum

Help Support Buellxb Forum:

Glad you found your issue.
Unfortunately I don't know of any way to replace the front PCV other than an engine rotation. I cracked my front PCV once and was extremely aggravated with the fact that the little bastard need quite a bit of room in order to be removed/replaced.
I wouldn't try a temporary fix. It would be more of a PITA than cleaning a little oil. If anything just zip tie some cloth, or cotton padding absorbent material, around the base of PCV to catch the mess that sloughs from its nasty gash.
Also, the valve itself needs to be a one way valve. Do not go through the trouble or replacing it with one you know does not work right.
Any HD dealer will carry that PCV valve. If anything find the dealer you hate the most, order the PCV and pull a switch-a-roo with the new(but bad) PCV you currently have. There you go, free PCV. I know that's dishonest but obviously the motor company sent some bad ones out to begin with if yours truly is new and doesn't work correctly.

Also, if you have to worry about bugs getting inside your breather system you really need to think about calling an exterminator! My catch can is a black 5hr energy bottle with two 3/8" holes, drilled opposite each other at the top, and I've NEVER had any critter issues!
 
If I am not mistaken I was able to replace the front PVC off my 08 without rotating the engine it was tight but doable. Either it was front or the rear sorry if I have it wrong but I did do one of them.
 
If I am not mistaken I was able to replace the front PVC off my 08 without rotating the engine it was tight but doable. Either it was front or the rear sorry if I have it wrong but I did do one of them.

I'm about 100% sure it's not possible to remove and replace the front PCV without engine rotation. The rear is easily accessible but the front Id have to see documented proof that it's possible.
Trust me, I wouldn't rotate an engine or suggest such unless I knew it was the only way.
However, I've been wrong before. Someone prove me wrong about the the front PCV R/R procedure.
 
ok , then it must be the rear , that comes out , Thanks for the clarification, :cool: I am sure you are correct. My friend.
 
Anyone know what kind of gasket for rocker box cover they use here? https://www.twinmotorcycles.nl/artikelen.asp?cid=20&aid=699

It is black and does not look like red color James Gaskets. They say it is stiffer than original gasket


DSCN3386.JPG
 
They look like ,Cometic Gaskets. they are black in color . Many to be found also James gasket sets and Cometic sets excellent as well. i see them on E bay at good prices.
 
Last edited:
Alright, this morning I rotated the engine again. The front rocker cover gaskets leaks, the rear leaks too. So this is not only PCV valve leakage. Crap!

IMAG6293.jpg


IMAG6292.jpg


I just can not trust those James gaskets anymore, they will leak again. So I decided to follow this thread and apply RTV silicone on lower gasket and Hylomar Blue on top gasket. Still do not know which RTV silicone is better to use. RTV black is the most oil resistant and has the best temperature resistance. RTV Blue is the suggested silicone for coating precut gaskets for increasing reliability.

IMAG6296.jpg
 
I cant say what is the best ,I can only say this is what I use, and I have no leaks.
http://www.devcon.com/products/prod...Max. Oil Resistance RTV Silicone Gasket Maker

Here is what I been using with good results on my Rocker gaskets and every thing else.


Ultra Black® Max. Oil Resistance RTV Silicone Gasket Maker
Fast-curing formula. Sensor-safe, low odor, noncorrosive. Fills gaps of up to 0.25" when fully cured. Meets performance specs of OE silicone gaskets. Retains high flexibility, oil resistance properties through use of a patented adhesion system. Temperature range -65ºF to 500ºF (-54°C to 260°C) intermittent. Resists common fluids and excessive vibration.


KEY FEATURES

Eliminate costly inventory of cut gaskets
Easily makes cut gaskets in all shapes and sizes
Increased oil resistance, non-corrosive
Metallic black
Use on rigid or flexible flanges
Temperature range -65ºF to 500ºF (-54°C to 260°C) intermittent
 
Last edited:
OK, I will probably apply some RTV black on lower gaskets.

Here is one more finding. Here is the throttle body gasket from James gaskets top end kit after only 3500 miles! The surface faced to the engine is hard as stone and full of cracks! So again it looks like James gaskets is not a good choice. Now I am not surprised why they leak so bad.

IMAG6297.jpg
 
Last edited:
Personally I think the ultra blue, or hylmer blue, is the best for high temp gaskets. Especially for the intake seals. One of the properties of that sealant is that it does not harden, therefore, stays moist and helps prevents gaskets from drying up and cracking.

This is just me thinking out loud, but I think this is a great opportunity for you to pull the heads and do the valve seals.
 
Good point Chicknstripn, Remembering the pics you shared with us of you valve shafts, that is something you might consider doing at this time.
 
I'm planning to sandblast valves with walnut shells without taking them out.

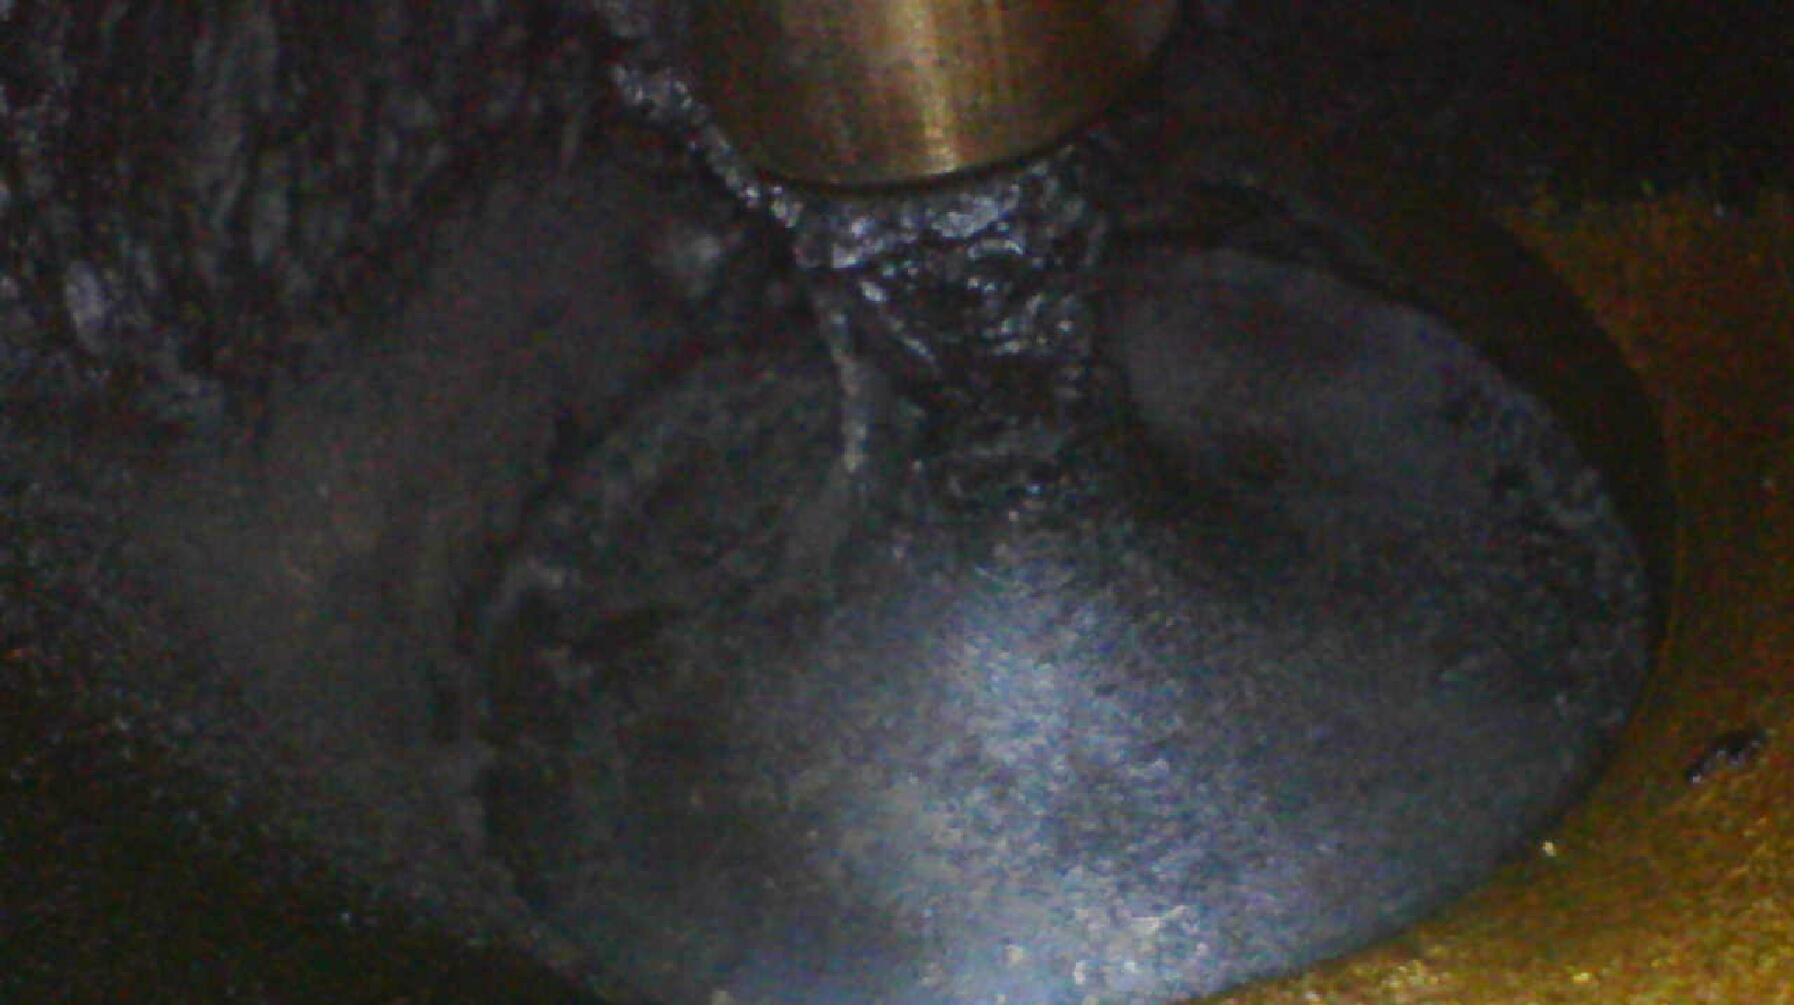
By the way. After Seafoam spray + Gumout fuell additive treatment the valves look maybe two times cleaner than 3500 miles ago but still have pretty thick layer of burned stuff on them.
 
Last edited:
If you dont have the tools, just take the heads off and let the HD shop or any engine shop do it for you. Just throwing that option out there. Your engine will thank you for it ,run better, cleaner plugs. etc......You will save on all Seafoam spray + Gumout fuel additive treatments.
 
Last edited:
I'm working on vacuum port for sandblaster from PVC pipes. I've already finished extension tube for sandblaster.

 
Last edited:
fabulous vid. and sadly this self-absorbed nerd failed to mention the "root-cause" of all this build-up in the intake tracts: faulty turbo seals.
 
Alright. Today I walnut shell blasted intake valves and now they look much better.


Front before

IMAG6324.jpg


Front after

IMAG6336.jpg


Rear before

2017_09_02_10_13_19.jpg


Rear after

IMAG6337.jpg


My setup

IMAG6332.jpg


IMAG6326.jpg


IMAG6318.jpg


IMAG6320.jpg
 
Back
Top