• You are currently viewing our boards as a guest which gives you limited access to view most discussions and access our other features. By joining our free community you will see less advertisements, have access to post topics, communicate privately with other members (PM), respond to polls, upload content and access many other special features. Registration is fast, simple and absolutely free so please, join our community today!

    If you have any problems with the registration process or your account login, please contact us.

How to: clean and polish valve guide outside surface

Buellxb Forum

Help Support Buellxb Forum:

TPEHAK

Banned
Joined
May 4, 2014
Messages
1,636
Location
Seattle
Today I'm going to show you how to clean and polish valve guide outside surface.

If your motorcycle has many miles and you want to replace valve seals you probably will not be able to do this easily. The valve seal likely will be sticked on the valve guide with no any chance to be removed by bare hand with no tools even manual says opposite.


Here is exhaust valve seal after 20000 miles
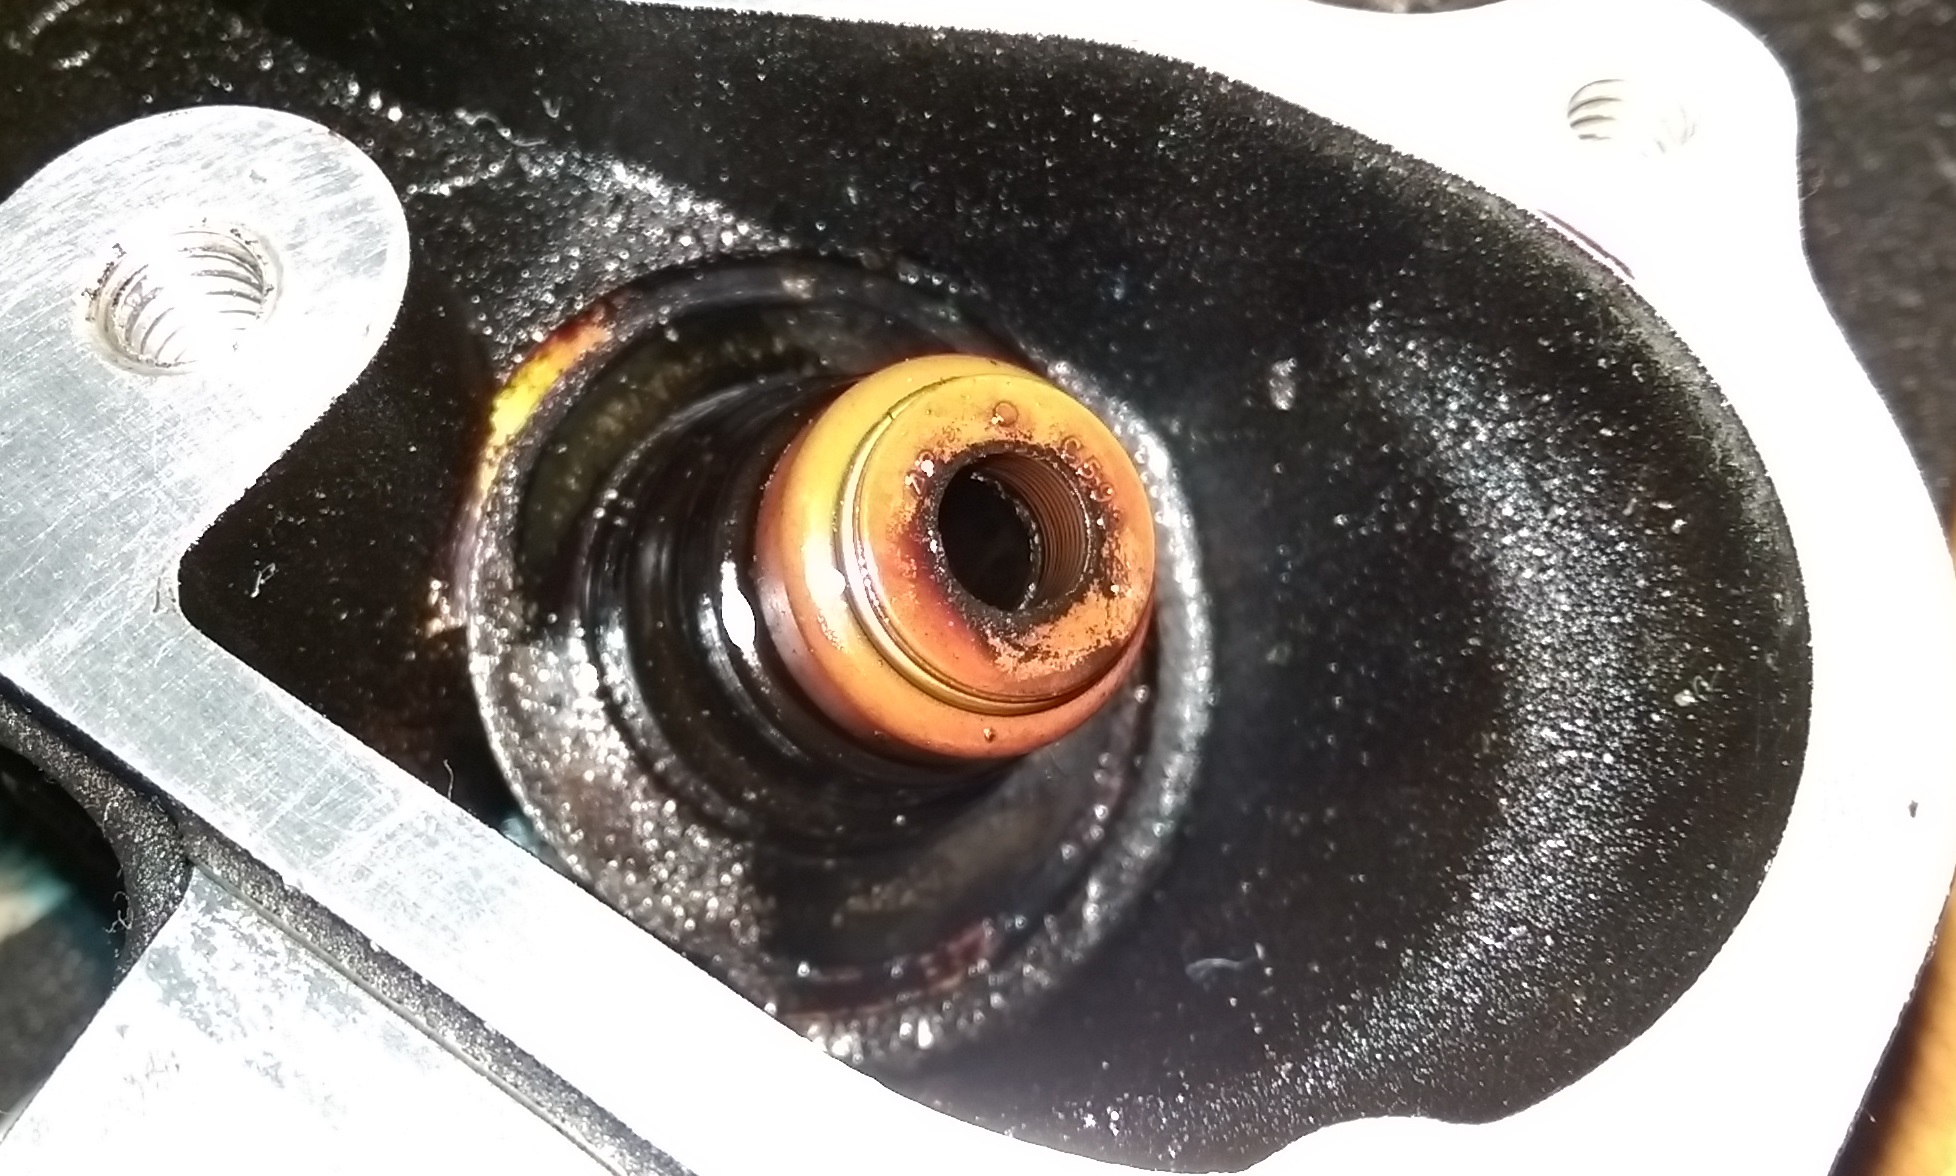

IMAG0368.jpg


So after removing valves take pliers and carefully pull the metal part of the seal rocking and twisting it. It will likely came off without rubber part of the seal because of rubber deadly burned on the valve guide
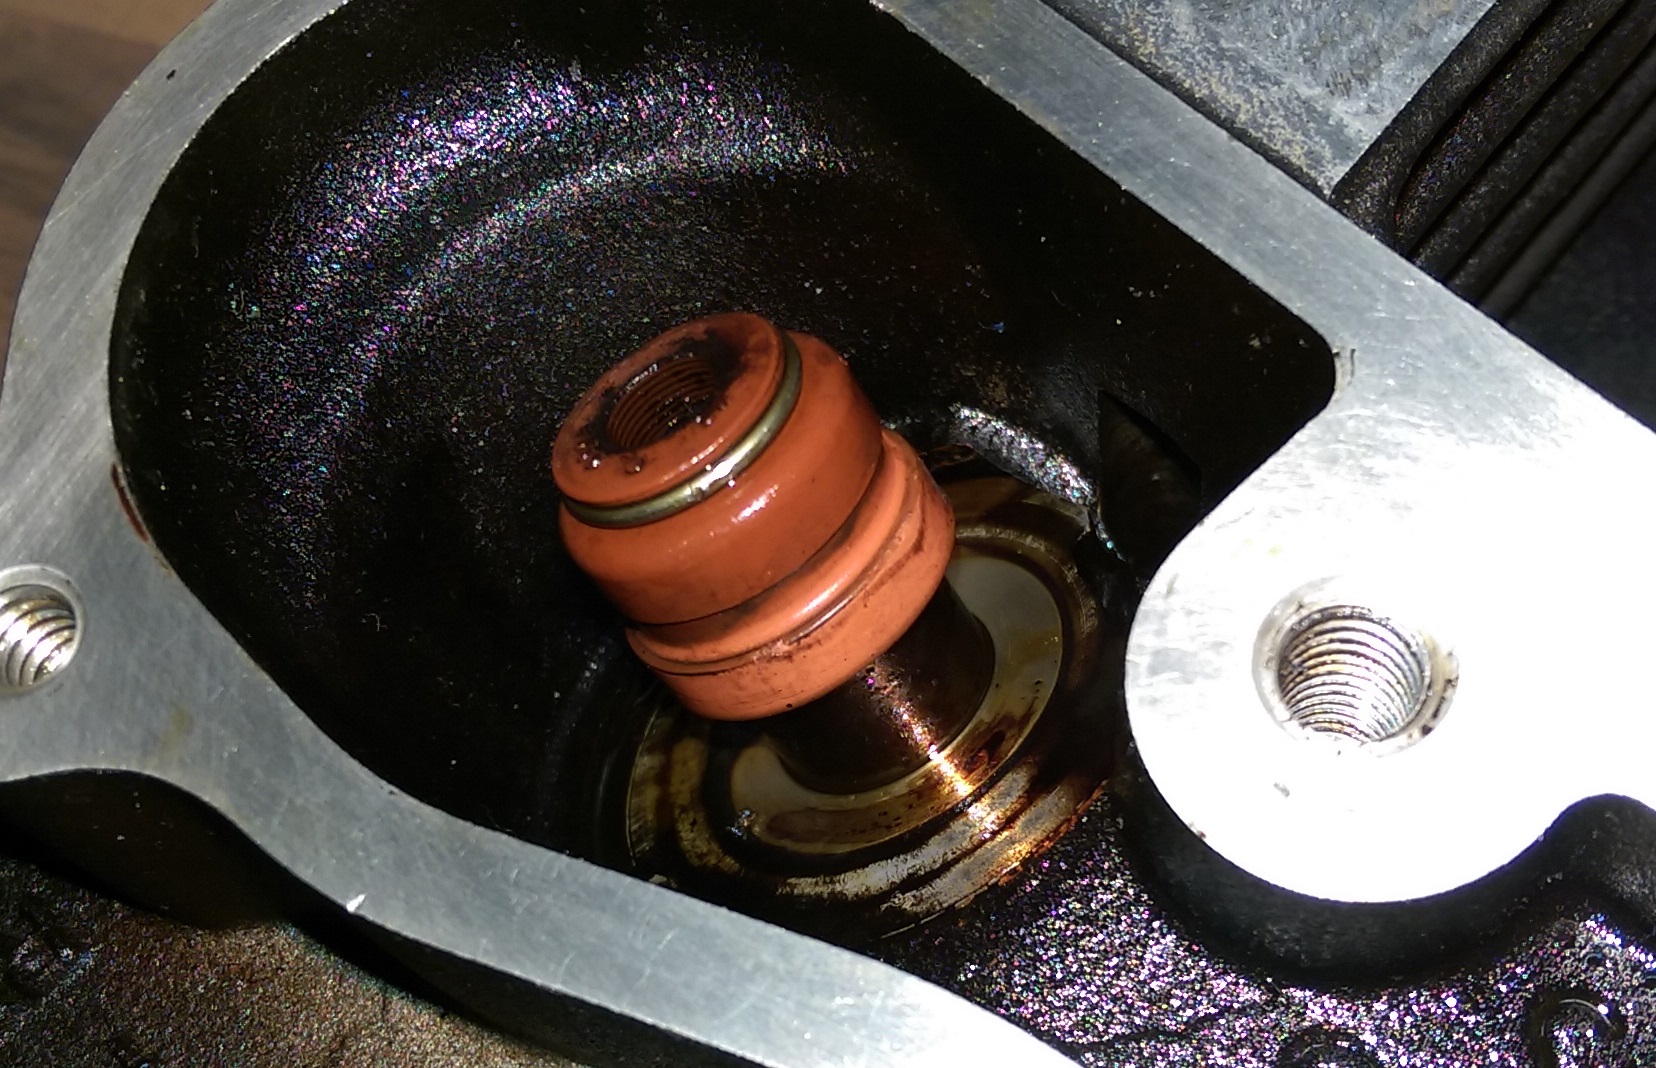
IMAG0370.jpg


Now take pliers and carefully massage the rubber all way around to brake rubber around valve guide. then take piece of wood or plastic tool and pry the rubber off. Do not use metal tool because you can scratch the valve guide.
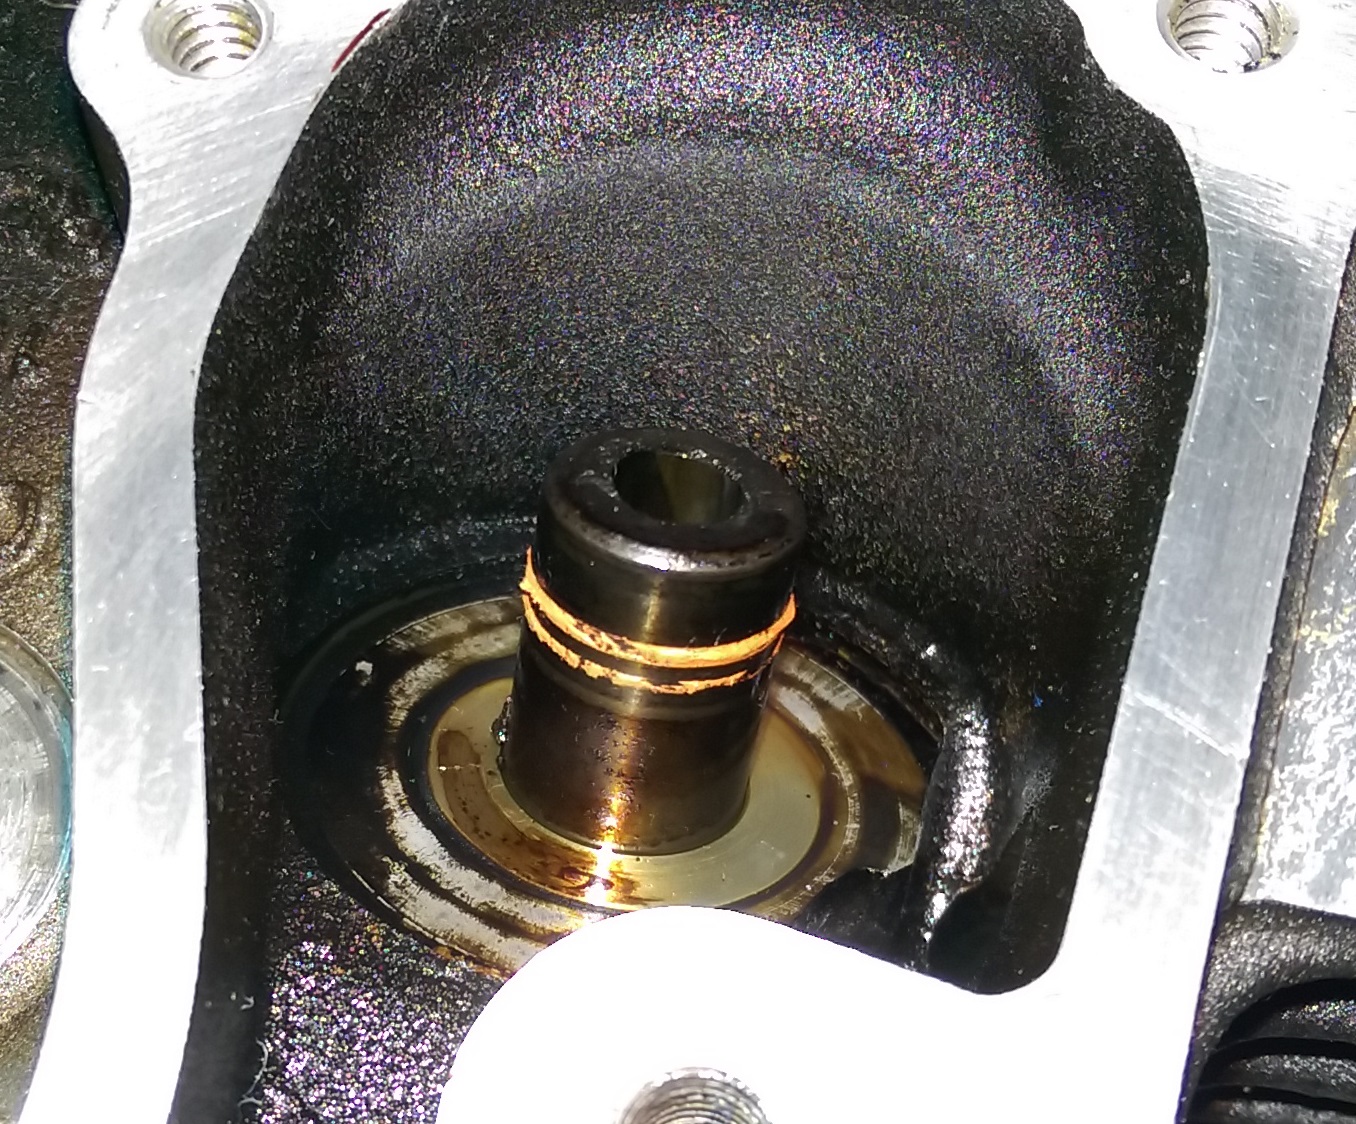
IMAG0371.jpg


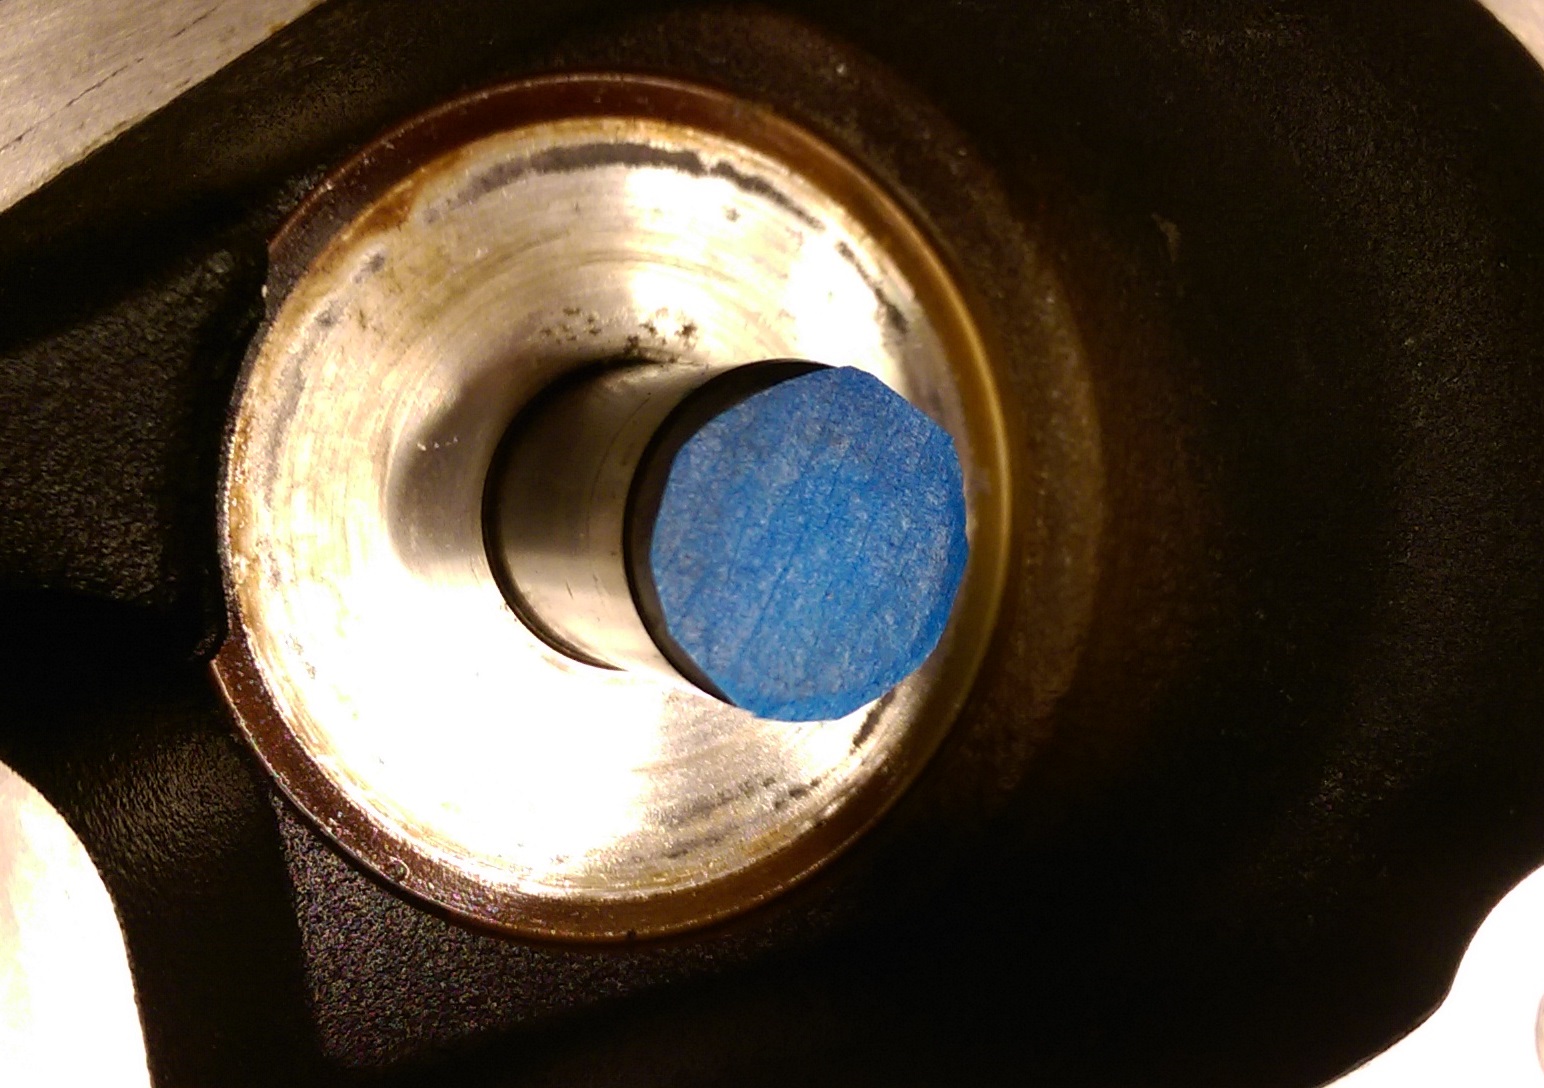
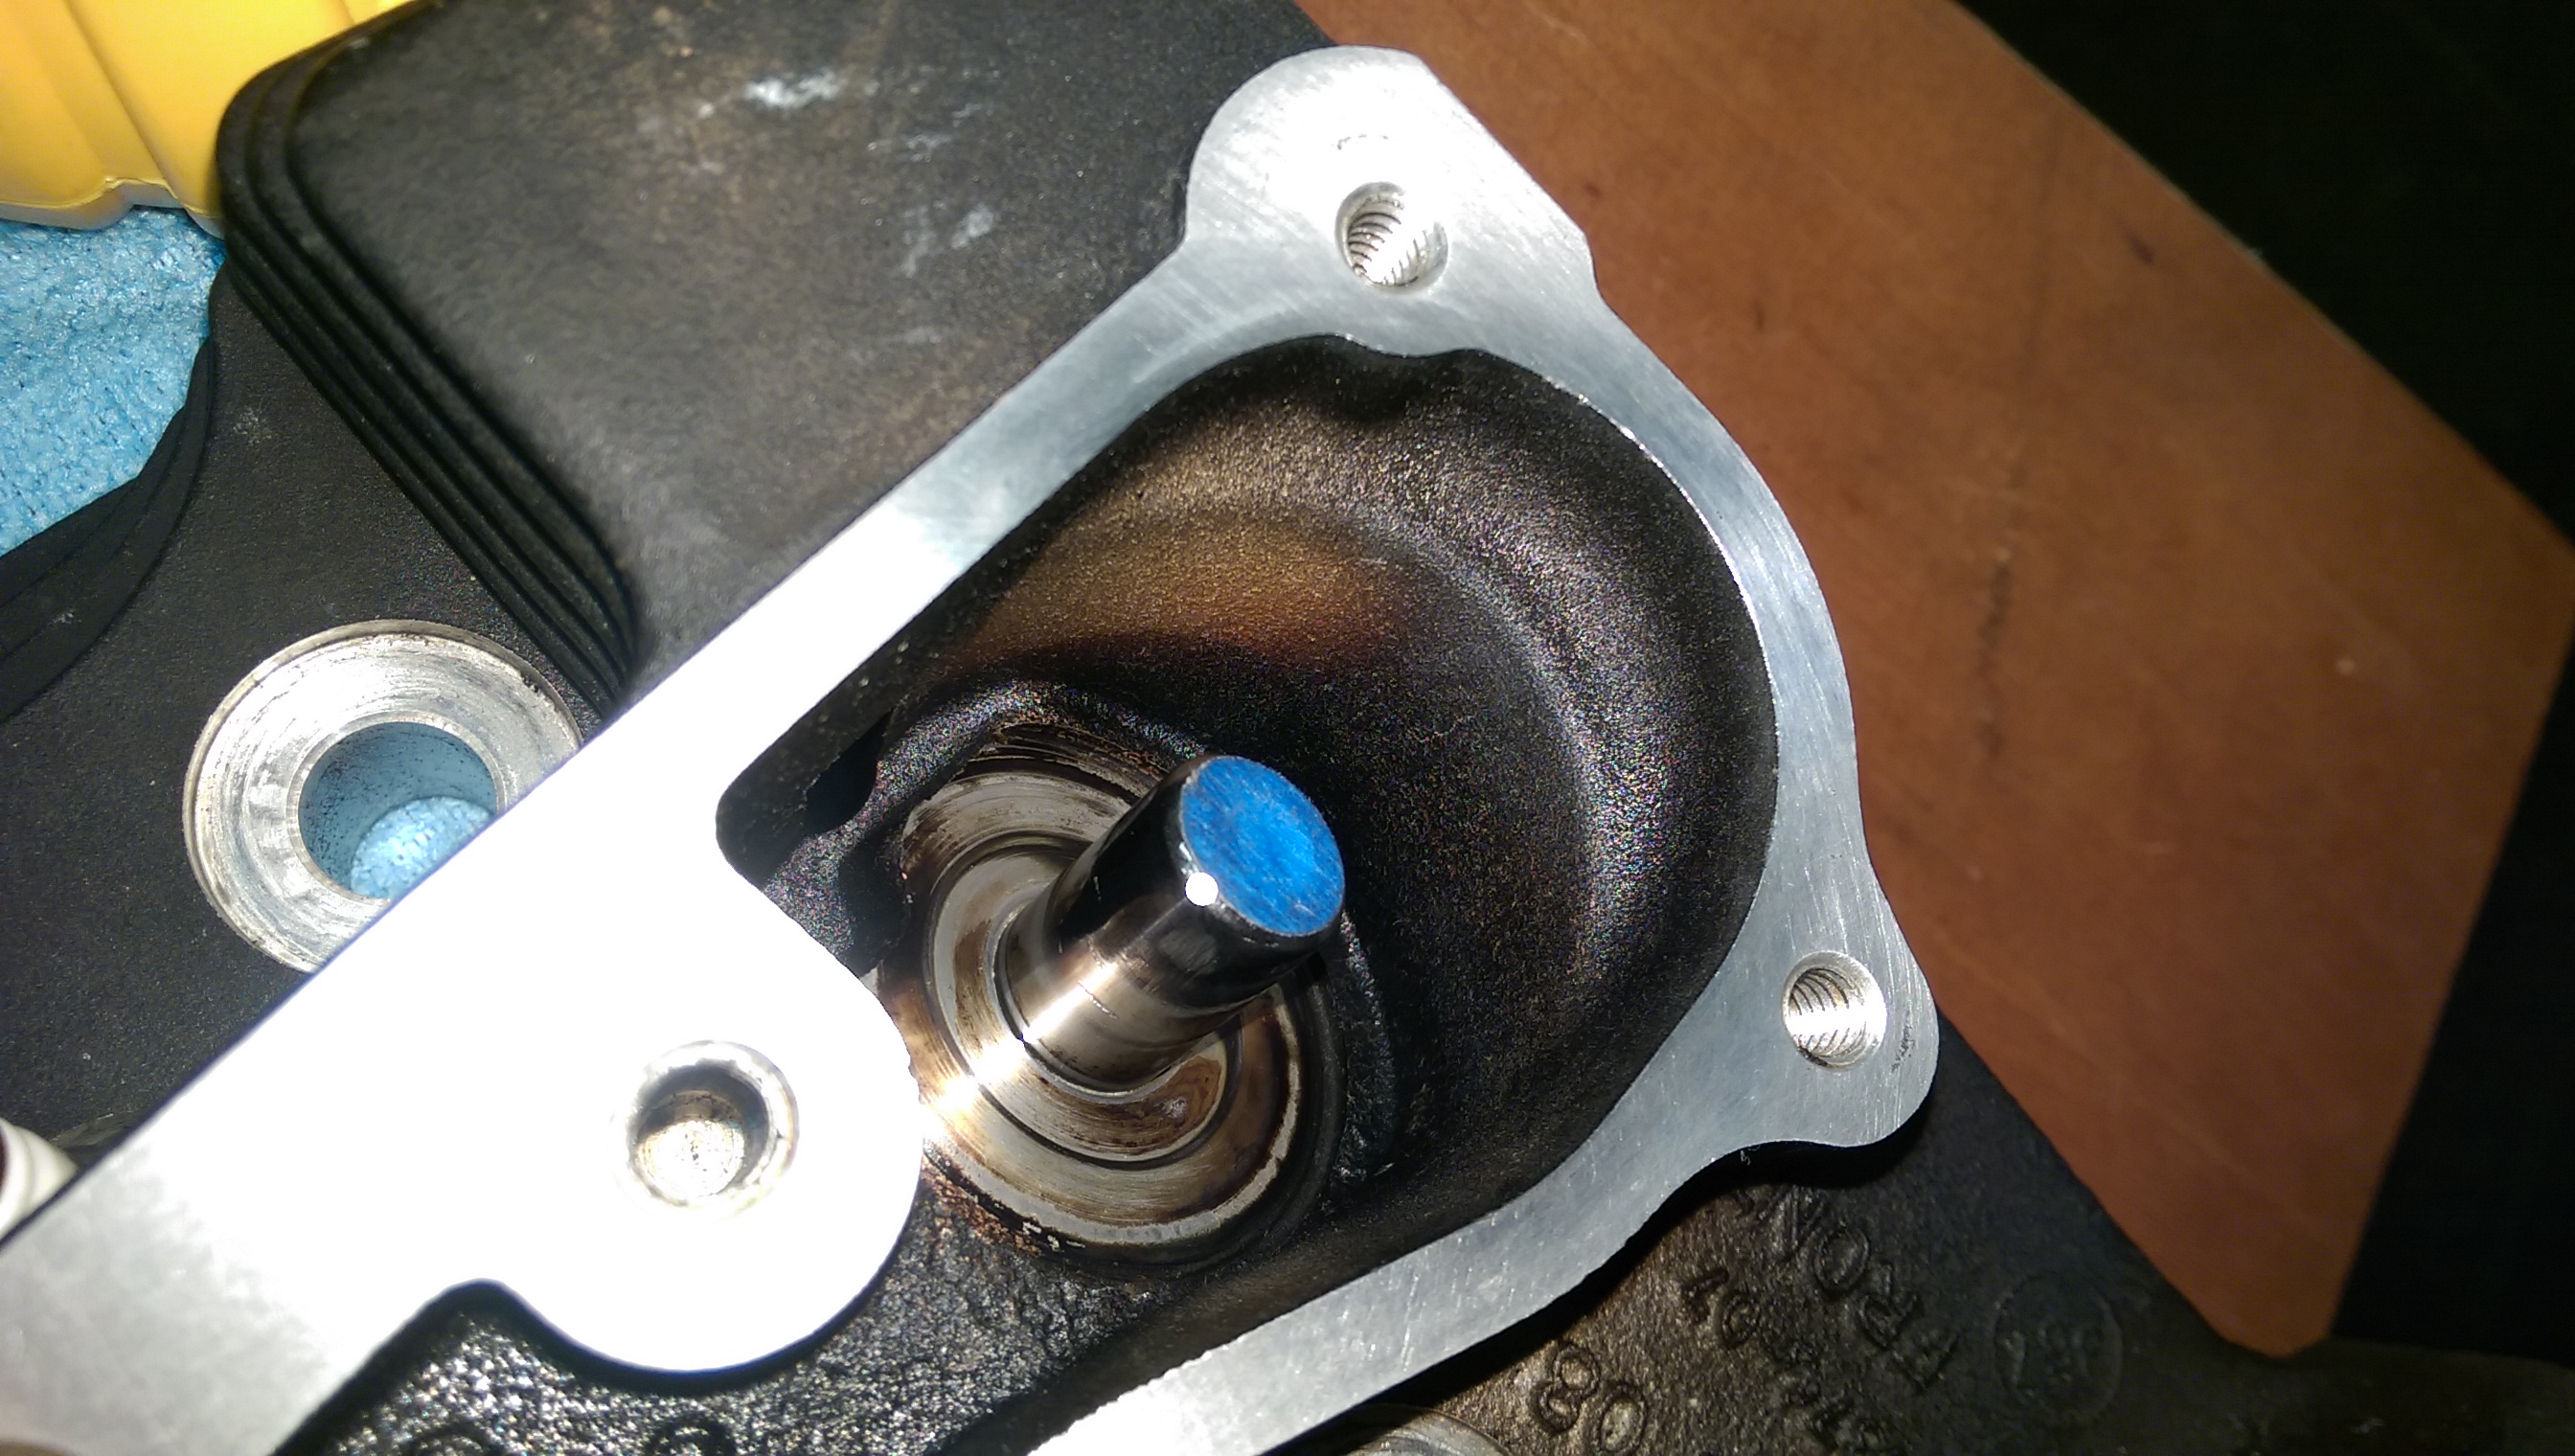
Protect the valve guide hole from abrasive material. I sticked piece of cotton and covered it by round piece of masking tape.
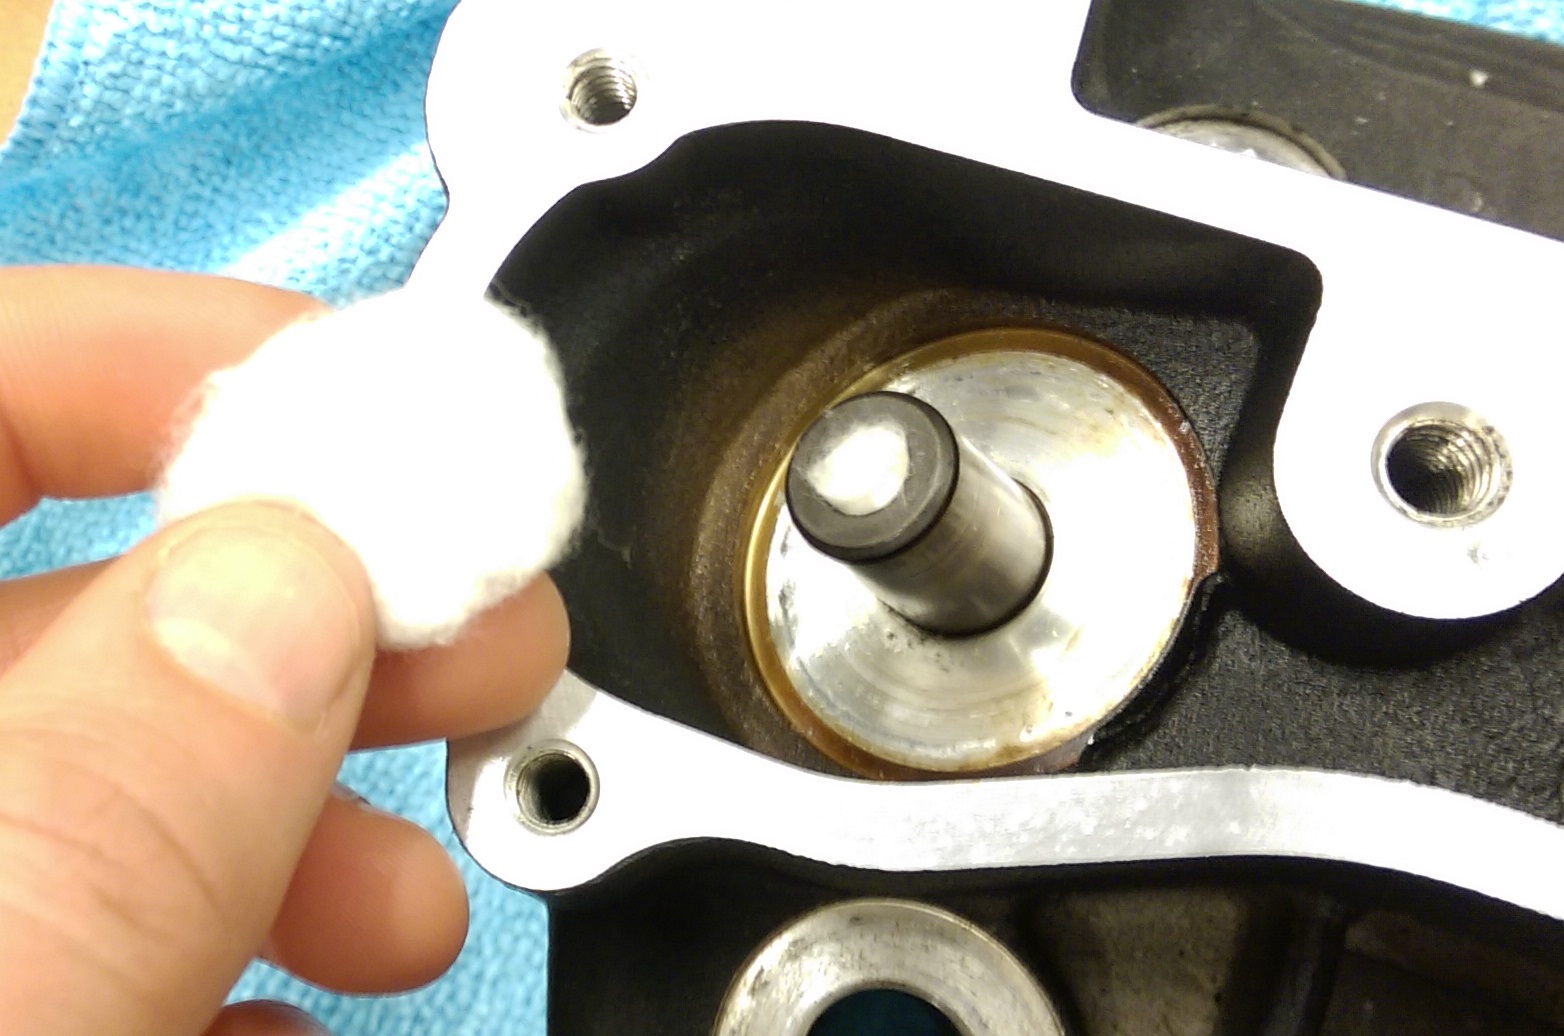
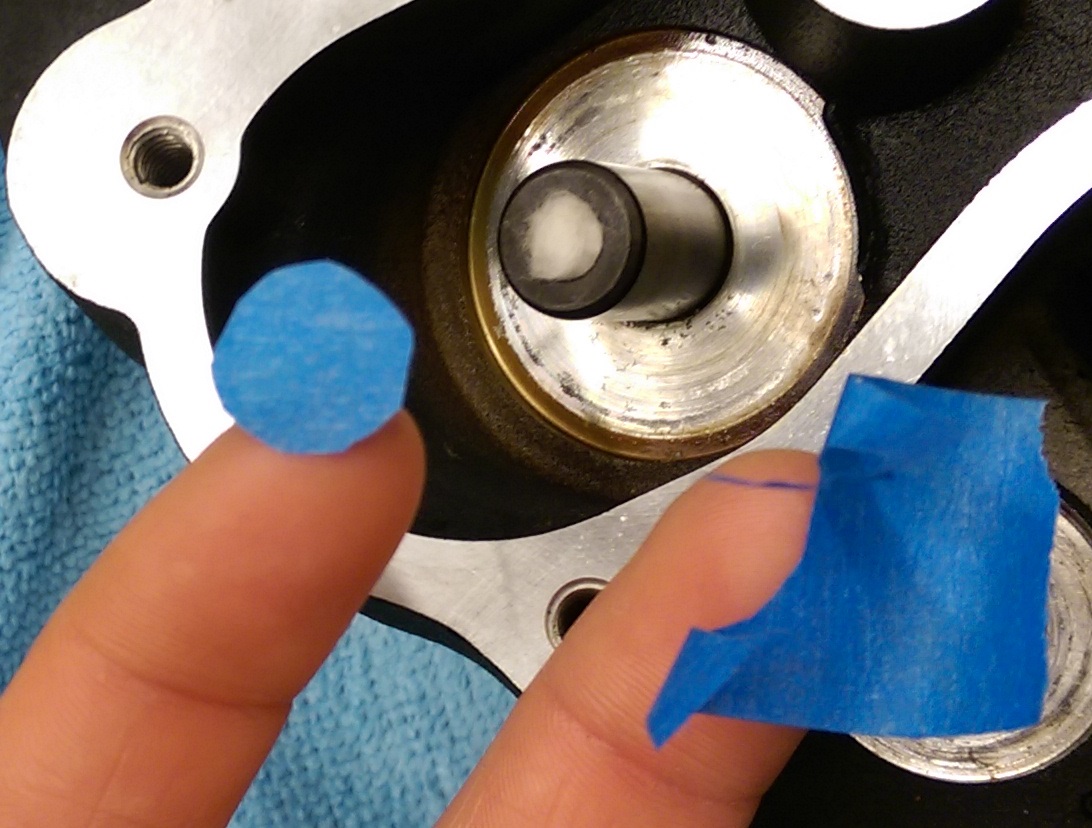
IMAG0399.jpg


IMAG0401.jpg


IMAG0402.jpg


Cut round piece of plastic sheet of film to cover the gasket base surface and protect it from rubbing.
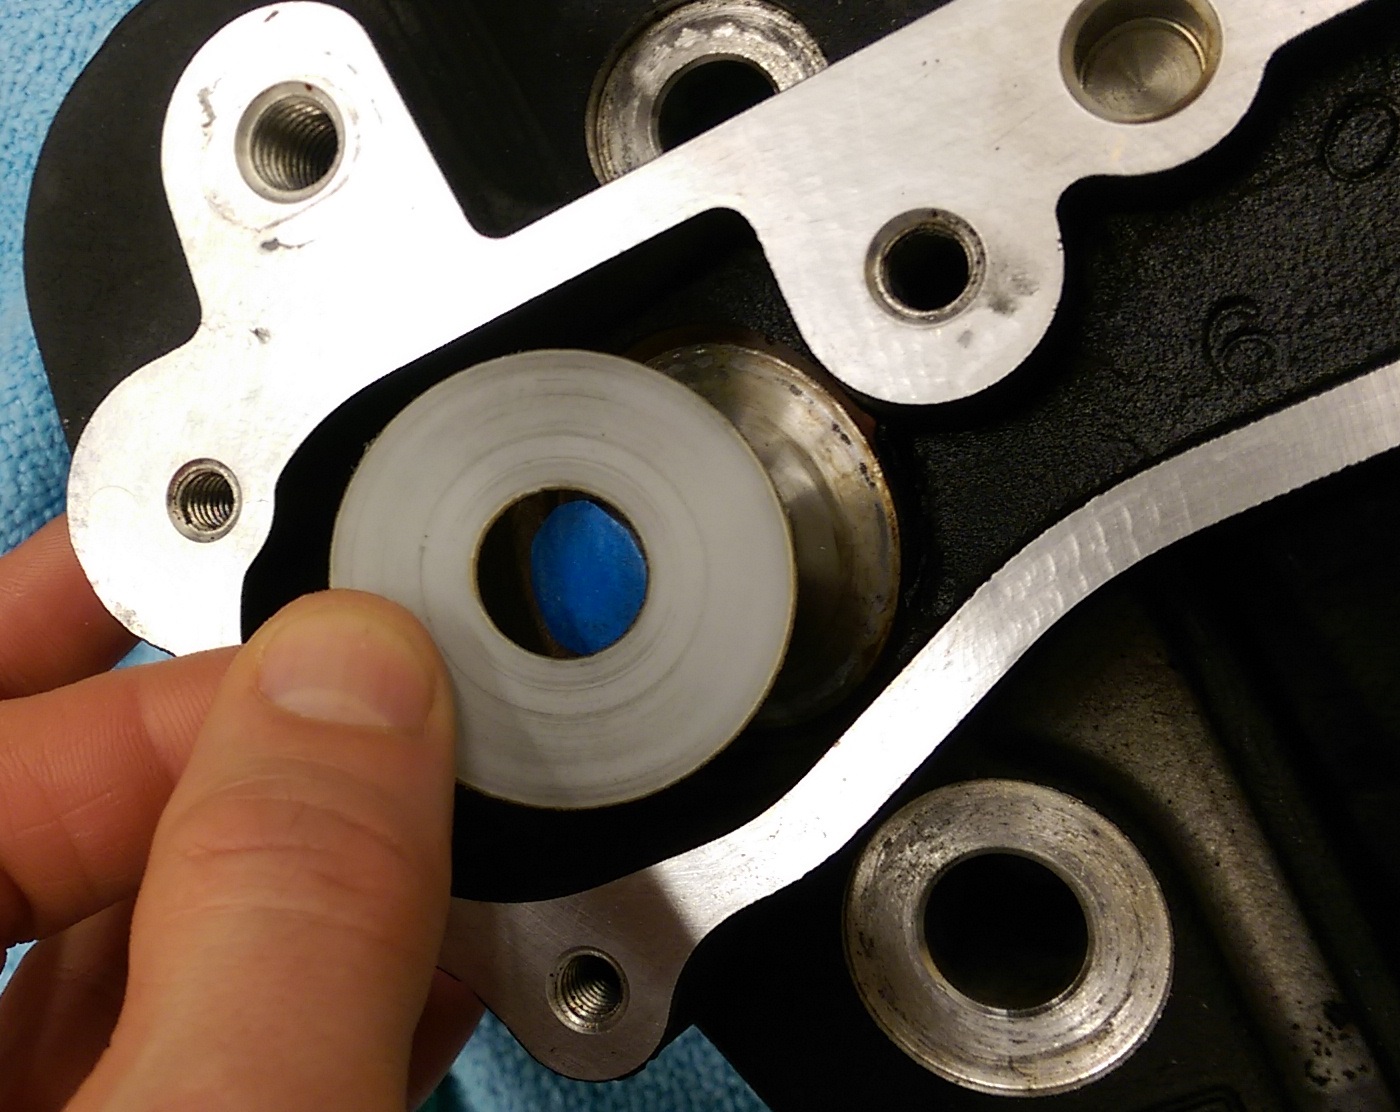
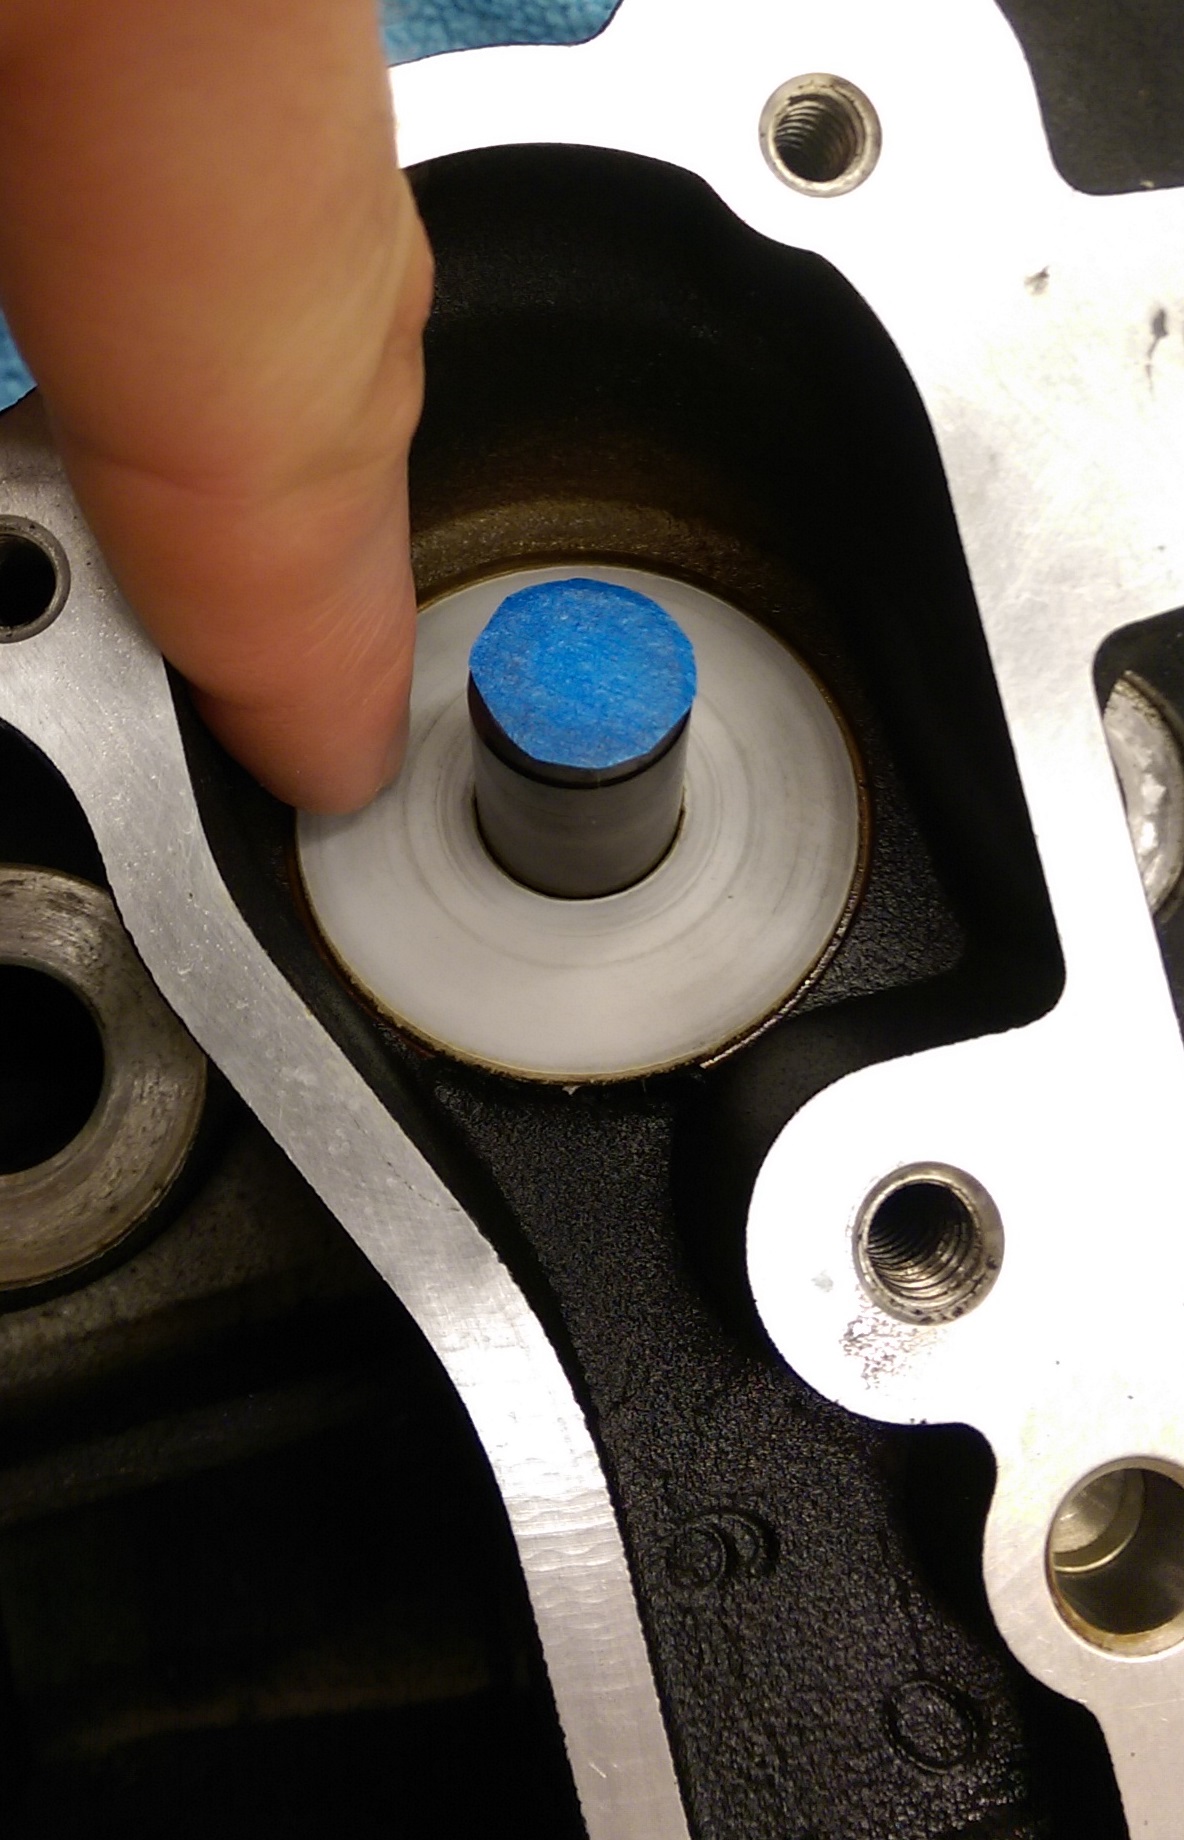
IMAG0403.jpg


IMAG0404.jpg


Take heavy duty Scotch-bright green pad, spray some WD40 on it and rub off the rest of the rubber from the valve guide manually.
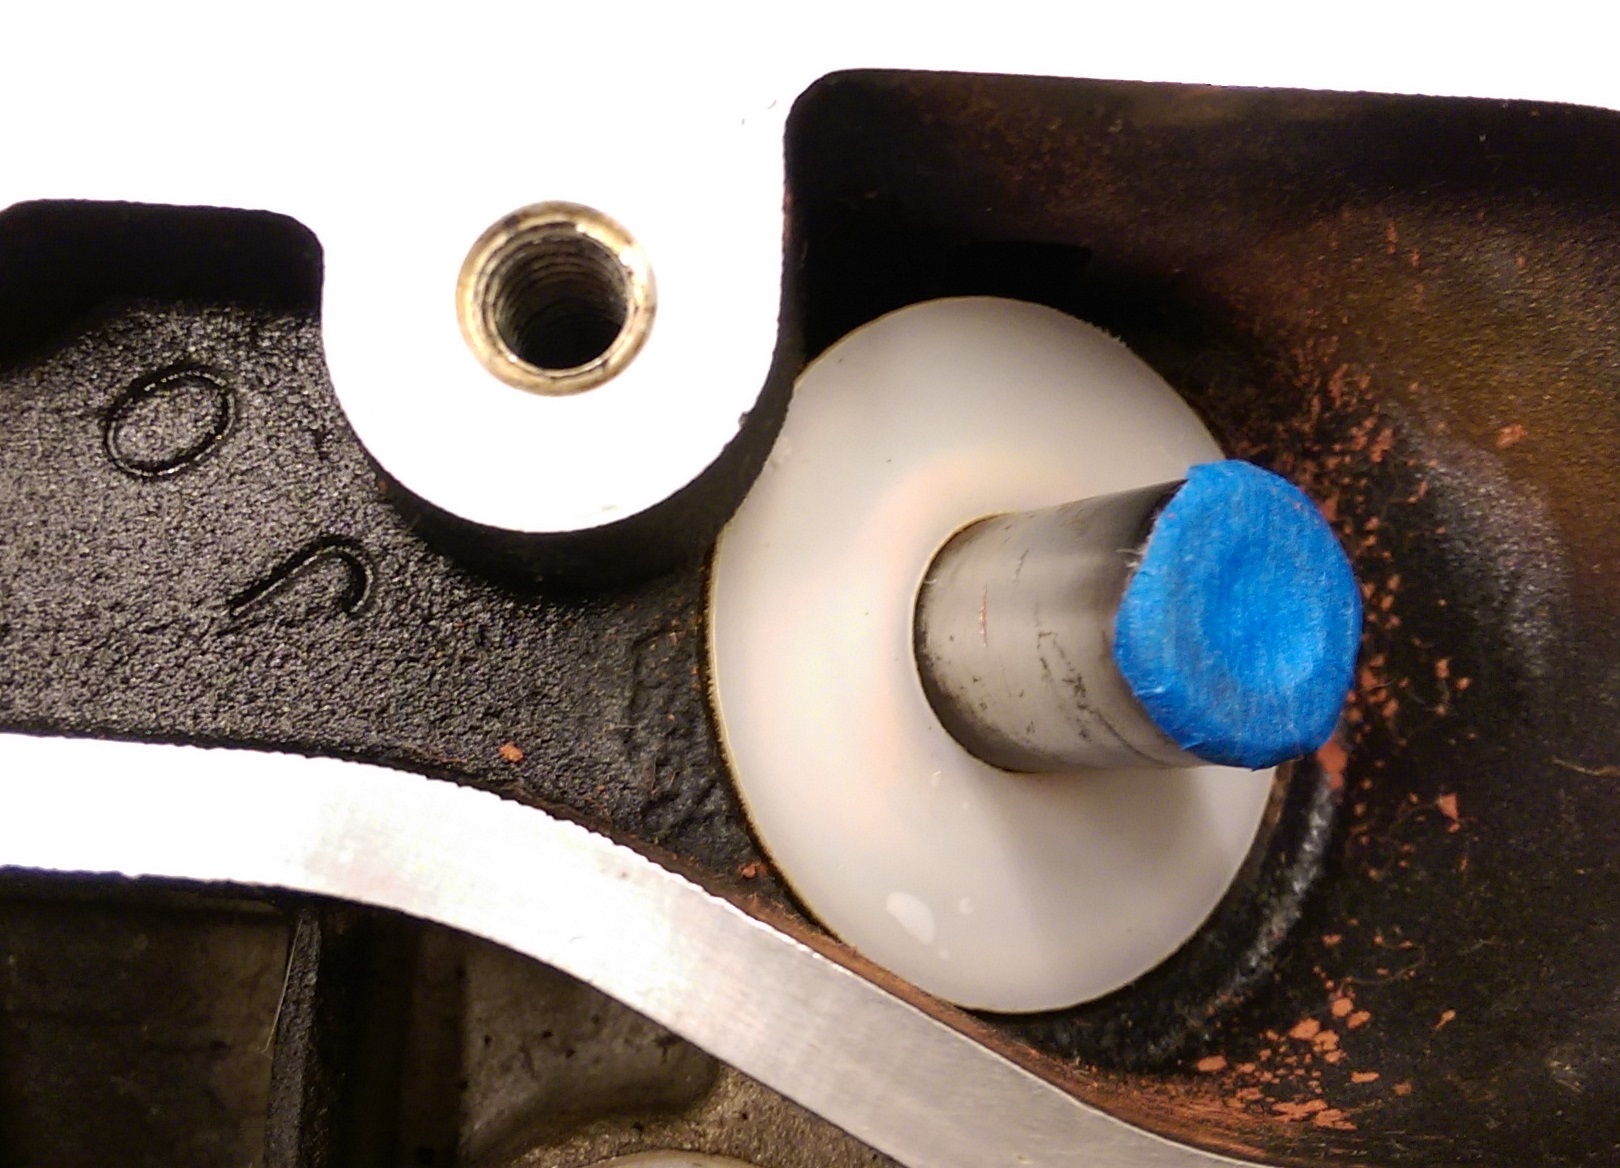
IMAG0377.jpg


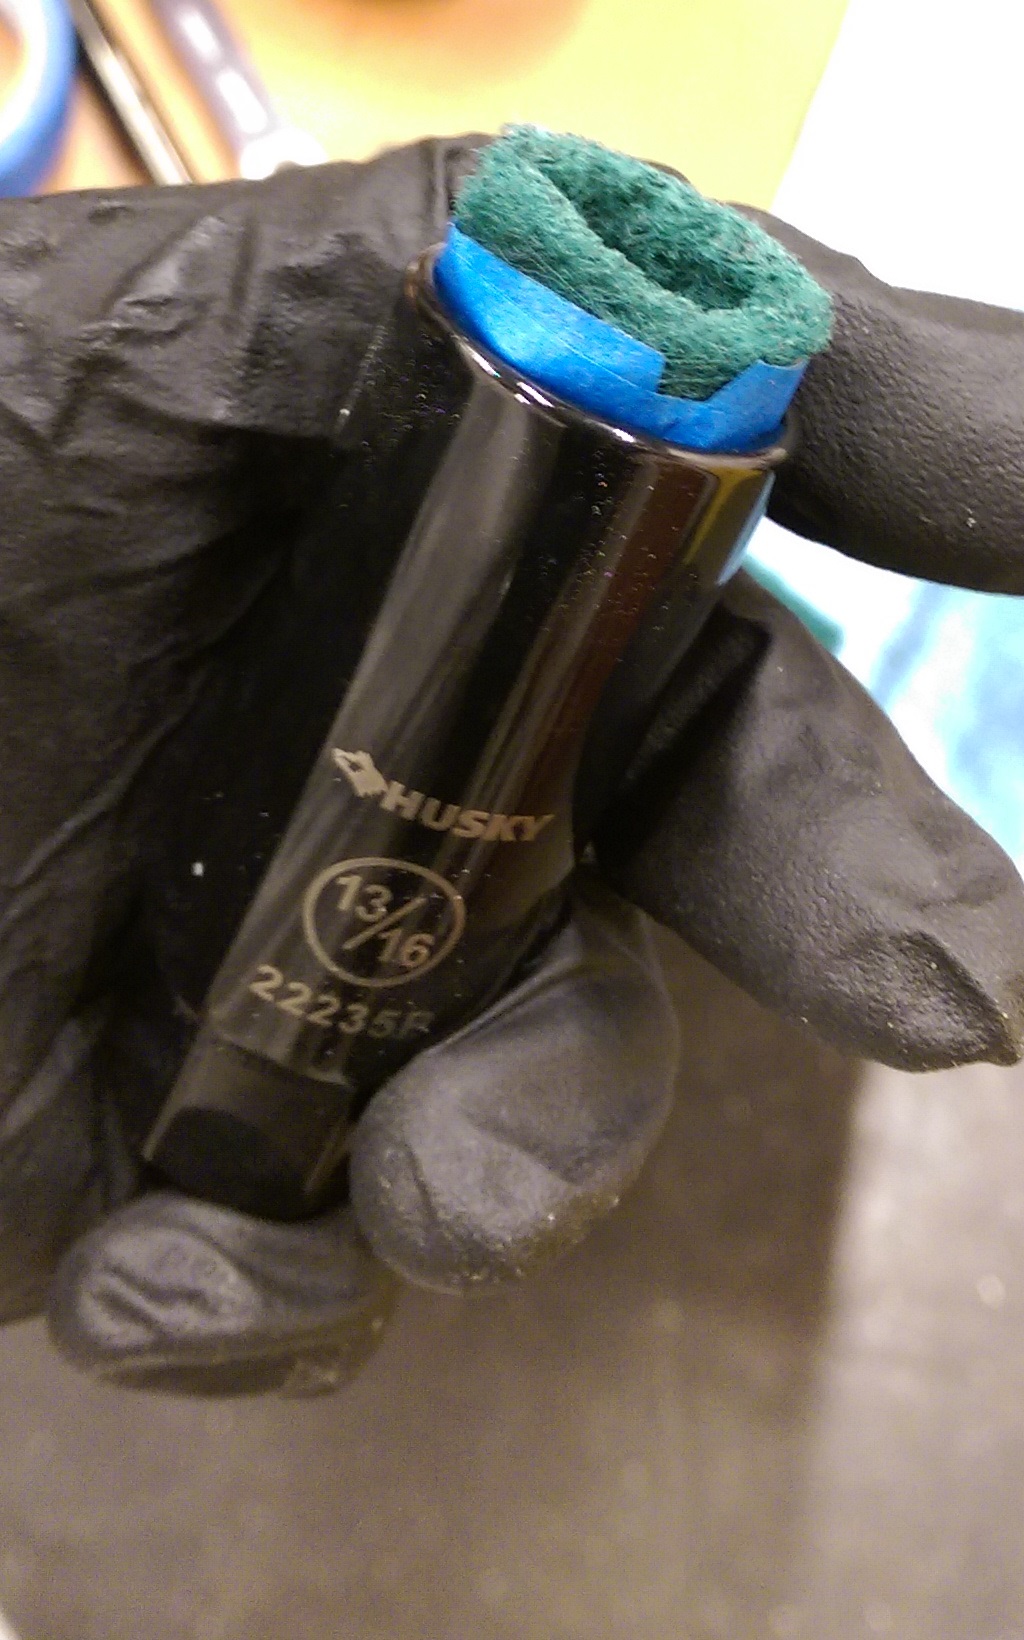
Now prepare 13/16 socket and extension for the socket
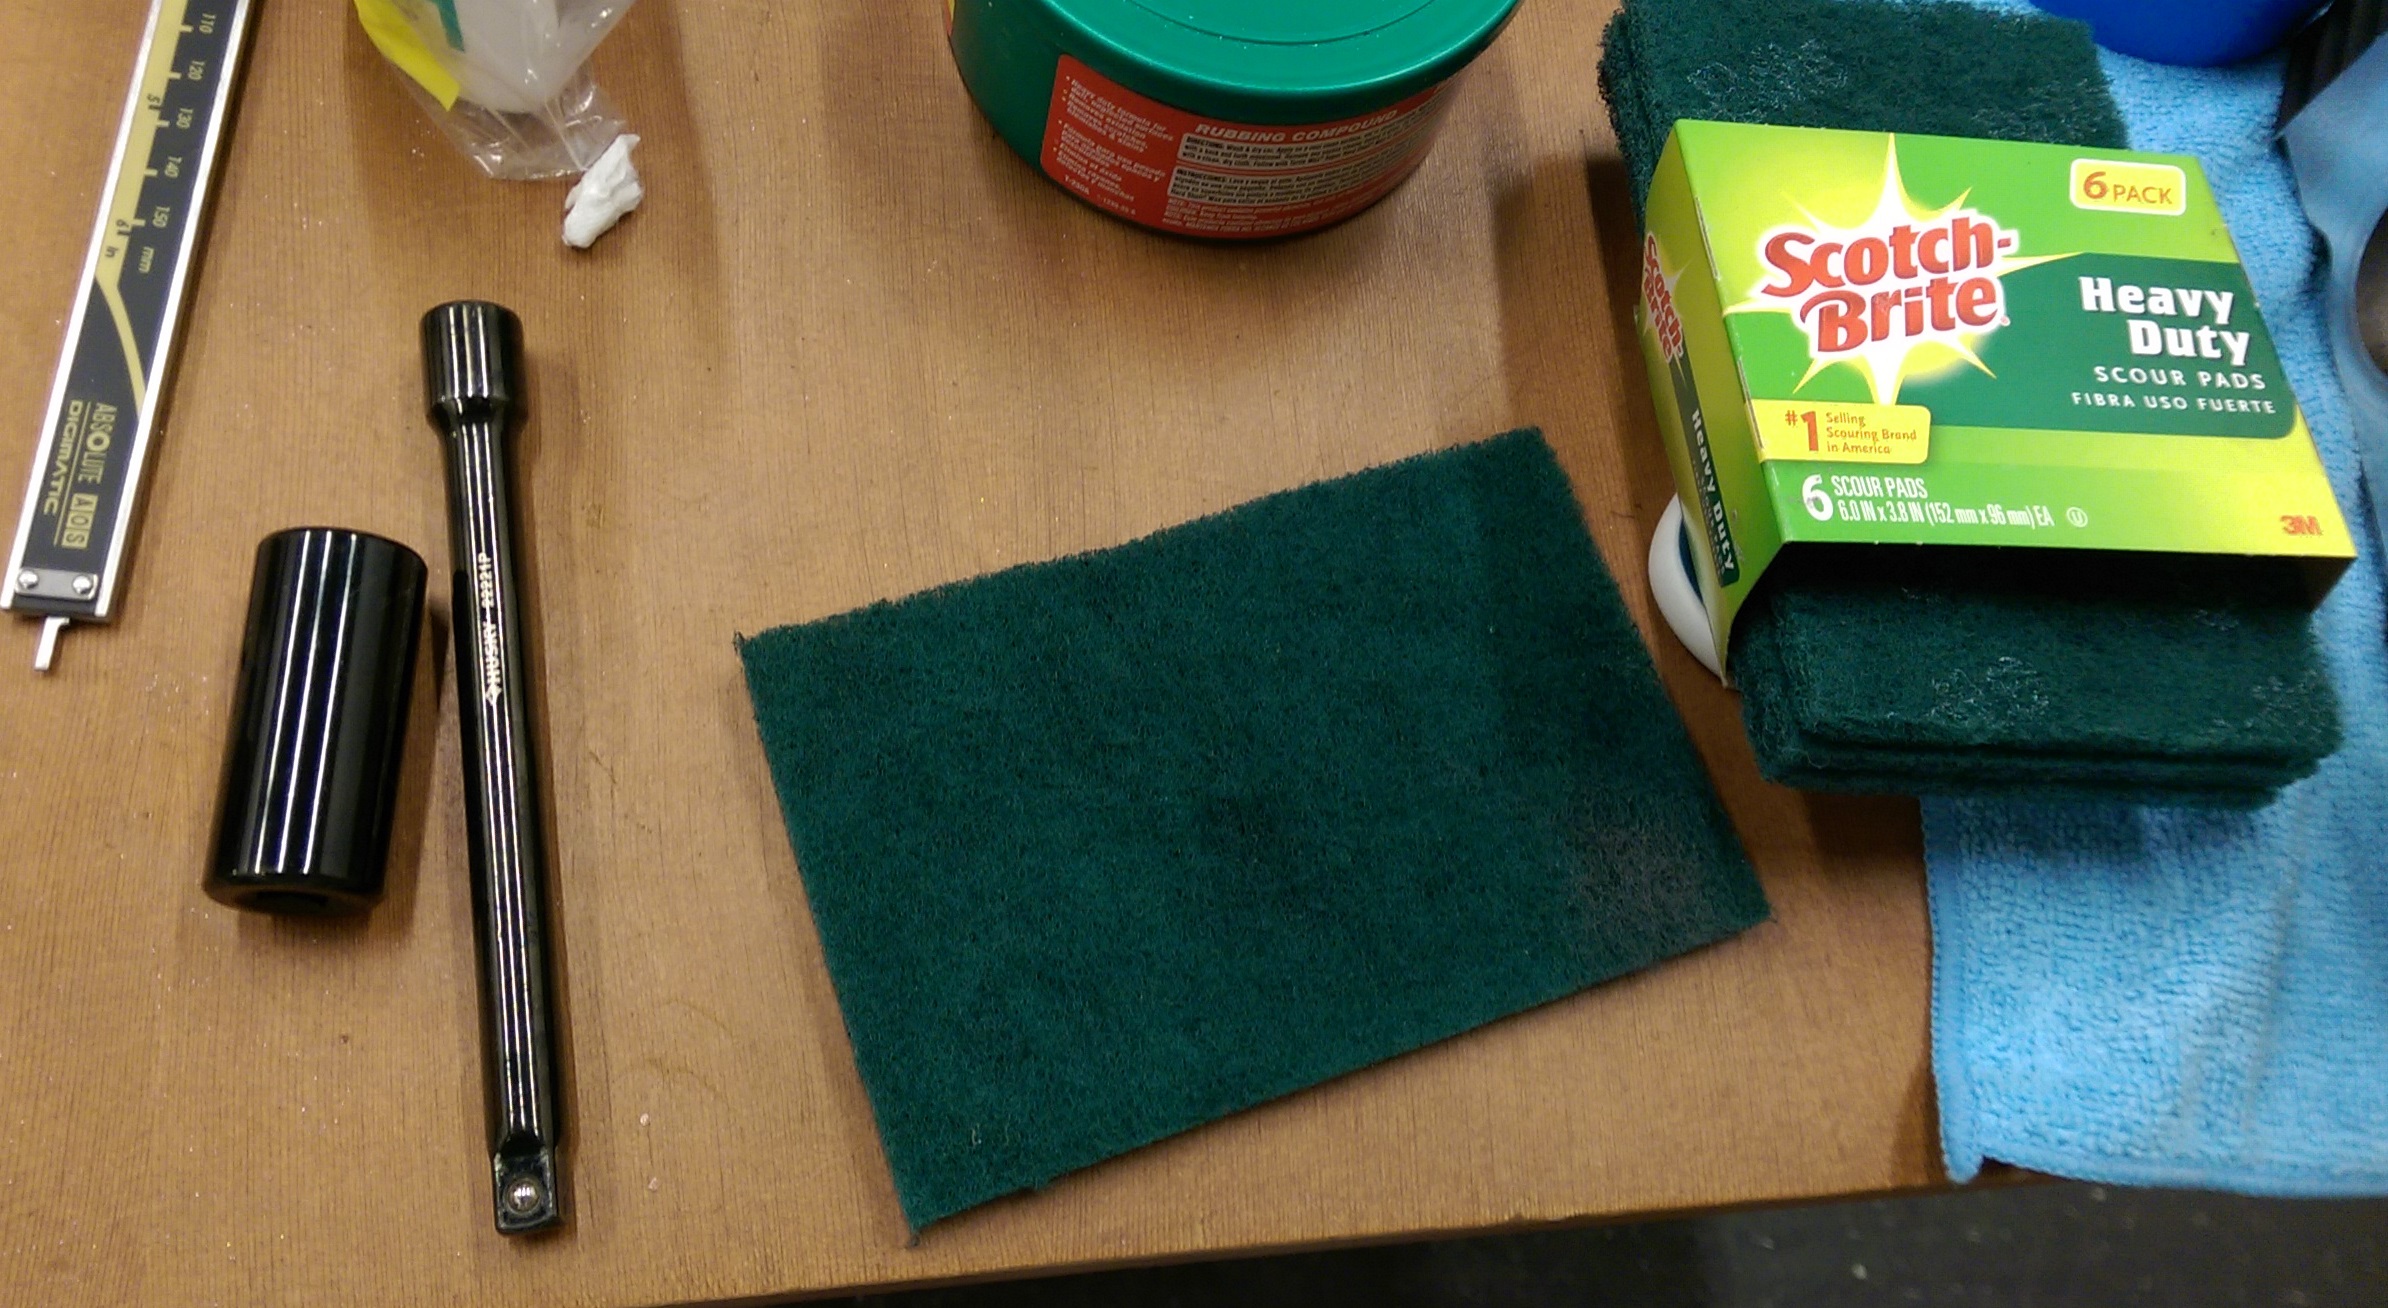
IMAG0378.jpg


Cut piece of heavy duty Scotch-bright green pad so you can wrap the valve guide all way around
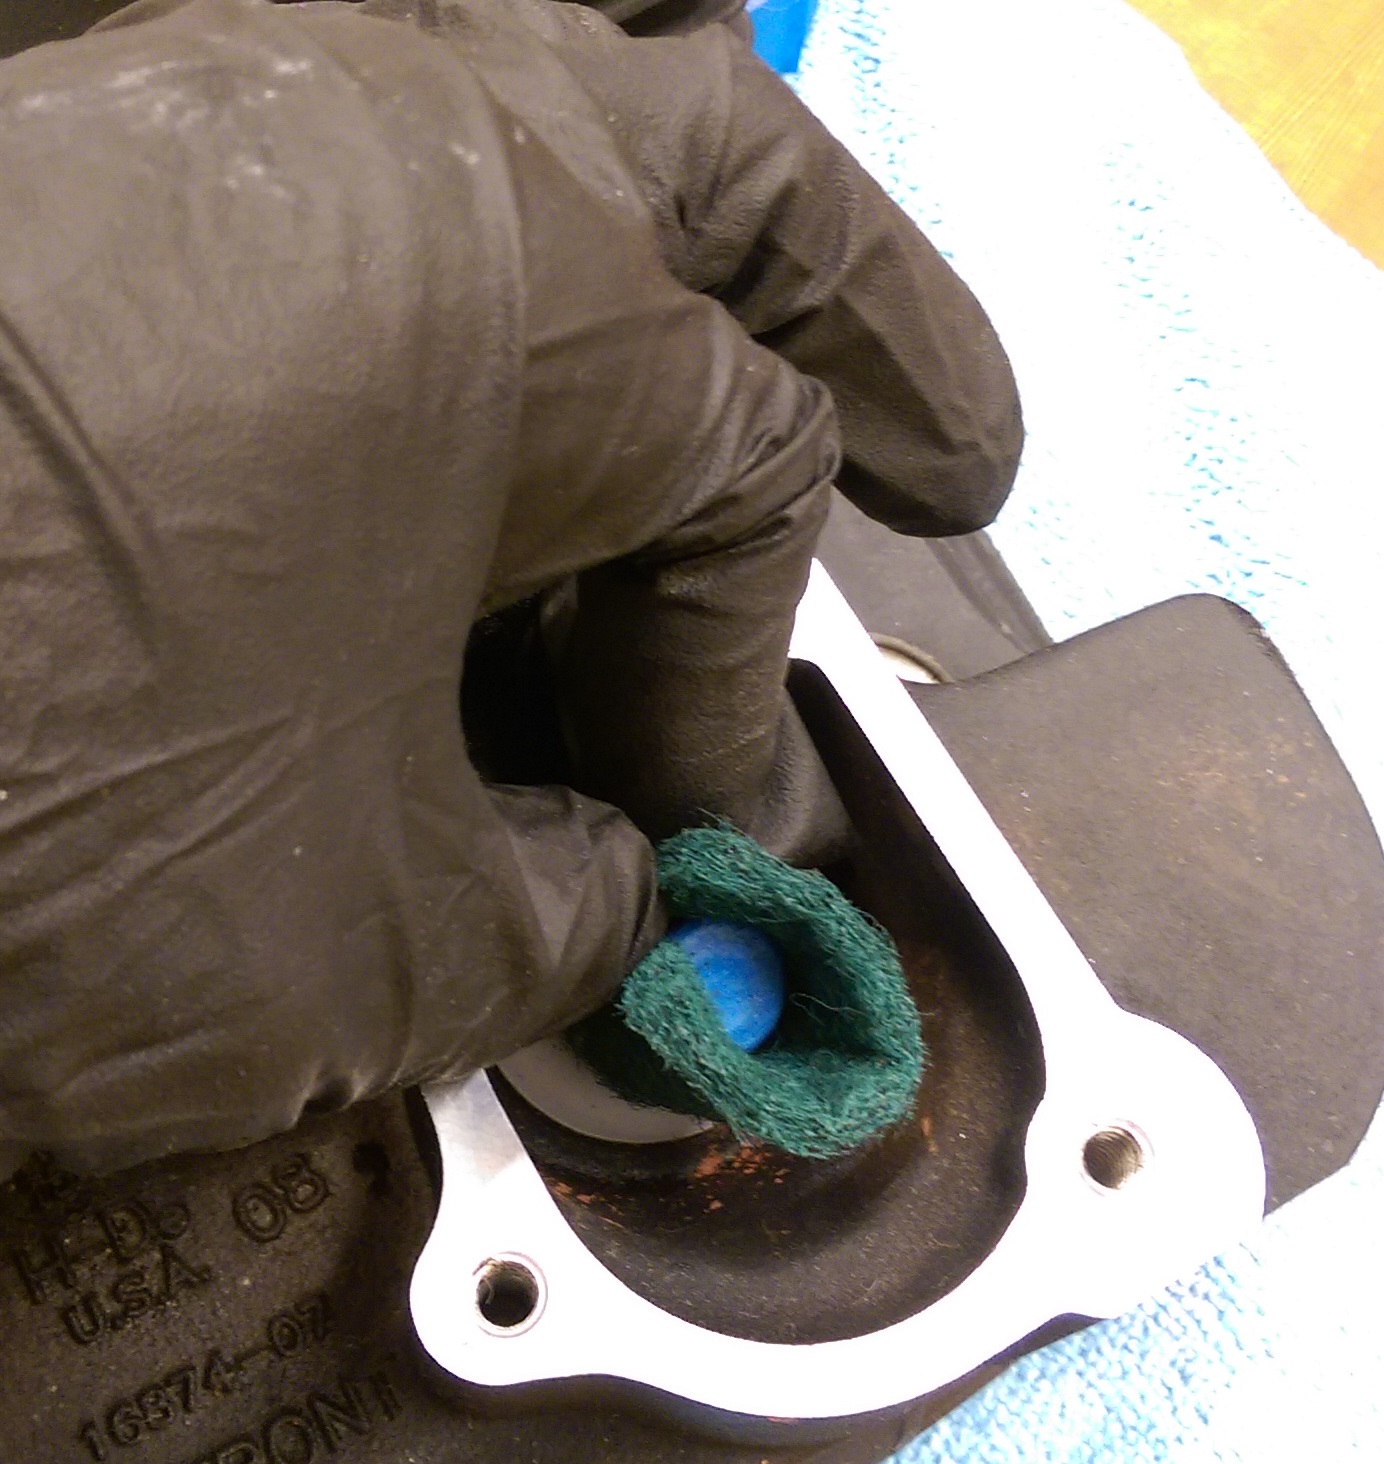
IMAG0380.jpg


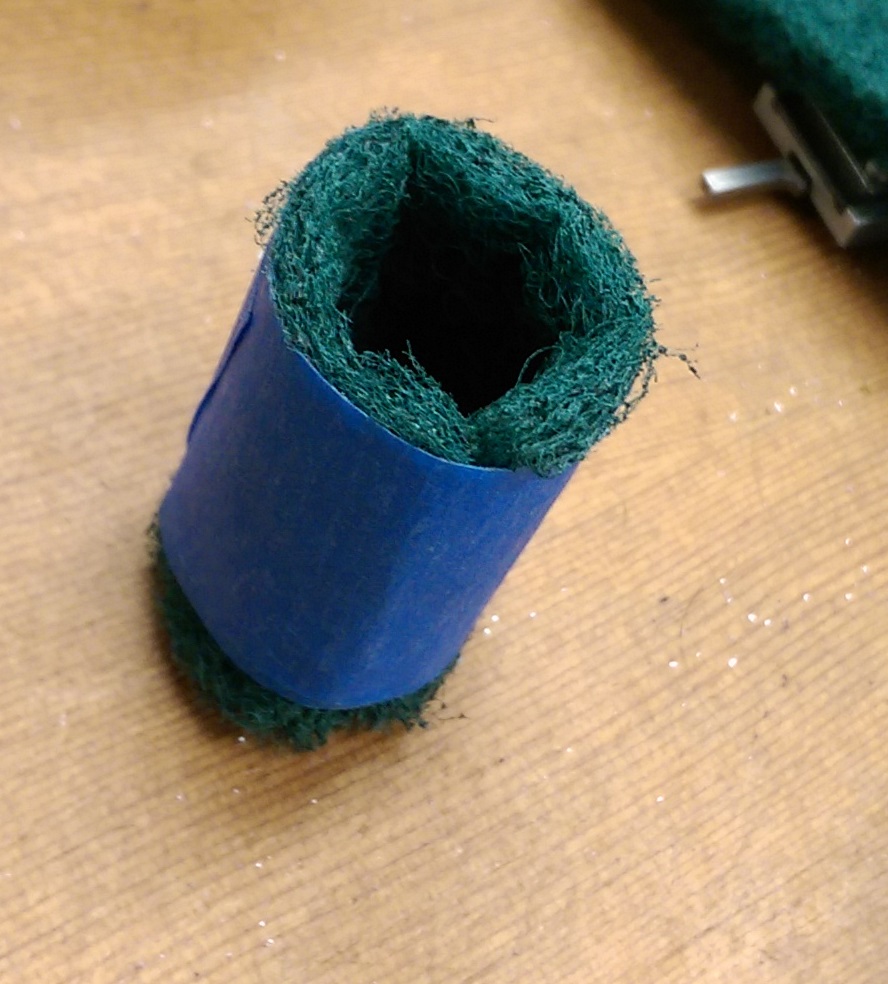
Wrap the pad with tape

IMAG0382.jpg


Place the pad in the socket

IMAG0383.jpg


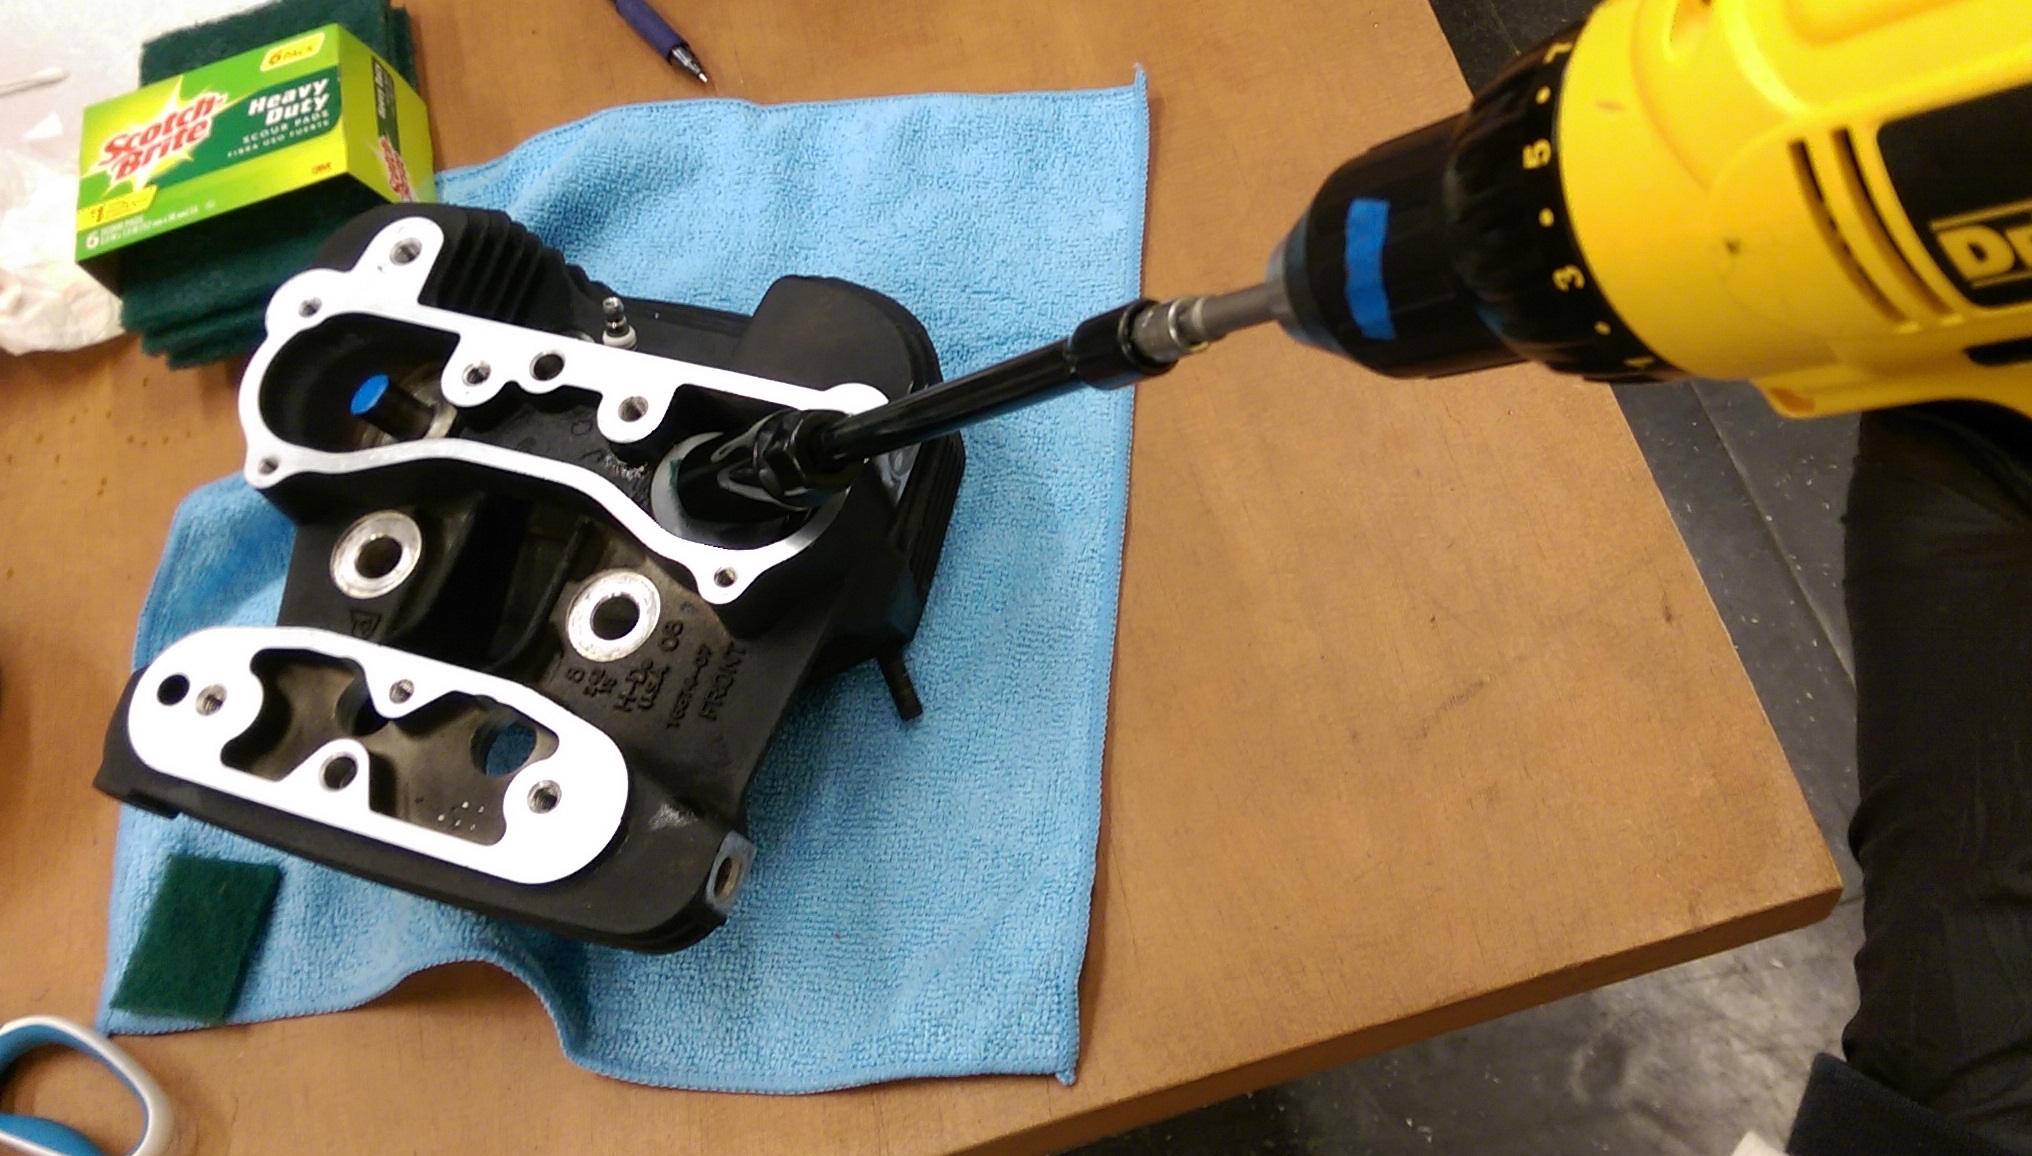
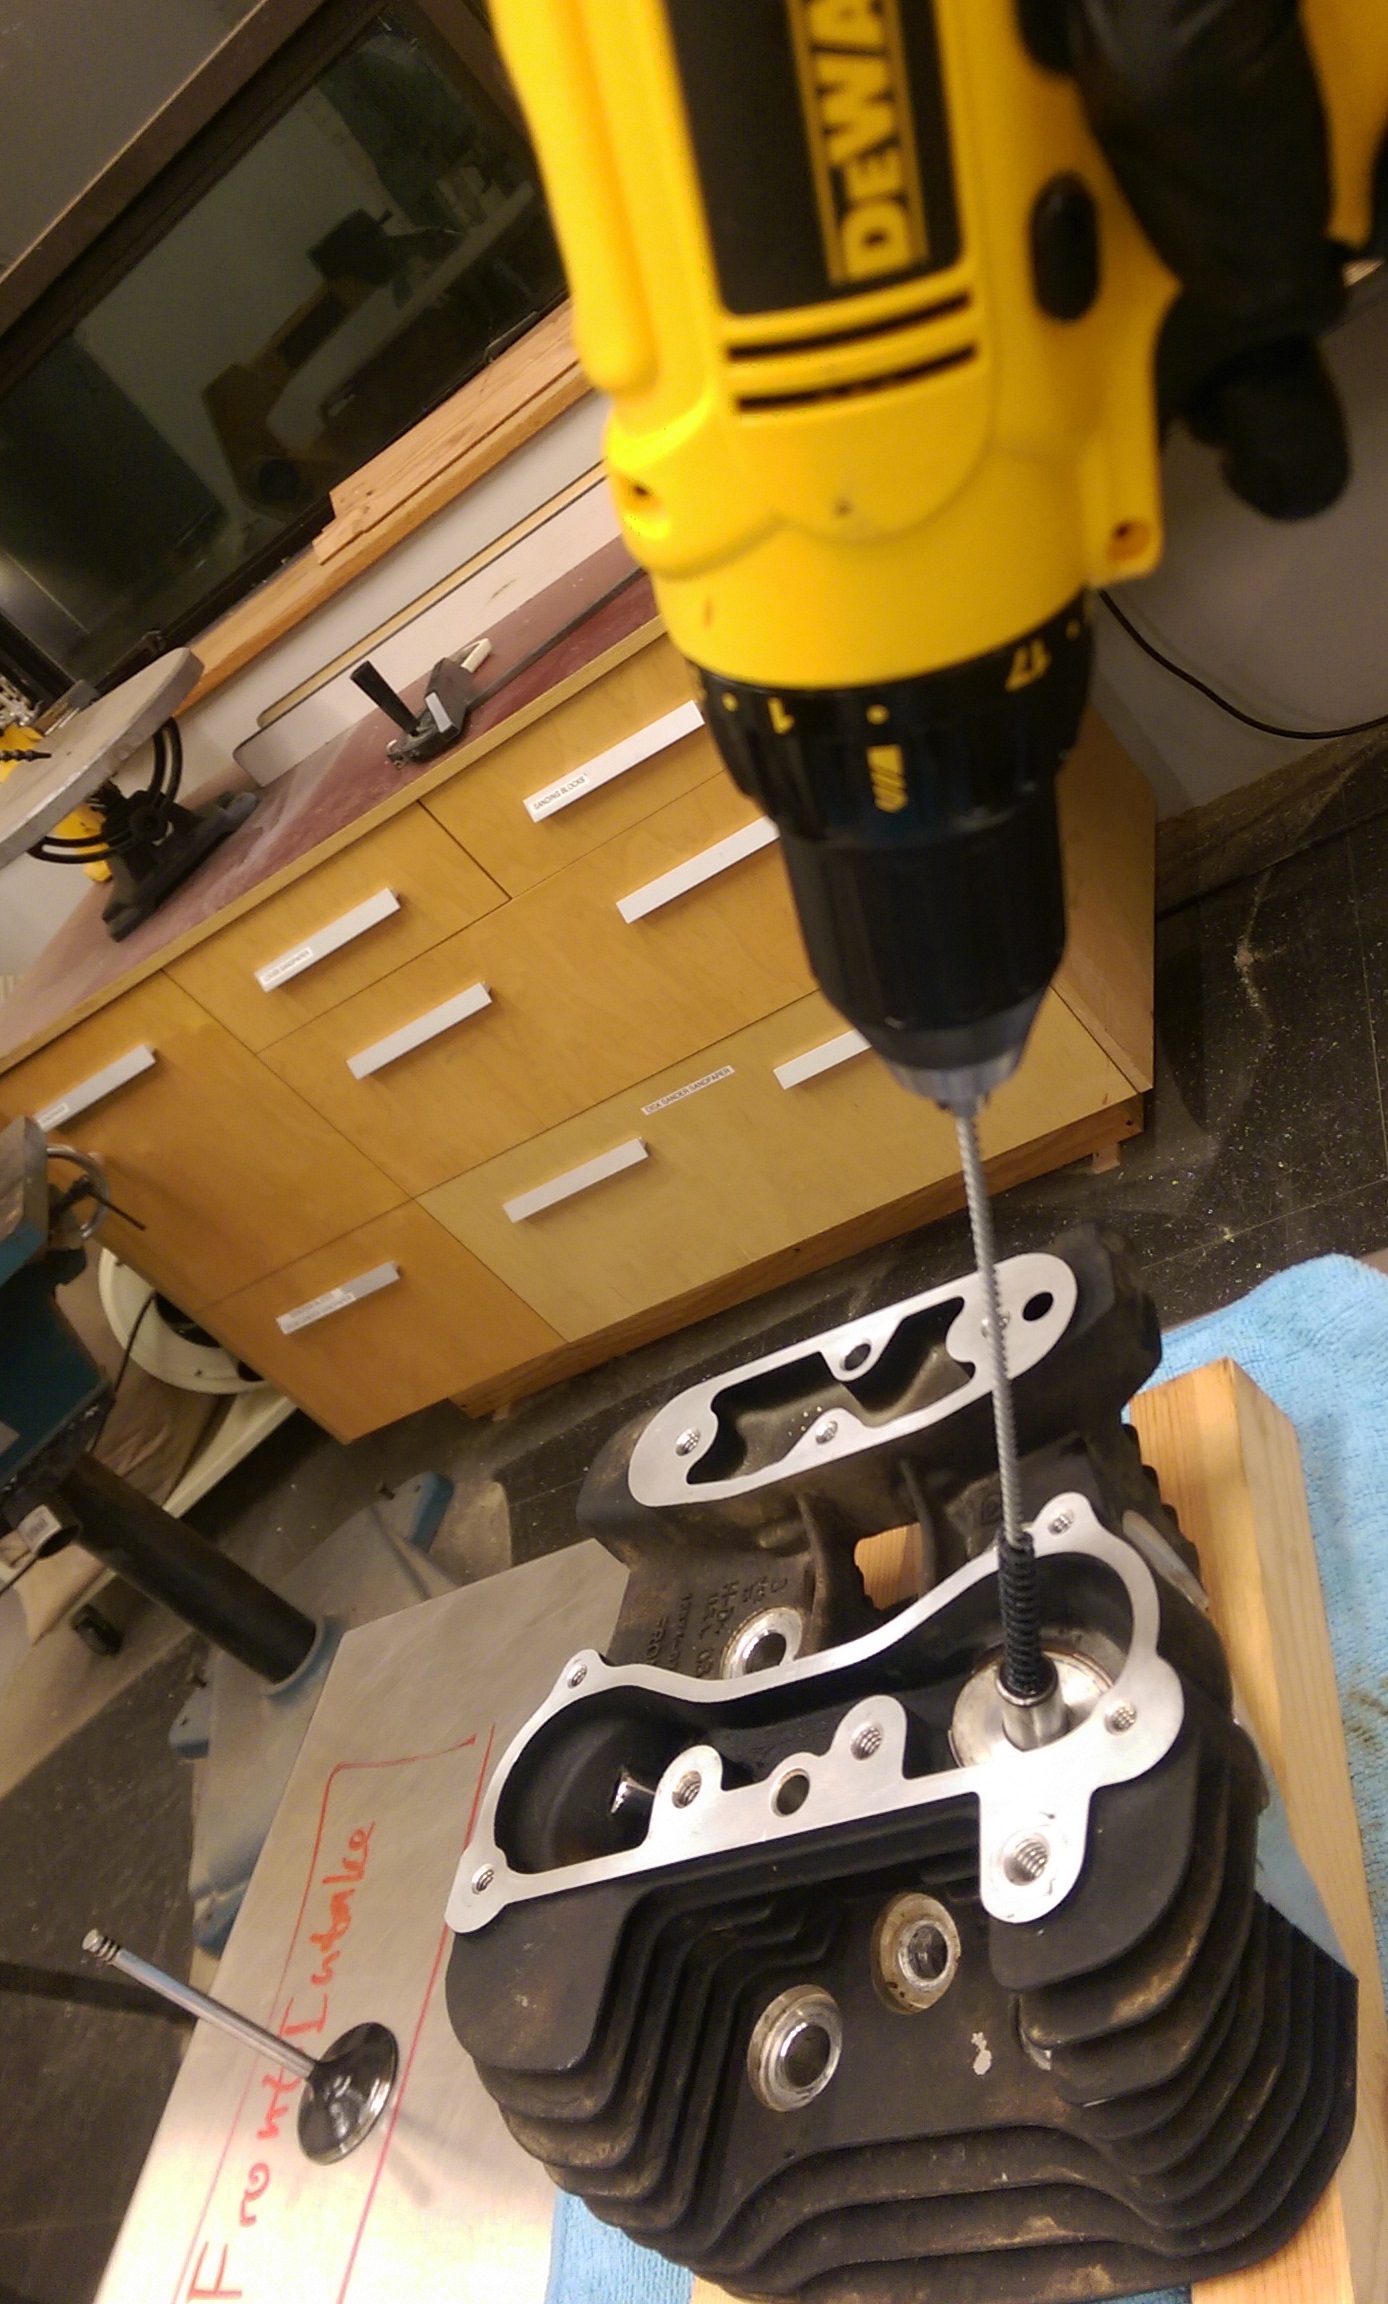
Attach the socket with pad to the electric drill
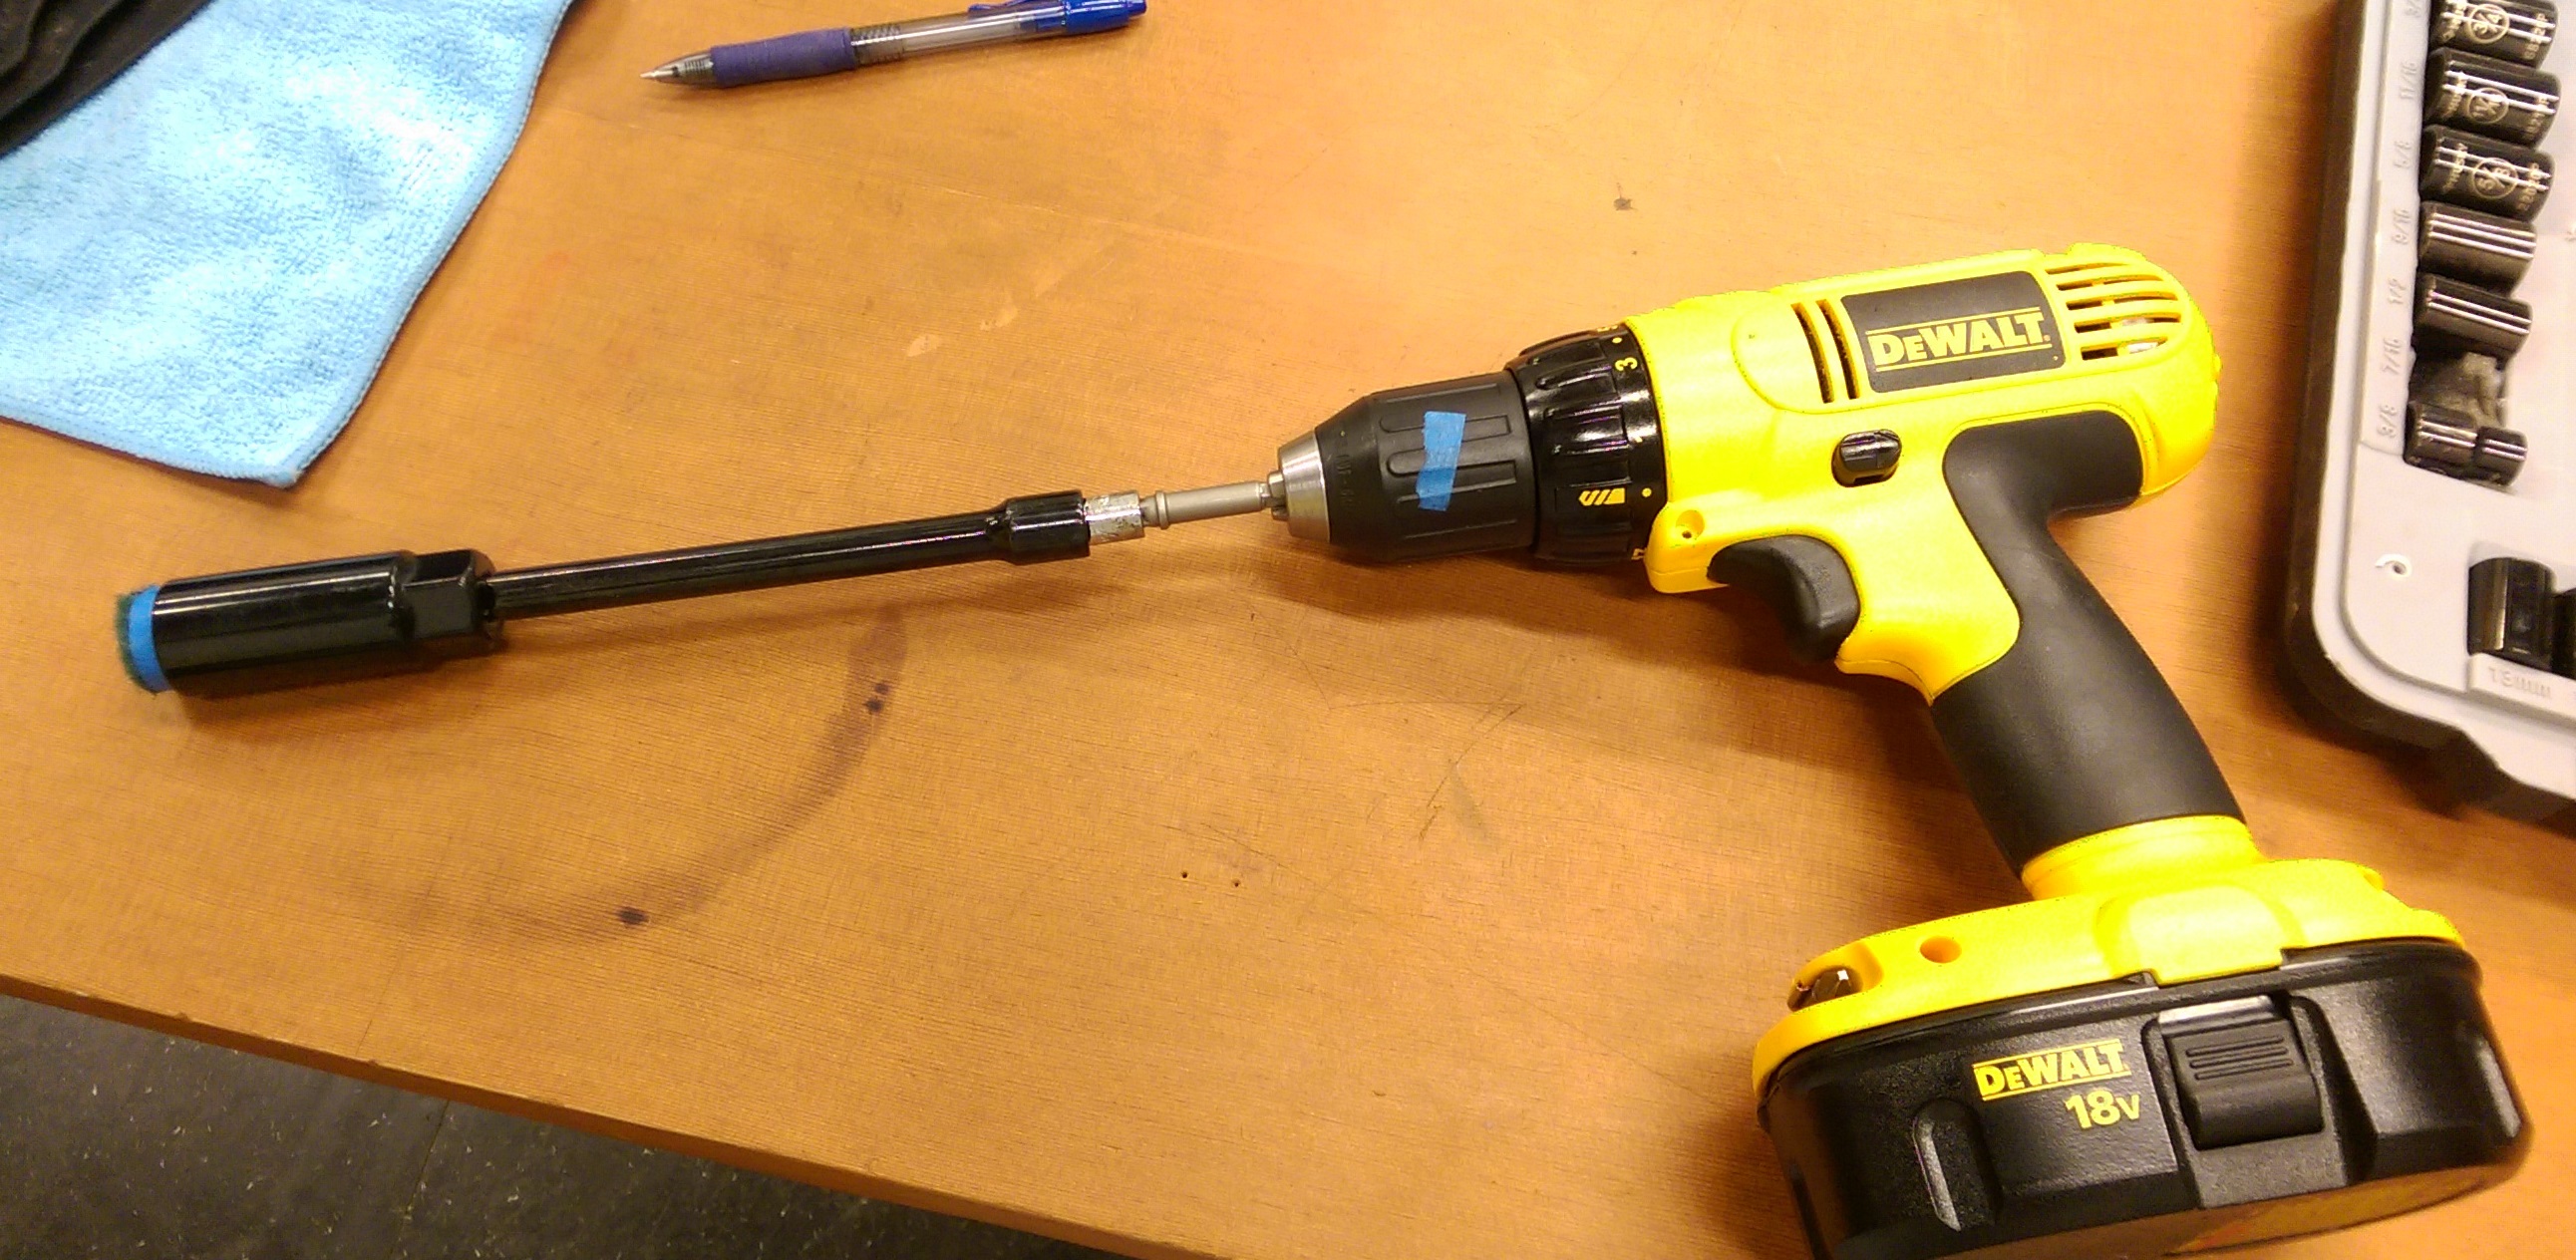
IMAG0384.jpg


Spray some WD40 on the pad and on the valve guide
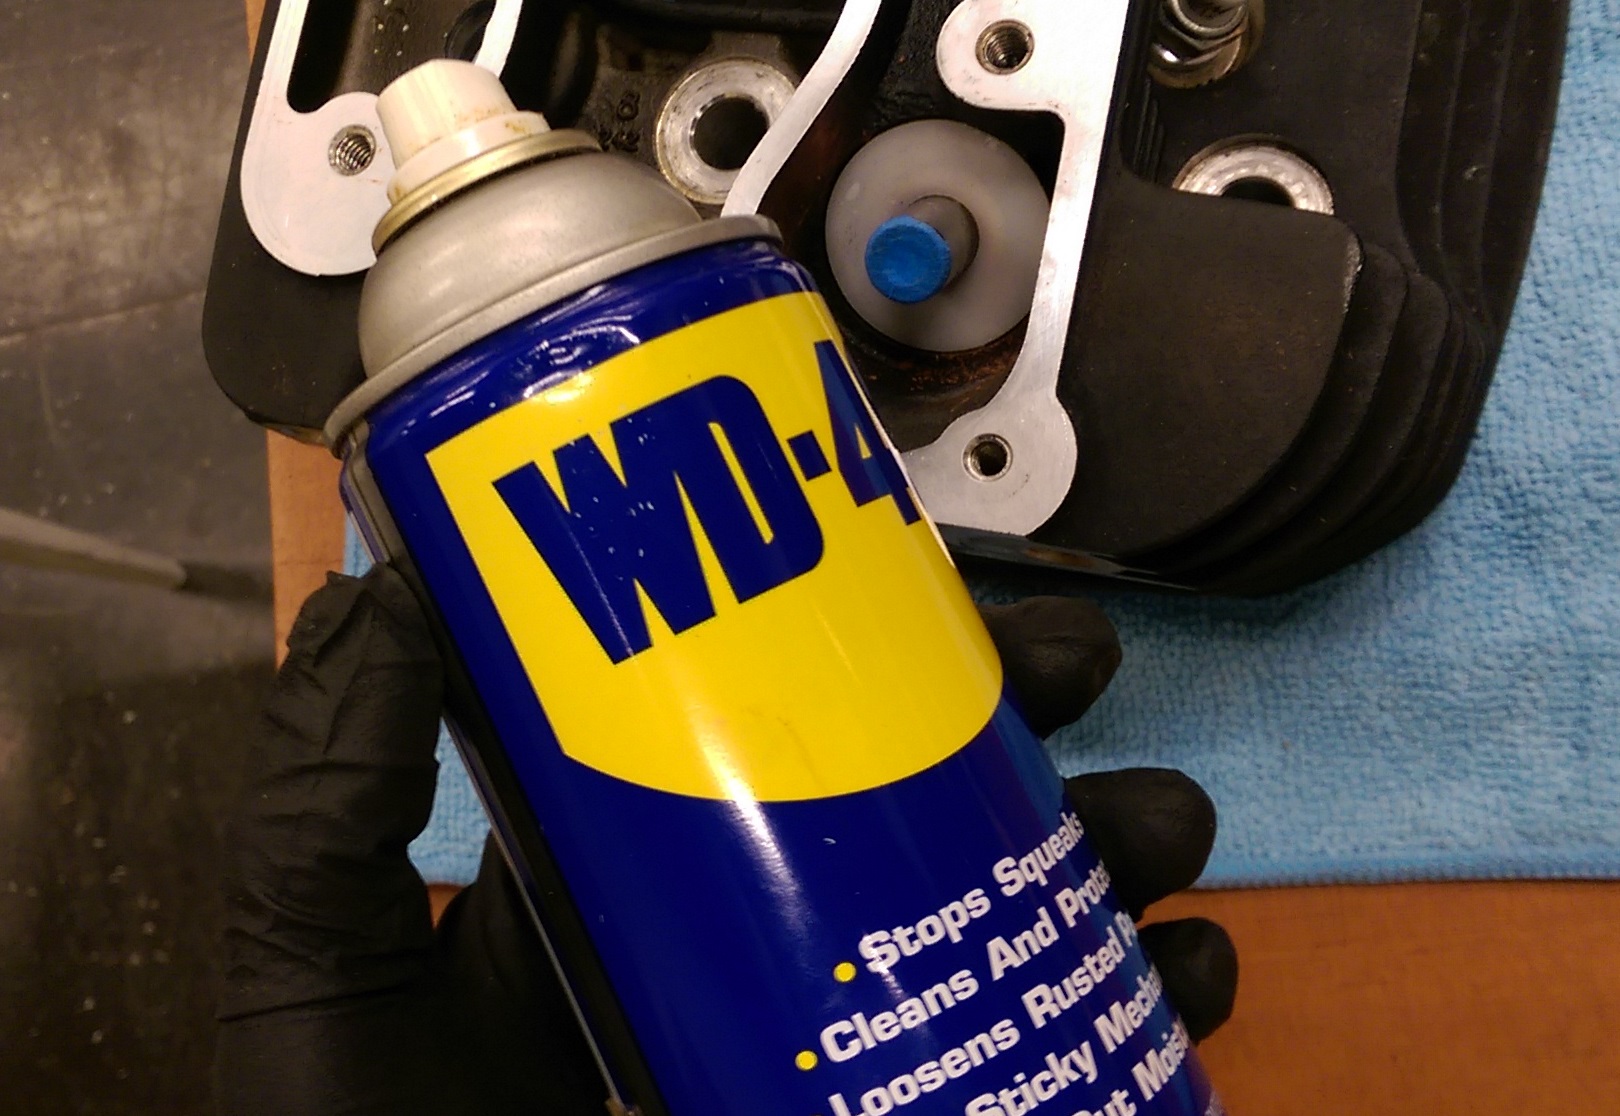
IMAG0385.jpg
 
Last edited:
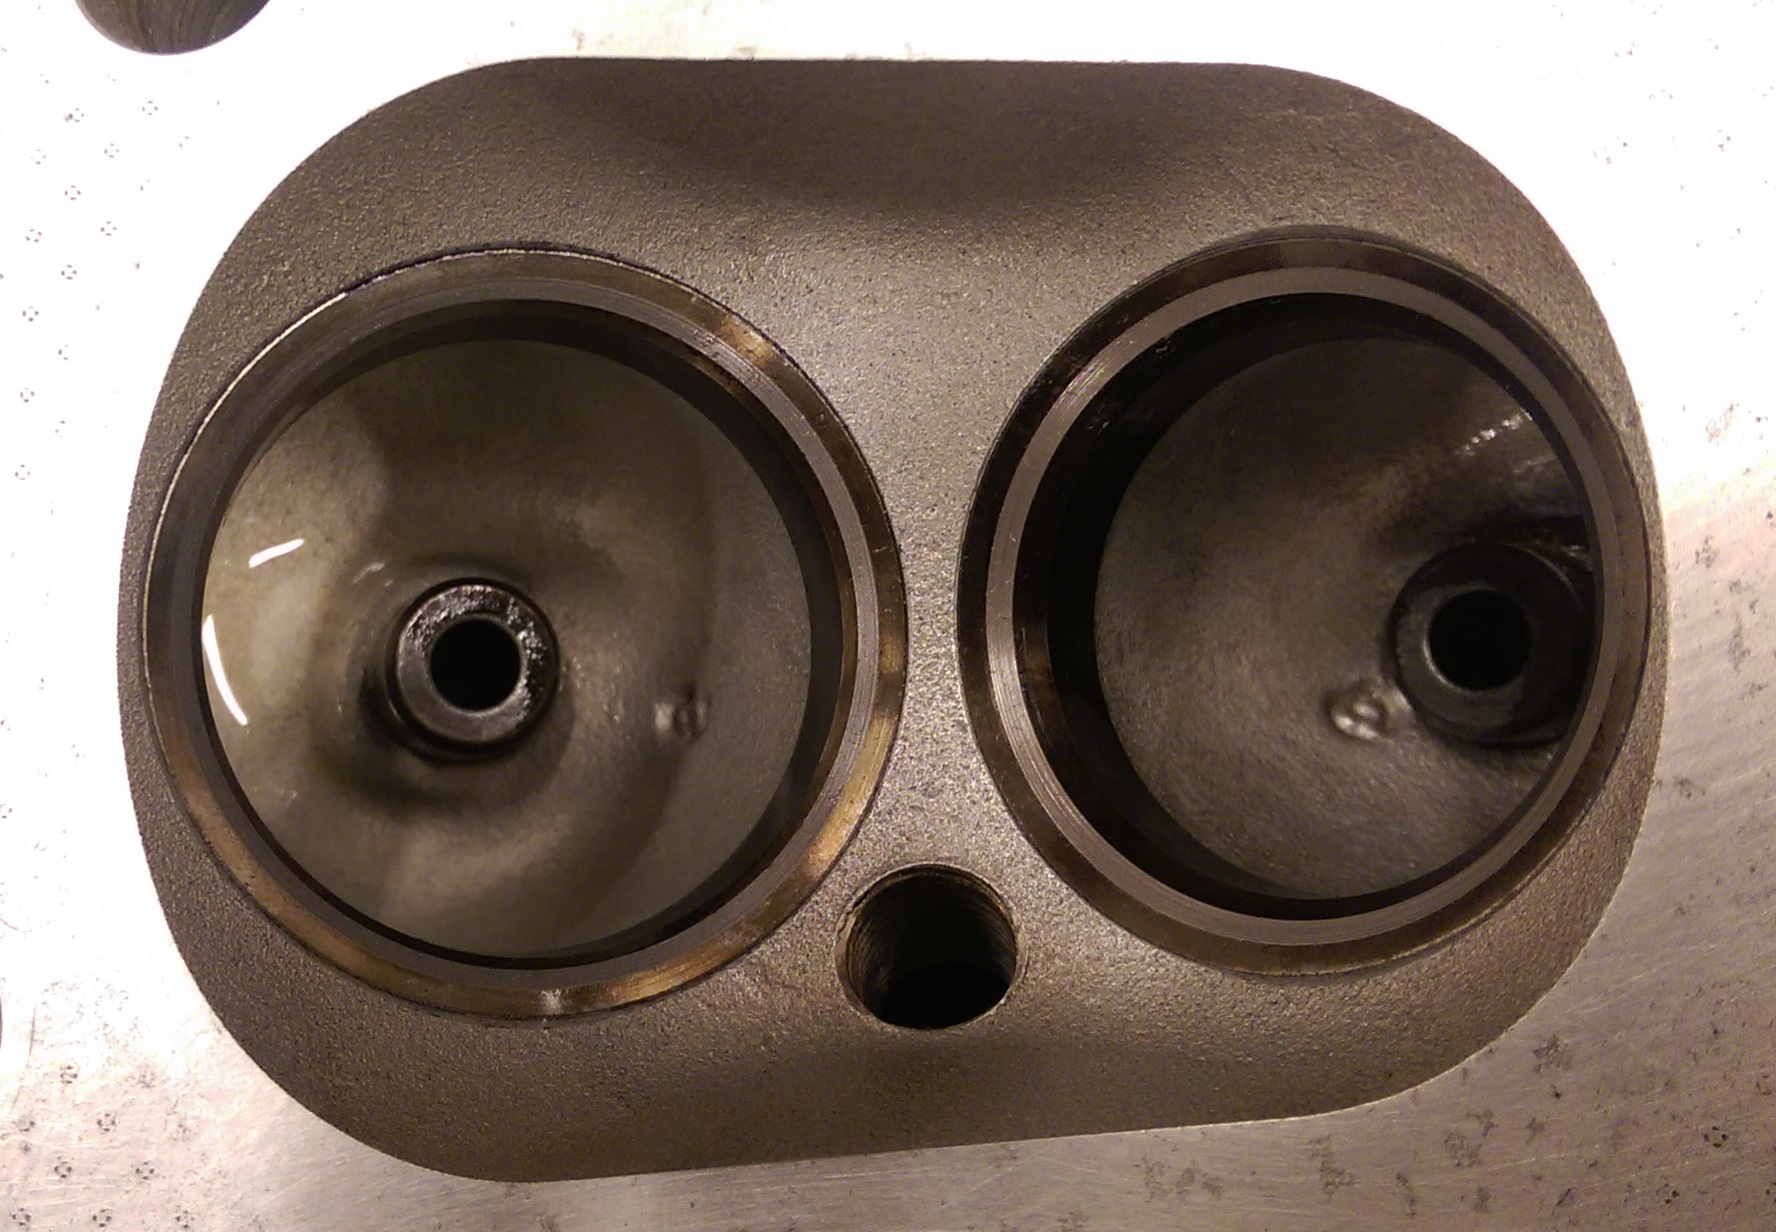
Attach the drill with socket and pad to the valve guide and sand it until you will see clean surface. Move the drill slightly in and out while it turns so it will not rub only one spot. Process such way until clean surface will be presented.

IMAG0386.jpg


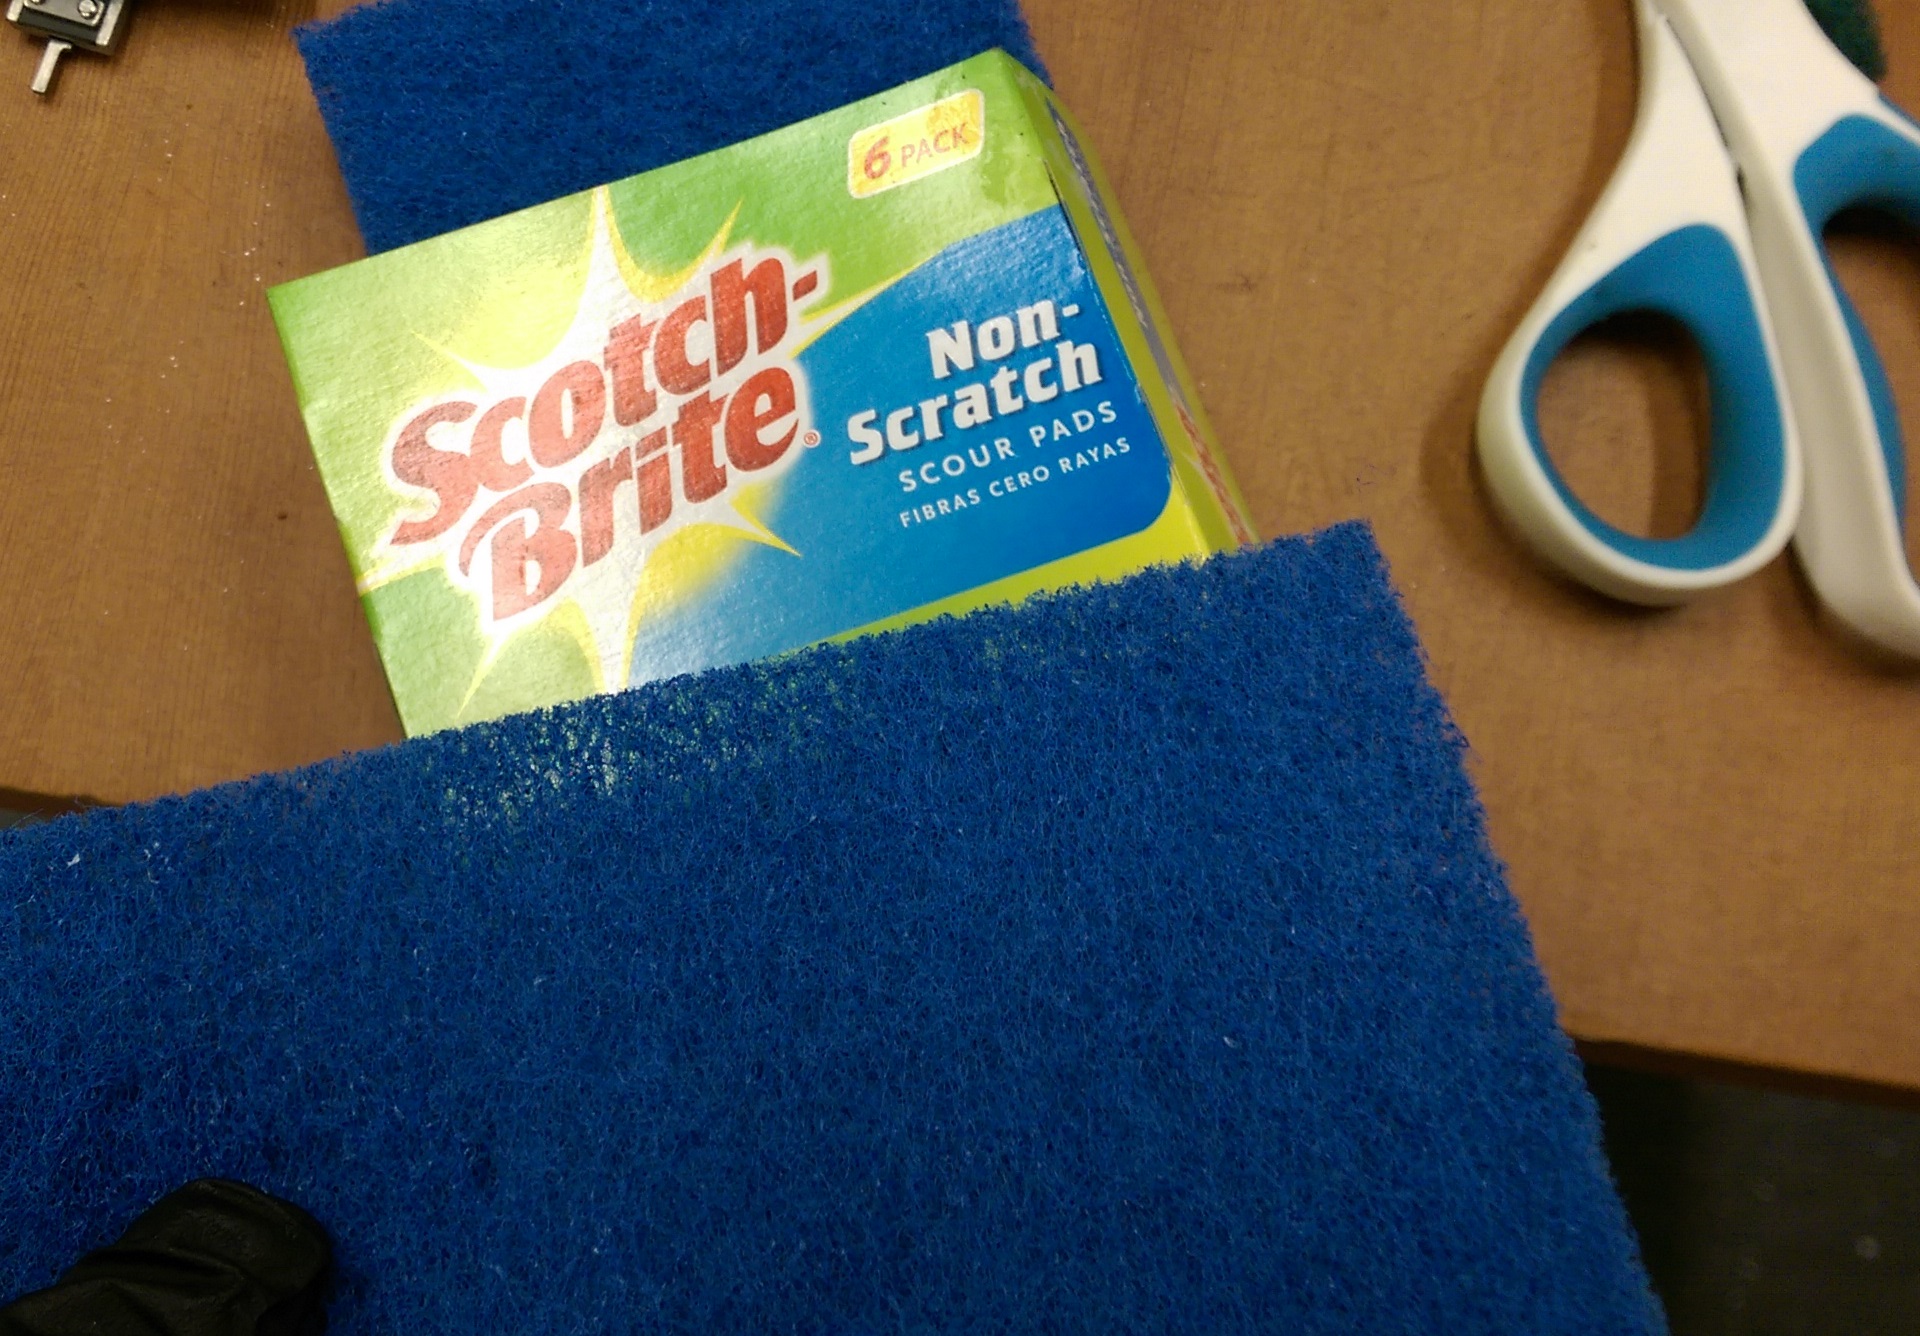
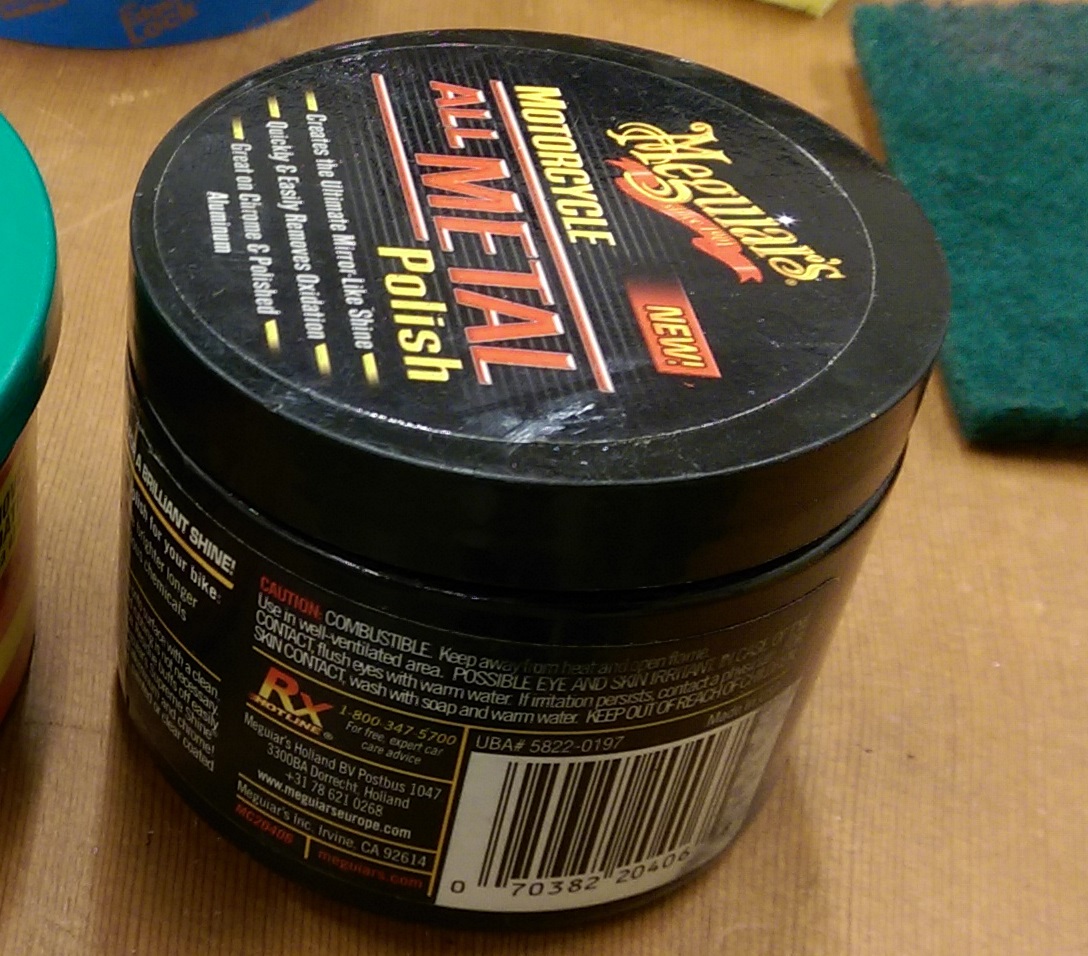
Now do the same with Scotch-bright non-scratch blue pad and metal polishing compound. Process polishing with drill and blue pad with metal polishing compound until the valve guide outside surface will look like mirror

IMAG0387.jpg


IMAG0388.jpg


IMAG0413.jpg


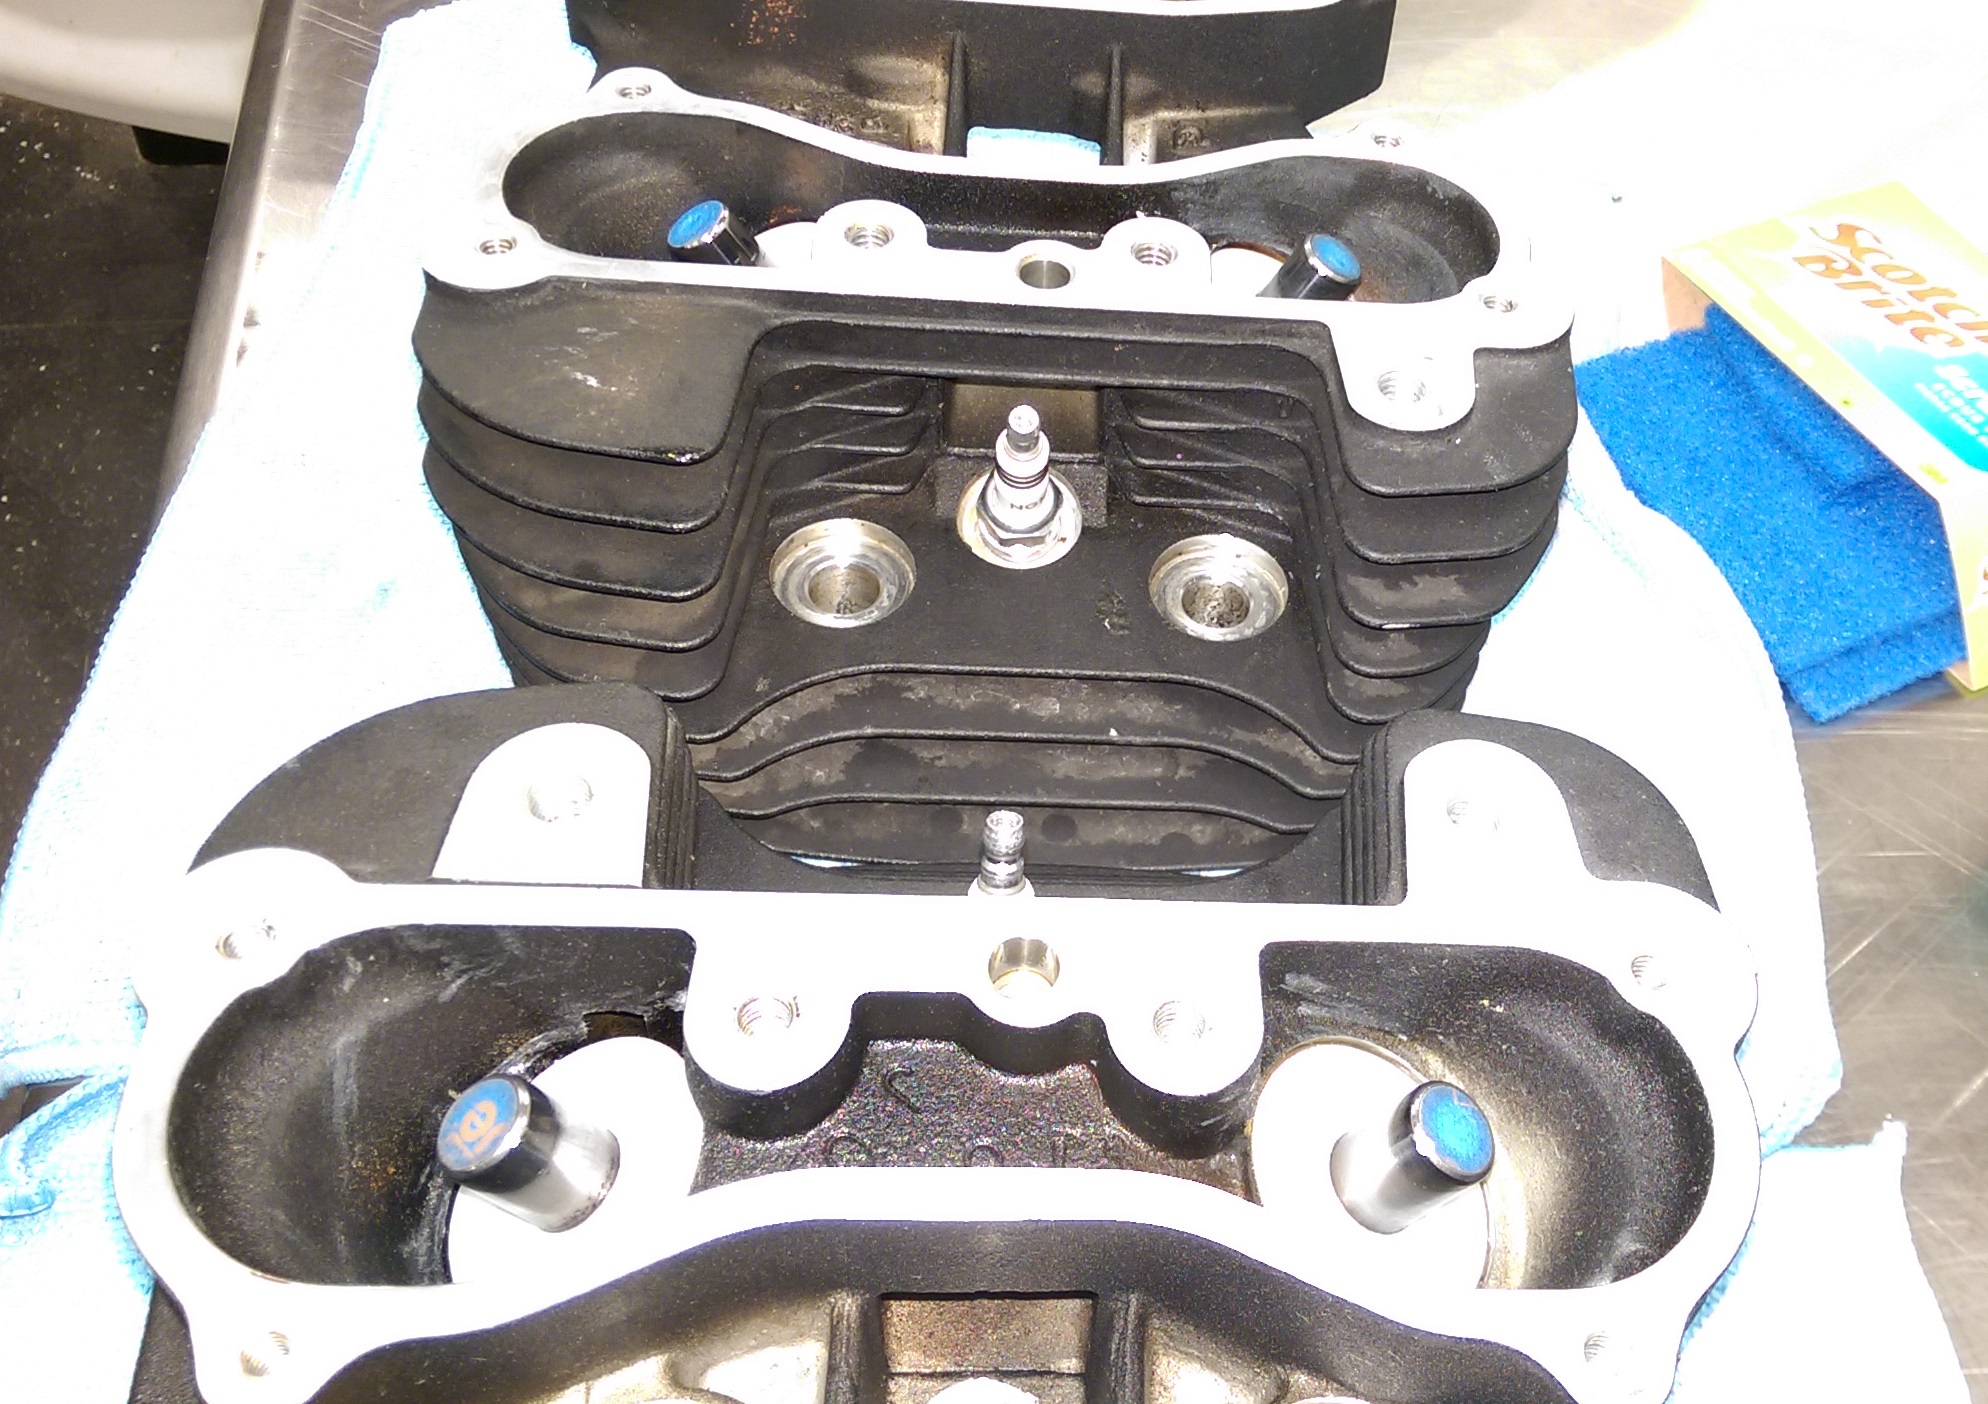
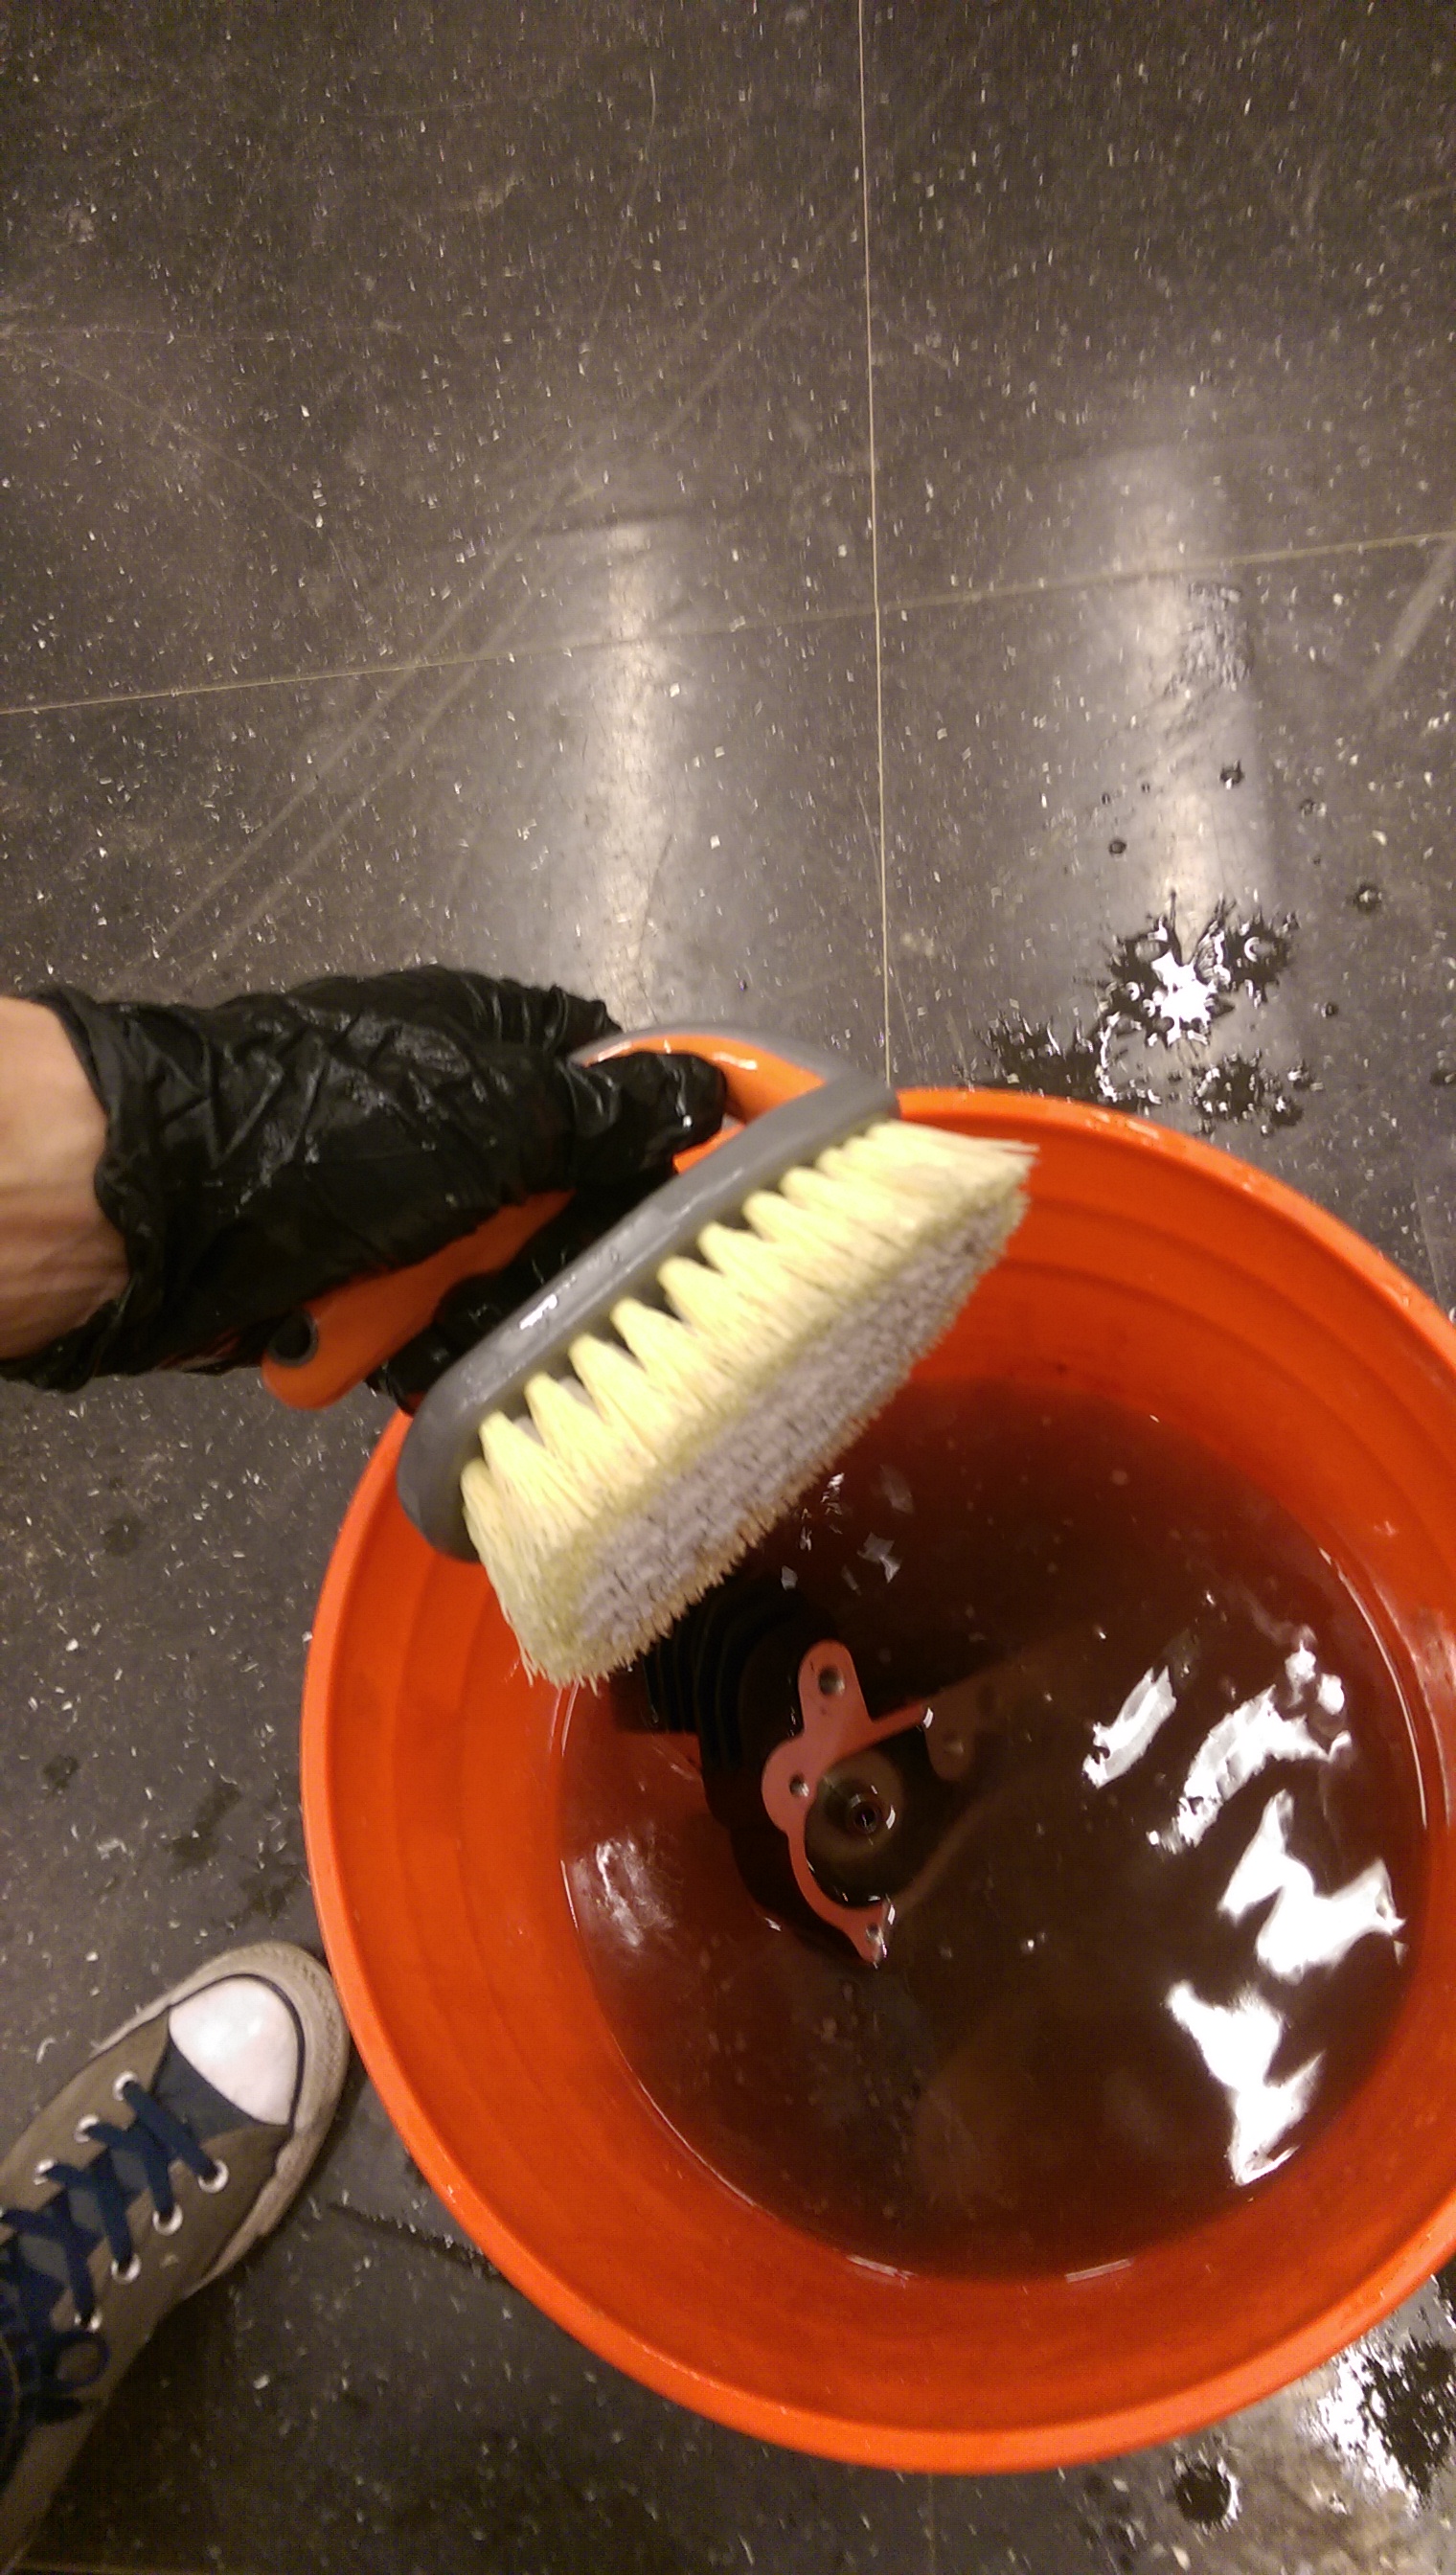
Process all the guides same way. Wash the cylinder head in hot water with dishwasher and clean the valve guides holes with special brushes thoroughly to remove any abrasive material from the guides.

IMAG0414.jpg


Dry the valve guide inside and outside with compressed air and oil them immediately all way around to prevent rusting. Now you should have good seal between valve seals and valve guide.
 
Wow. Yer an idiot. The fact you had a hard time removing the seal showed it didn't leak there. Your seals are shot and possibly your guides. I've never seen such documented waste of time in my life.
 
Wow. Yer an idiot. The fact you had a hard time removing the seal showed it didn't leak there. Your seals are shot and possibly your guides. I've never seen such documented waste of time in my life.

Probably it did not leak there, probably it leaked. It may stick not all way around and oil could find its way out. The fact is if you do not clean and finish that place properly your new gasket may leak. Also polished surface finish can help to not stick the new gasket so easily and next time you will remove it with less effort.
 
Last edited:
Here we go again!!!!!!!!!!!!!!!!!!!!!!!!!!!!!!!!!!!!!!!!!!!!!!!!!!!!!!!!!!!!!!!!!!!!!!!!!!!!!!!!!!!!!!!!!!!!!!!!!!!!!!!WTF REALLY!!!!!!!!!!!!!!! It would really be nice if you showed people the right way to do things. It's NEVER going to end is it?
 
Last edited:
It would really be nice if you showed people the right way to do things.

Could you please describe the right method to remove old valve gasket material from valve guide and clean it? It sounds like you know it. I would be interested in it. I have 3 more valve guides to clean and I would like to use the right way.


I found my method the fastest and the most accurate way to do it. I rubbed those valve guides with cloth and different chemicals, acetone, brake cleaner, aircraft remover, then scrubbed with plastic scraper, none of them was able to remove the old gasket and burned oil from this place.
 
Last edited:
Could you please describe the right method to remove old valve gasket material from valve guide and clean it? It sounds like you know it. I would be interested in it. I have 3 more valve guides to clean and I would like to use the right way.


I found my method the fastest and the most accurate way to do it. I rubbed those valve guides with cloth and different chemicals, acetone, brake cleaner, aircraft remover, then scrubbed with plastic scraper, none of them was able to remove the old gasket and burned oil from this place.
See it really doesn't matter to you because you wouldn't listen anyway!!!!!! Your method is the fastest and most accurate!!!! Lol!!!!!!!!!! what a joke you are!!!!!!
 
See it really doesn't matter to you because you wouldn't listen anyway!!!!!! Your method is the fastest and most accurate!!!! Lol!!!!!!!!!! what a joke you are!!!!!!

If your method if better or more suitable I see no reason to not use it. But I do not know your method yet.


So don't be shy, go ahead and share your way cleaning valve seal mating surface, do not be scared, I'm not gonna laugh on you if you will say something stupid, because of you already said so many stupid things. And if I will have decided your way suites better for me, I will use it, if not, that's OK, someone else here will take you opinion on this work.
 
Last edited:
I just hope this will force him to say something smart regarding the topic. Do you think we have a hope? )
 
Last edited:
Silence, and crickets to you!!!!! Would rather help someone that will listen. You have wasted my time and other peoples time in trying to help. Your way is much faster. Lol!
 
IMG_20171201_155755556.jpg Since you think I know nothing here is a pic of what I work on and other pieces of big equipment and engines.If you don't believe ask John or Wally aka wickedchop. Just to let you know it is a 88 Mack Econodyne R688.
 
Last edited:
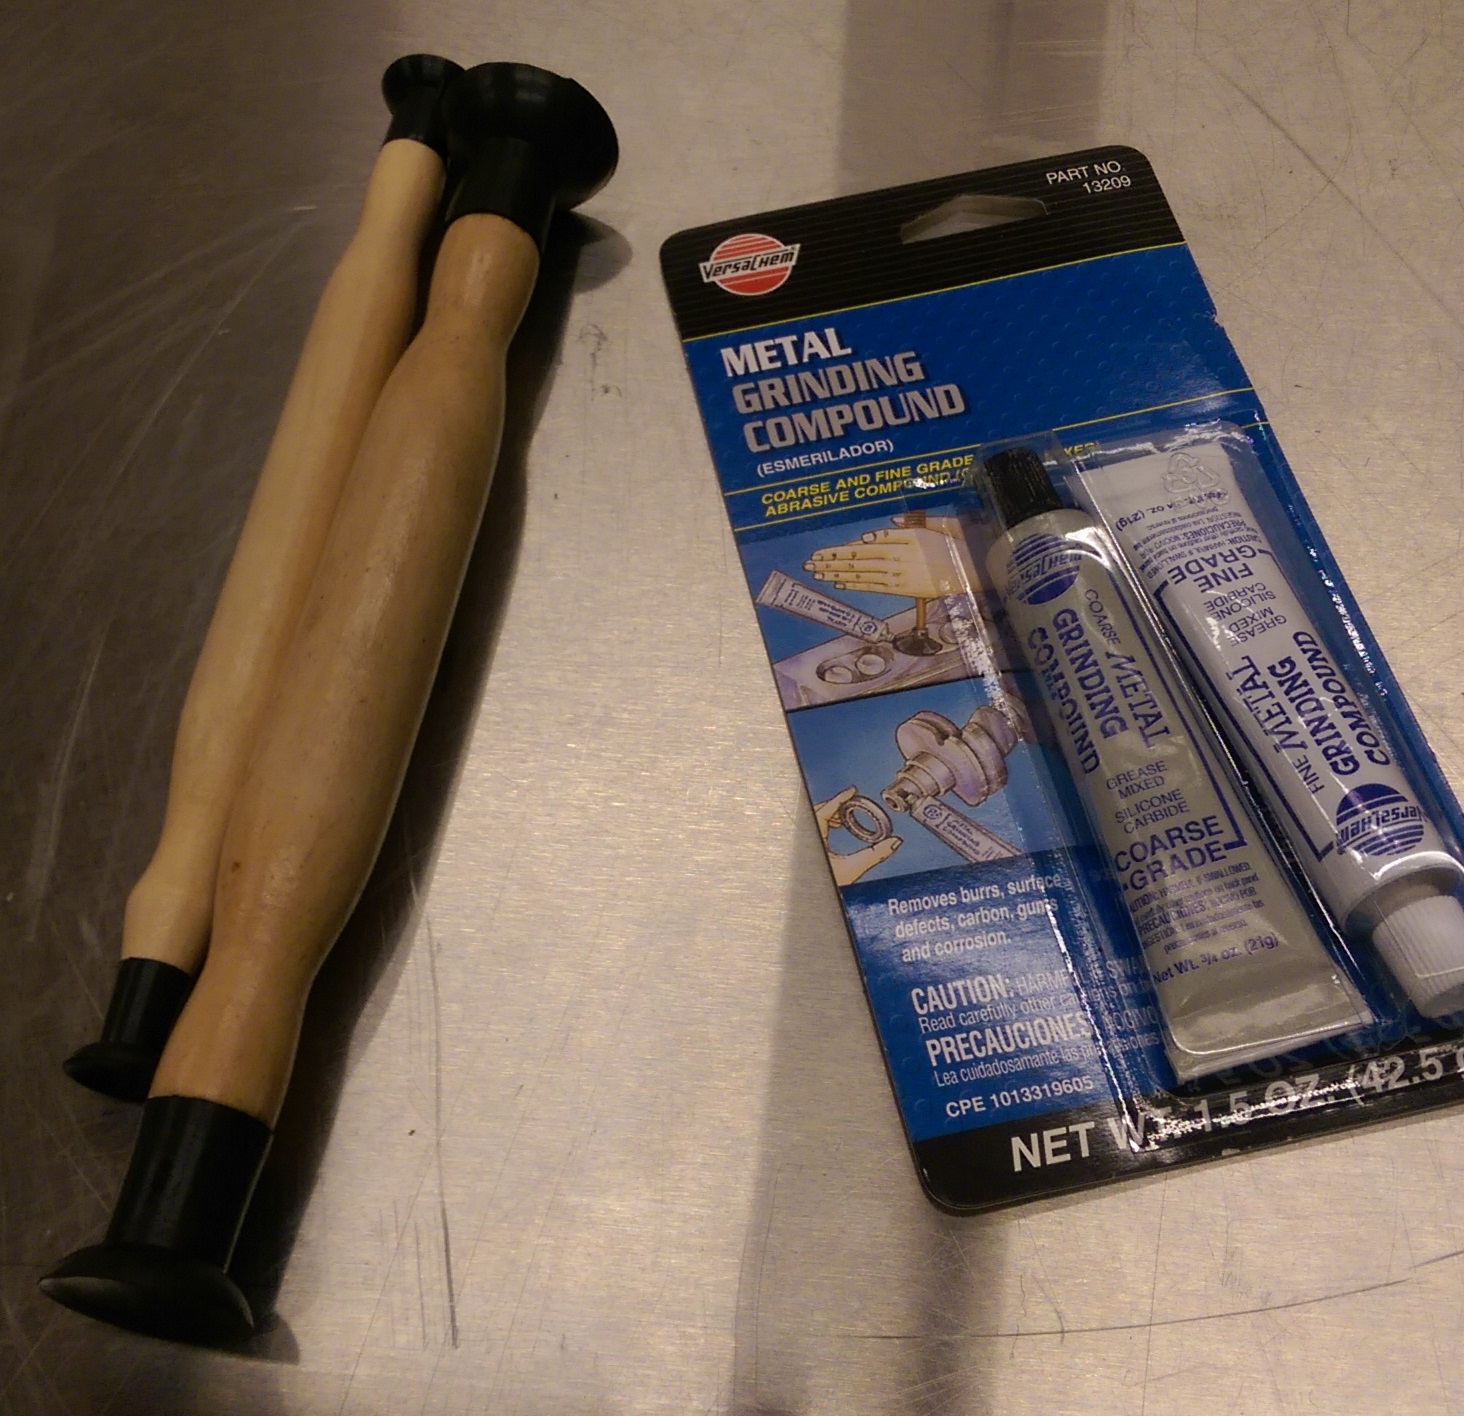
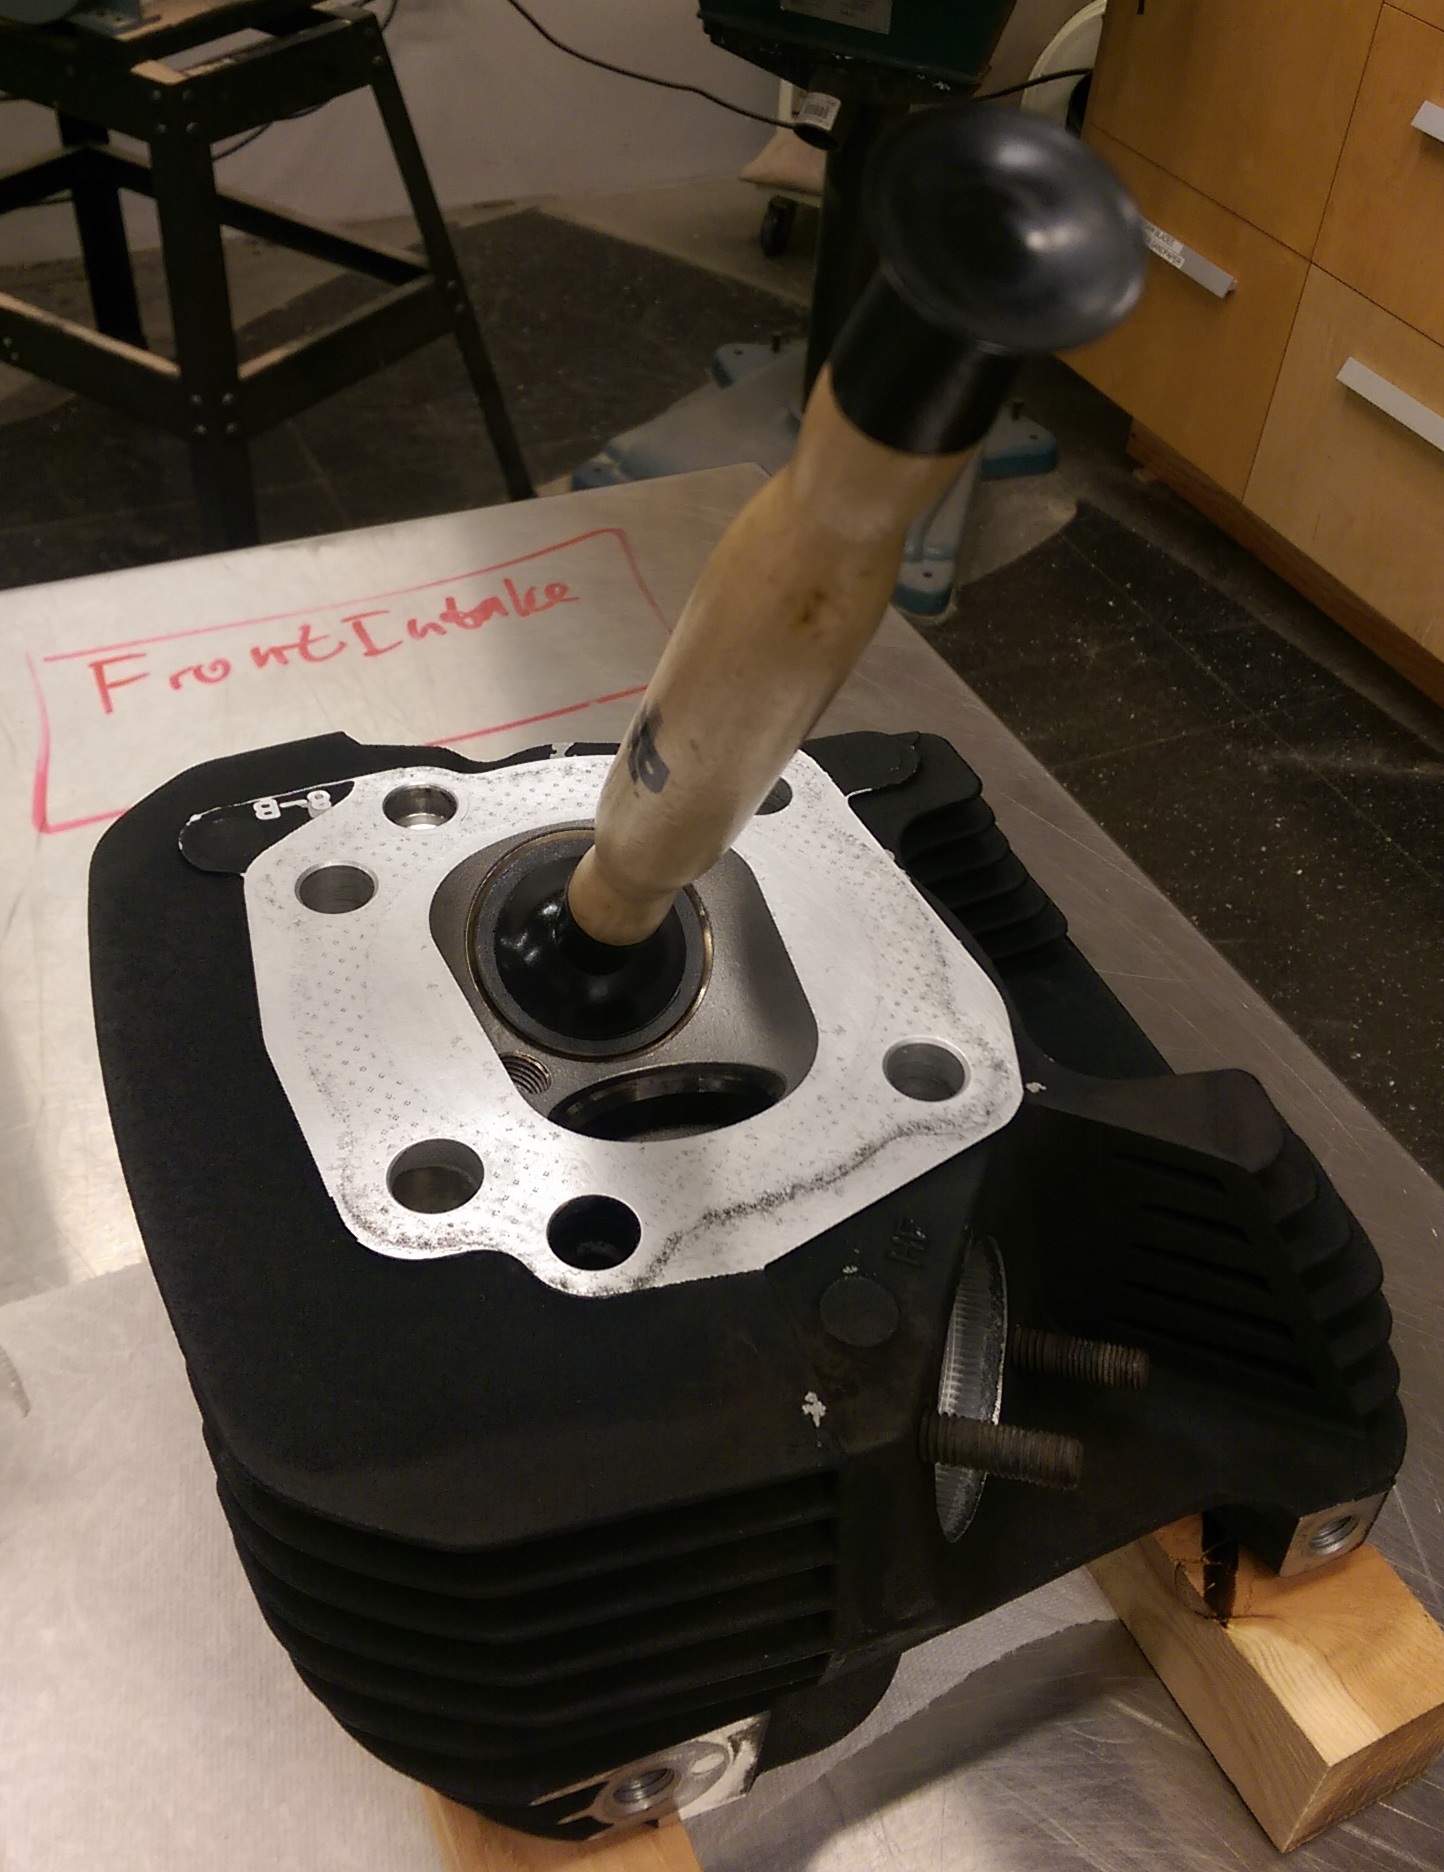
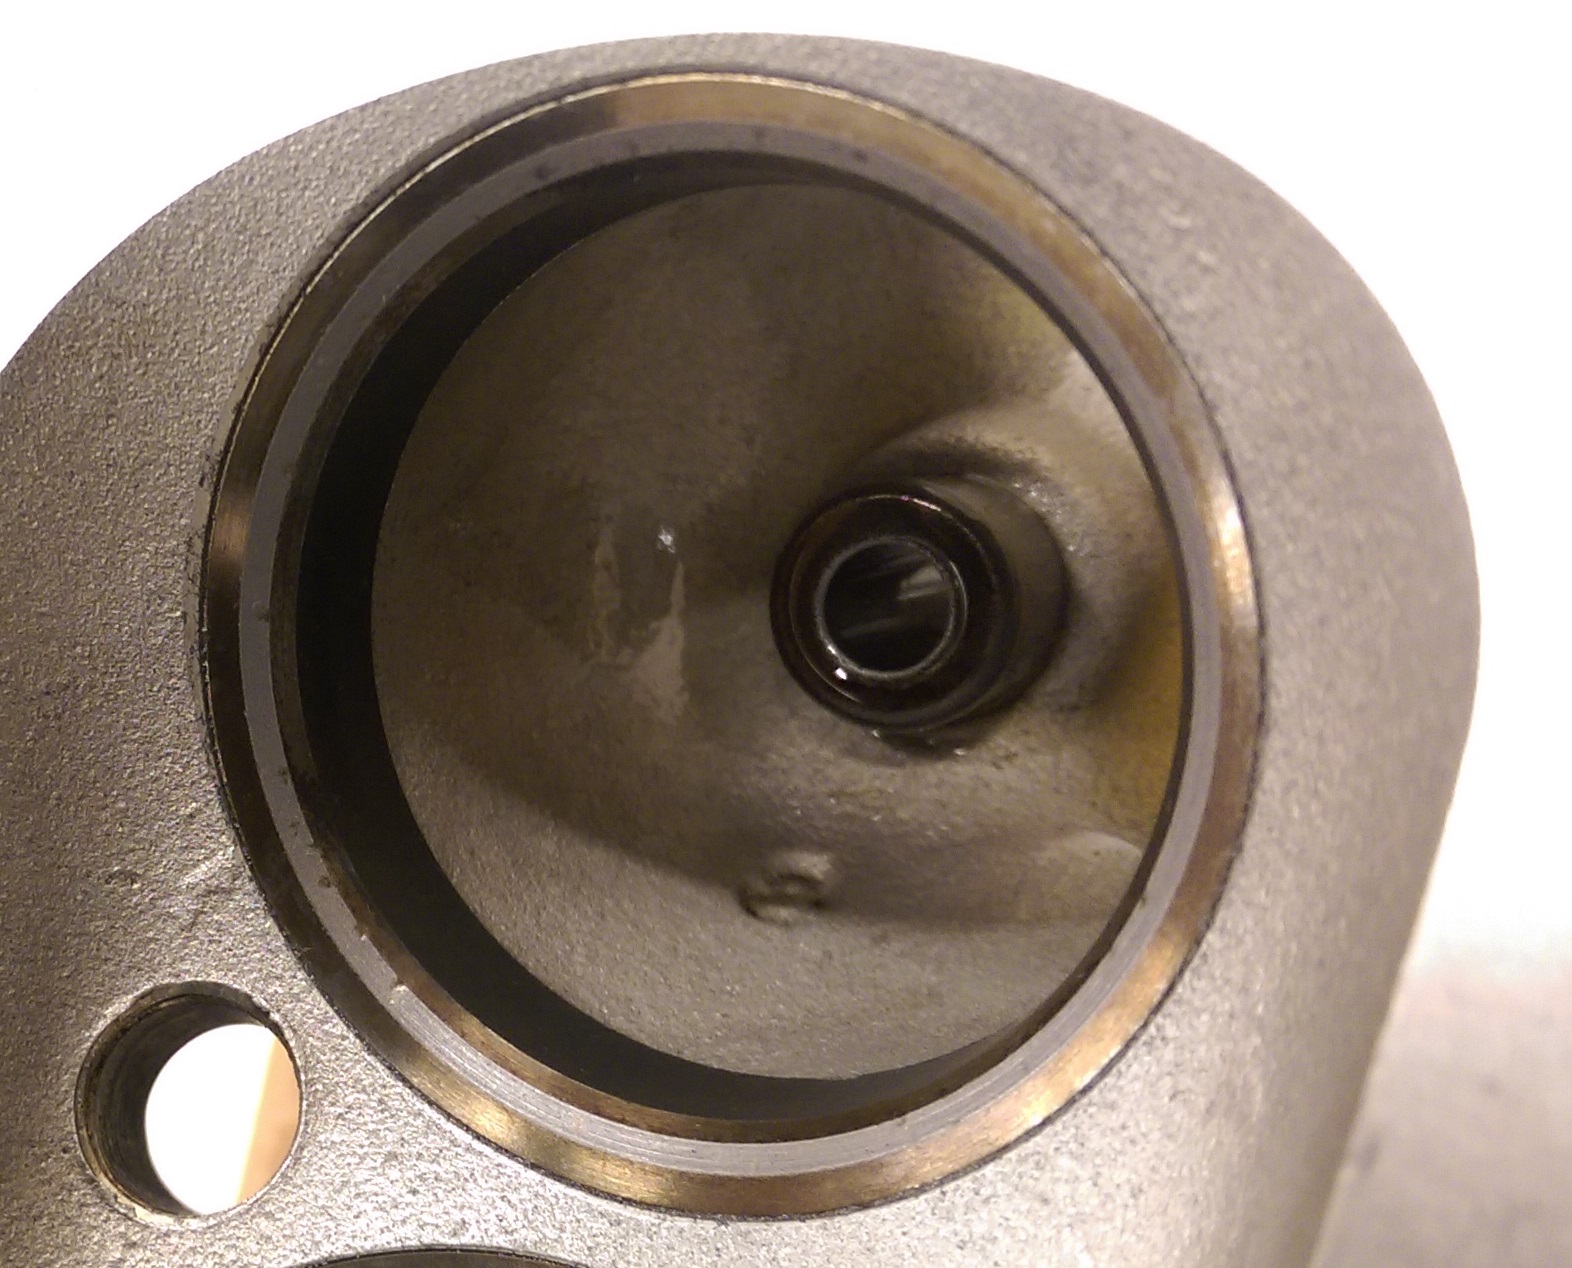
Alright, all the valve guides gasket mating surfaces have been cleaned and polished! Now it is time to lap the valves for perfect seal.

IMAG0422.jpg
 
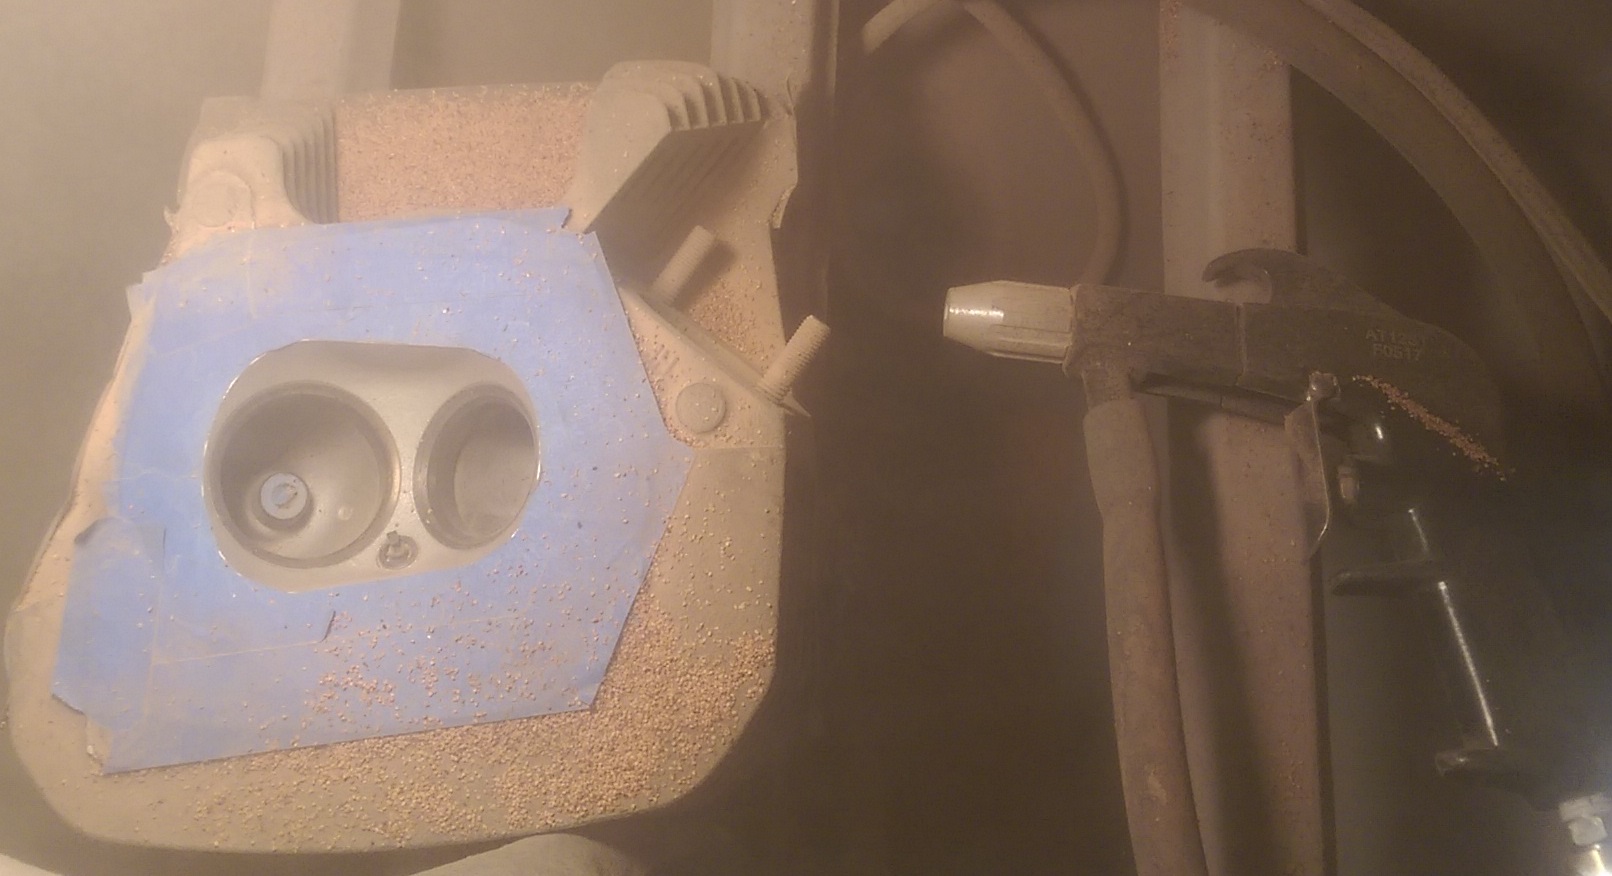
Just walnut shell blasted the cylinder heads and the valves.

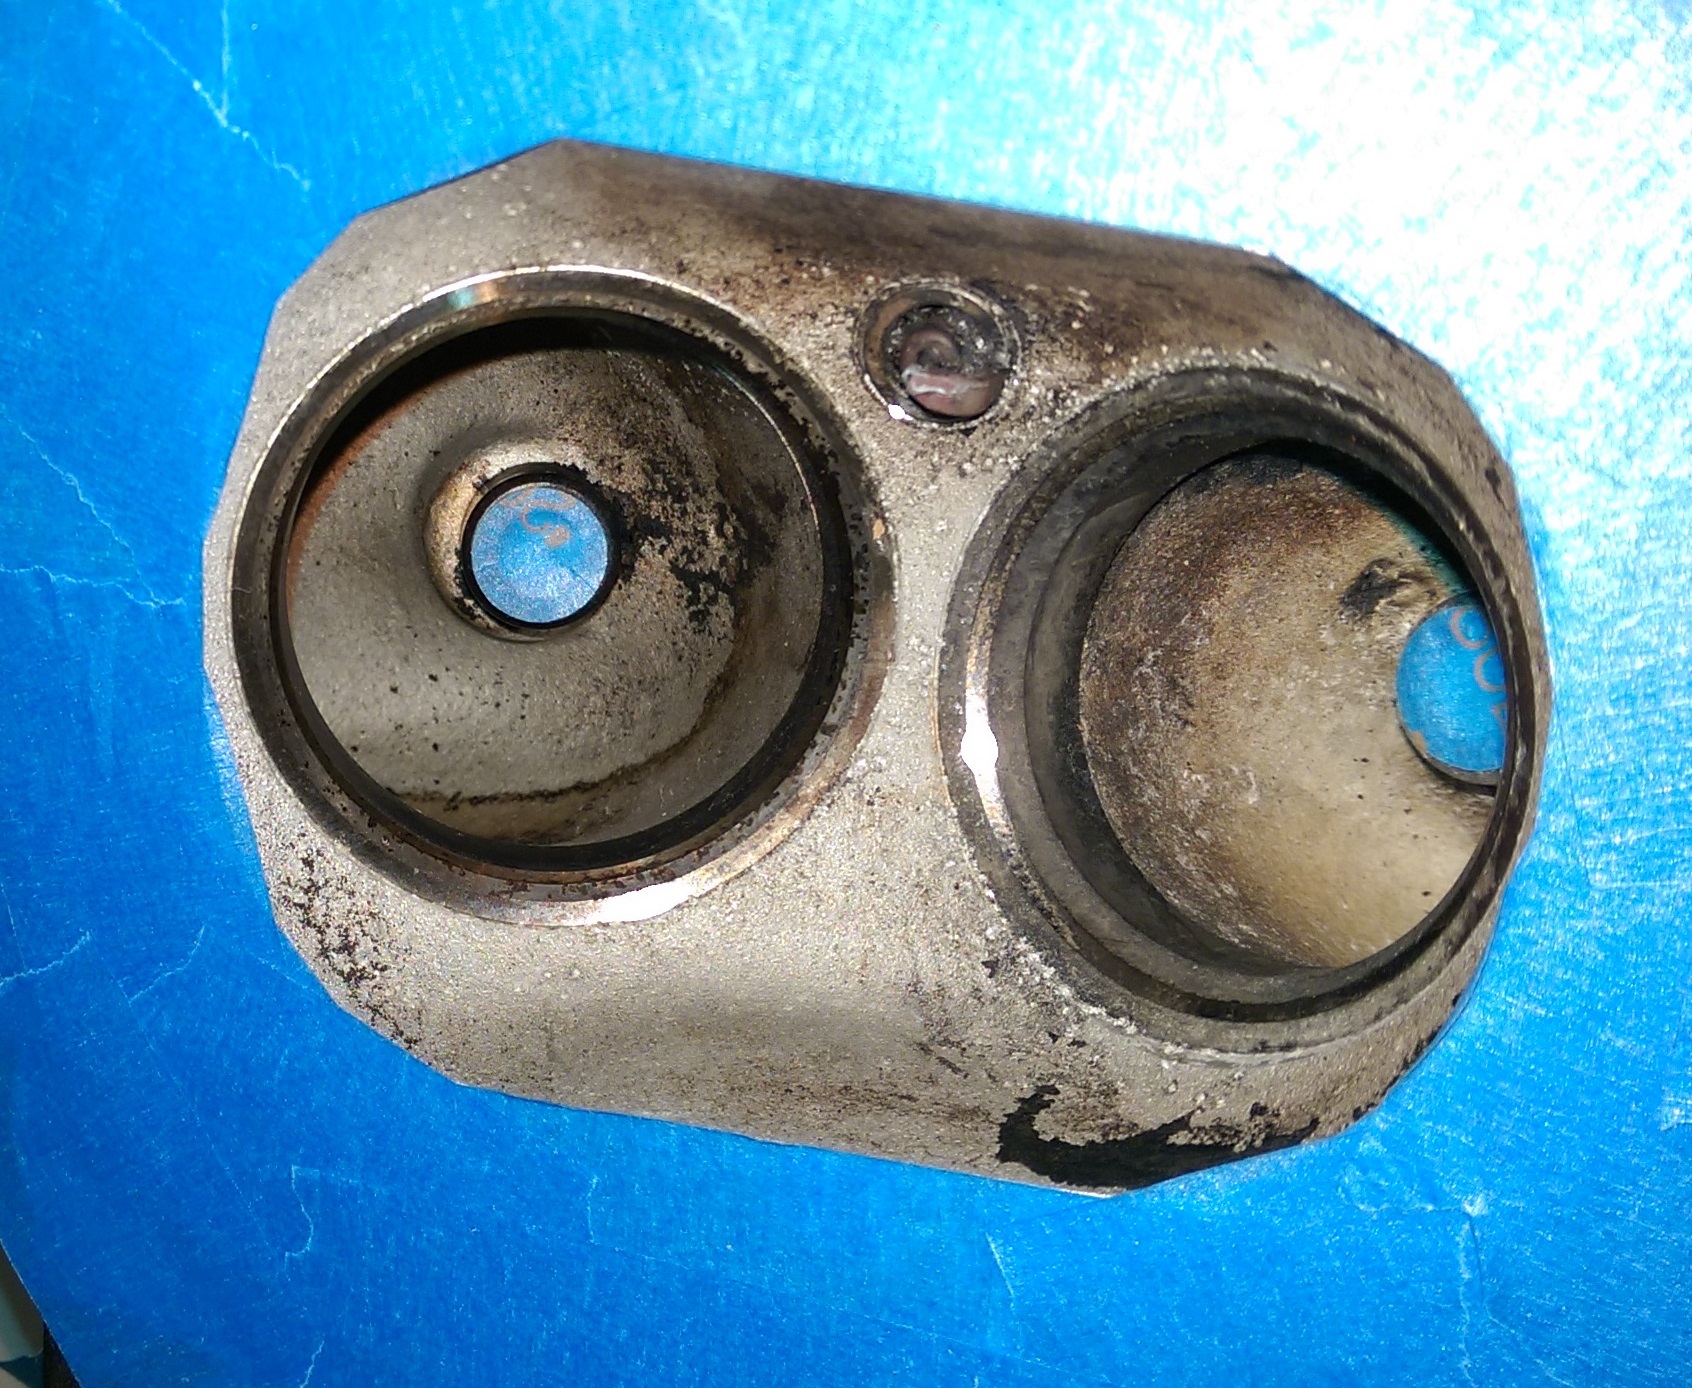
Cylinder head after aircraft remover before walnut shell brasting

IMAG0437.jpg


Blasting in progress

IMAG0435.jpg


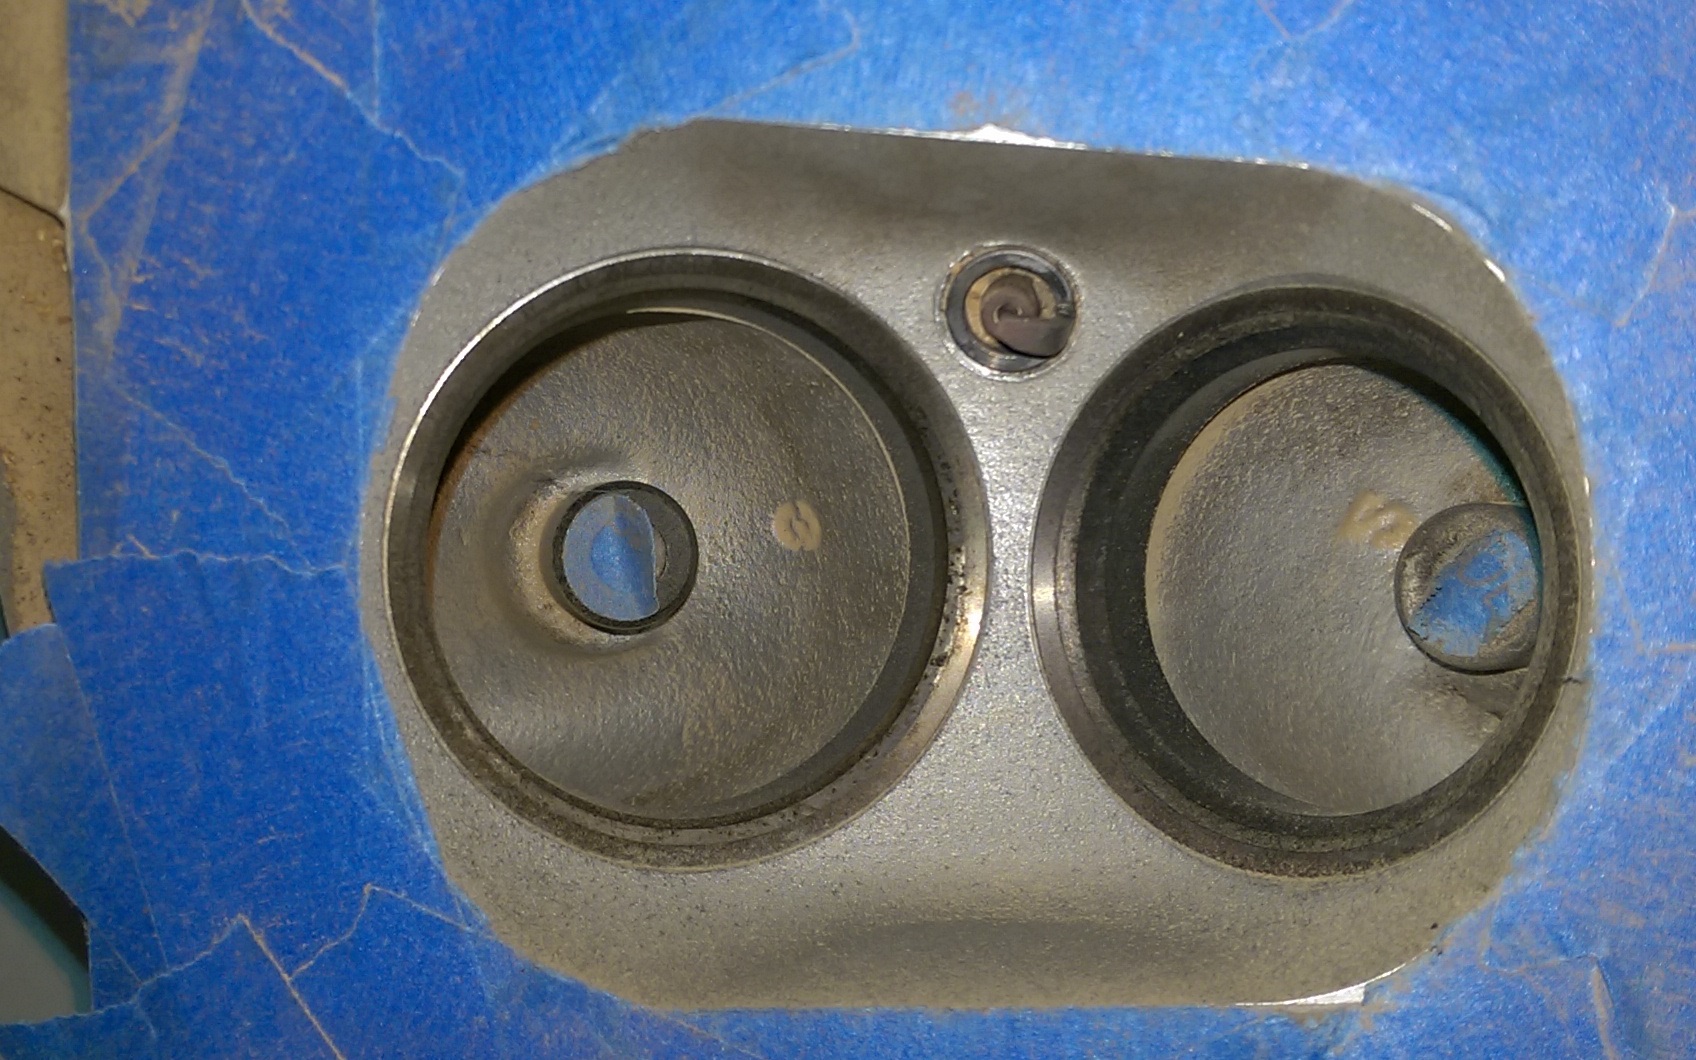
Cylinder head after blasting

IMAG0439.jpg


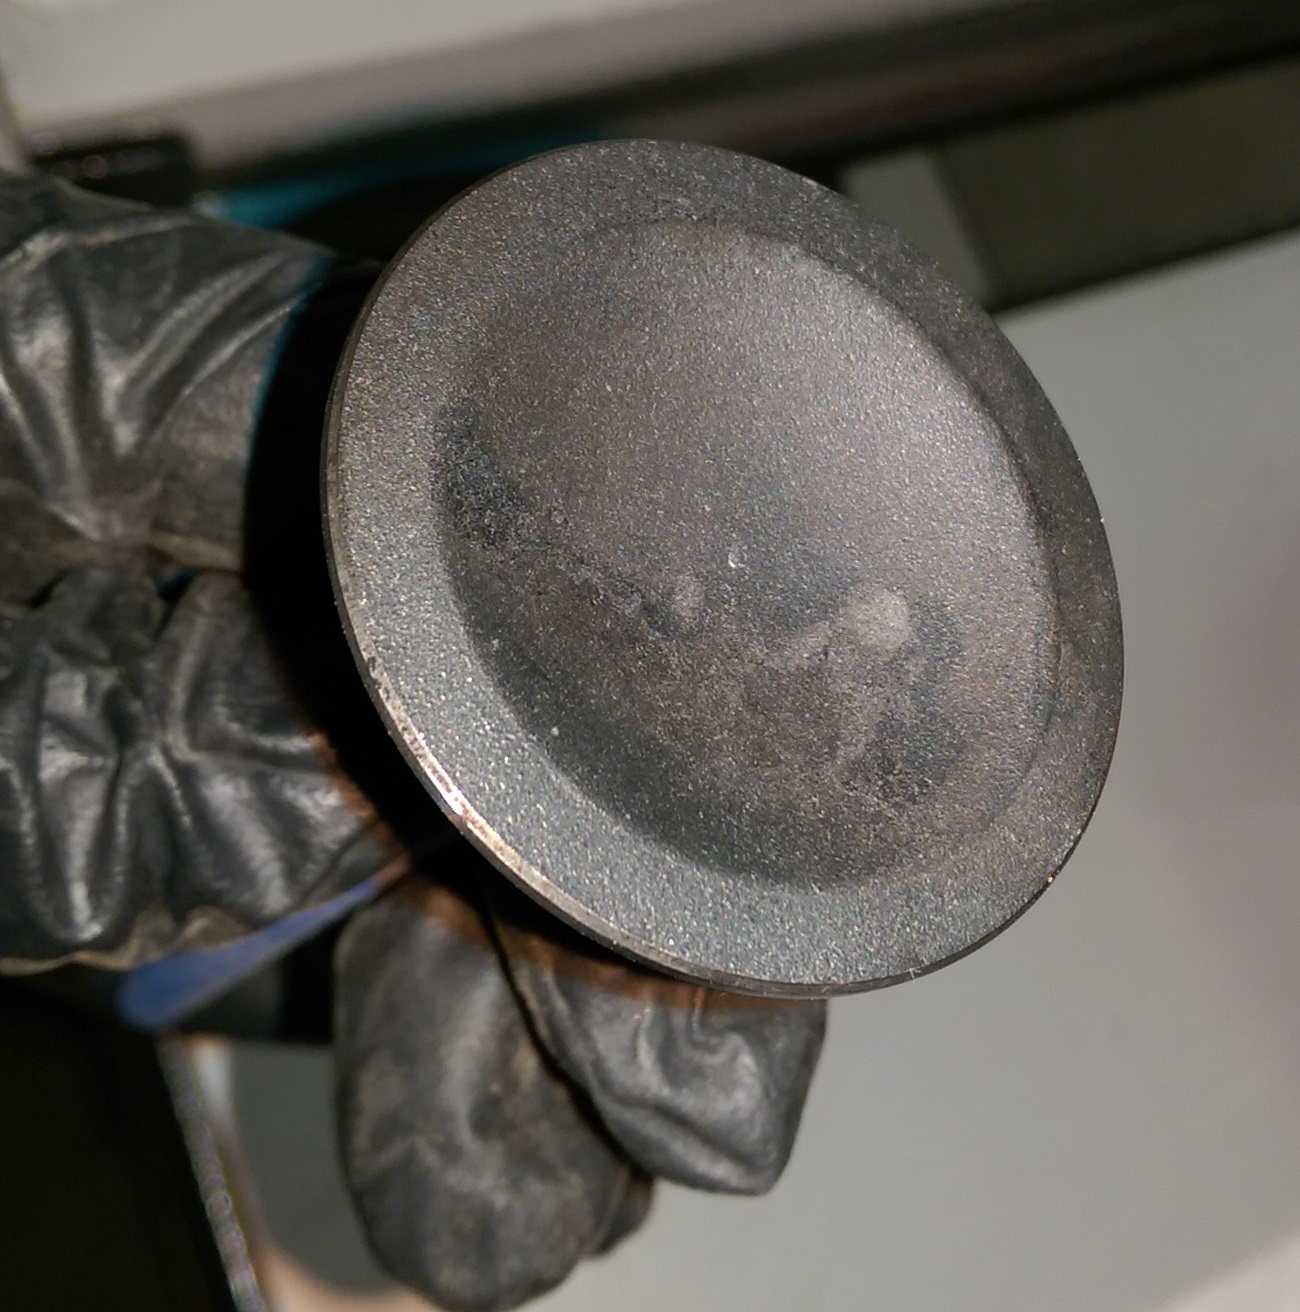
Intake valve after aircraft remover + Berryman chemtool sessions before walnut shell blasting

IMAG0444.jpg


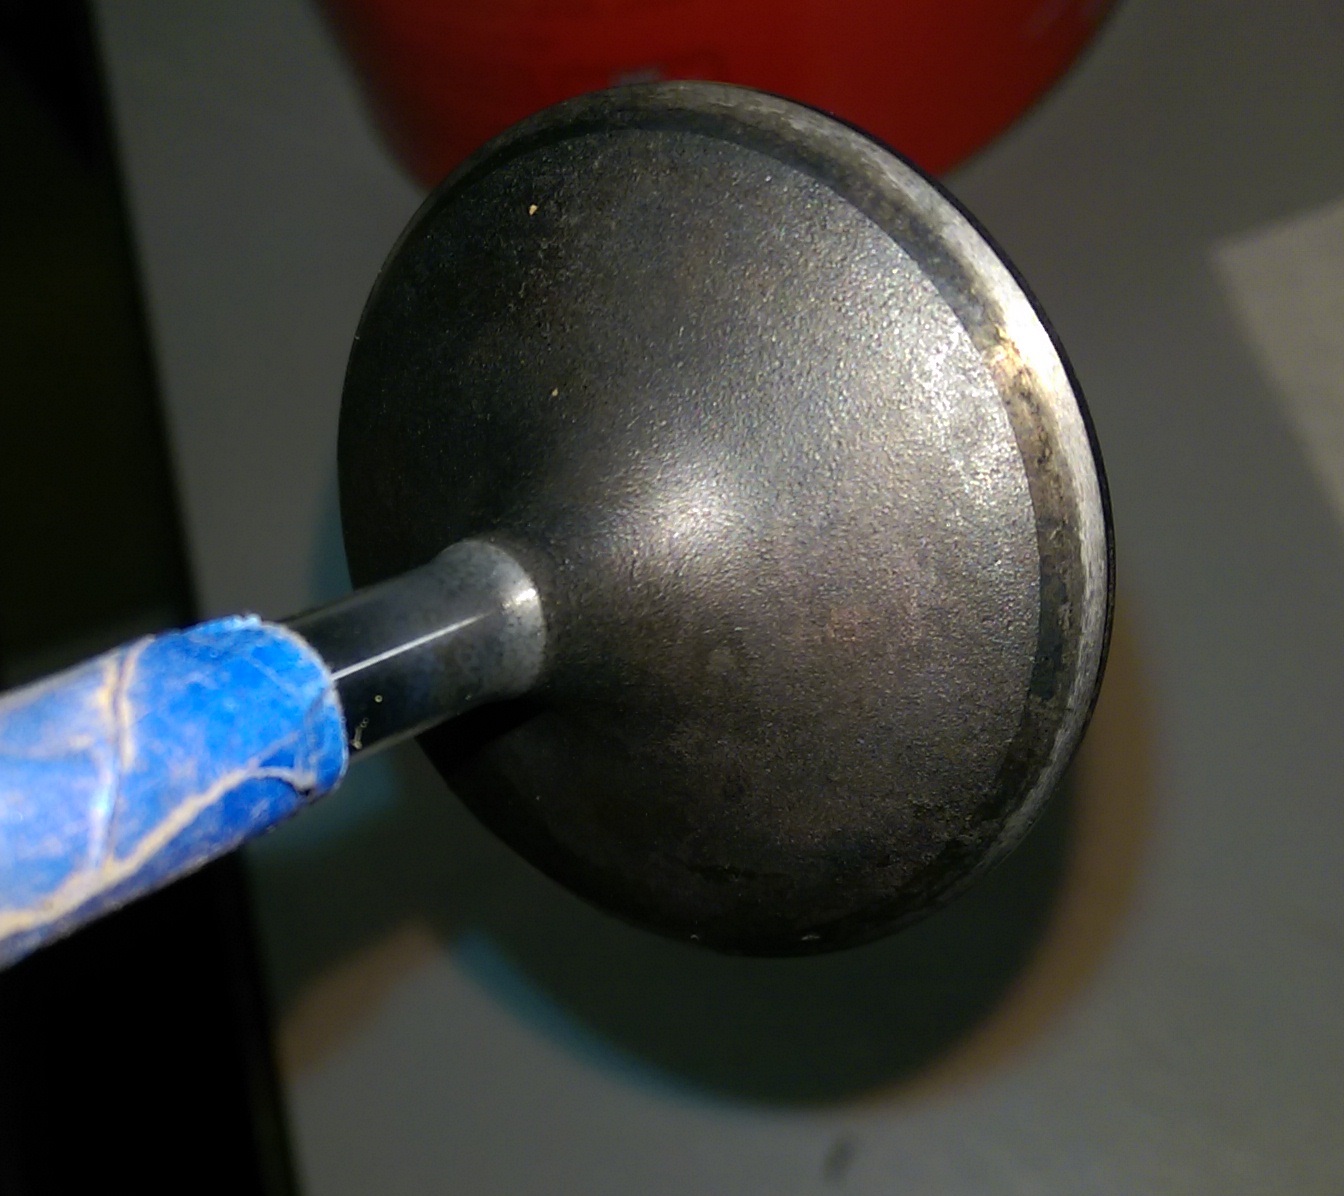
Intake valve after walnut shell blasting

IMAG0446.jpg


IMAG0447.jpg


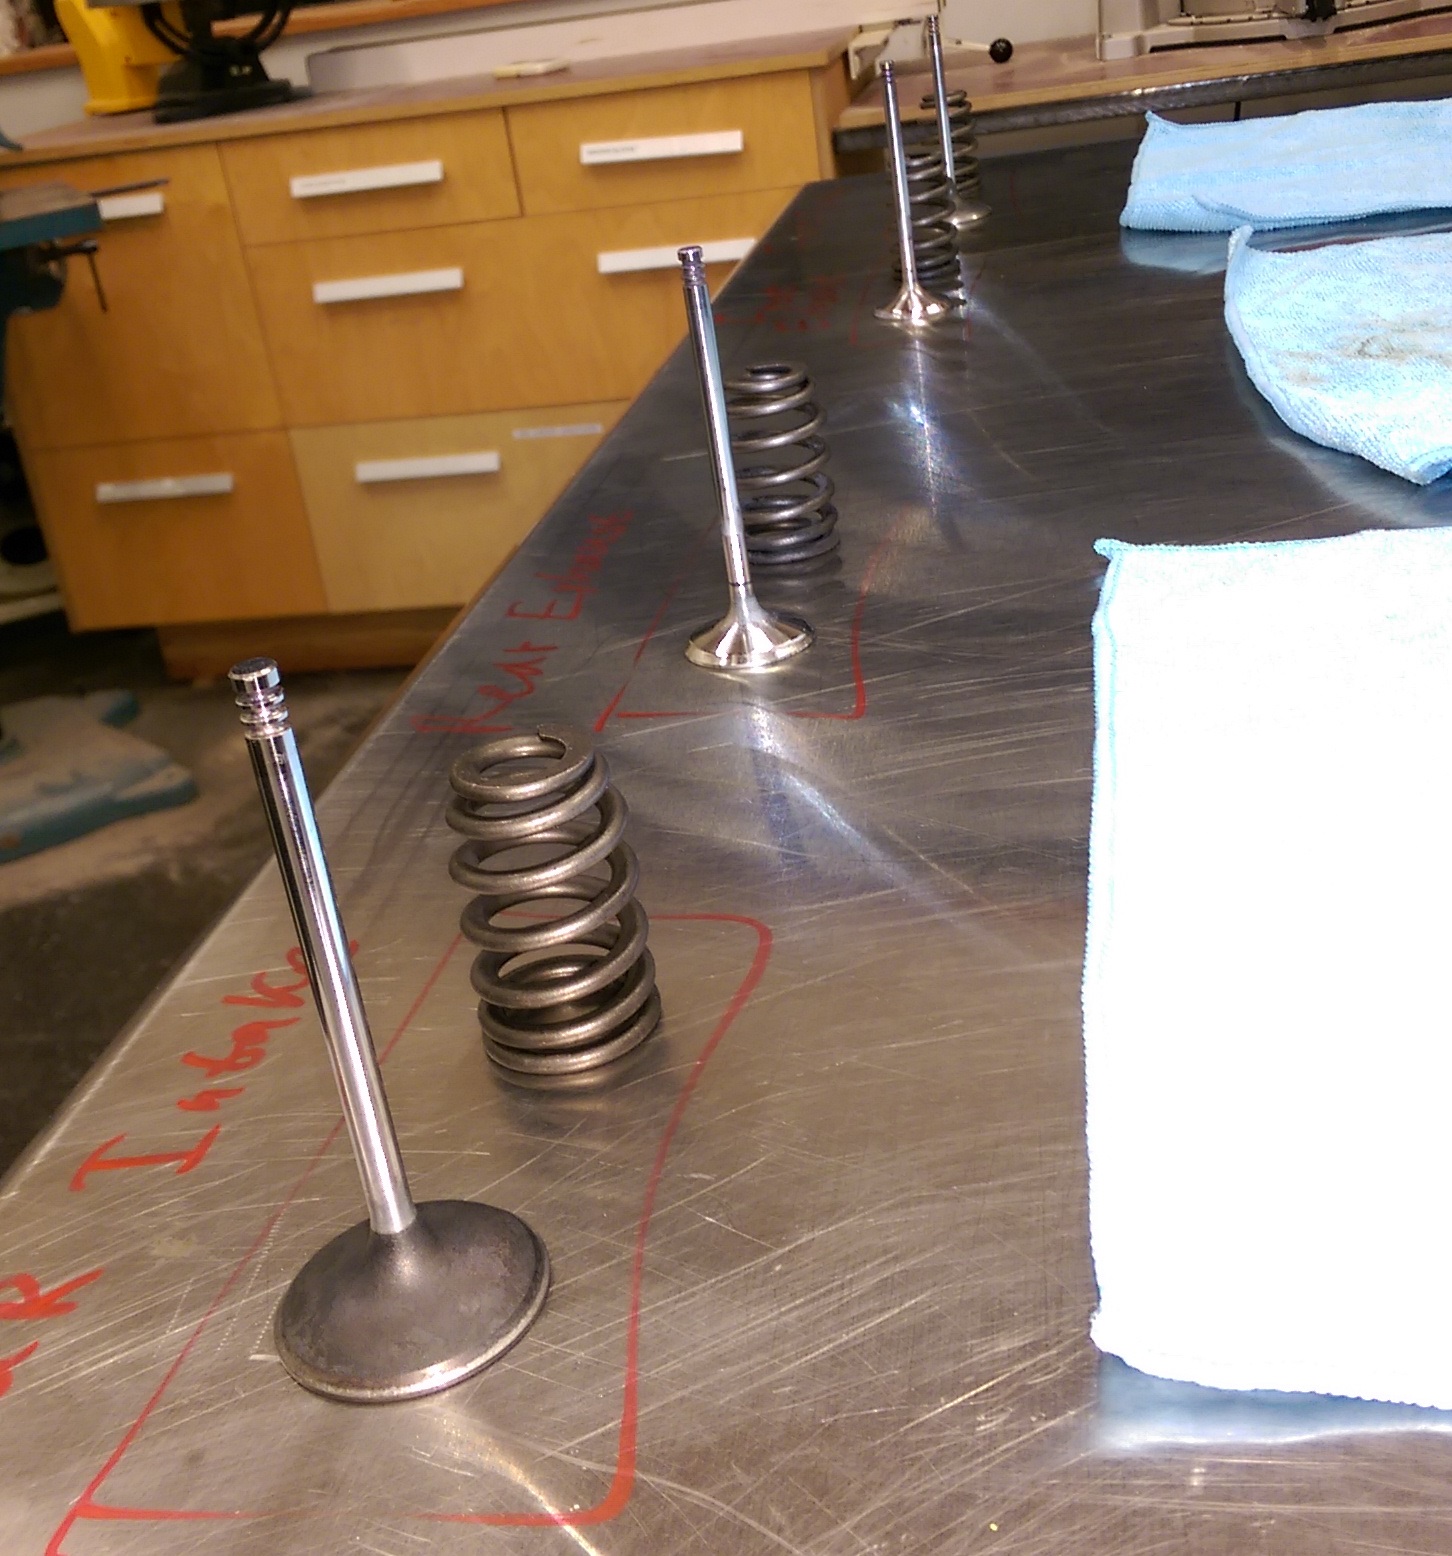
Valves are ready for lapping

IMAG0450.jpg
 
OK, the valves guides have been honed with 240 anf 320 grit 7 mm hones

IMAG0477.jpg


And thoroughly cleaned

IMAG0478.jpg


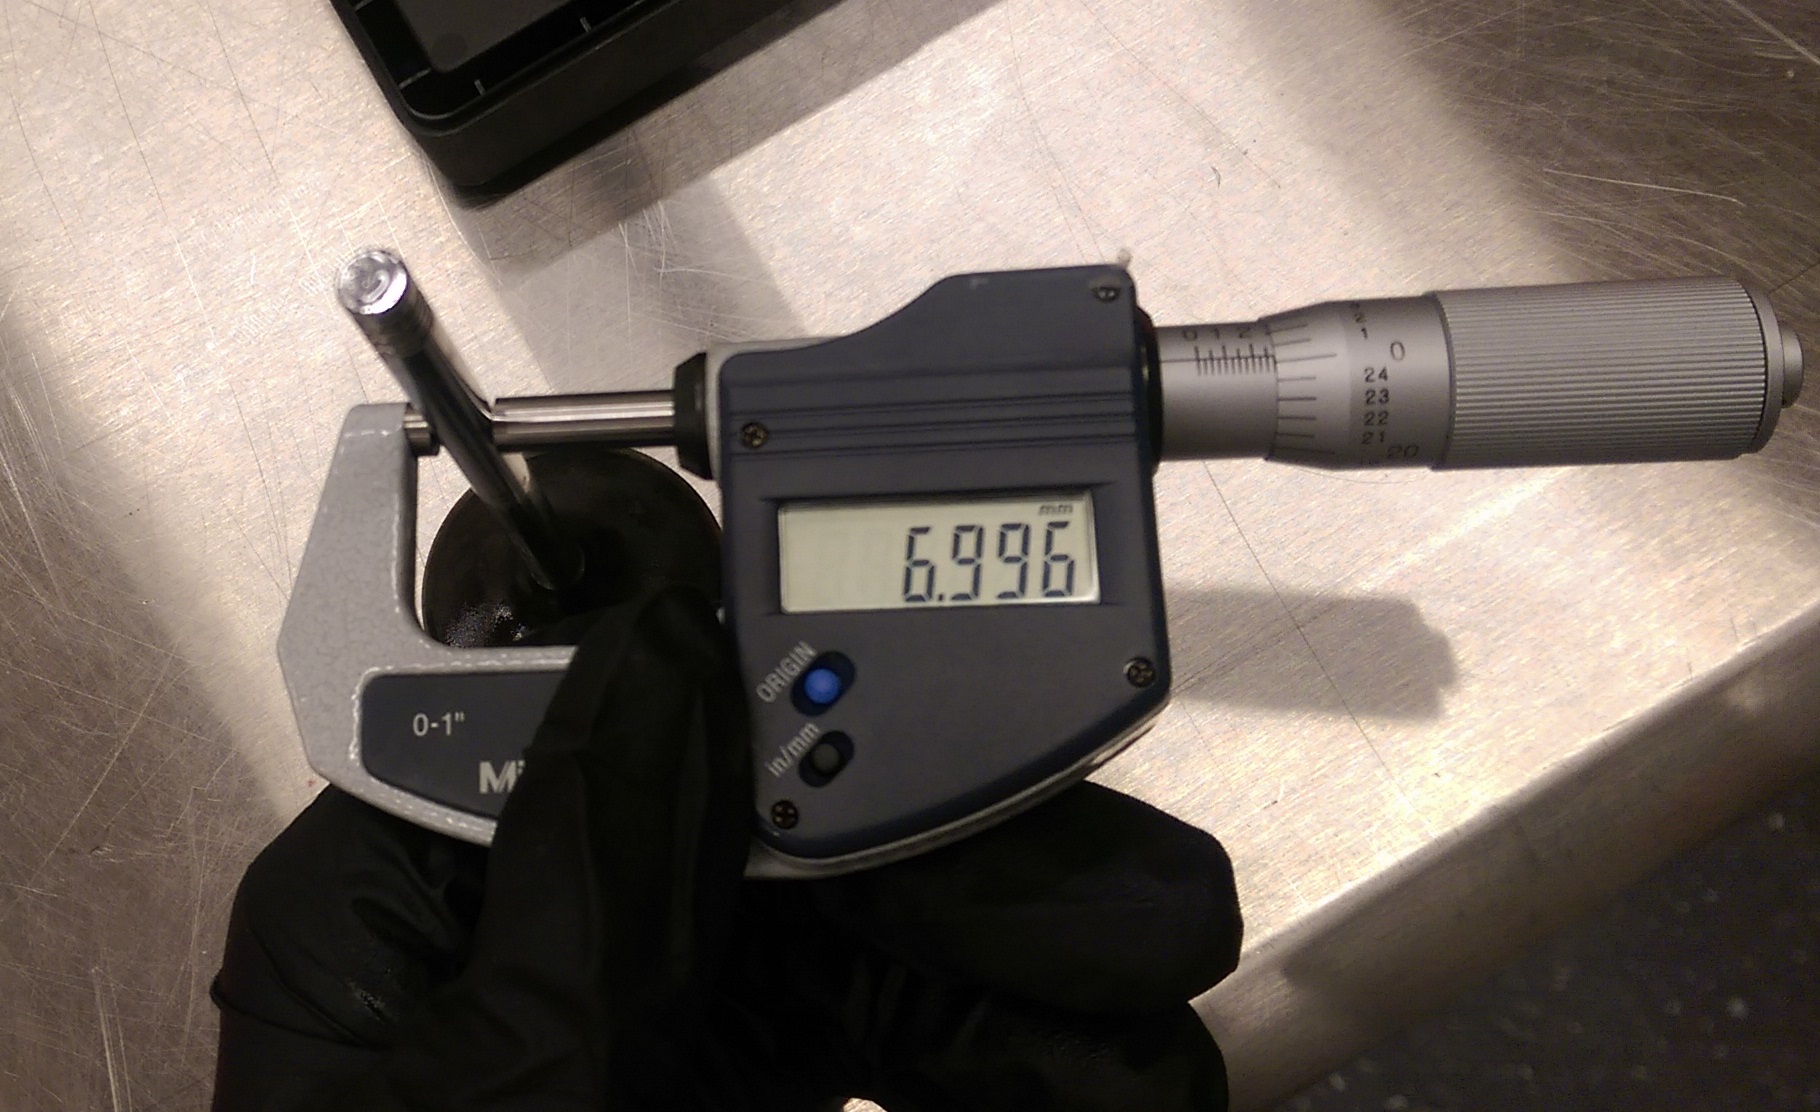
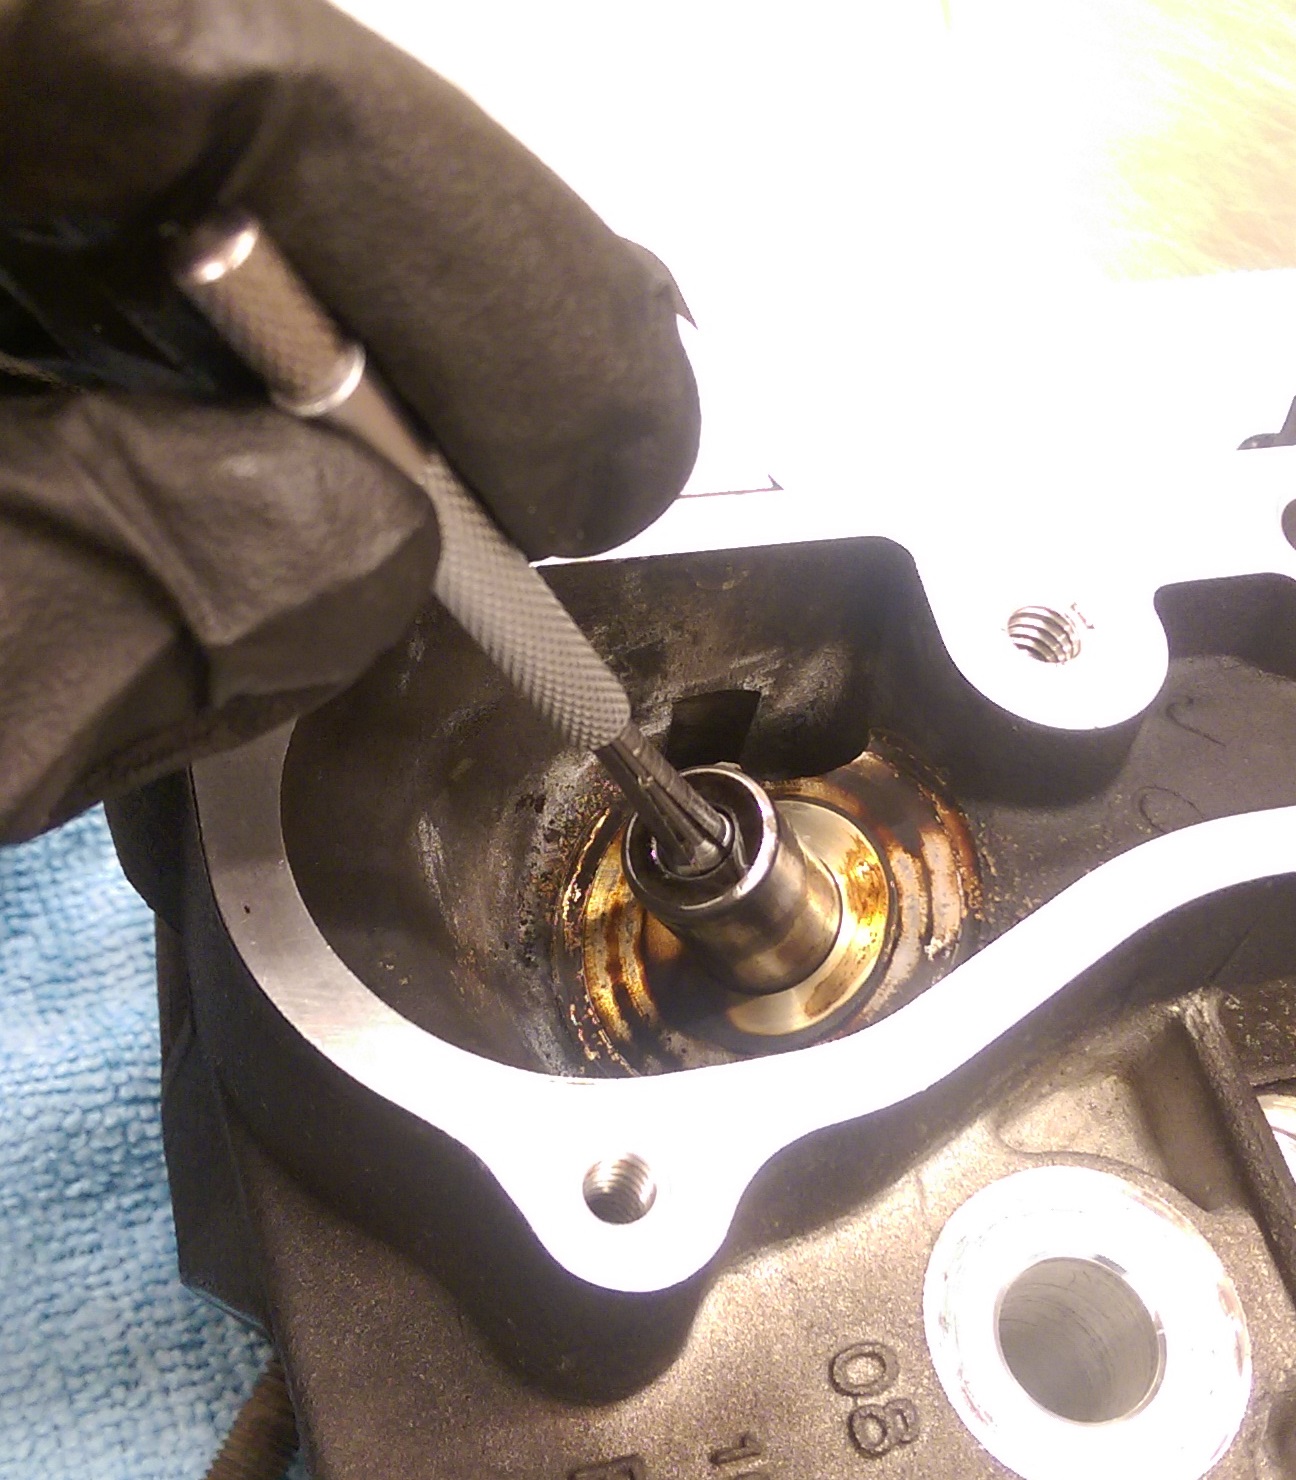
Then I inspected valves stems to valves guides clearance

IMAG0479.jpg


IMAG0481.jpg


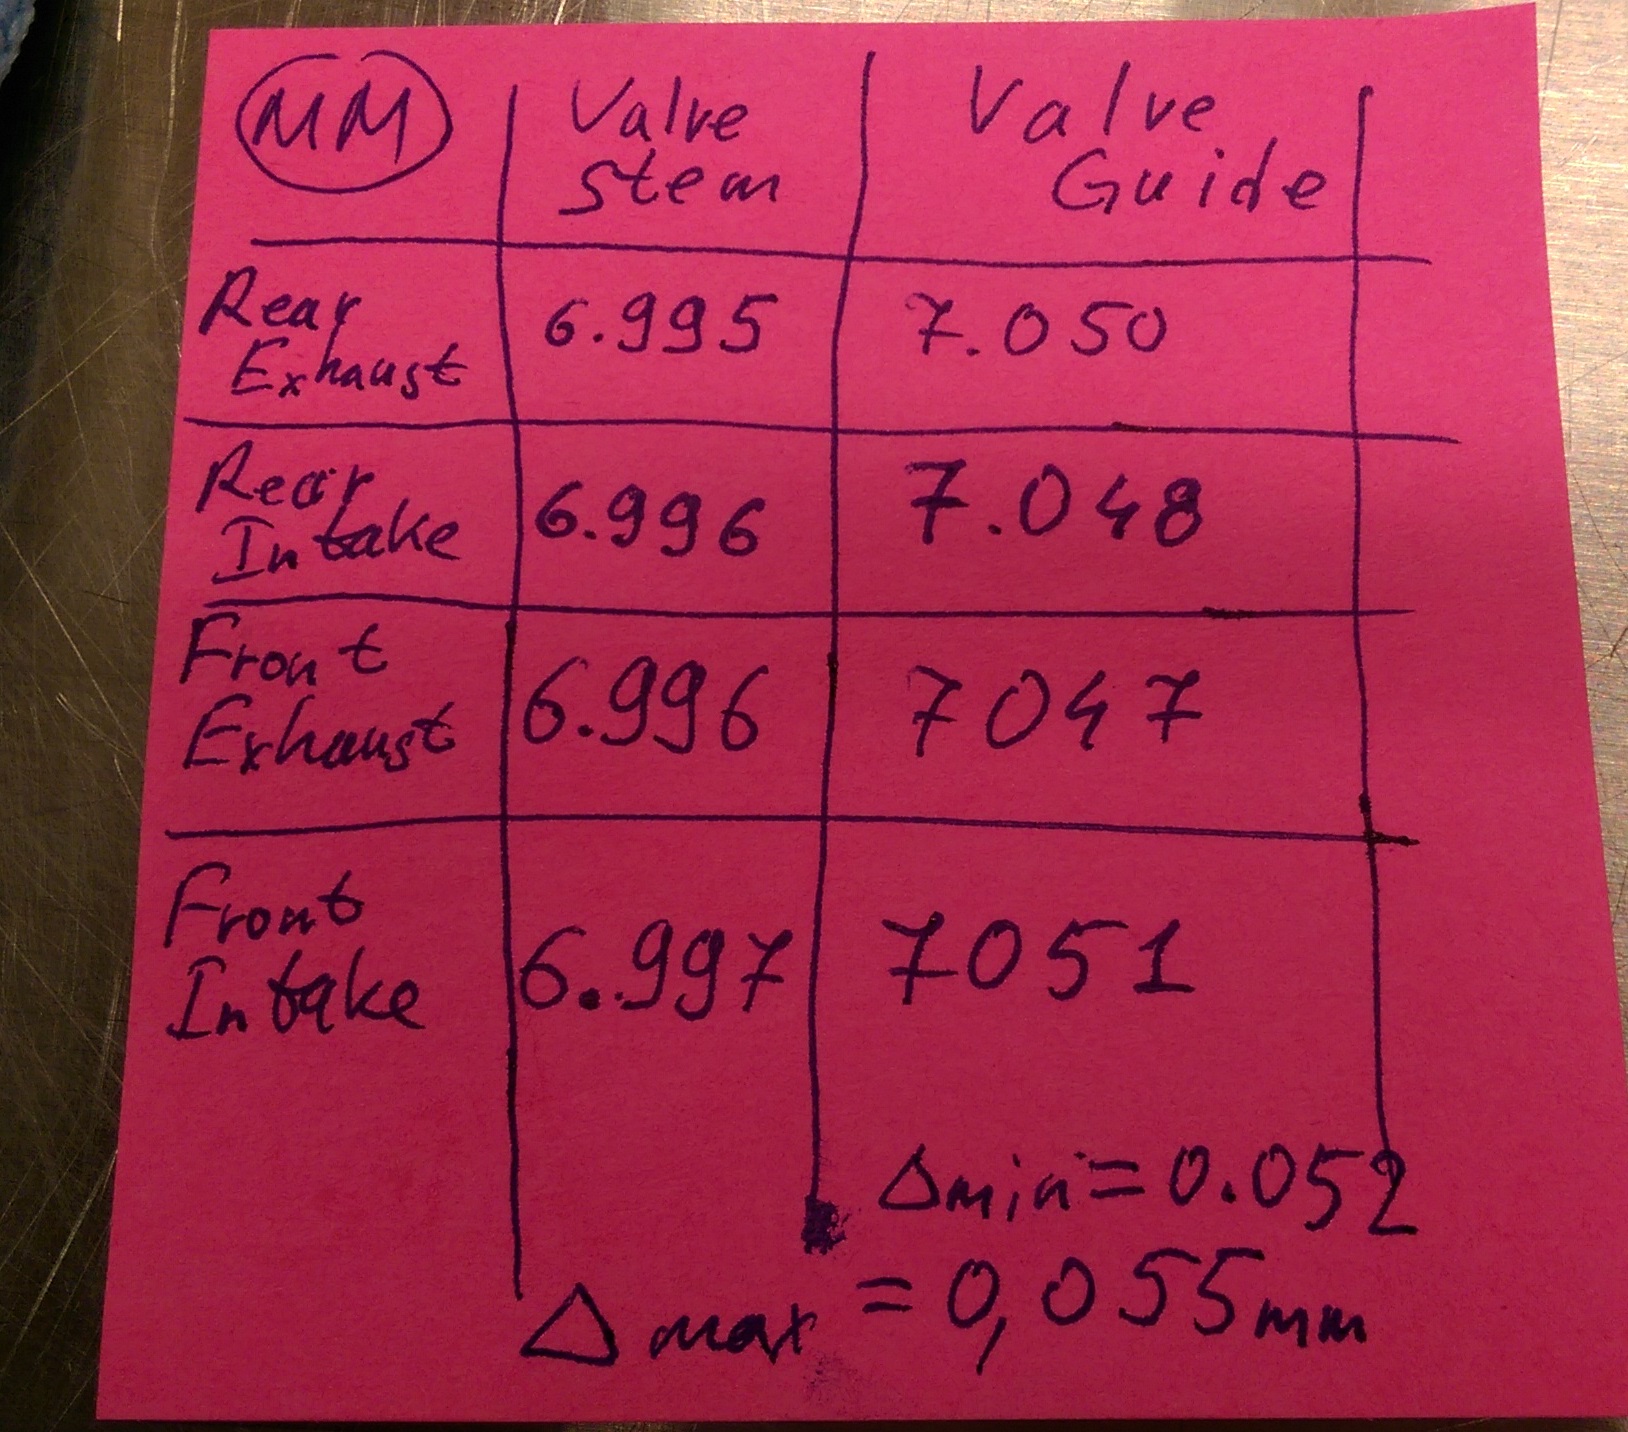
And here are measuring results.

IMAG0482.jpg


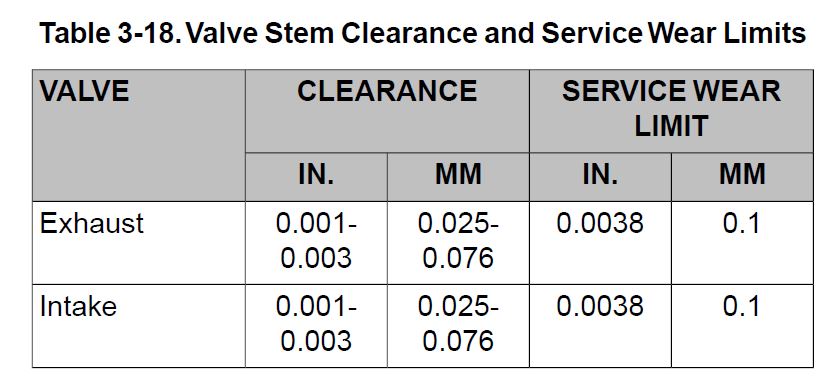
All the clearances are within limit. Here are specs for reference

Valves_clearance.jpg


Since tool for reconditioning the valve chamfer is unreasonably expensive and the valves look OK I decided just lap them

IMAG0483.jpg


IMAG0484.jpg


The interesting thing I found is intake valve chamfer has no pit holes and intake valve seat has pit holes, but exhaust valve seat has no pit holes and exhaust valve chamfer has pit holes.

After some grinding there are still pit-holes on the intake valve seat surface.

IMAG0485.jpg


So I decides just grind them more until most of pit holes have disappeared on valves and valves seats. There are still some small holes here and there on the valves seats, but I decided to not goo too deep, especially the valve seat sealing face is already bigger than factory recommended

IMAG0492.jpg


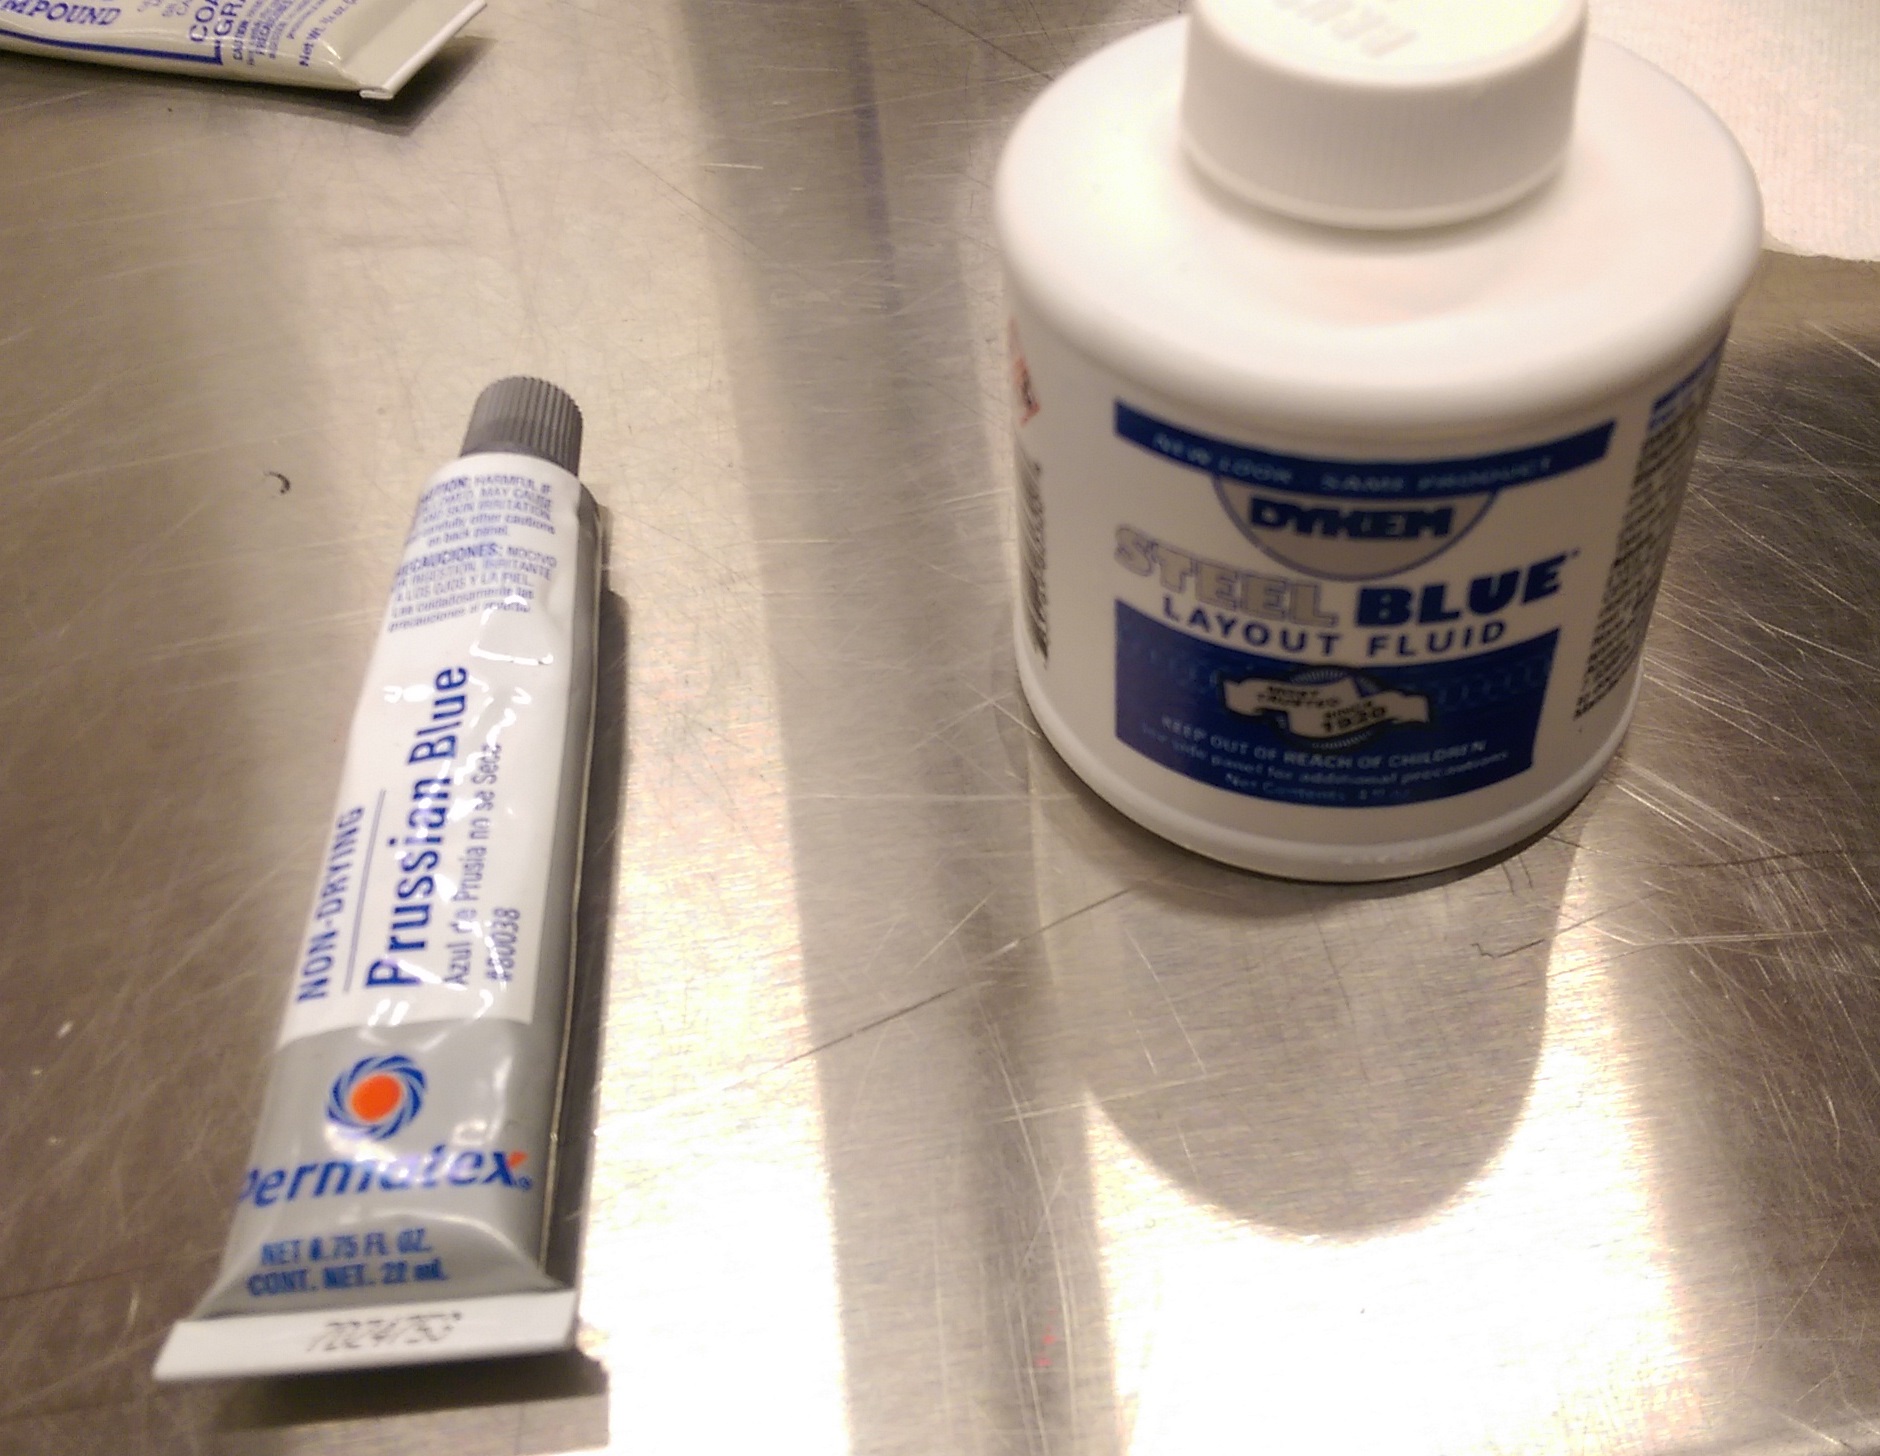
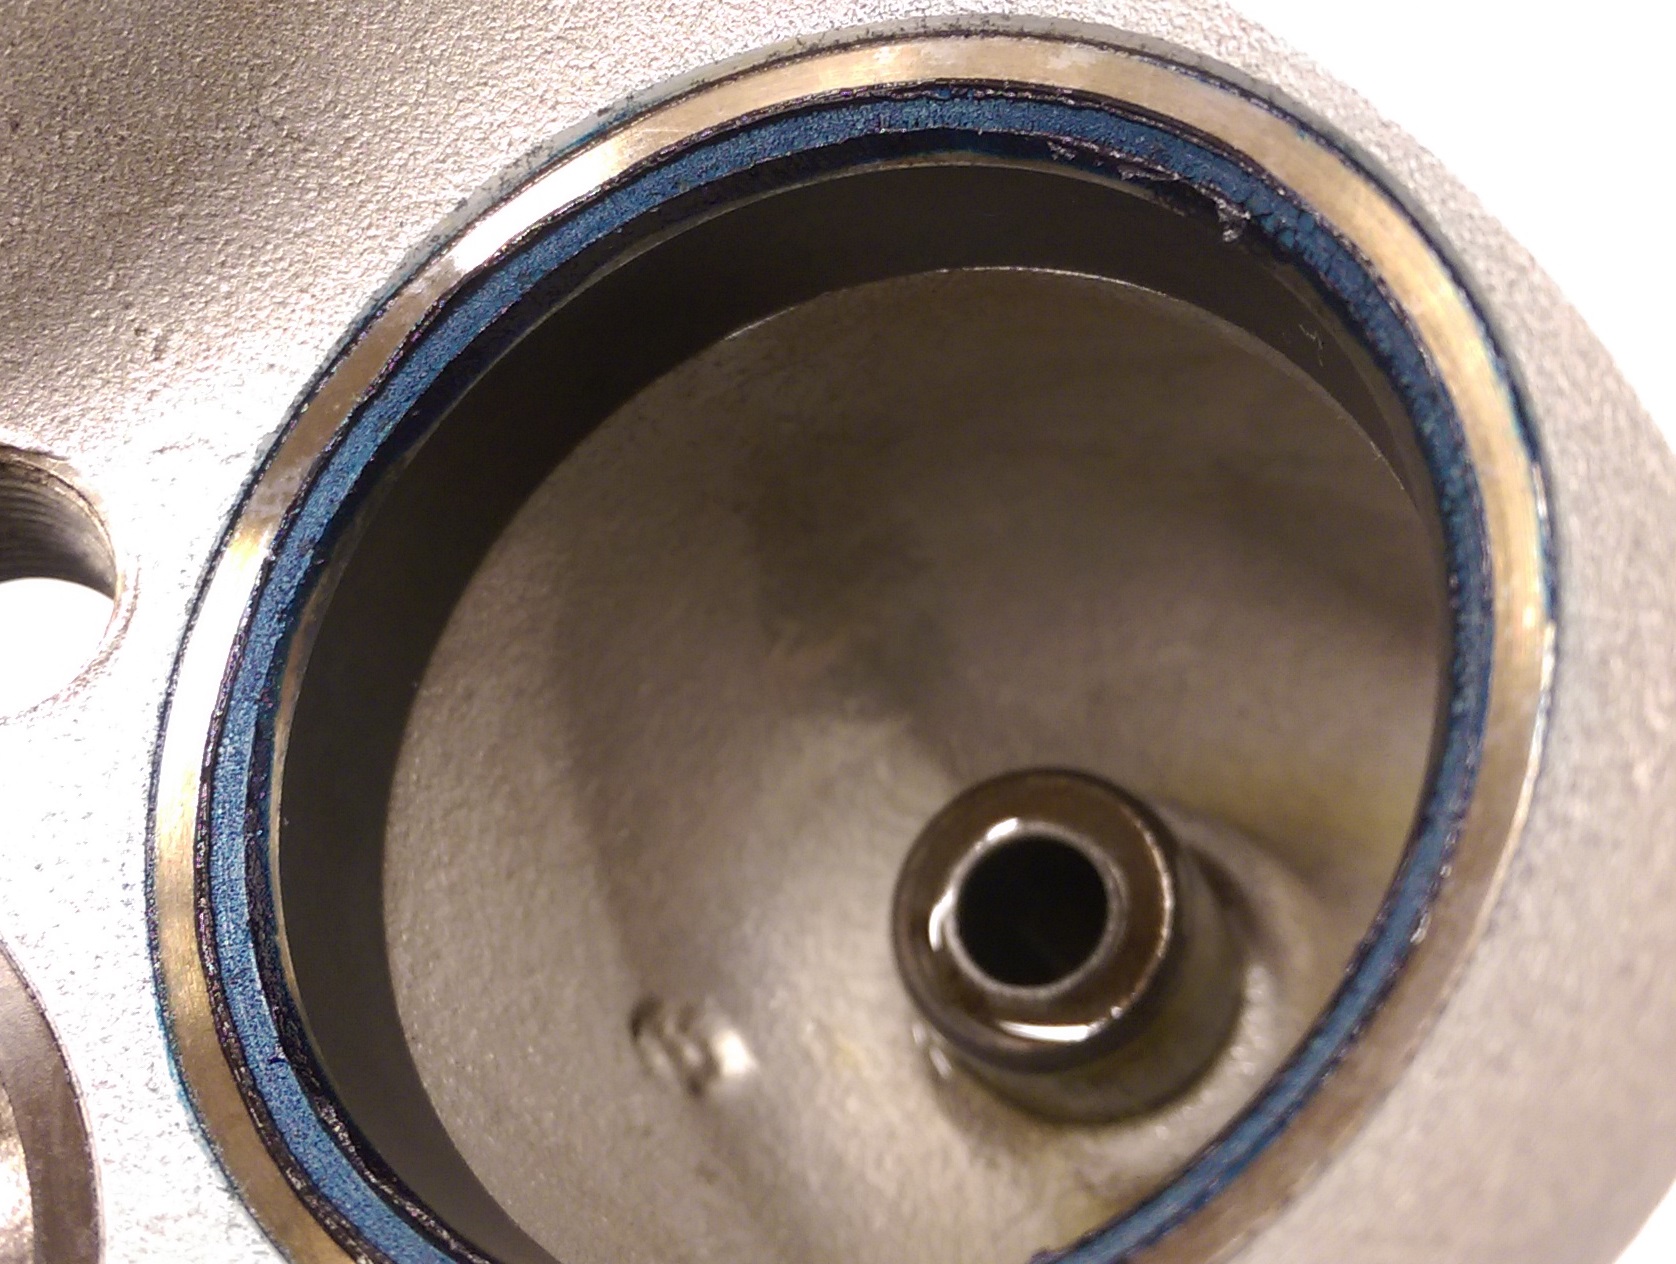
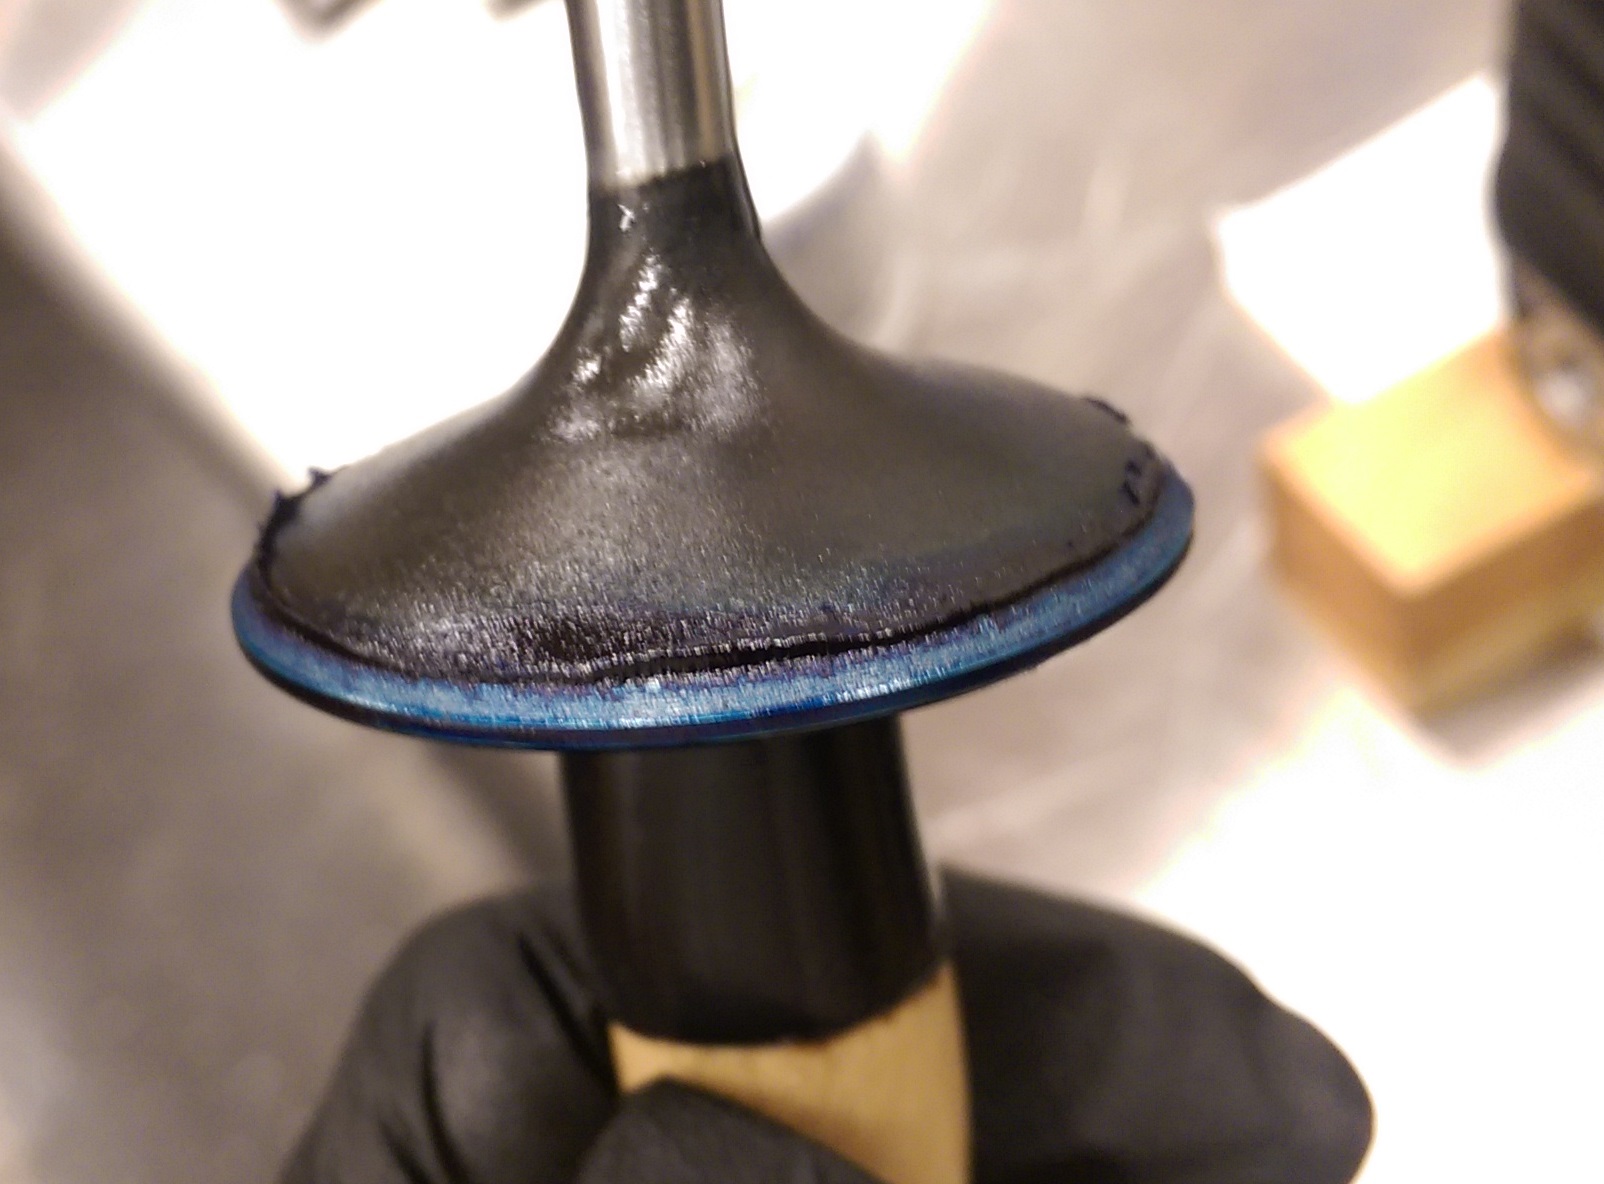
Inspected the seat with Prussian Blue and layout fluid

IMAG0487.jpg


Sits look good for all the valves

IMAG0488.jpg


IMAG0489.jpg


Now the sealing faces width is slightly bigger than factory spec and closer to the outside edge of the valve. So I have to narrow the seal face width down and reduce seal face diameter on the valves seats. Ordered 31 deg and 60 deg valves seats chamfers cutters 1-3/4" diameter and 7.02mm pilot rod with cutters wrench here http://www.cylinderheadsupply.com/1nestsecubo1.html to bring the sealing faces sizes back to spec

IMAG0491.jpg


But currently after lapping the valve seals look perfect and they are able to hold liquid with no any pressure on them

IMAG0496.jpg
 
Last edited:
Back
Top