• You are currently viewing our boards as a guest which gives you limited access to view most discussions and access our other features. By joining our free community you will see less advertisements, have access to post topics, communicate privately with other members (PM), respond to polls, upload content and access many other special features. Registration is fast, simple and absolutely free so please, join our community today!

    If you have any problems with the registration process or your account login, please contact us.

DIY: Cheap steering damper

Buellxb Forum

Help Support Buellxb Forum:

TPEHAK

Banned
Joined
May 4, 2014
Messages
1,636
Location
Seattle
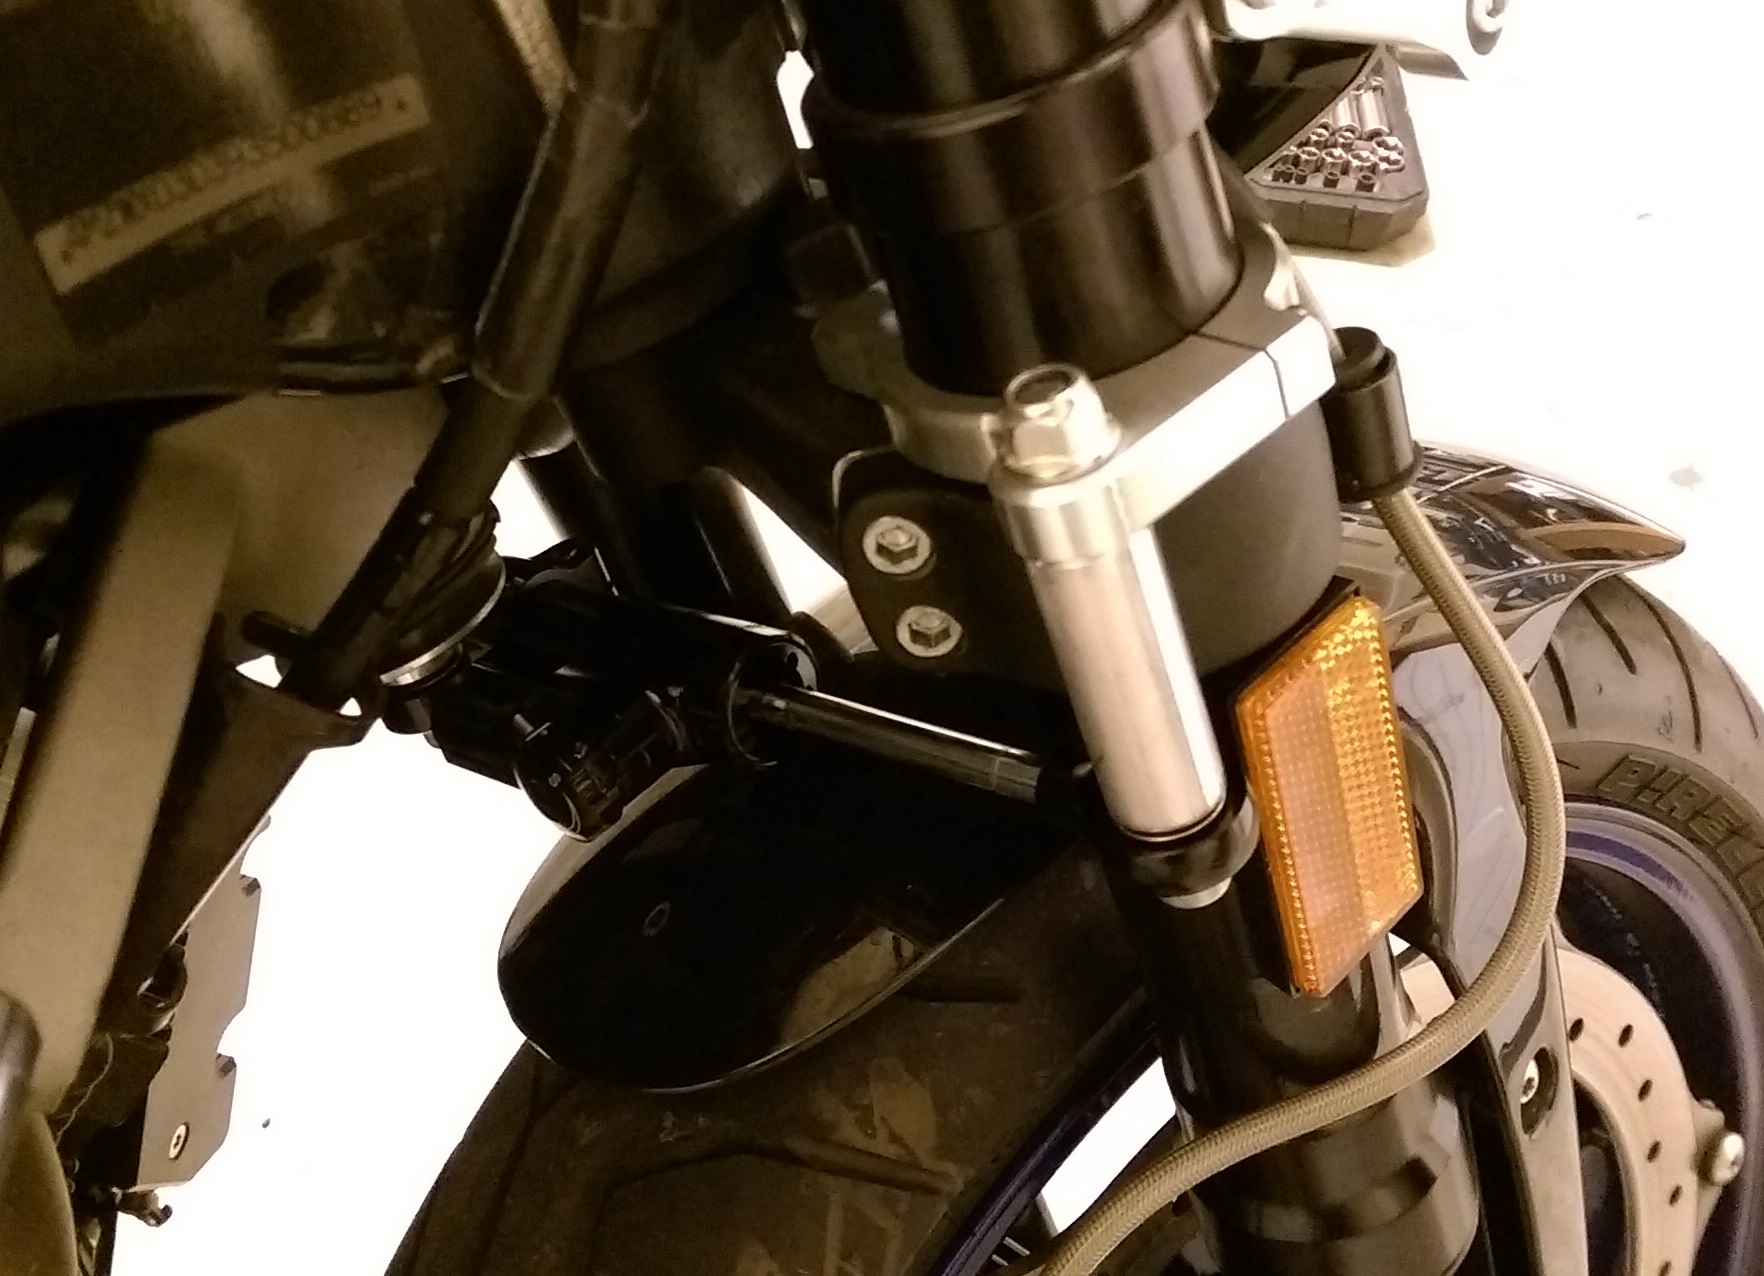
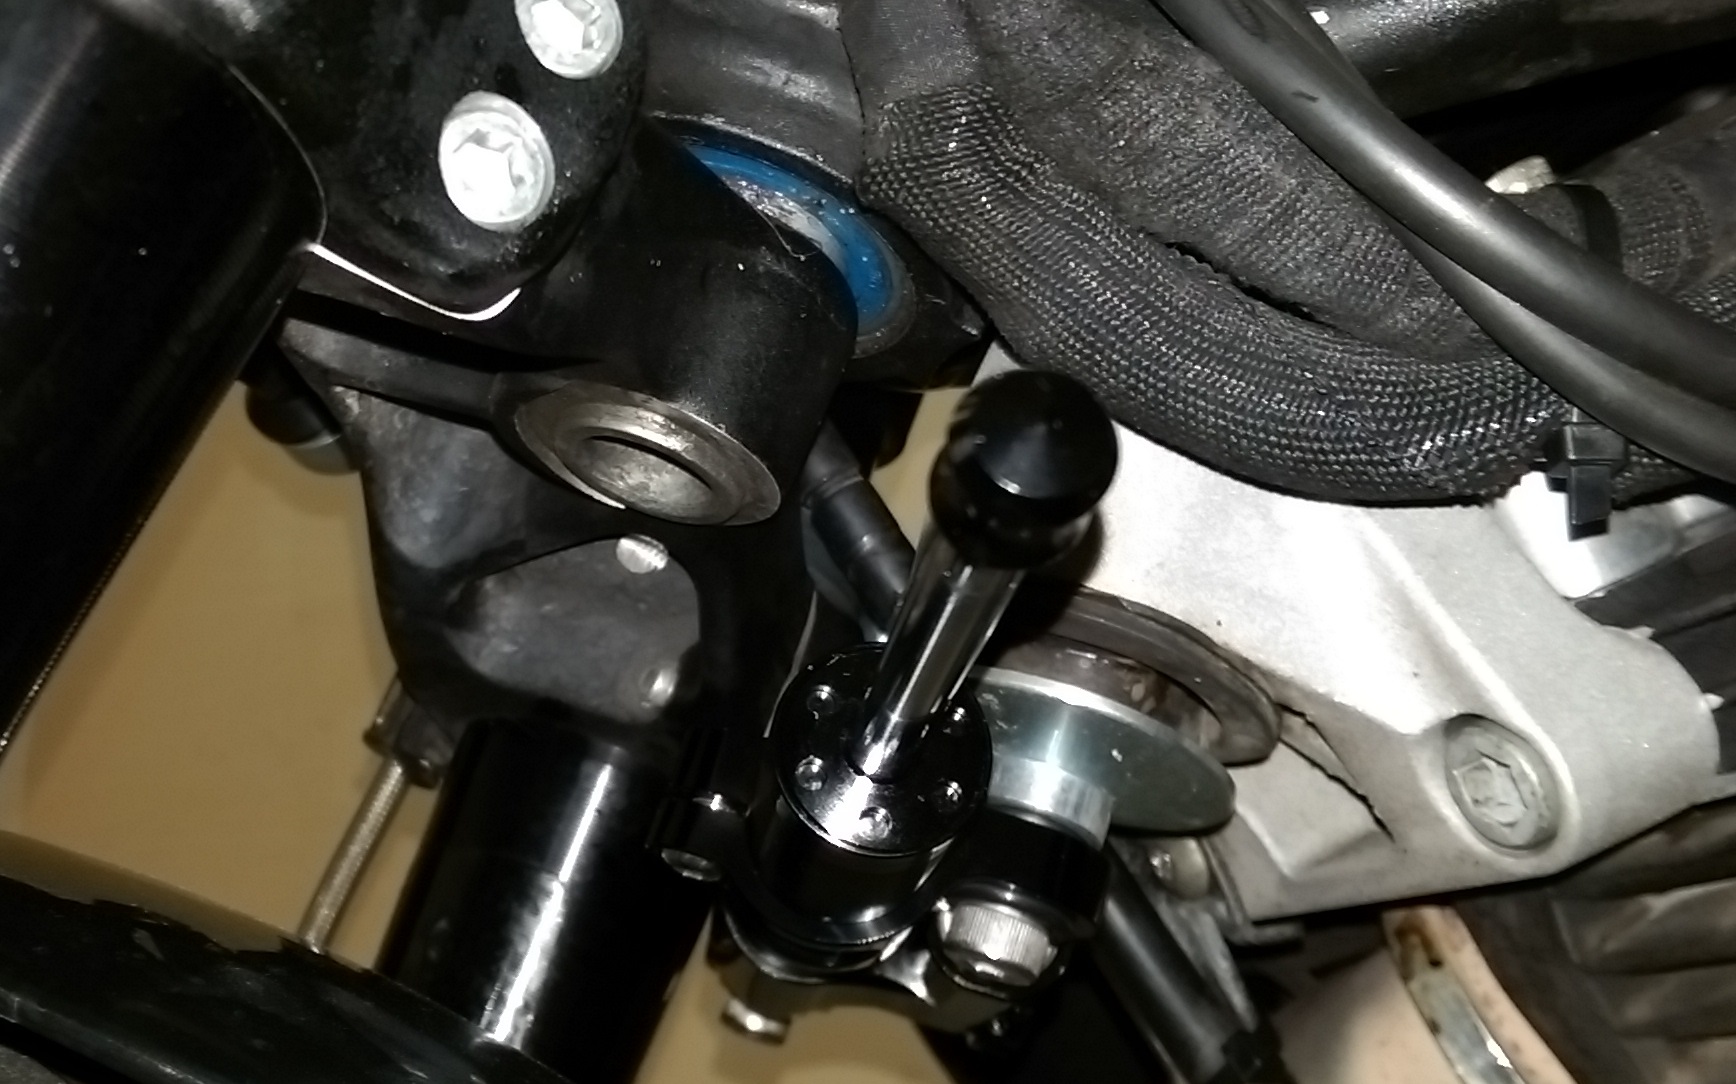
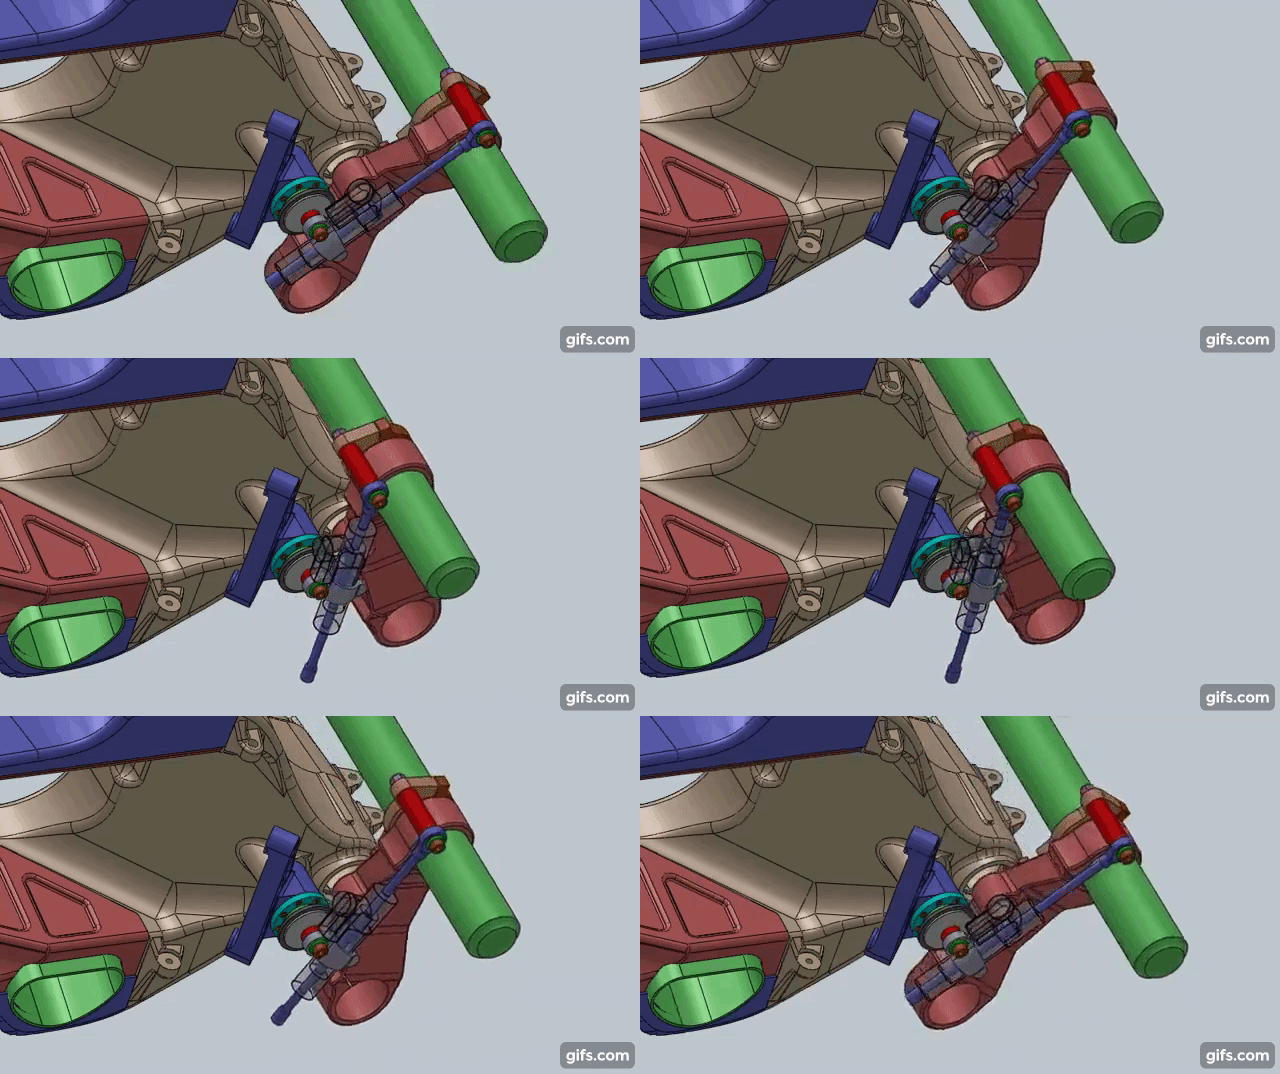
Today I'm going to show you how you can install 50$ steering damper setup on your Buell XB instead of spending 500$ for a ready kit.

Firs of all a little sneak peek.

My CAD model to check fitments of the steering damper components
JZGGV2.gif


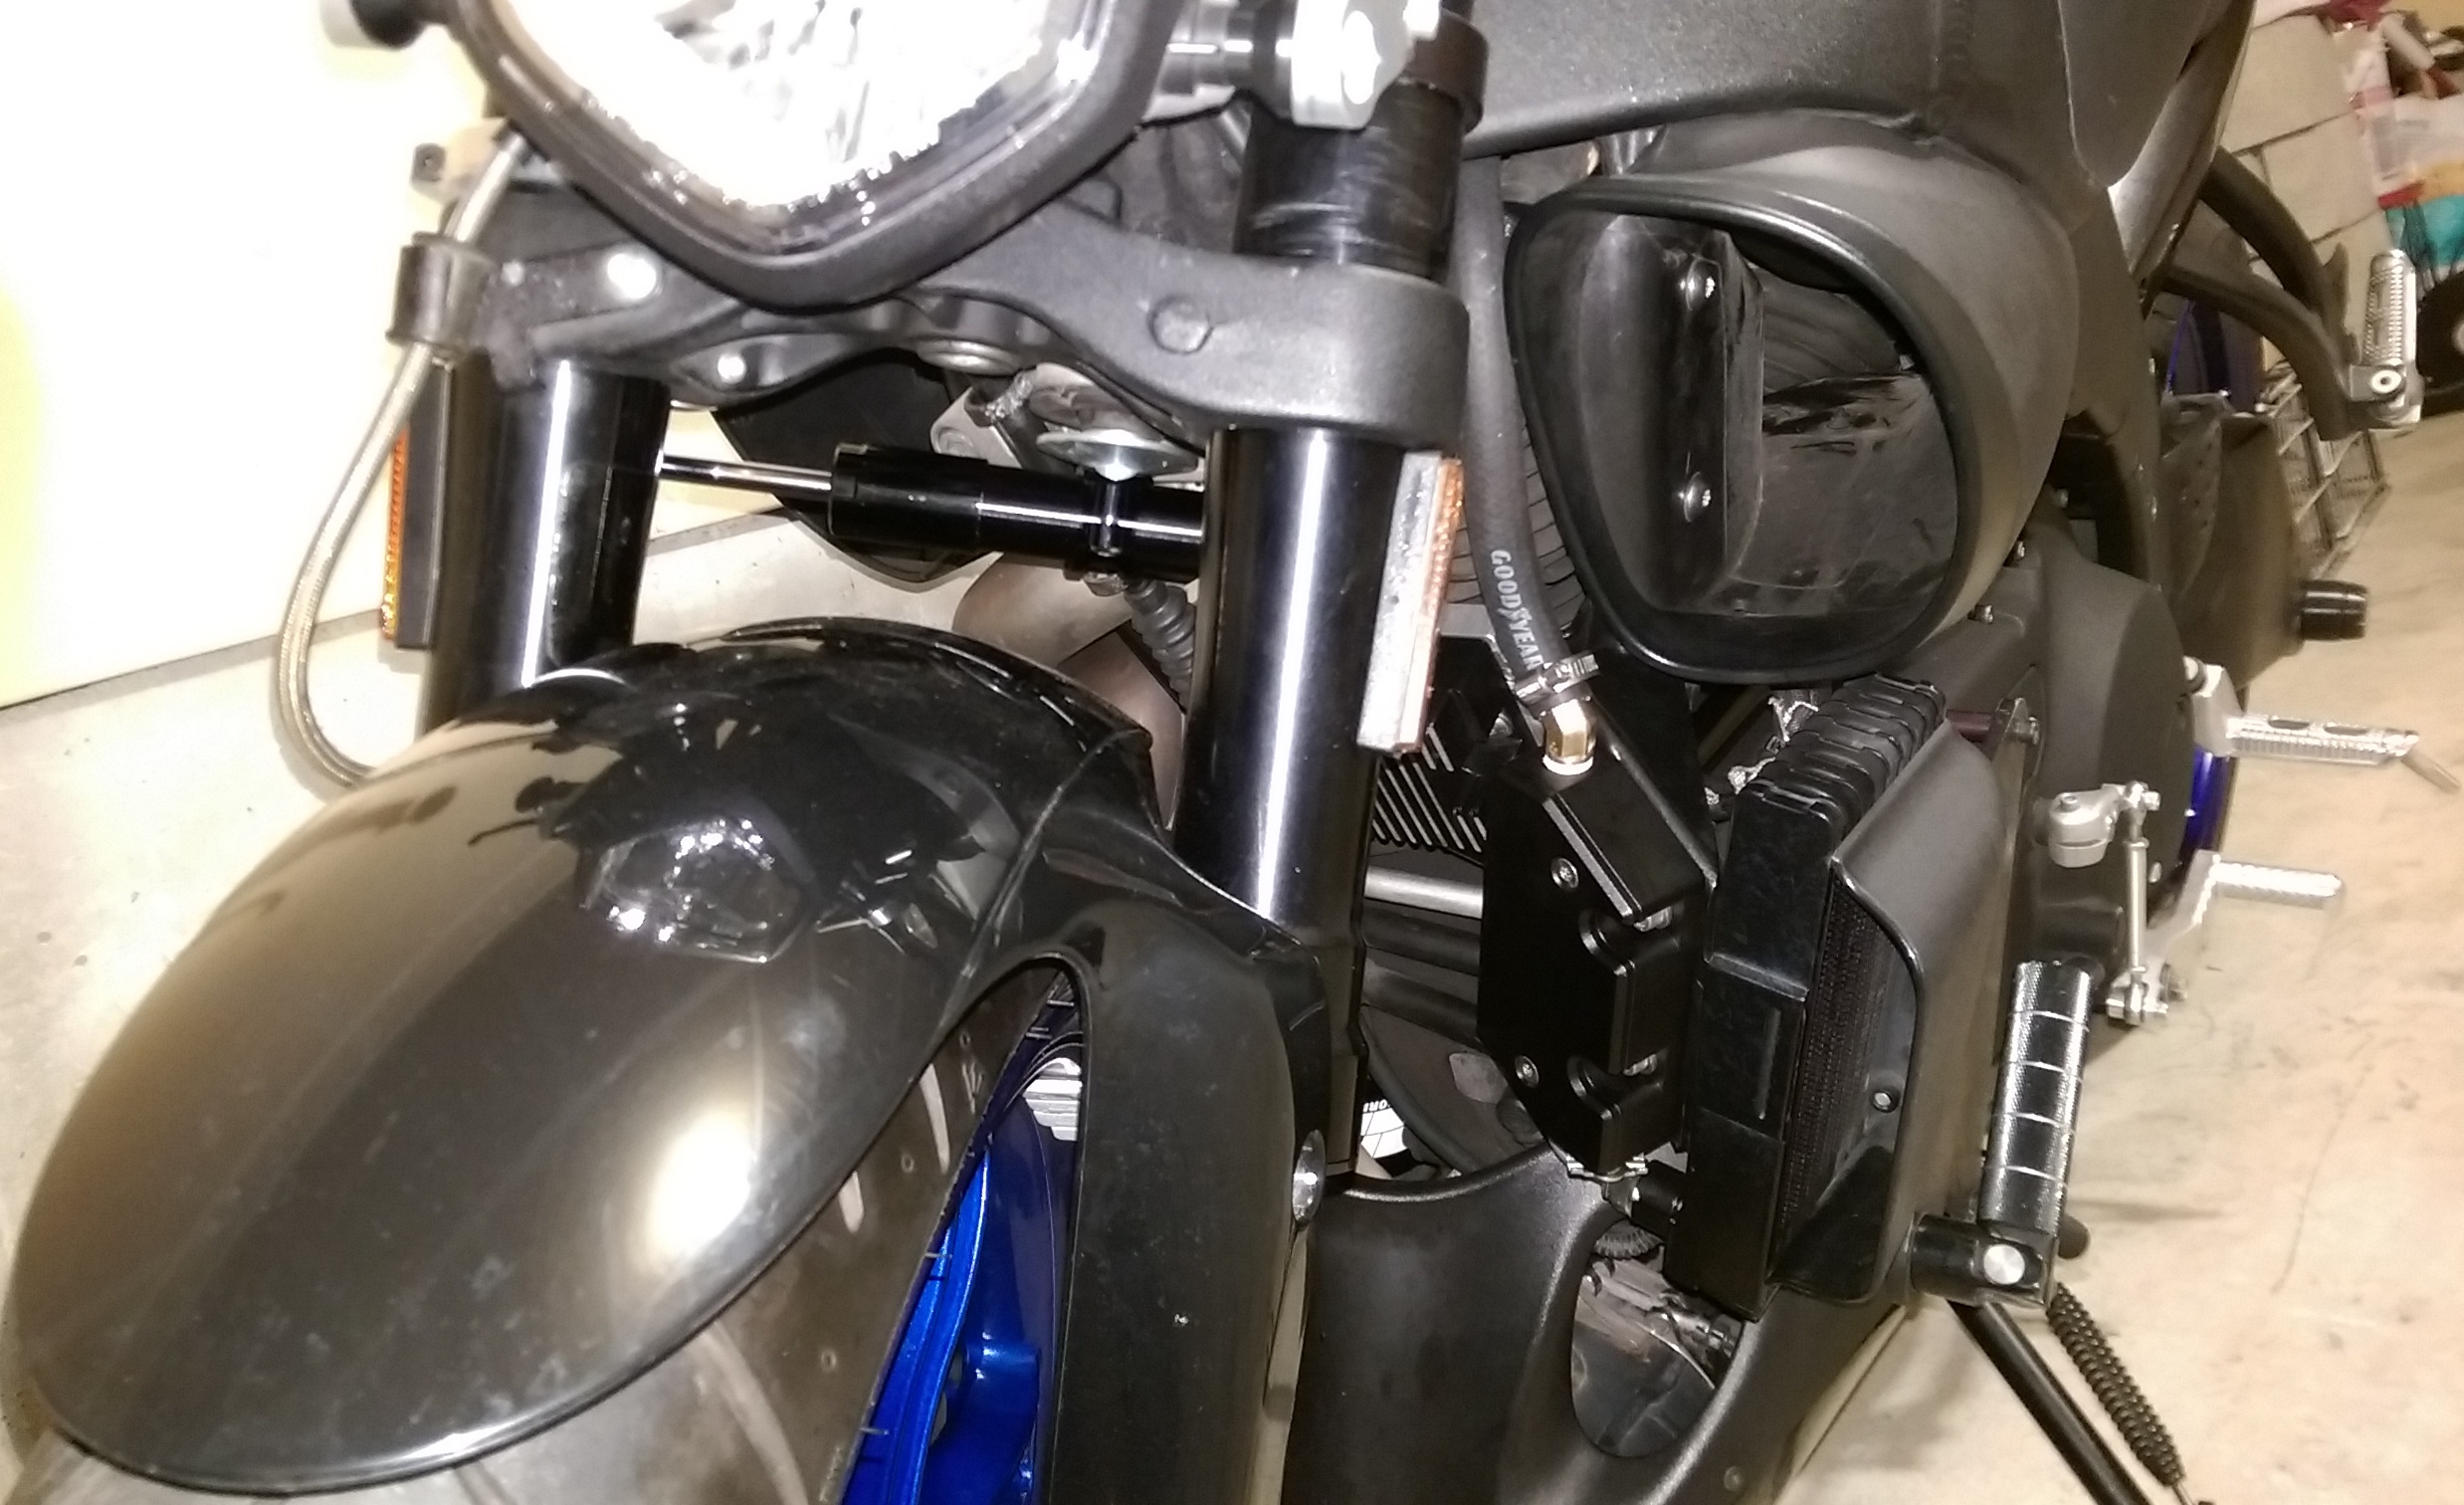
Installed damper

IMAG6377.jpg


IMAG6370.jpg


Alright. Here is list of parts you will need:

- Steering damper itself, no additional brackets, just $35 damper (you can pick any color you want) https://www.amazon.com/gp/product/B01FMOJ1TO/ref=oh_aui_search_detailpage?ie=UTF8&psc=1
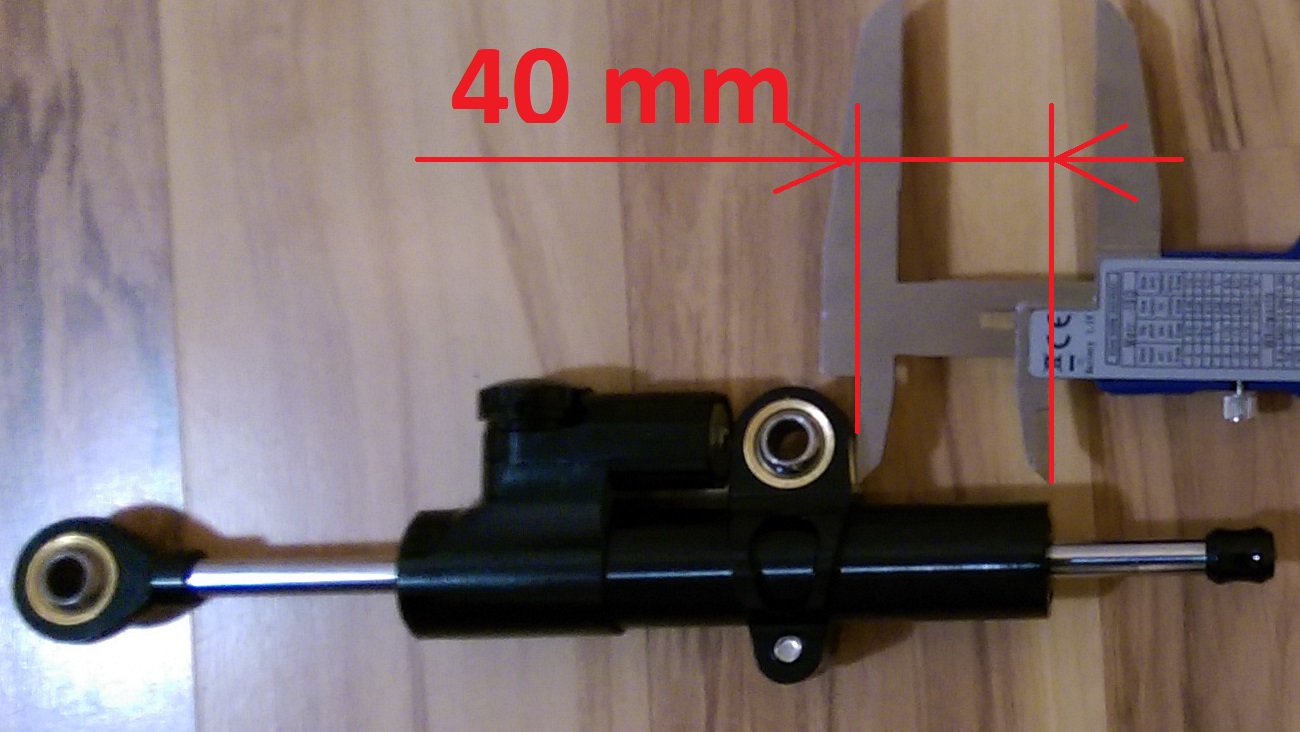
- 54 mm diameter steering damper fork clamp (for 2009 Buell XB12Scg diameter is 54 mm, if you have another year motorcycle verify you fork diameter where you are going to attach bracket, if it is different you have to buy bracket with diameter you need) https://www.amazon.com/gp/product/B01N2ZTDL8/ref=oh_aui_search_detailpage?ie=UTF8&psc=1
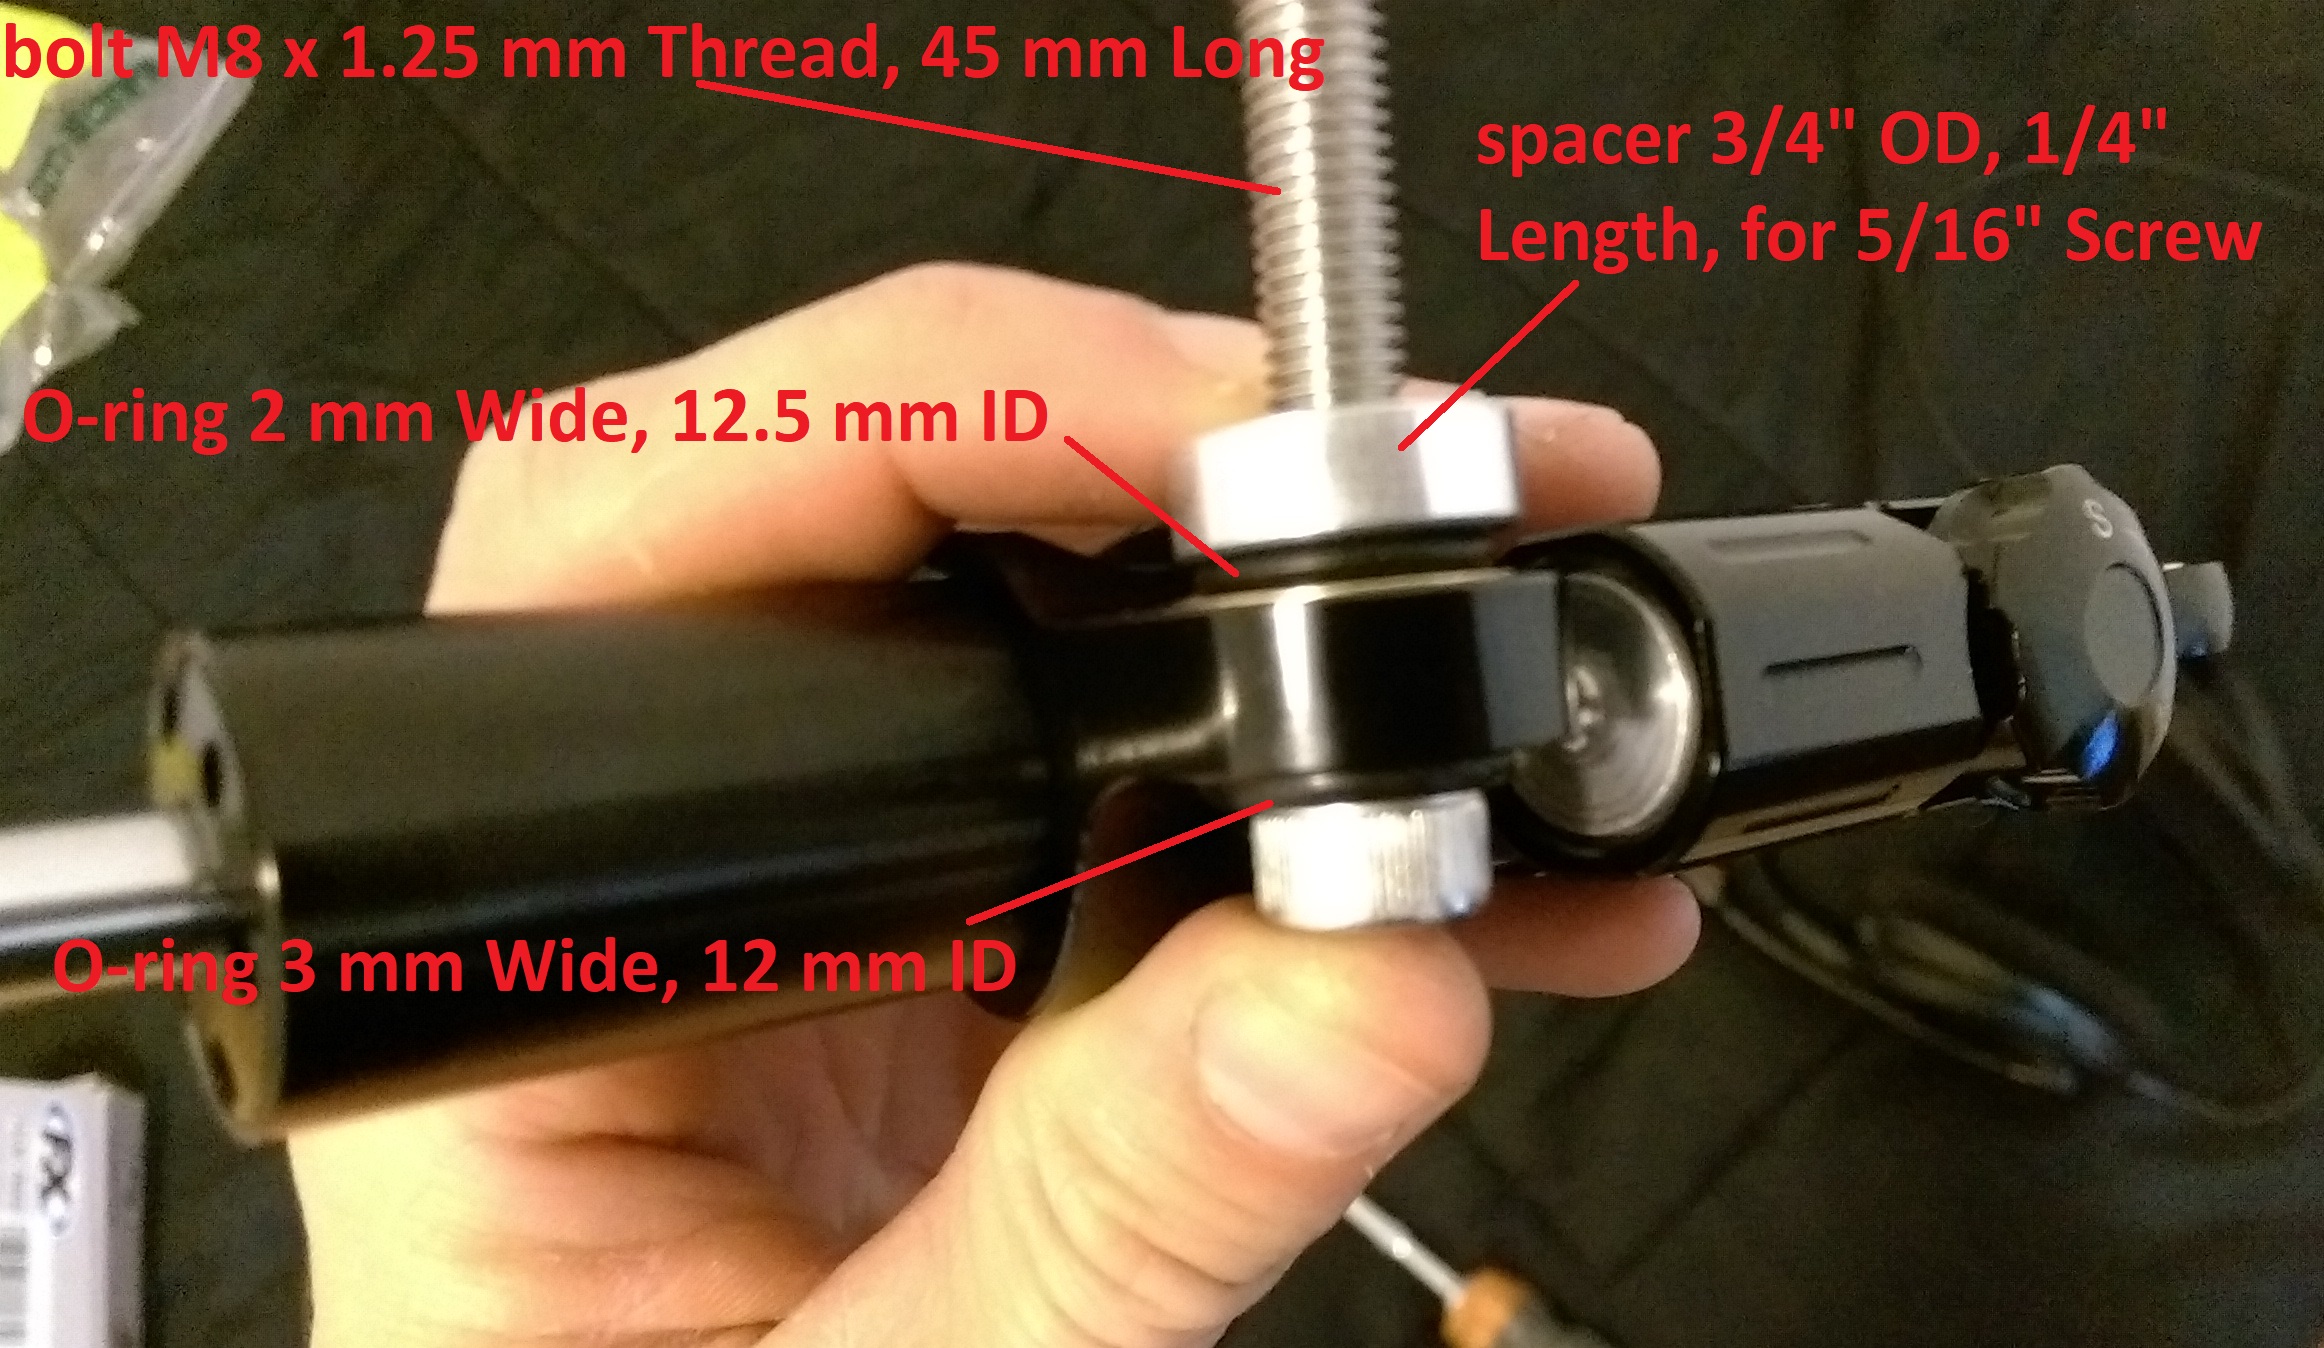
- 2 O-rings 3 mm Wide, 12 mm ID https://www.mcmaster.com/#9262k266/=19kpraa
- 2 O-rings 2 mm Wide, 12.5 mm ID https://www.mcmaster.com/#9262k852/=19kprbs
- One bolt M8 x 1.25 mm Thread, 45 mm Long https://www.mcmaster.com/#92290a446/=19kprbl
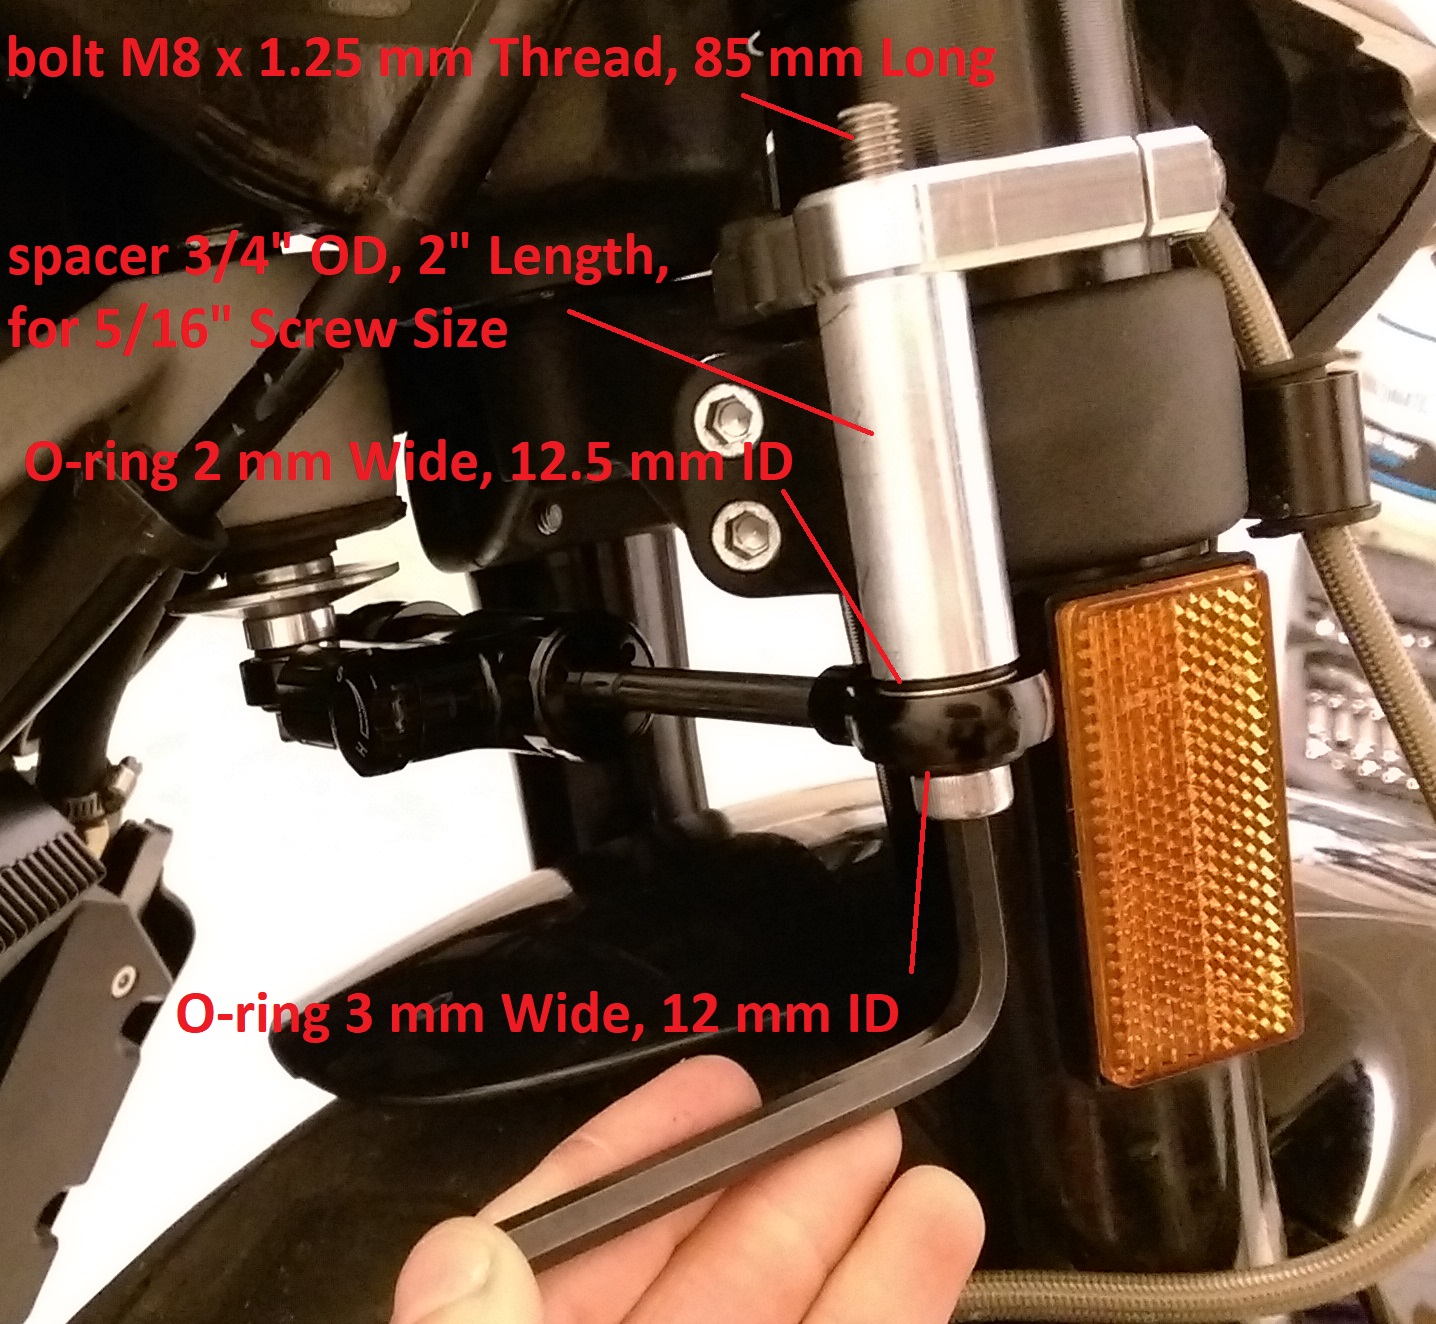
- One bolt M8 x 1.25 mm Thread, 85 mm Long https://www.mcmaster.com/#92290a462/=19kprc4
- One spacer 3/4" OD, 1/4" Length, for 5/16" Screw Size https://www.mcmaster.com/#92510a489/=19kprdg
- One spacer 3/4" OD, 2" Length, for 5/16" Screw Size https://www.mcmaster.com/#92510a813/=19kpre0
- One nut M8 x 1.25 mm Thread with nilon insert https://www.mcmaster.com/#94710a104/=19kprdm


Now you can start build you own steering damper kit.

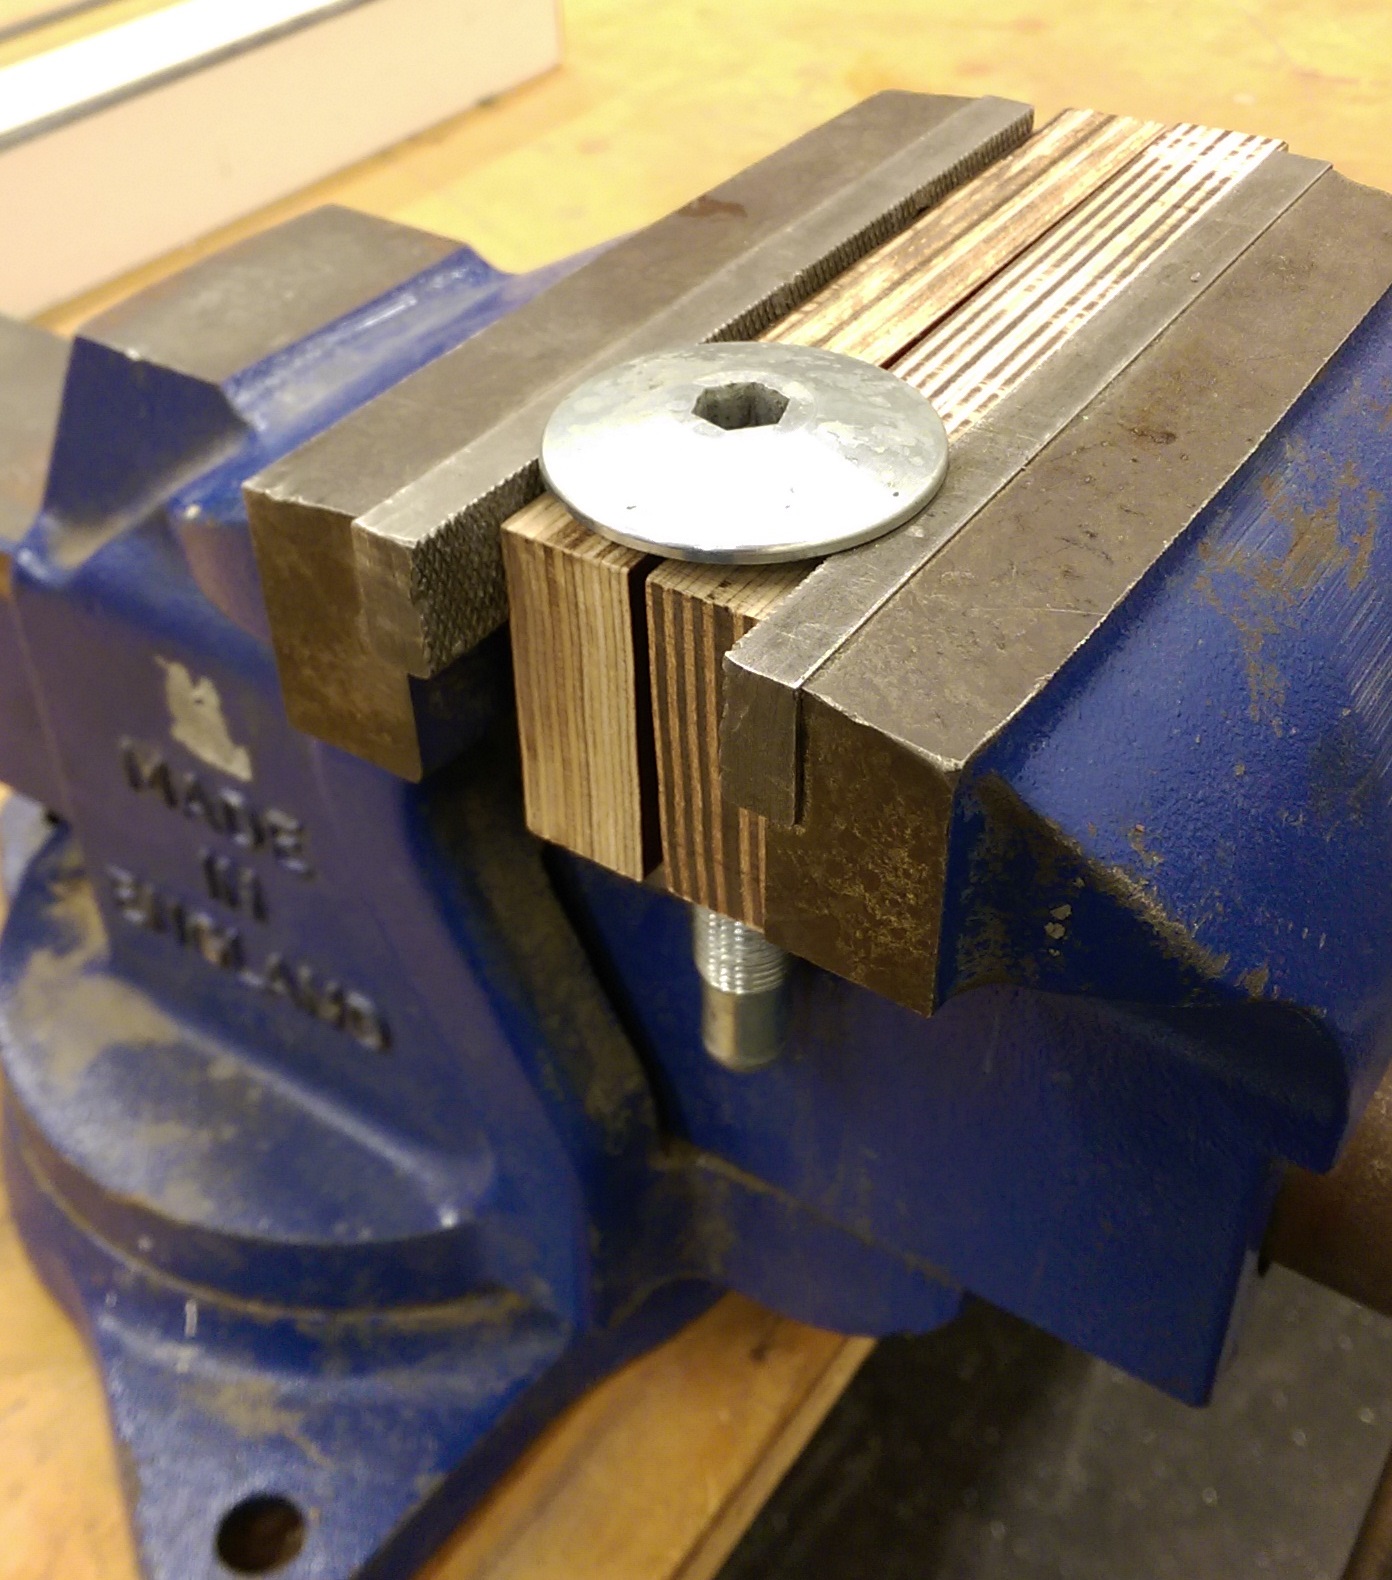
First of all remove front isolator bolt bolt from your motorcycle.

Secure front isolator bolt in a fixture. I used a vise with a couple plywood pieces
IMAG6194.jpg


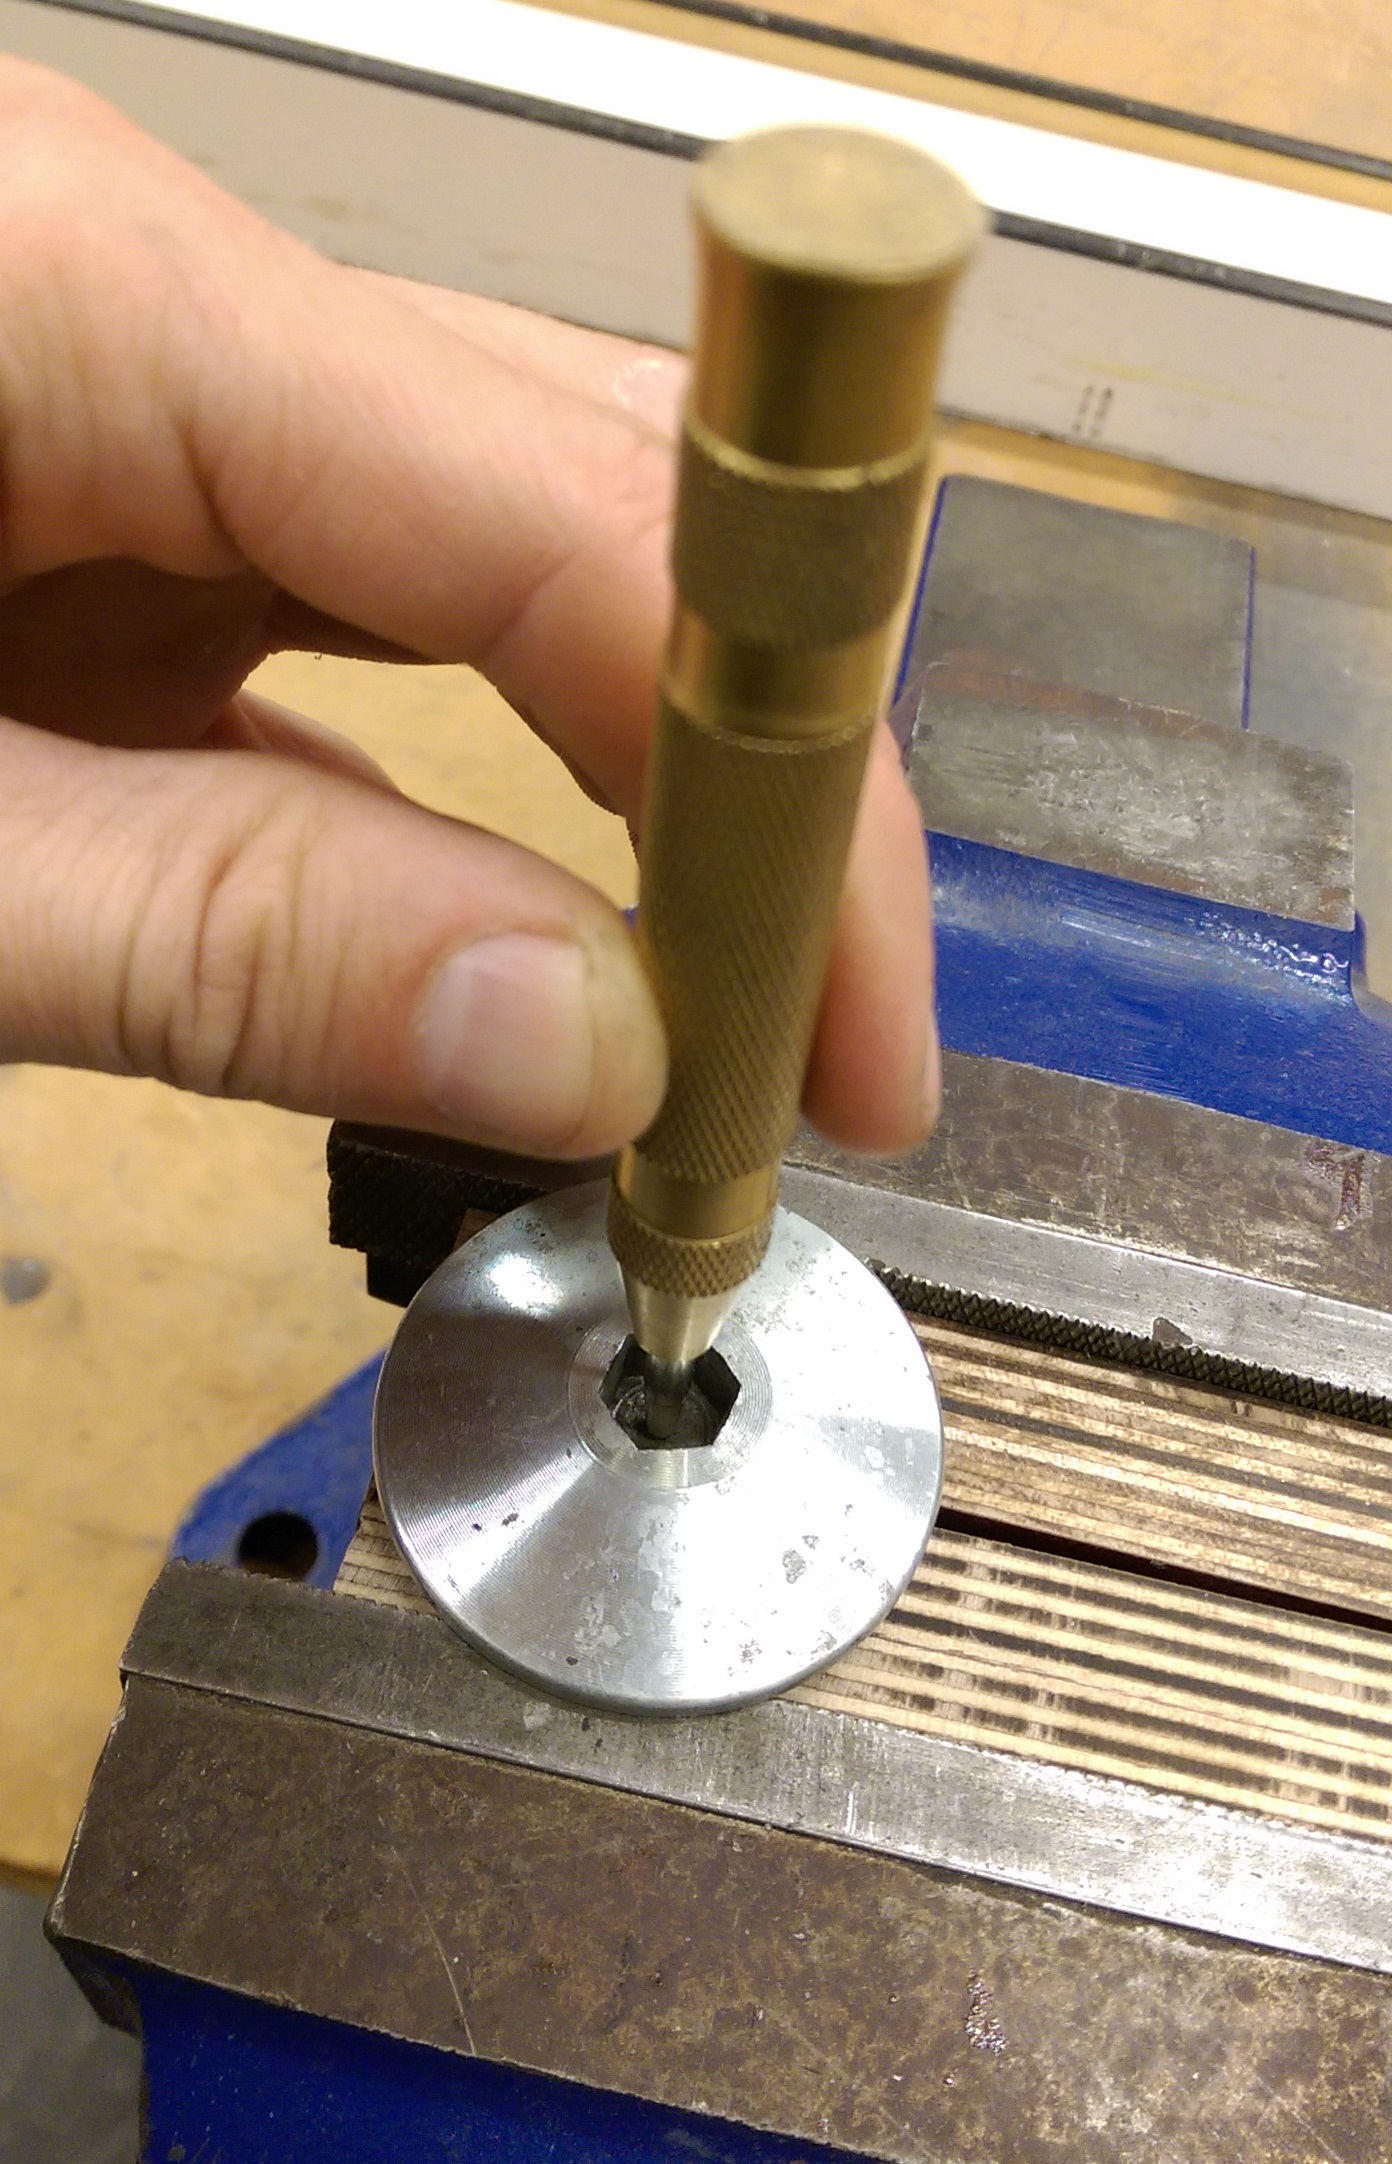
Tap the center mark in the bolt

IMAG6195.jpg


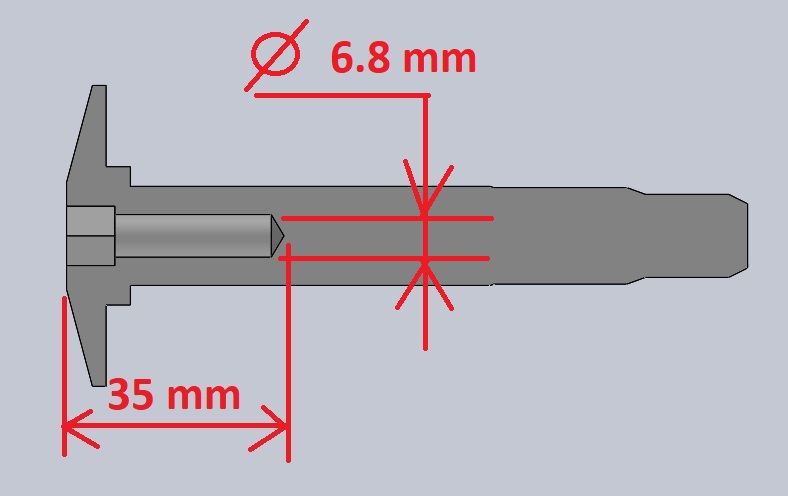
Drill 6.8 mm hole in the bolt to at least 35 mm depth
Bolt.jpg


It is very important to drill this hole as parallel to the bolt axis as possible. I used press drill to drill this hole
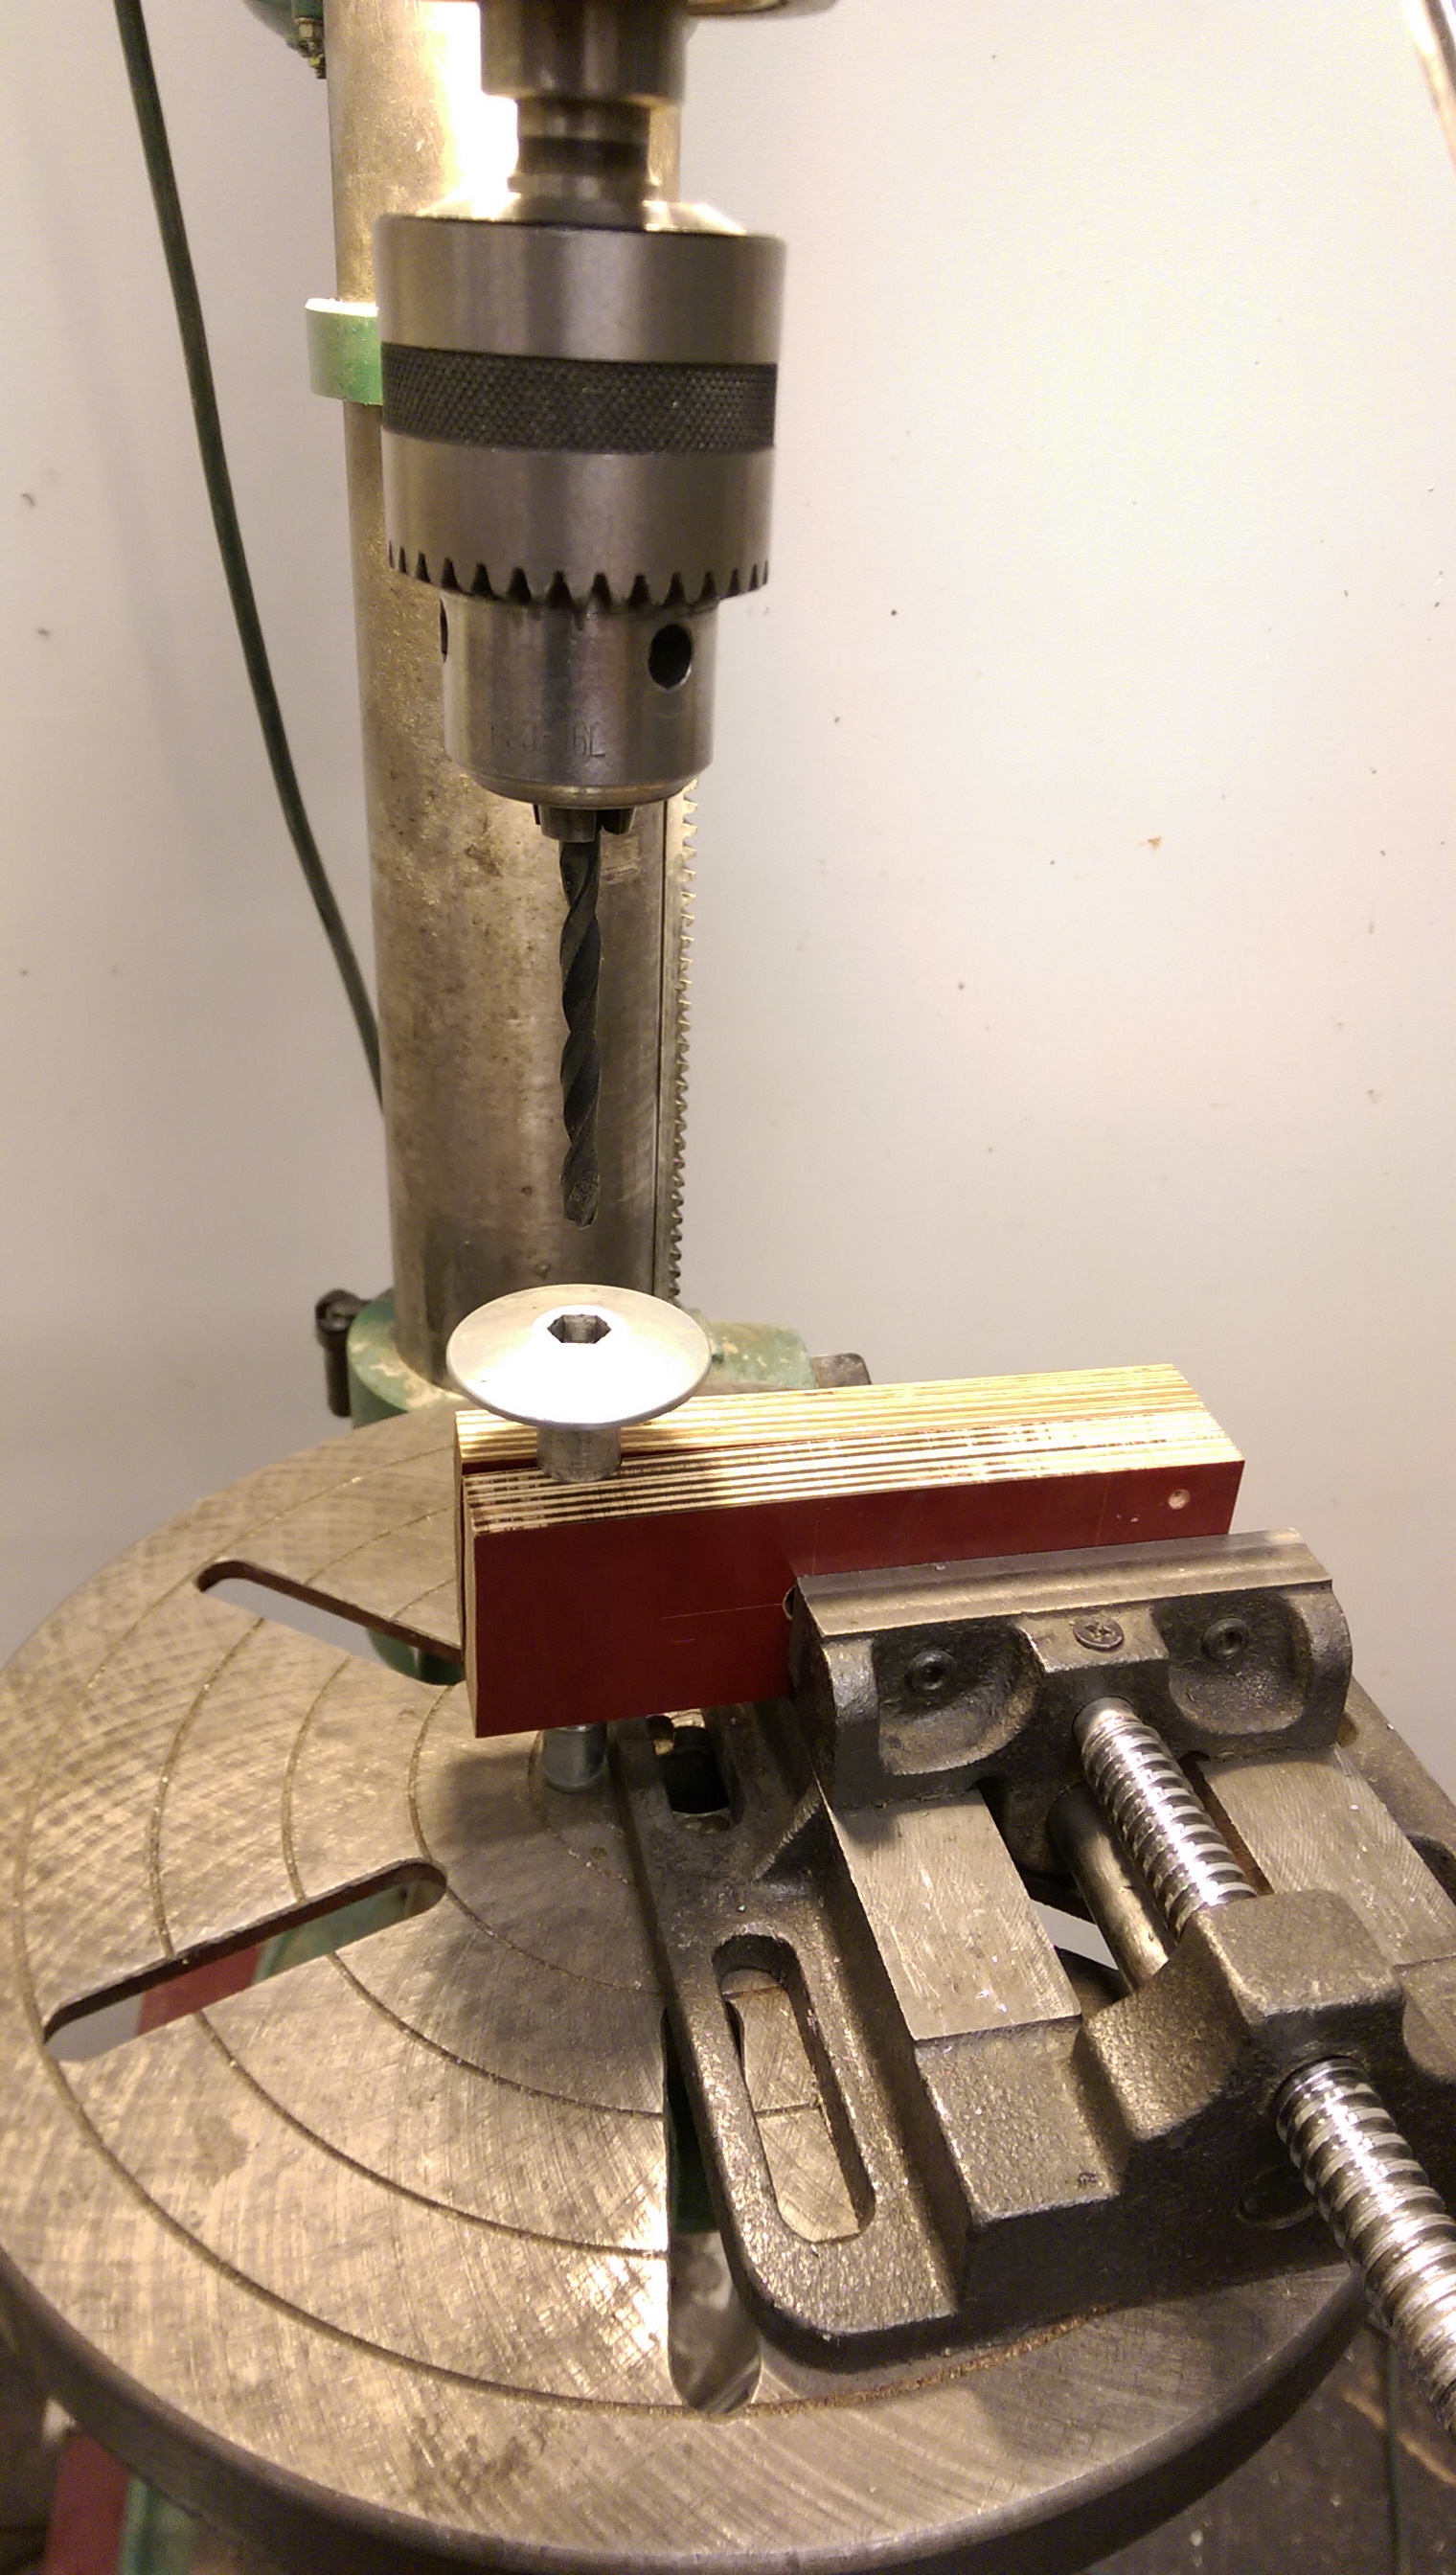
IMAG6196.jpg


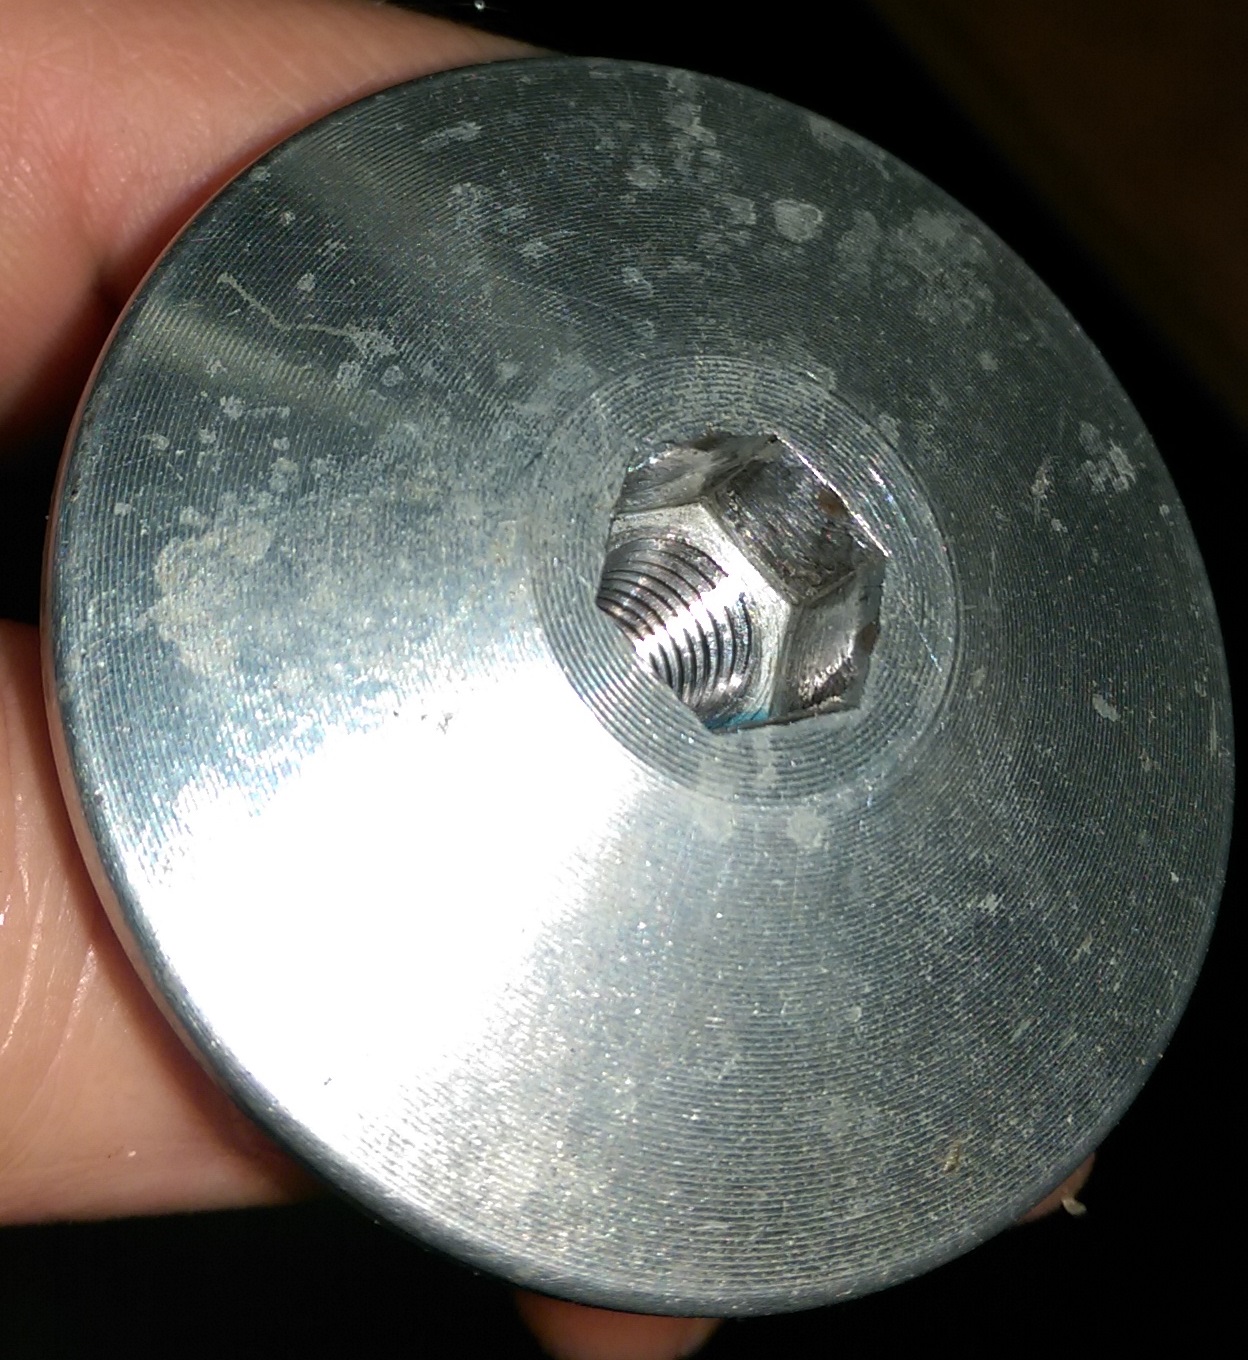
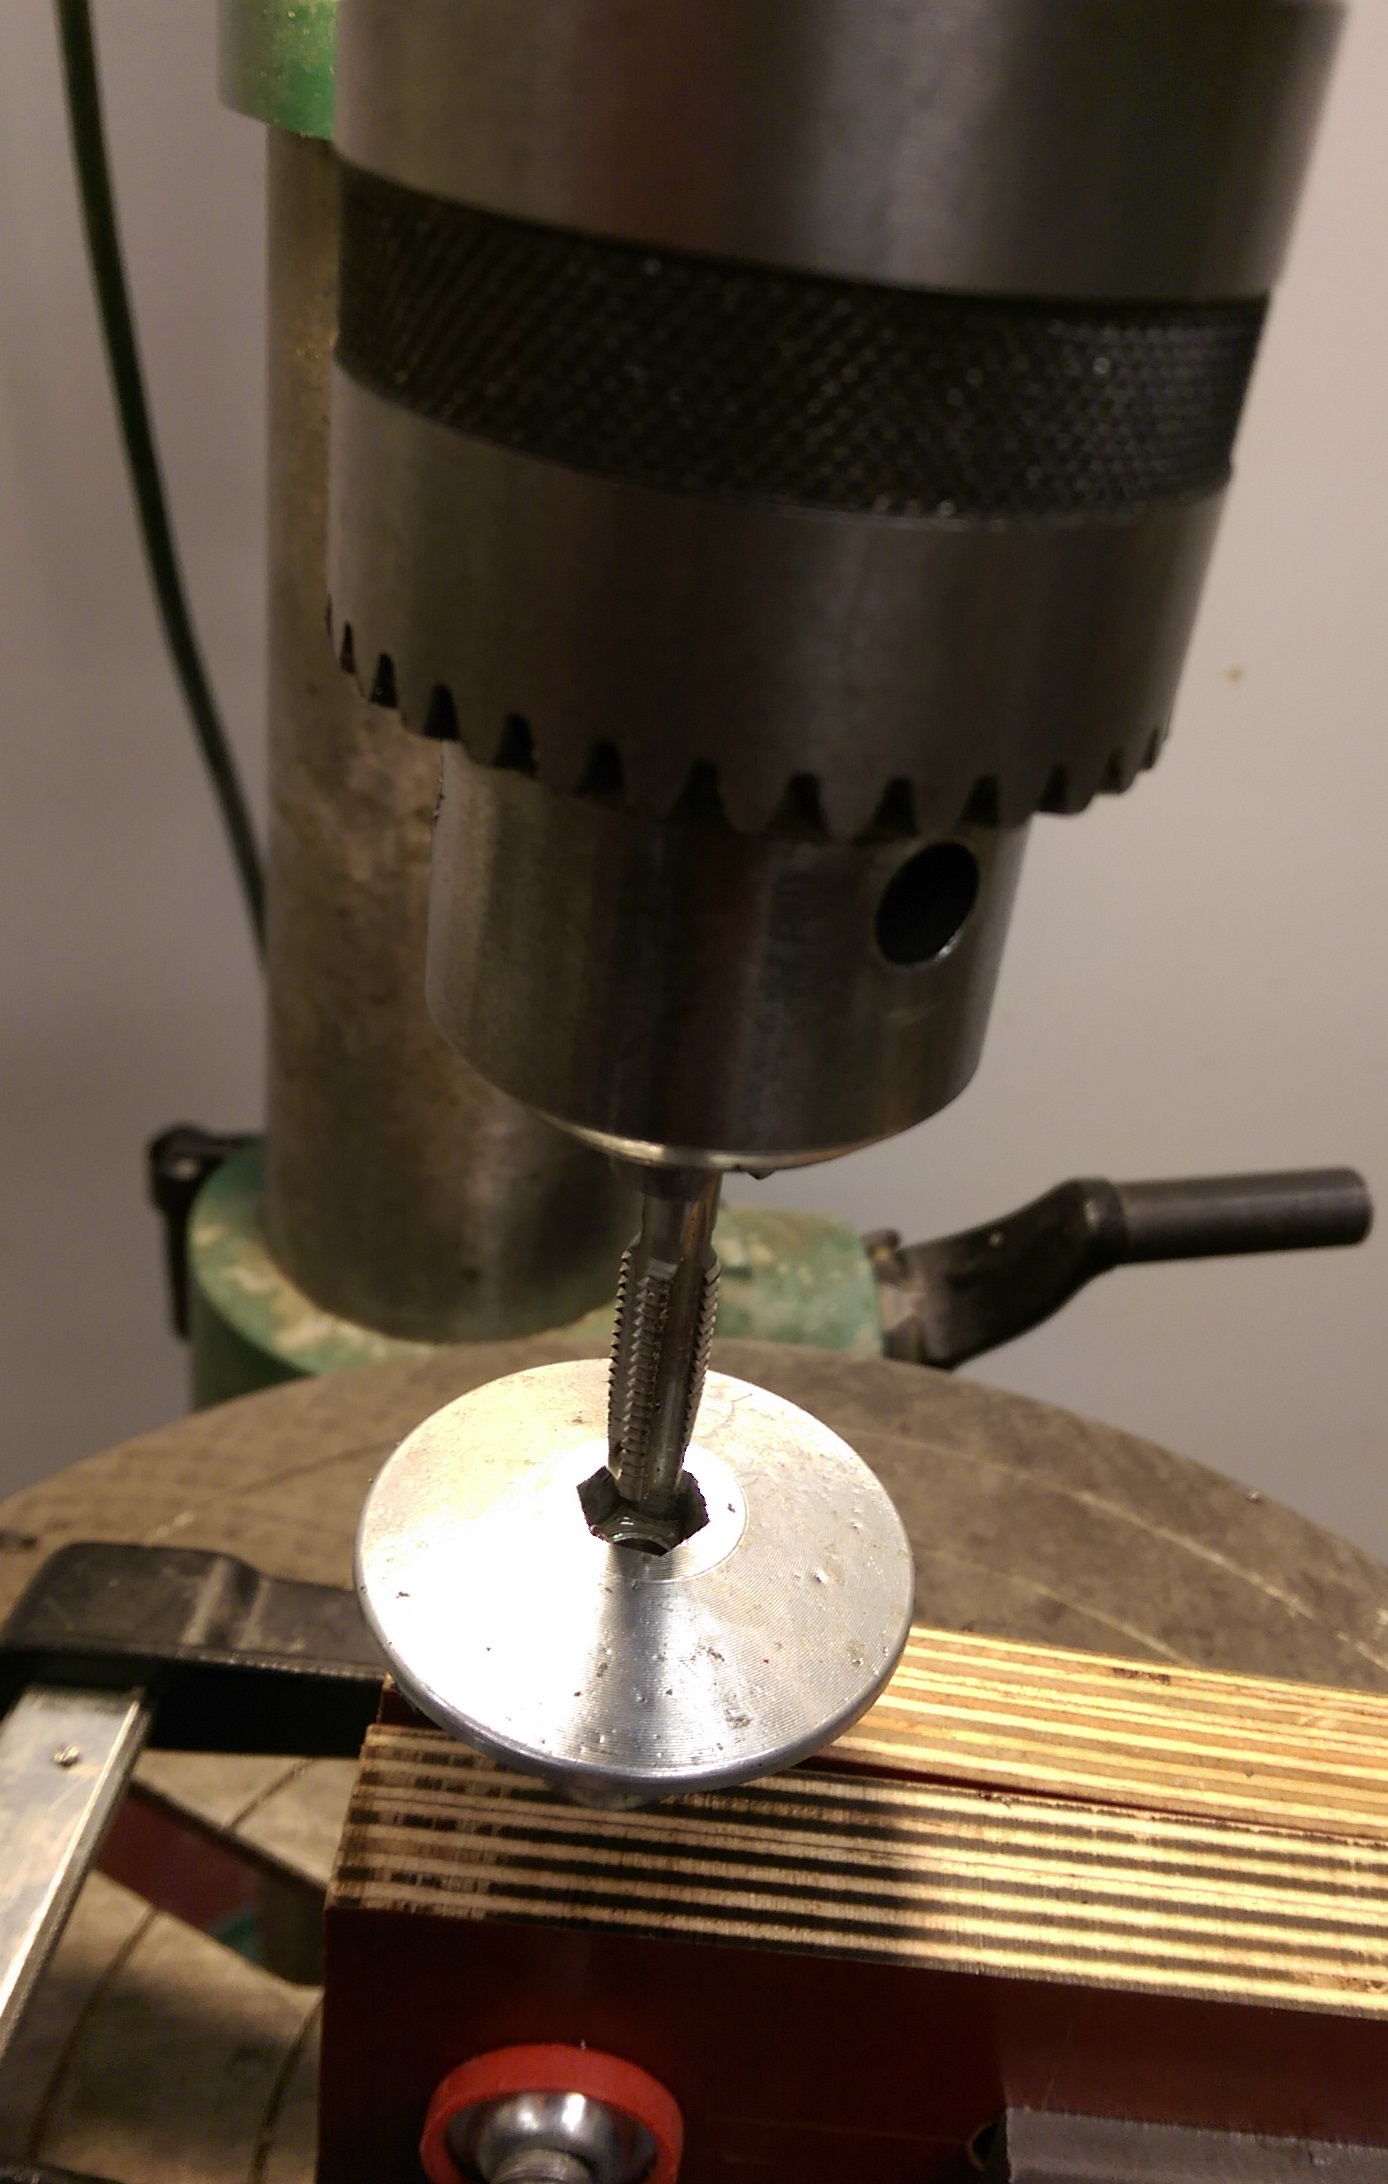
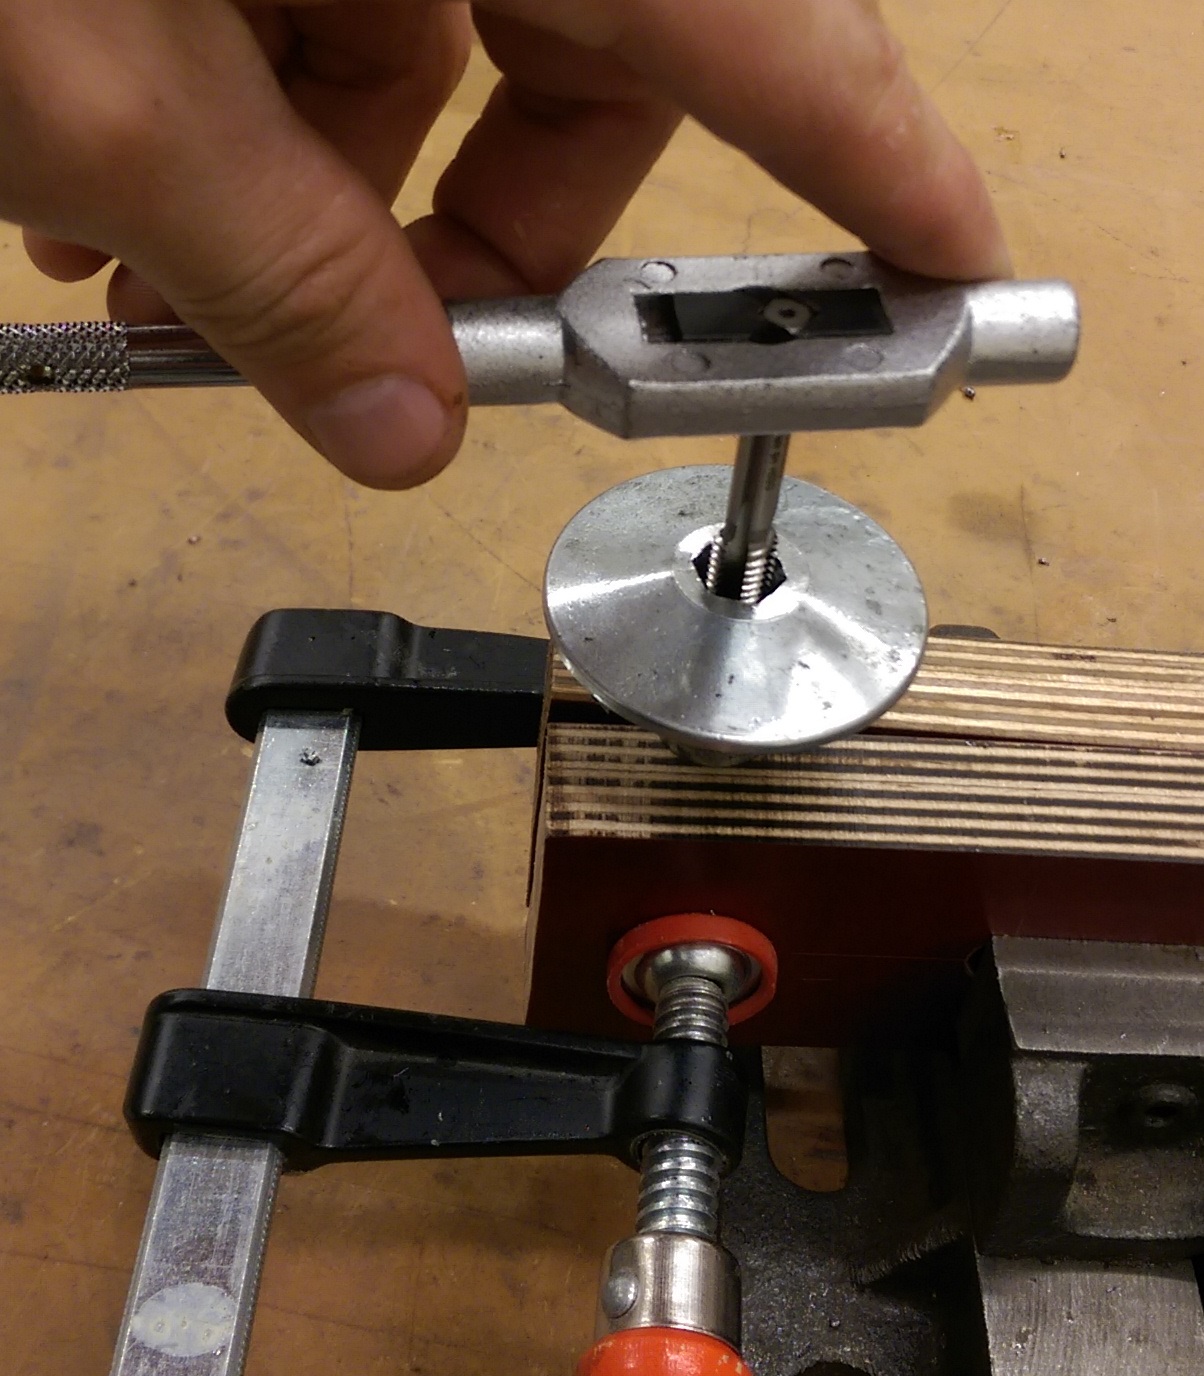
Tap M8 thread in the hole up to the hole bottom.

I started tap hole with M8 beginner tapper using press drill and manually turning it to engage the tapper to the hole as parallel as possible and then finished tapping manually with bottom tapper
IMAG6201.jpg


IMAG6202.jpg


Done!

IMAG6204.jpg
 
Last edited:
As an Amazon Associate we earn from qualifying purchases.
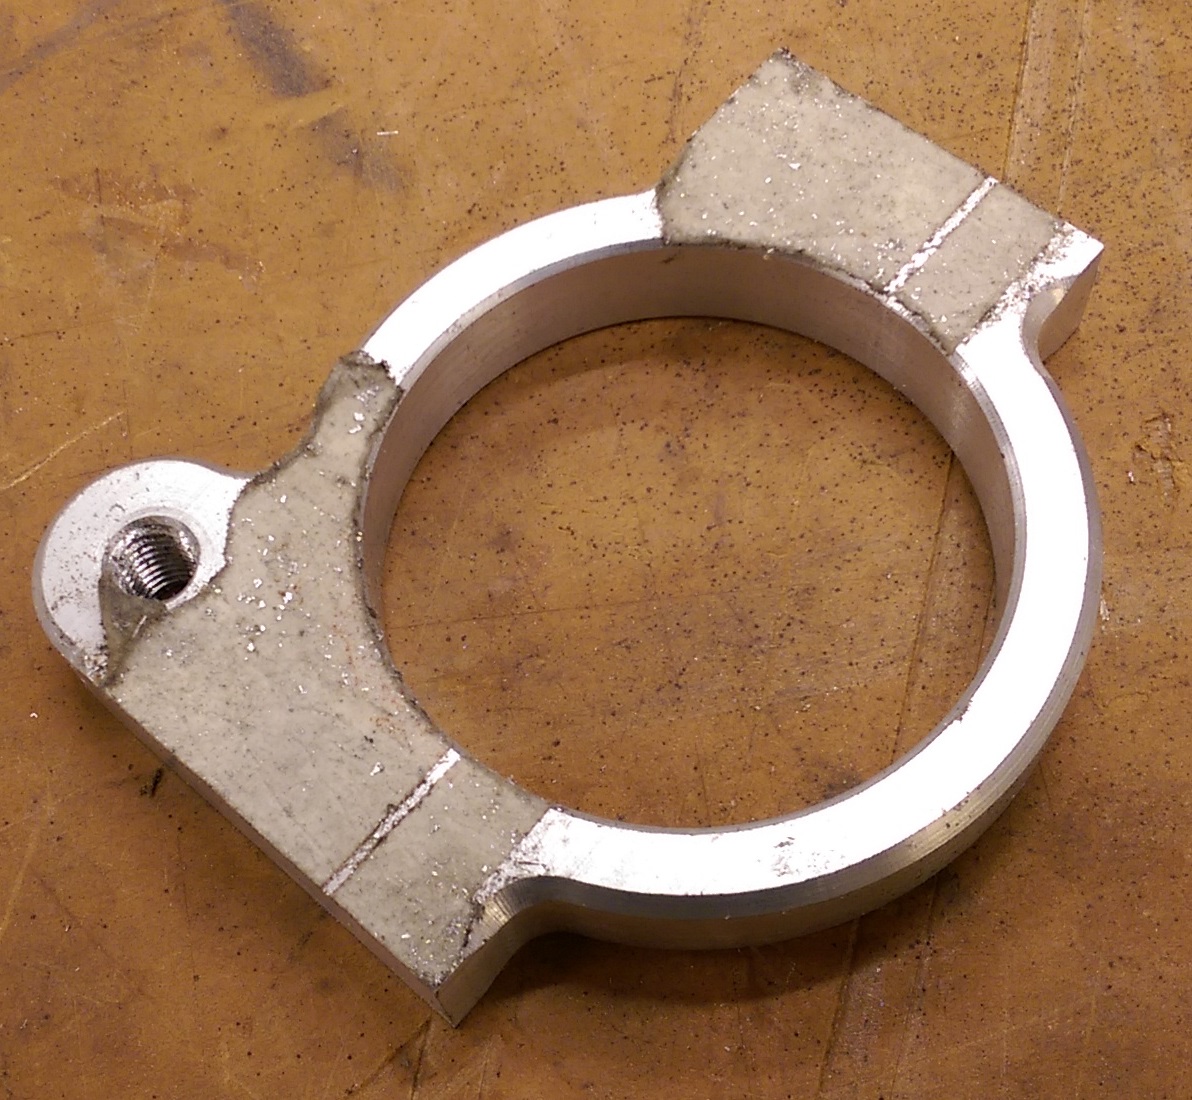
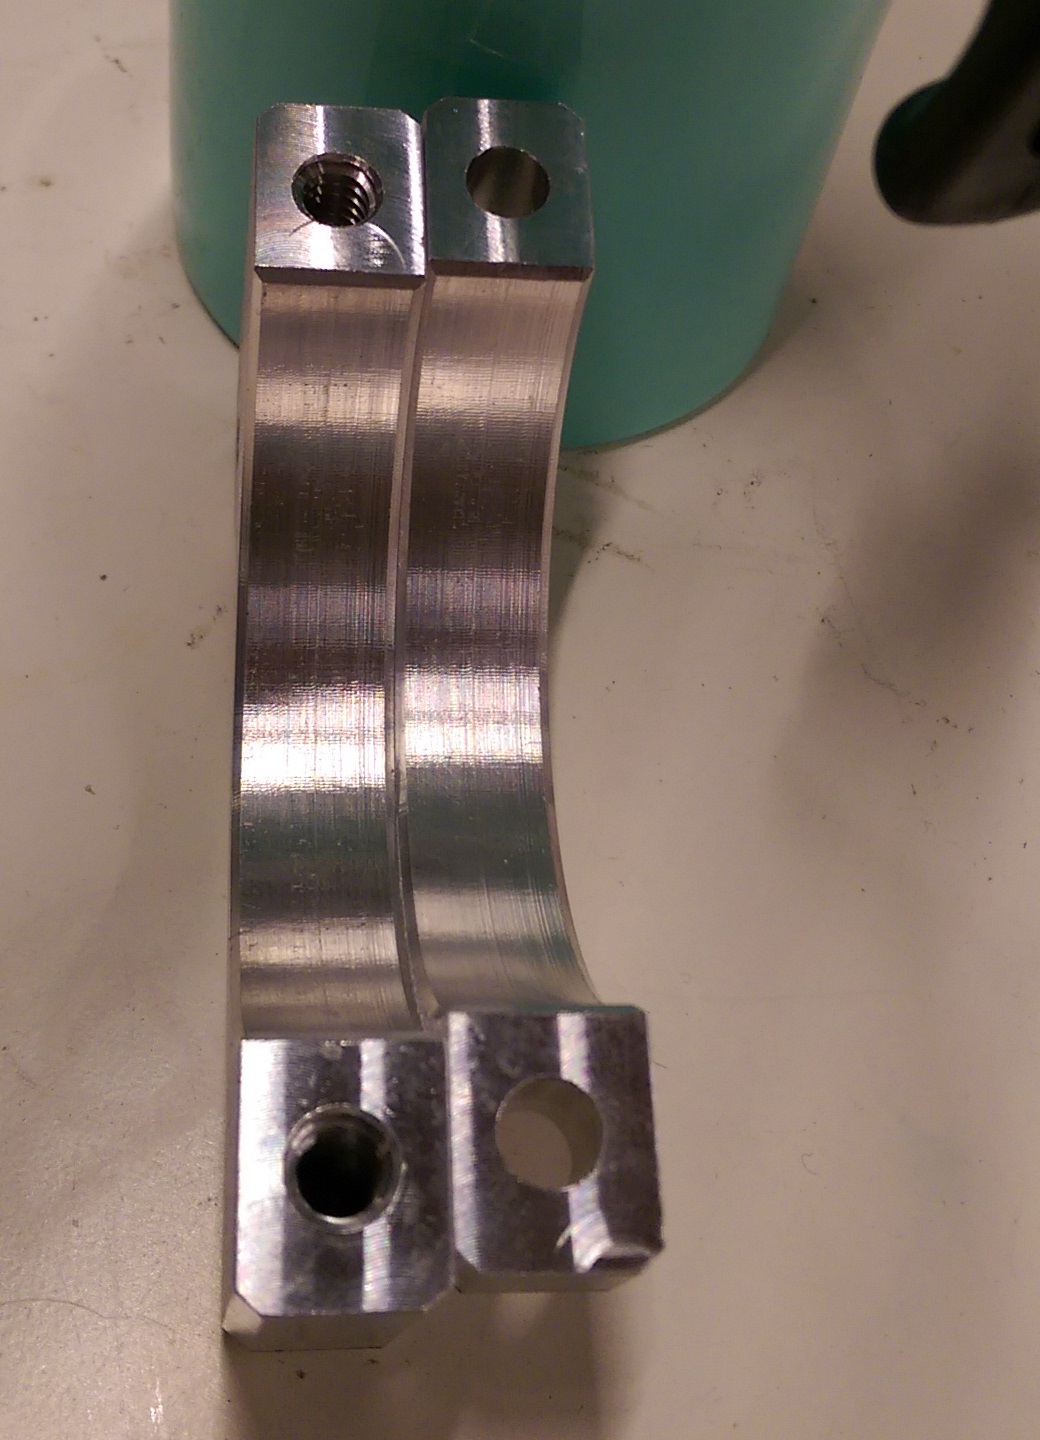
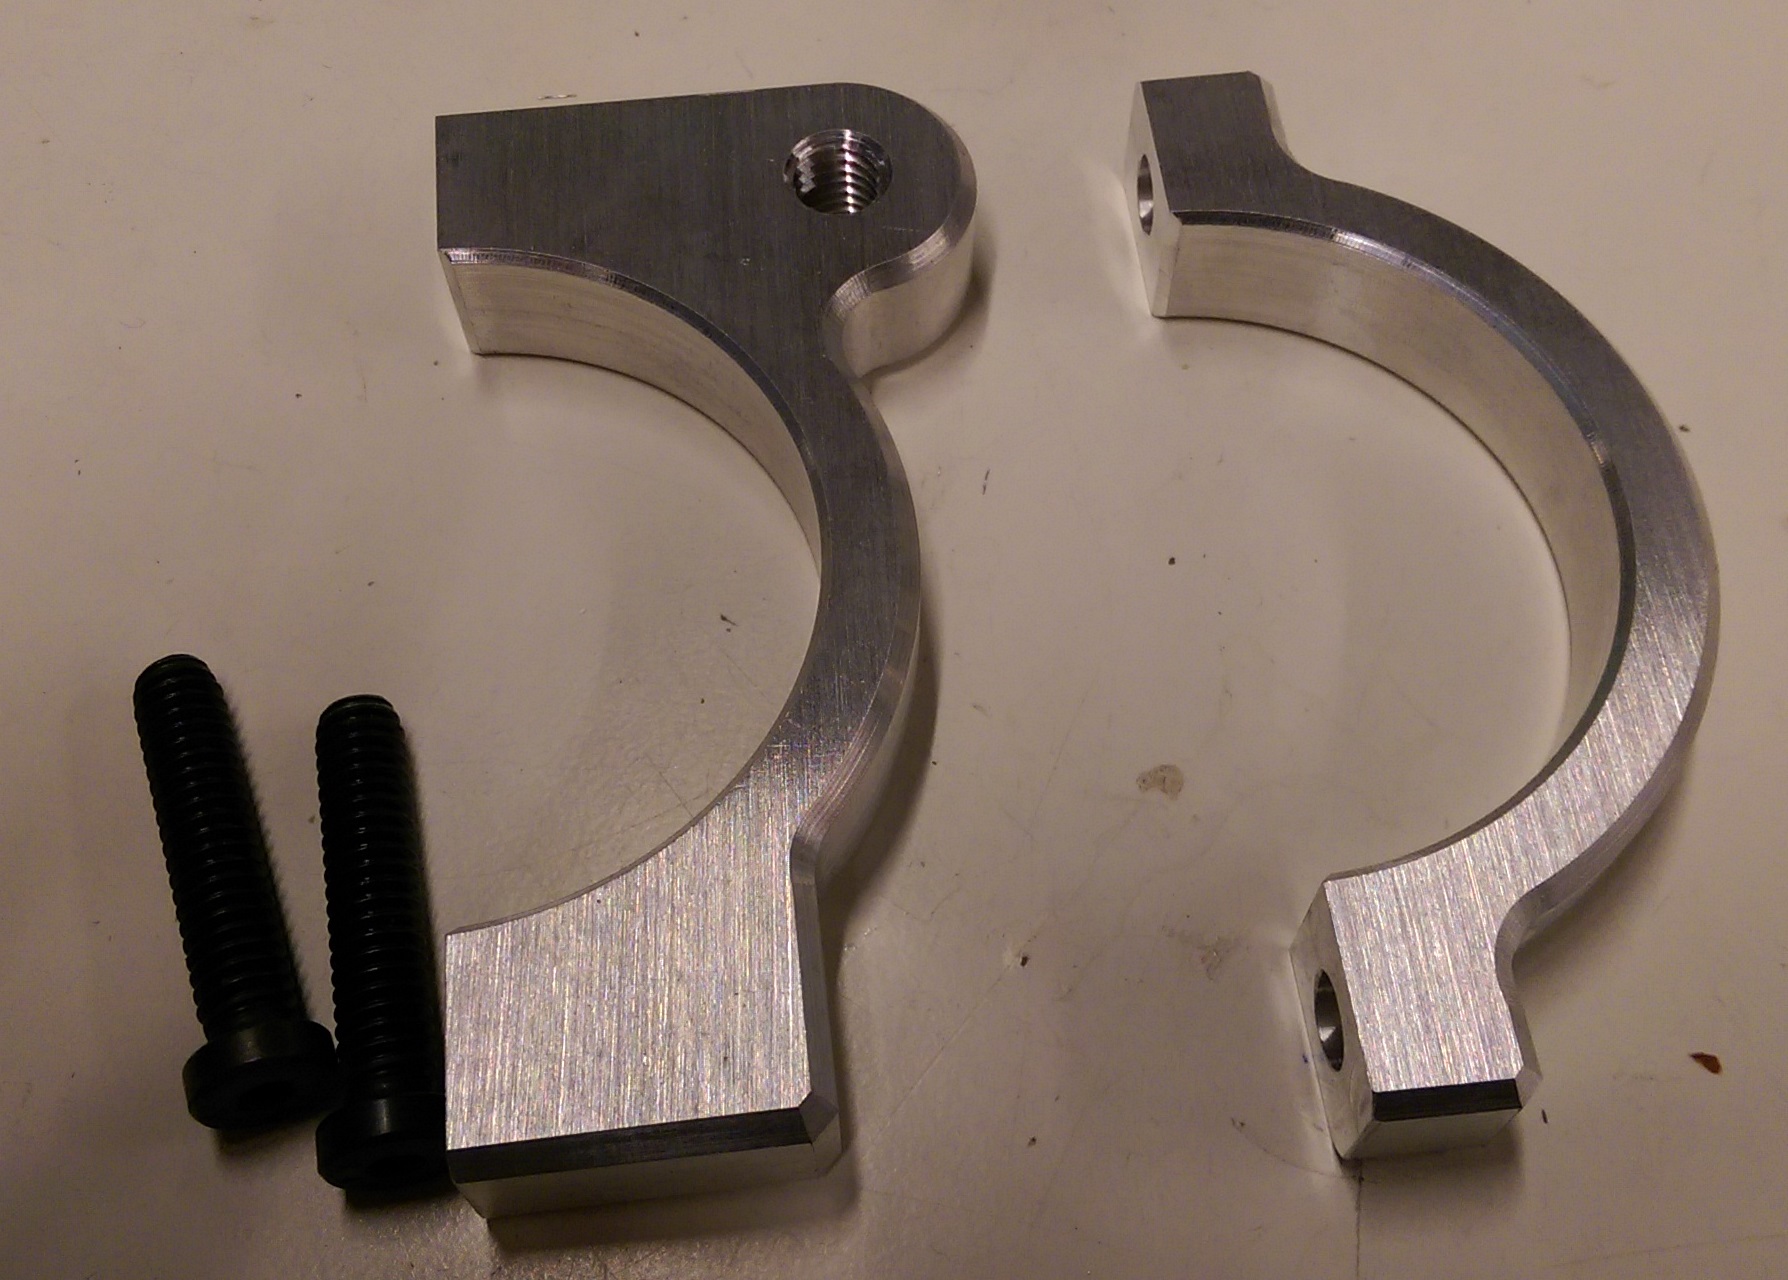
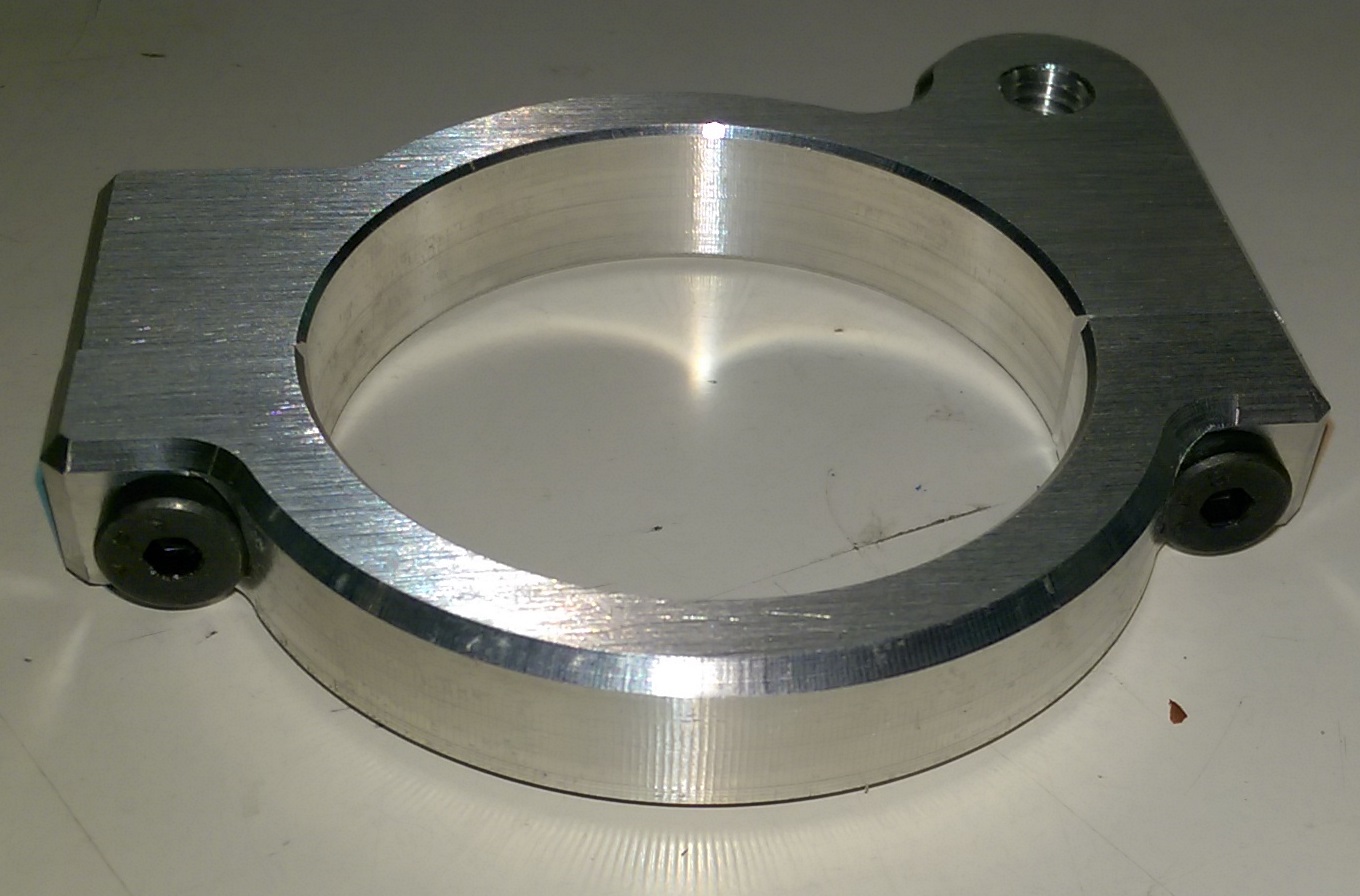
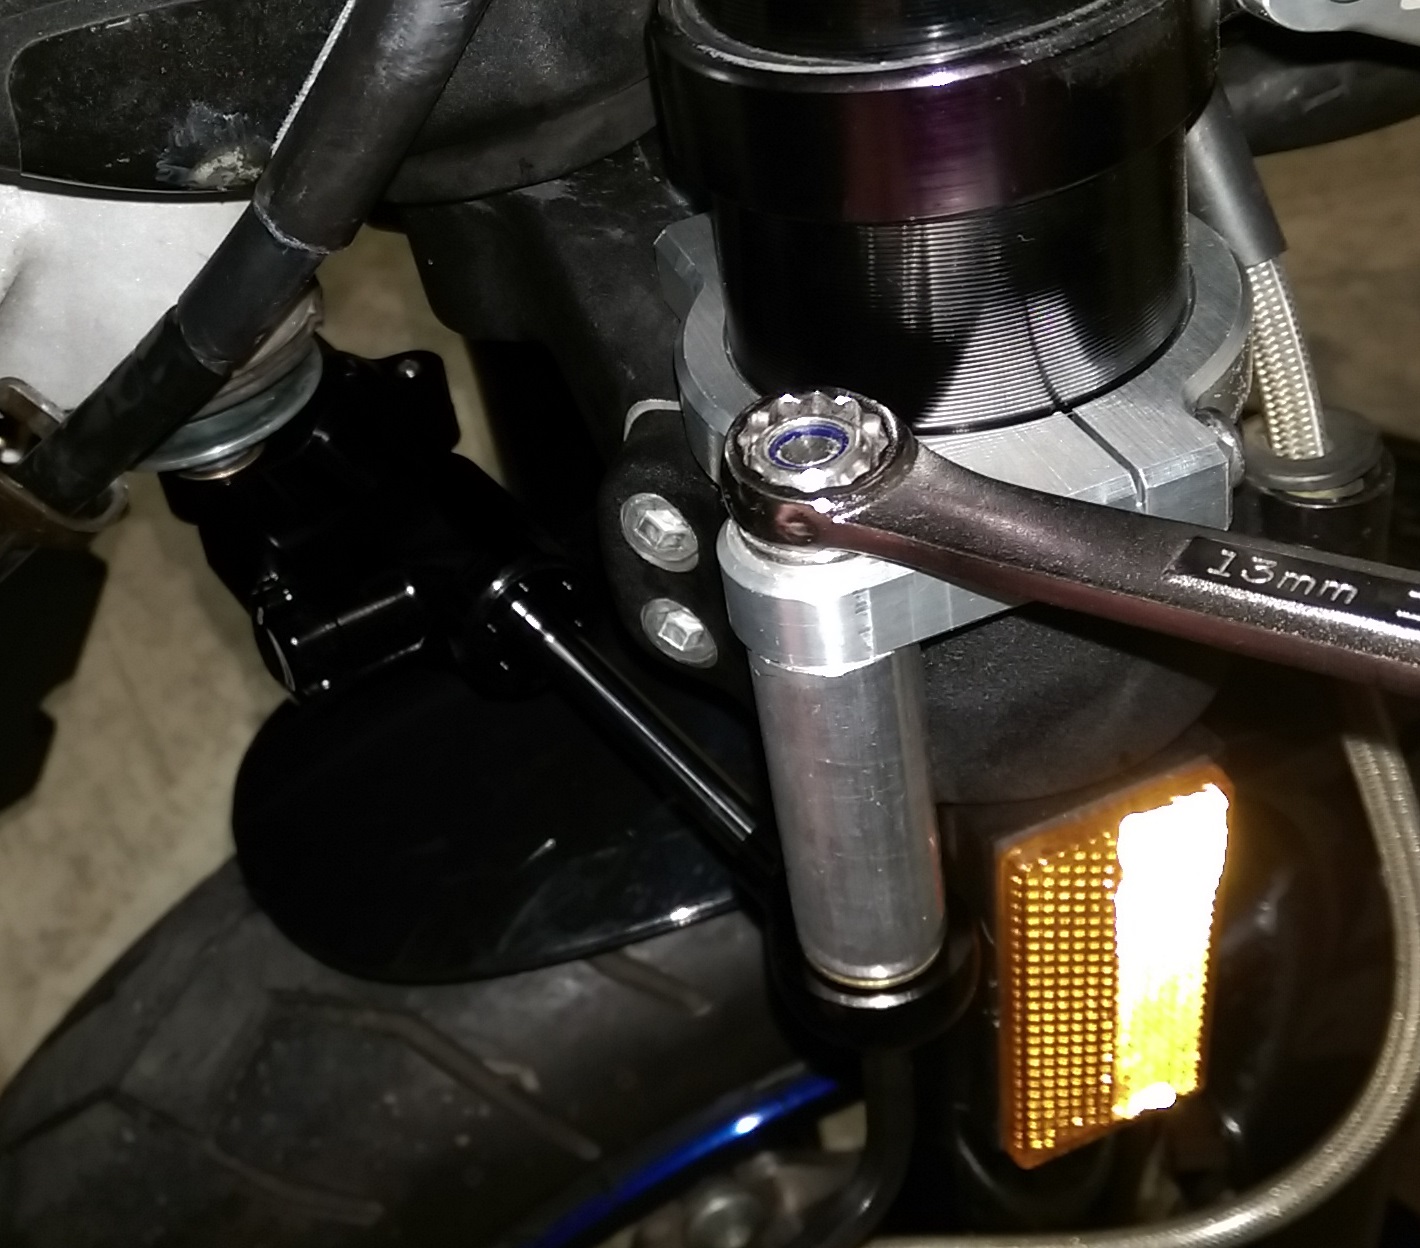
Now you are ready to install everything, but! if you want to save a few dollars and make you setup a little bit user friendly you can build your own custom fork clamp bracket instead of using the existing 54 mm clamp. I build my own bracket due to I wanted to make it a littlr bit easier to install and to not wait until the existing bracket will be delivered from China. I can share my CAD model if you want to replicate my bracket design. The existing 54 mm bracket should work fine, it just needs more effort to be installed due to different screws orientation and spent some time to find appropriate angle for the bracket.

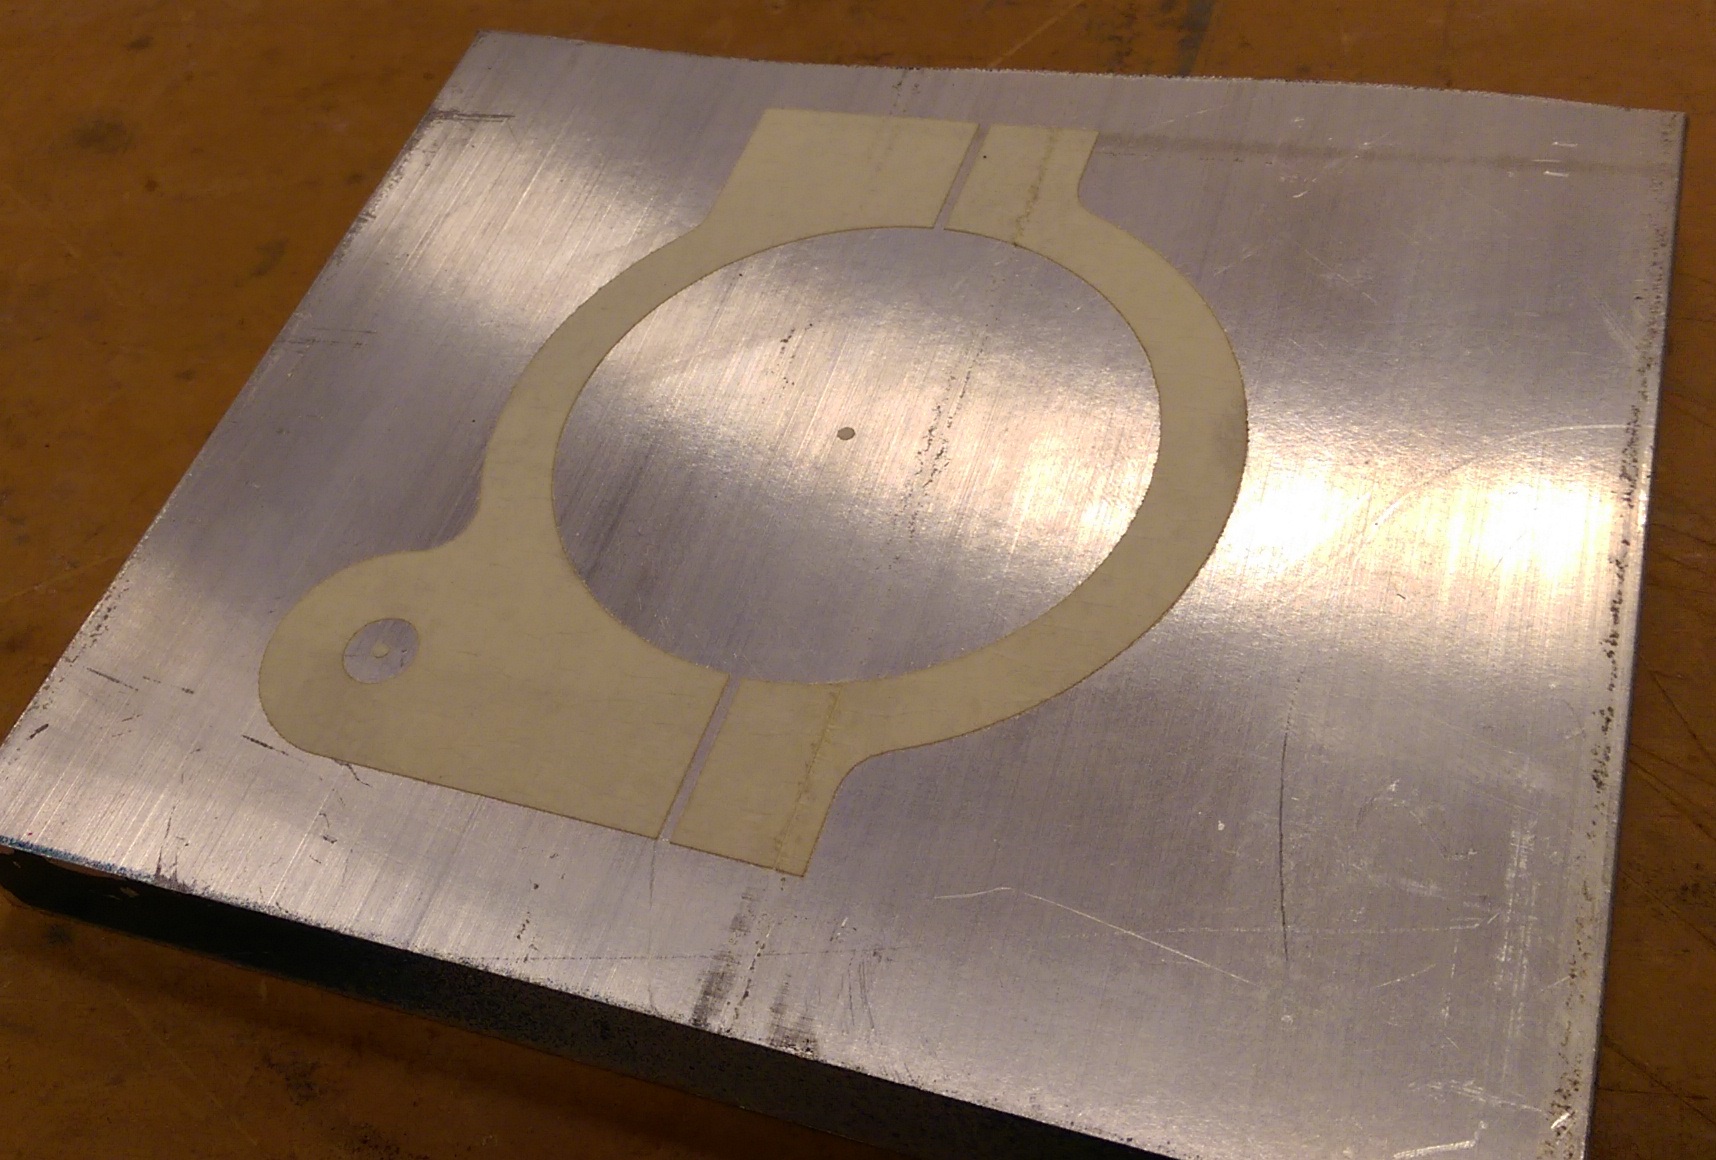
So if you want to build you own bracket you need to find a piece of 1/2" thick aluminum plate. Then mark the bracket contour using the CAD model

IMAG6235.jpg


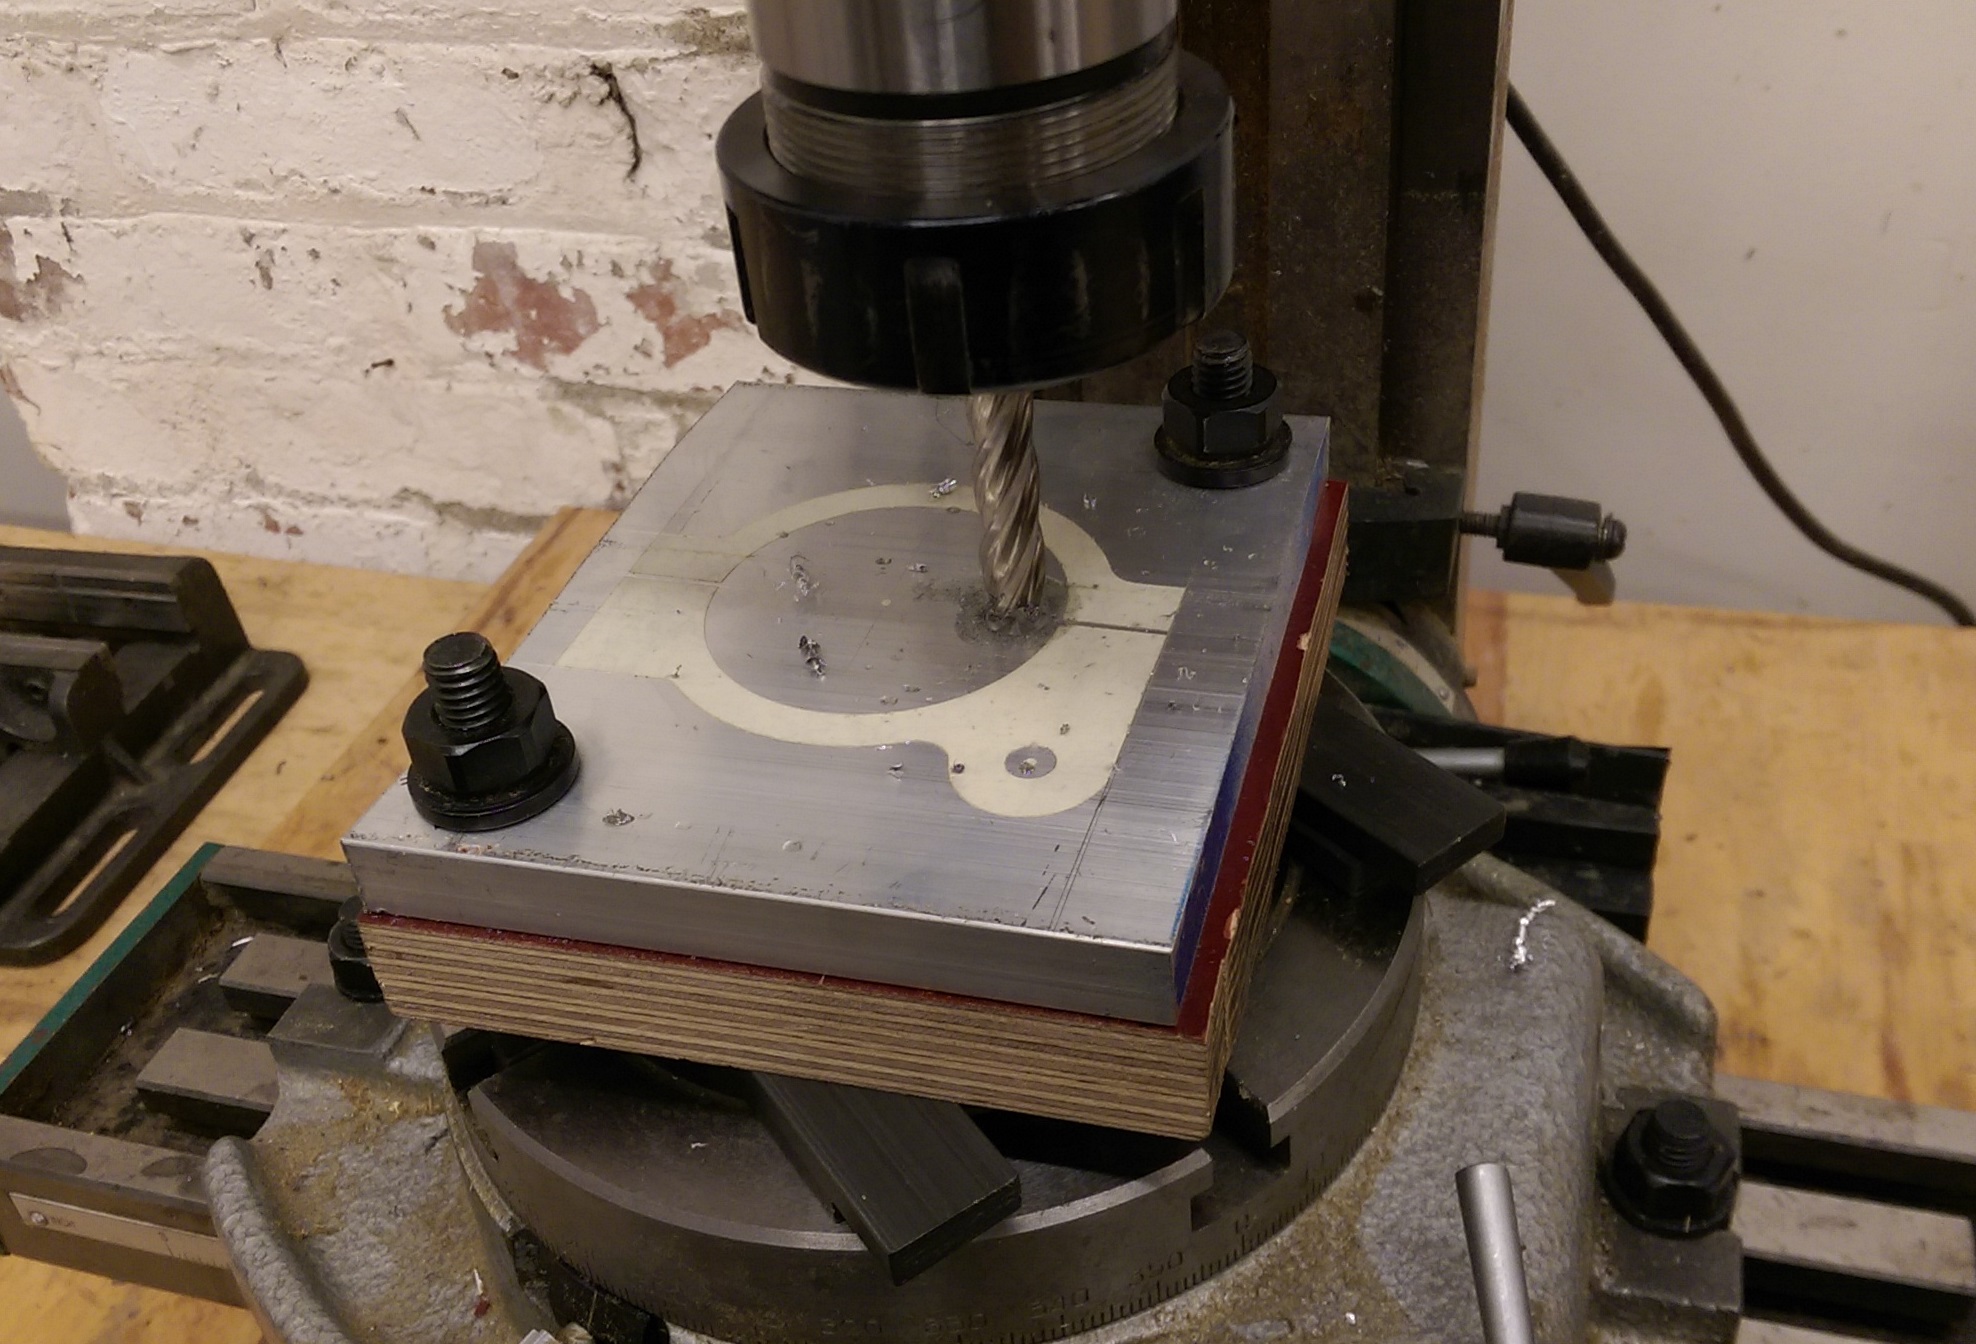
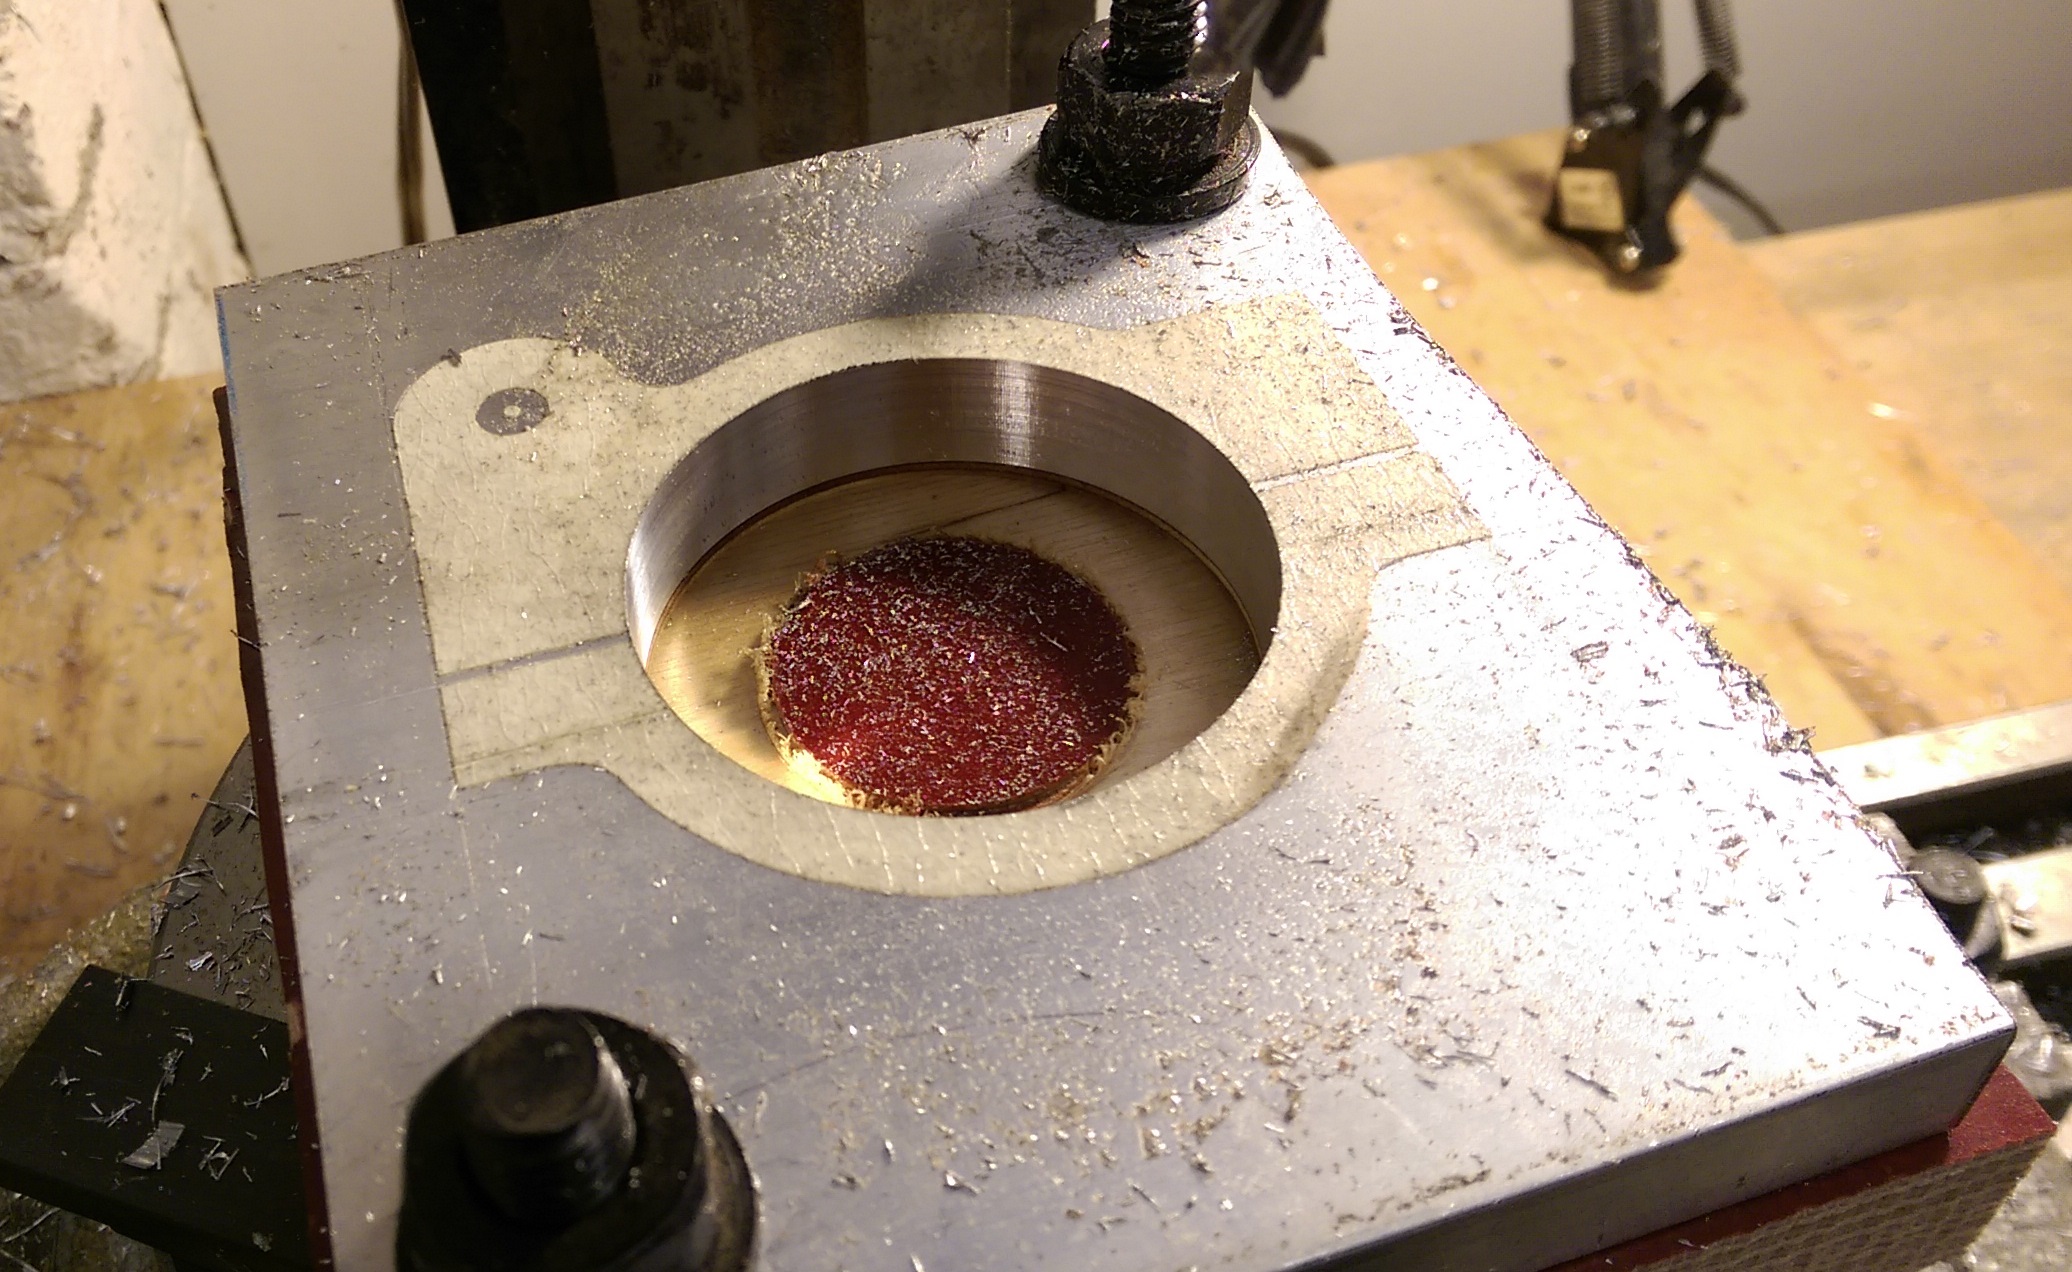
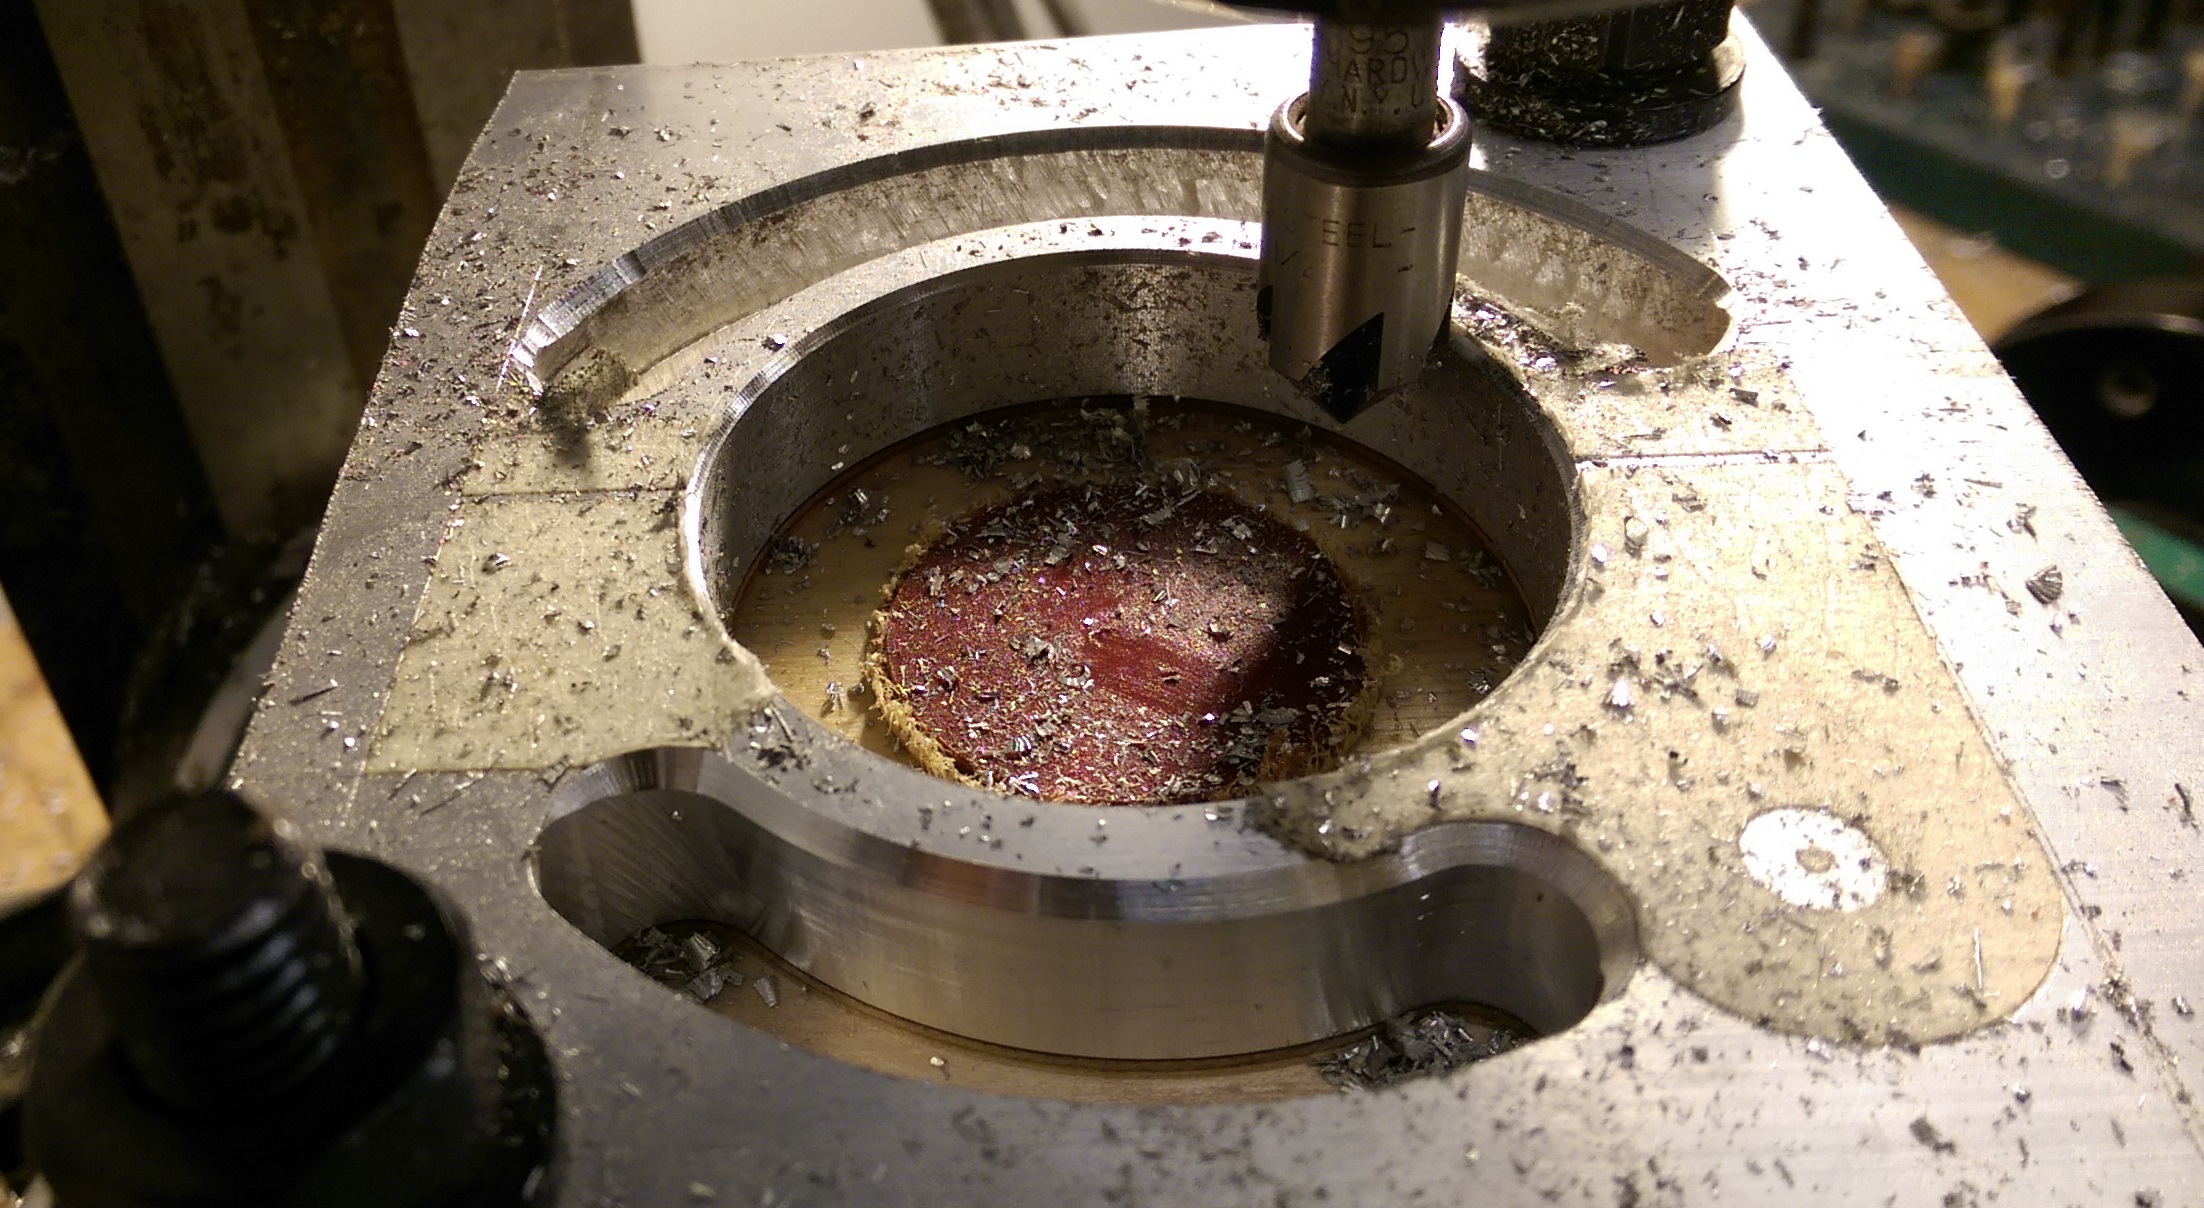
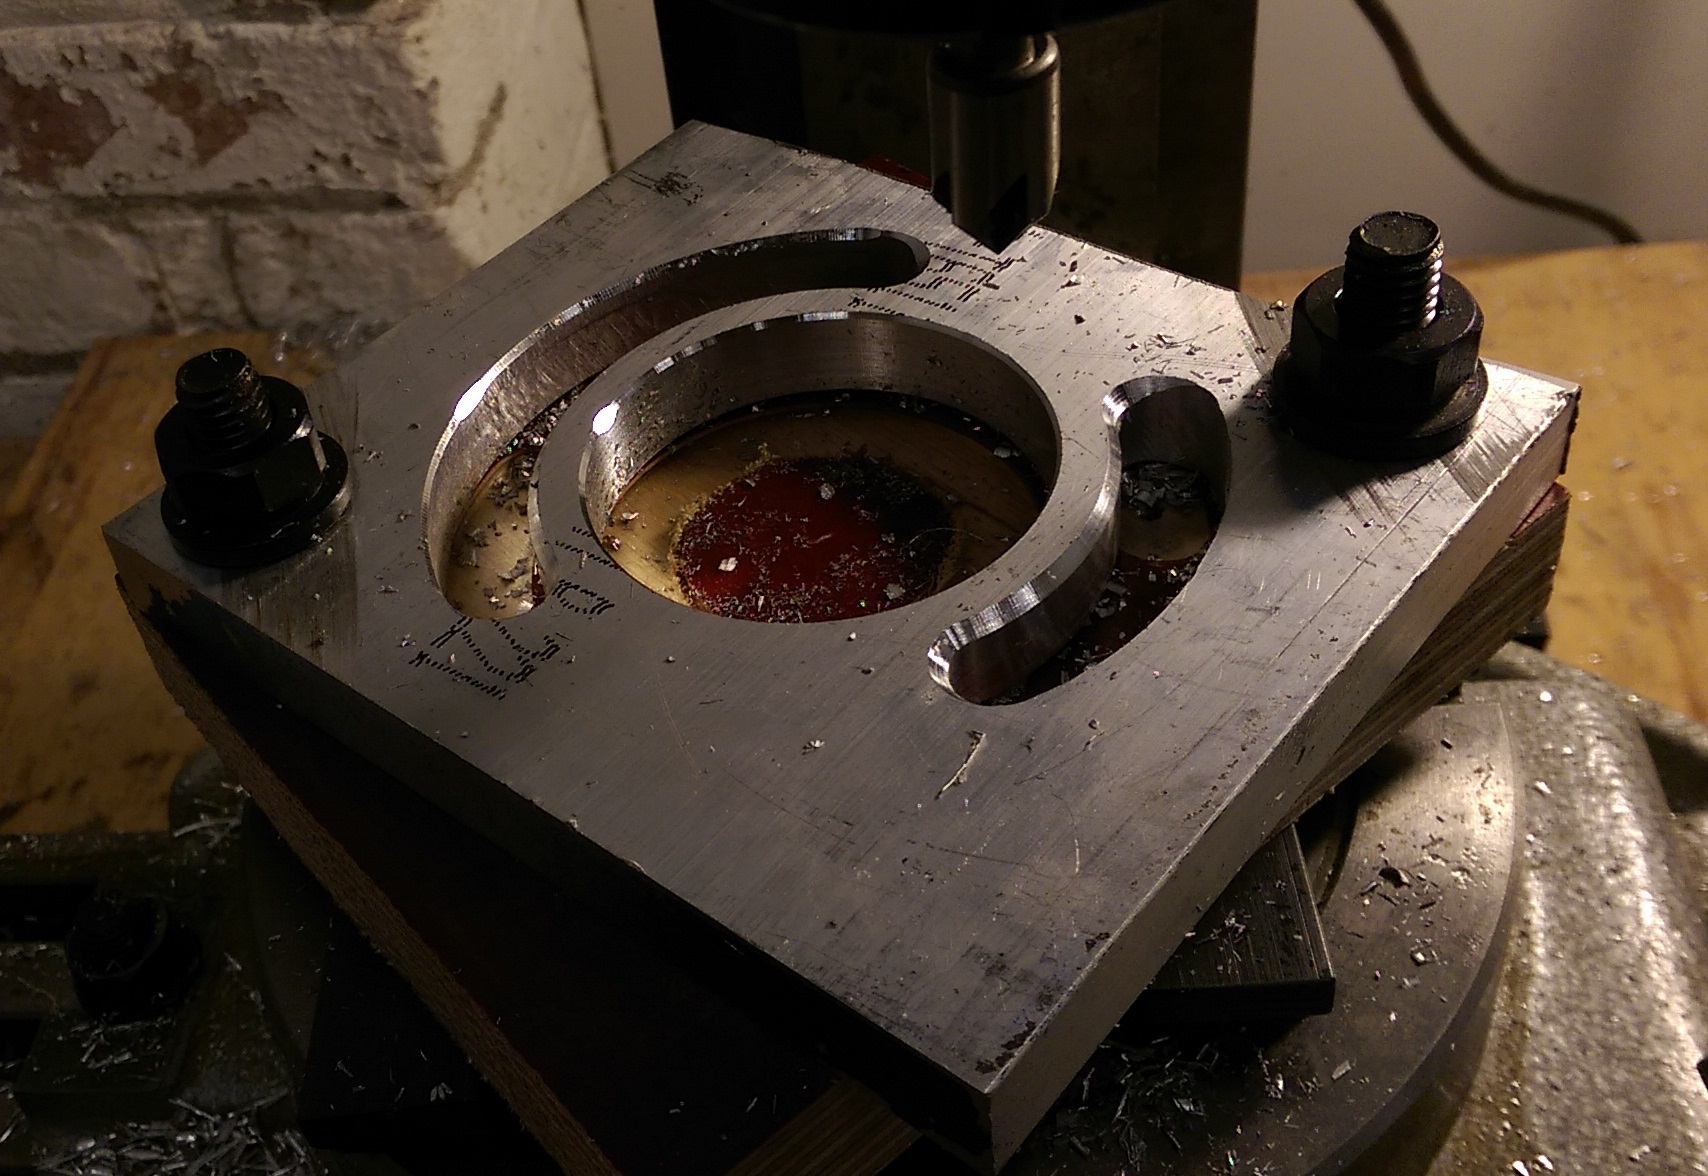
Mill 54 mm diameter hole in the plate. It is the most critical part of the work. The hole diameter tolerance should be within +0.2 mm -0.0 mm tolerance zone. The rest of the work is not so sensitive to precision.

IMAG6236.jpg


IMAG6238.jpg


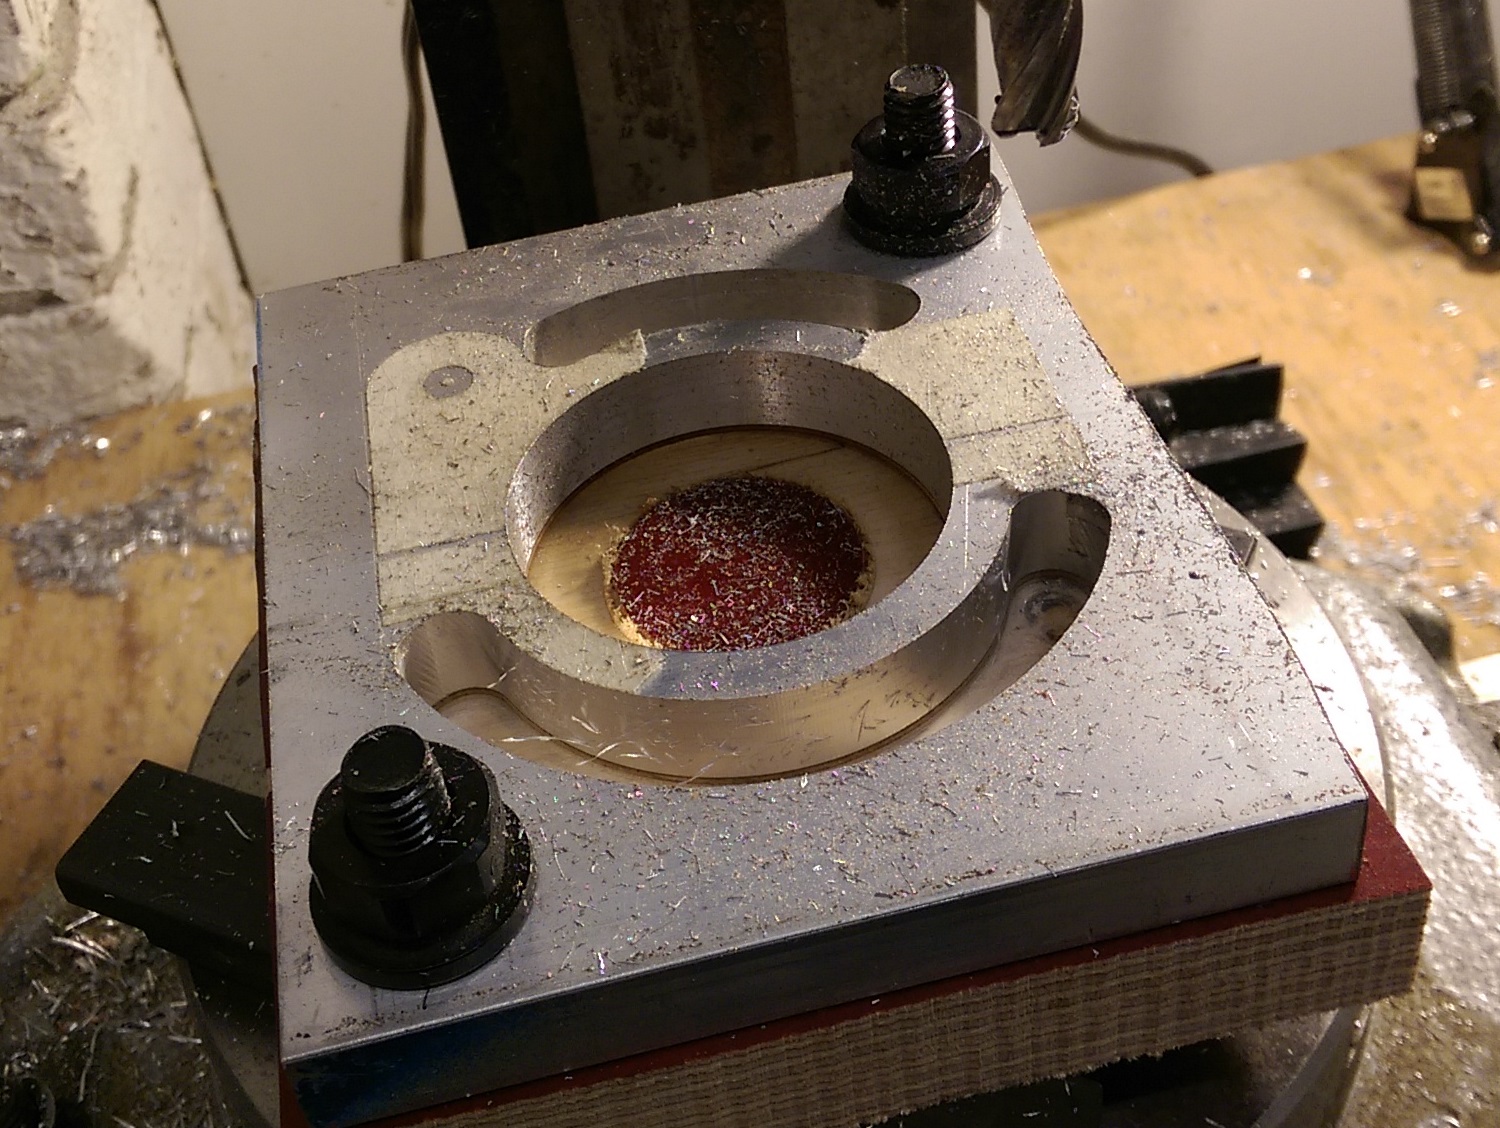
Mill radial area of the outside shape of the bracket

IMAG6239.jpg


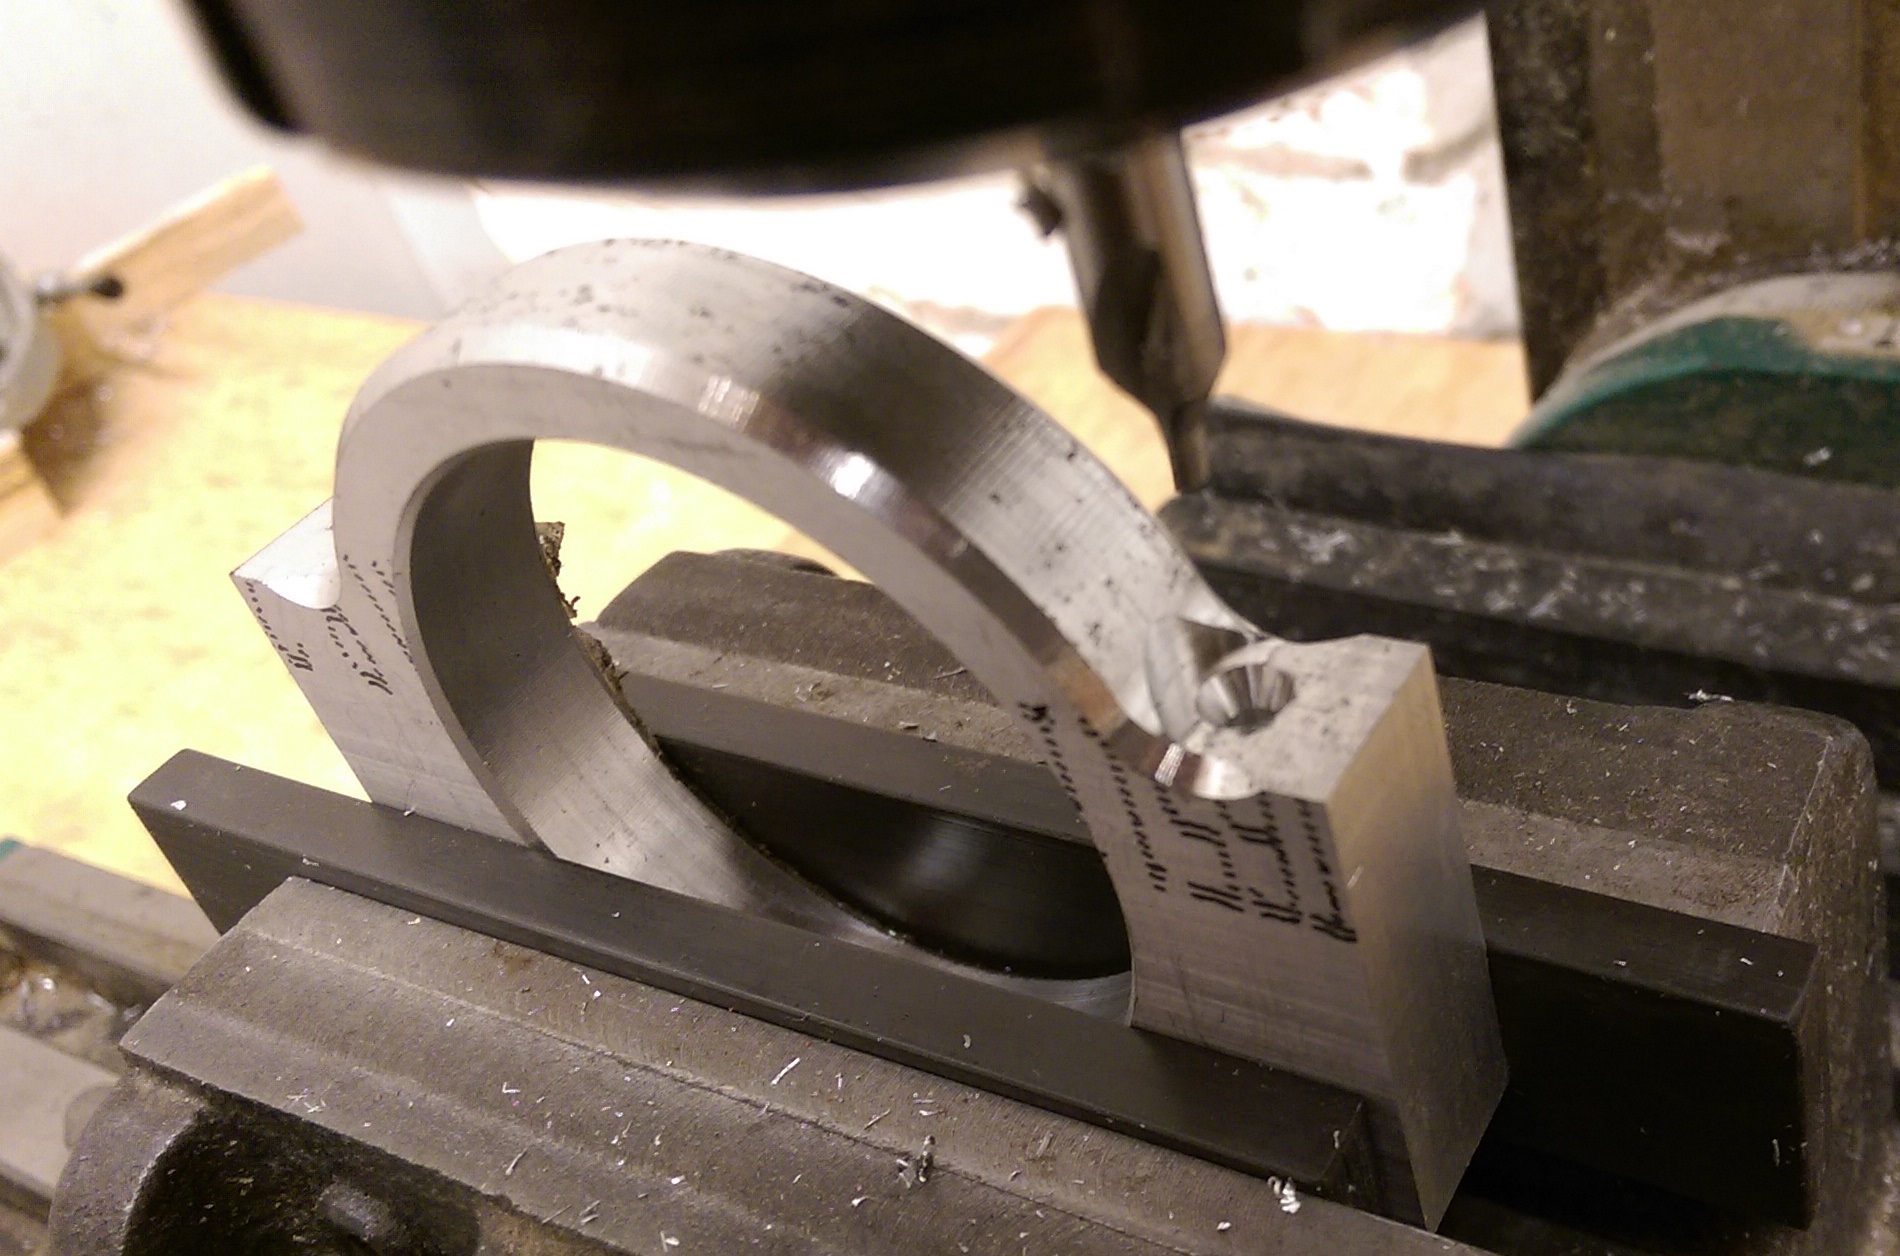
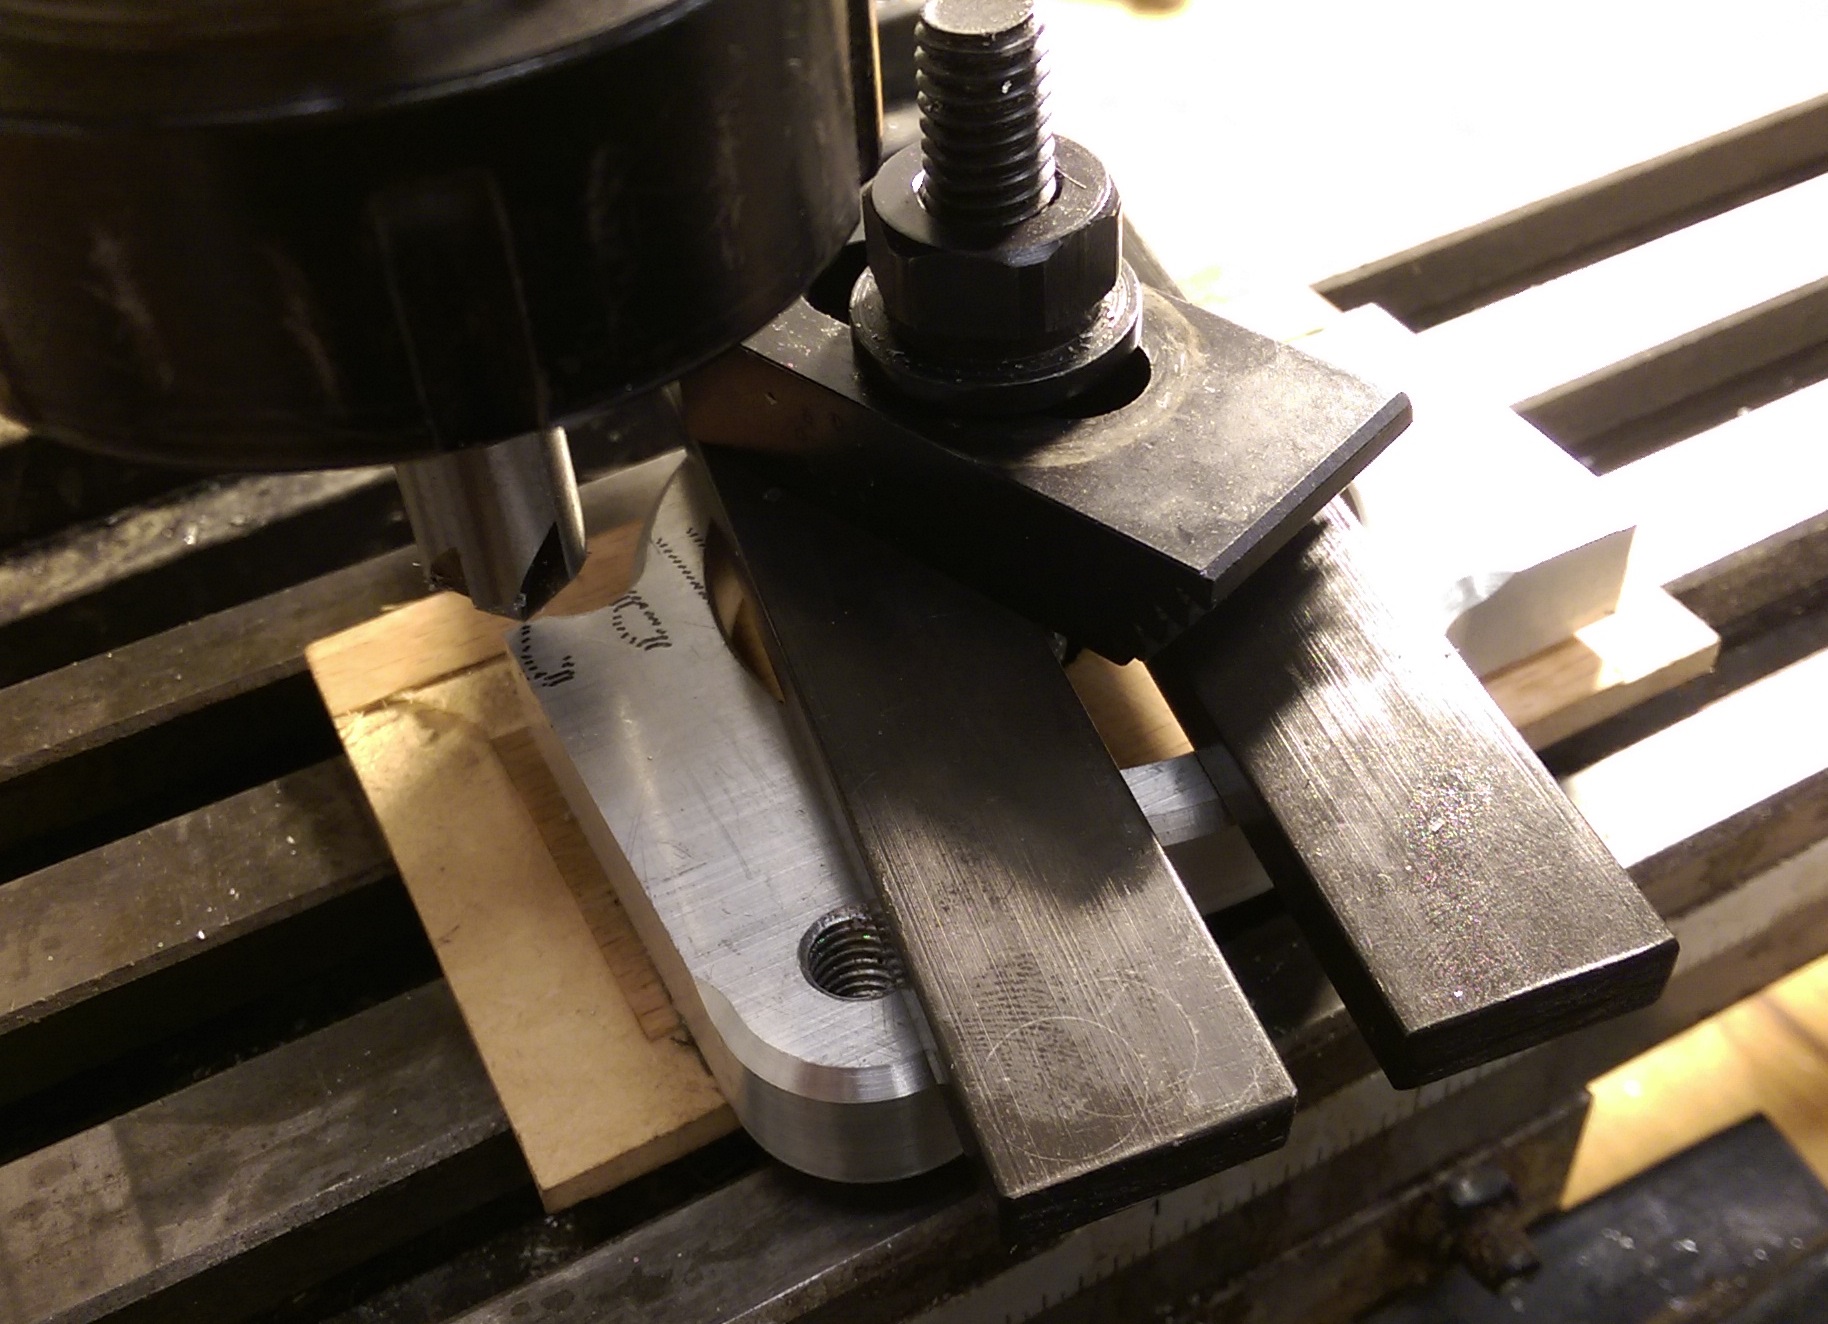
It is a good practice to apply chamfers on bracket edges.

IMAG6240.jpg


Apply chamfers on opposite sides too

IMAG6241.jpg


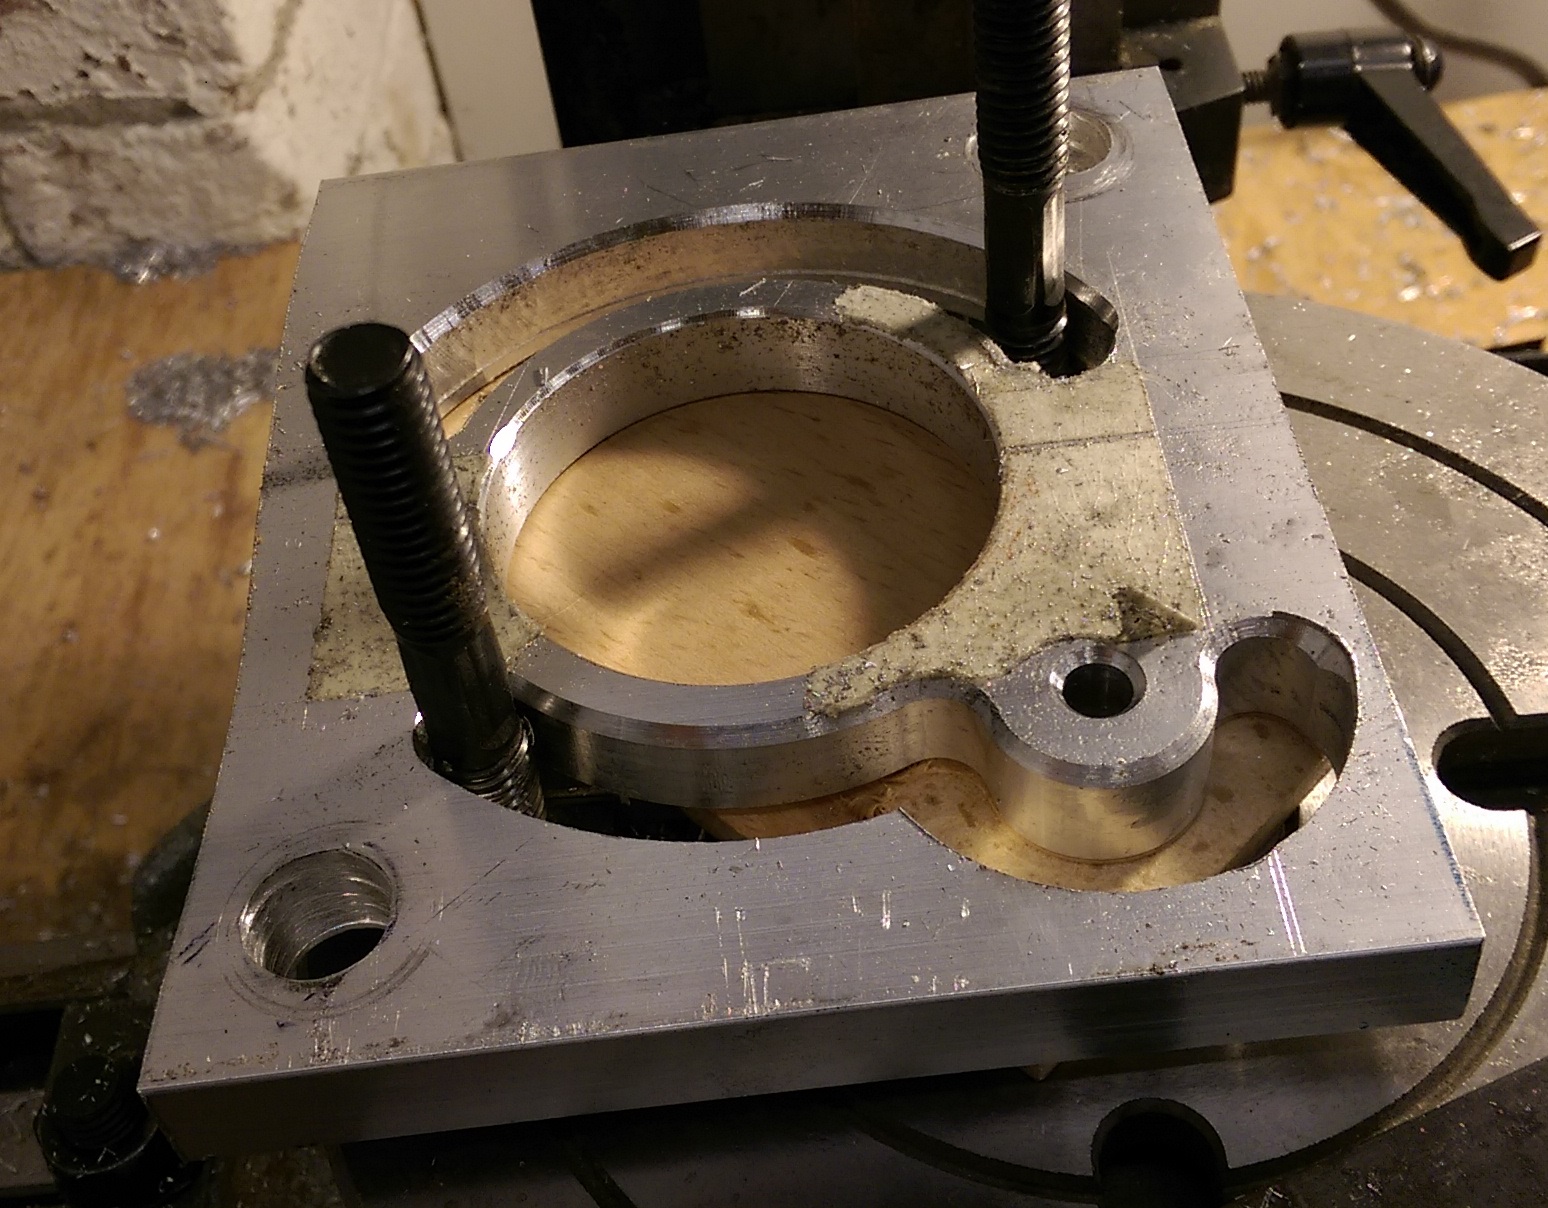
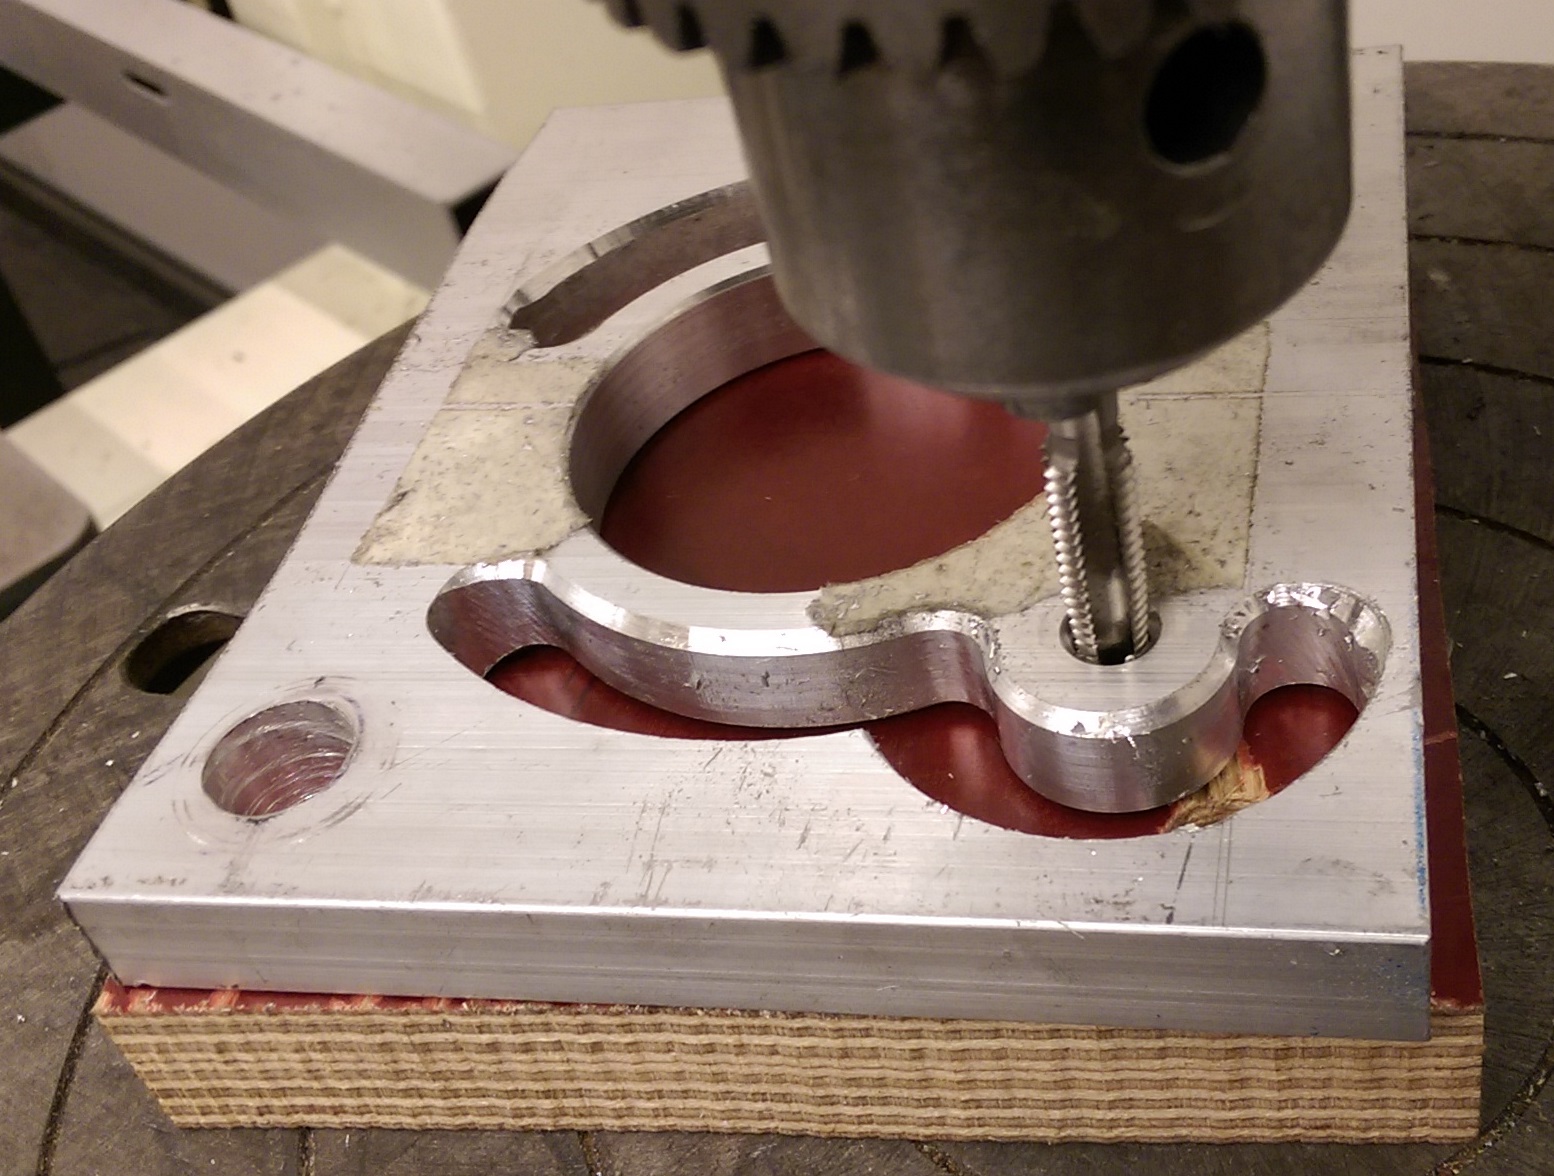
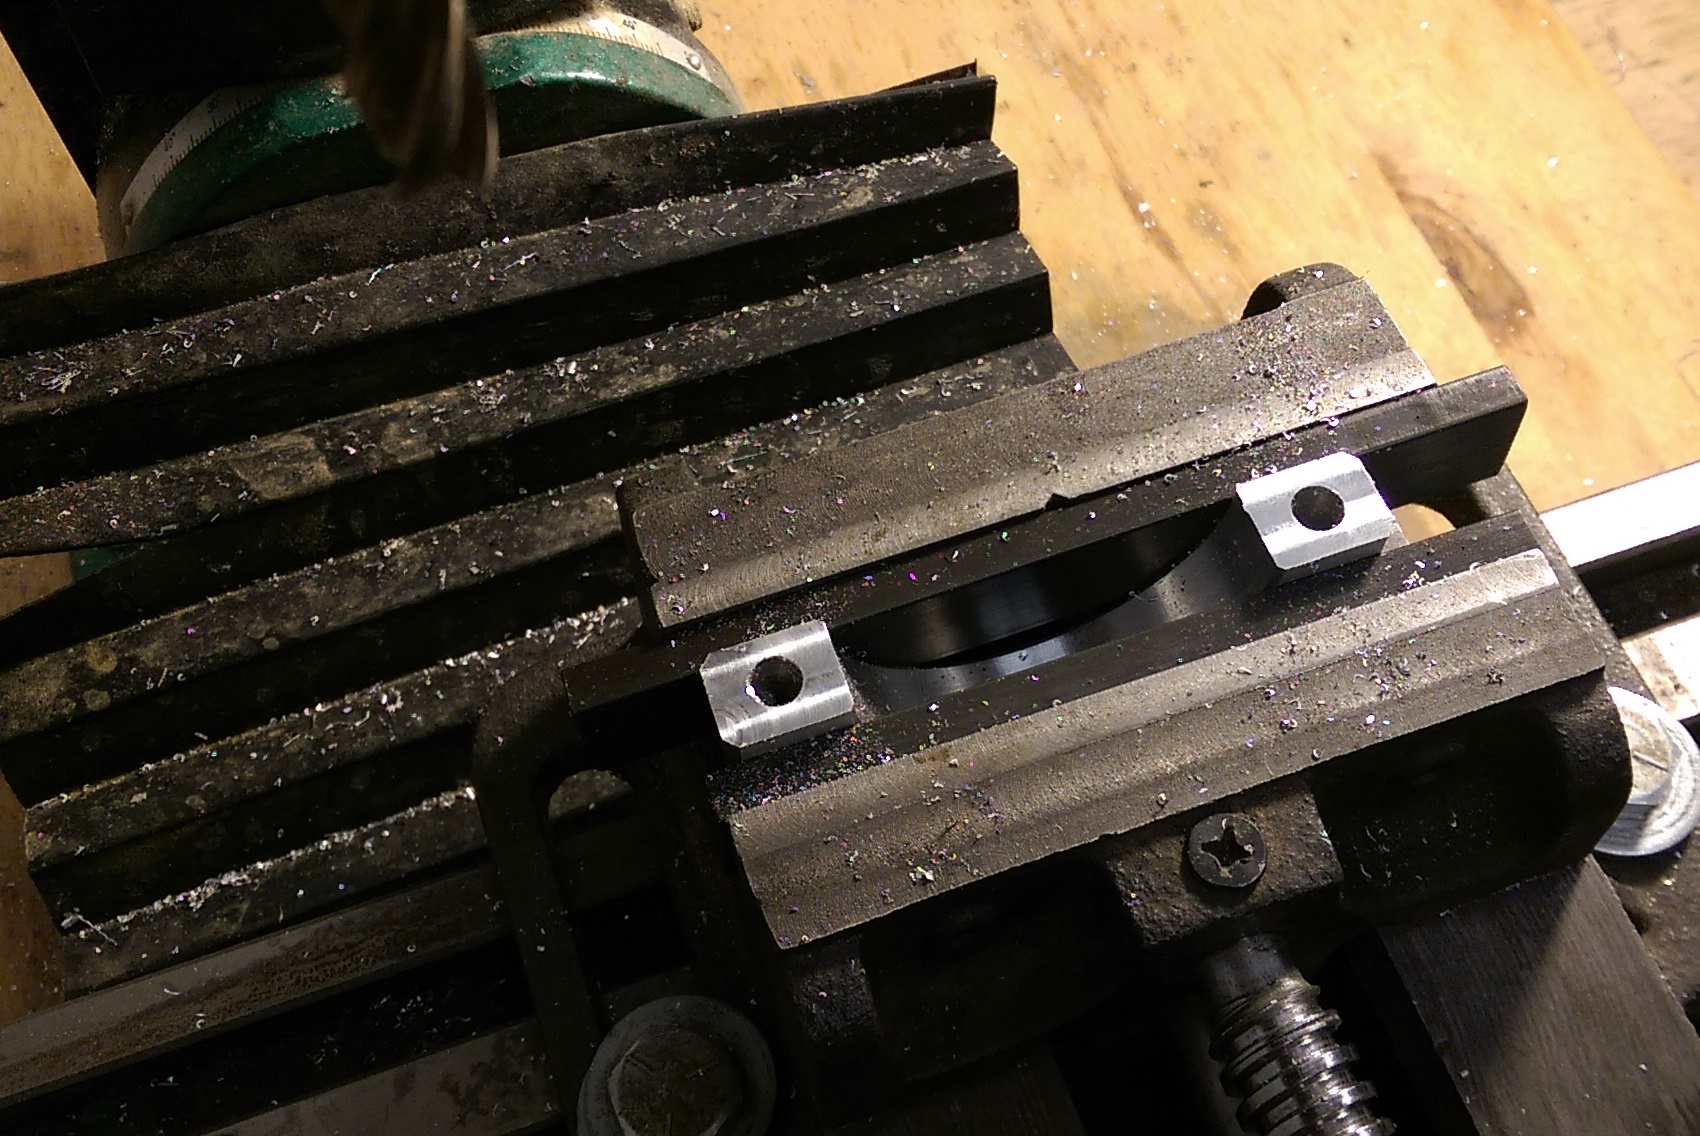
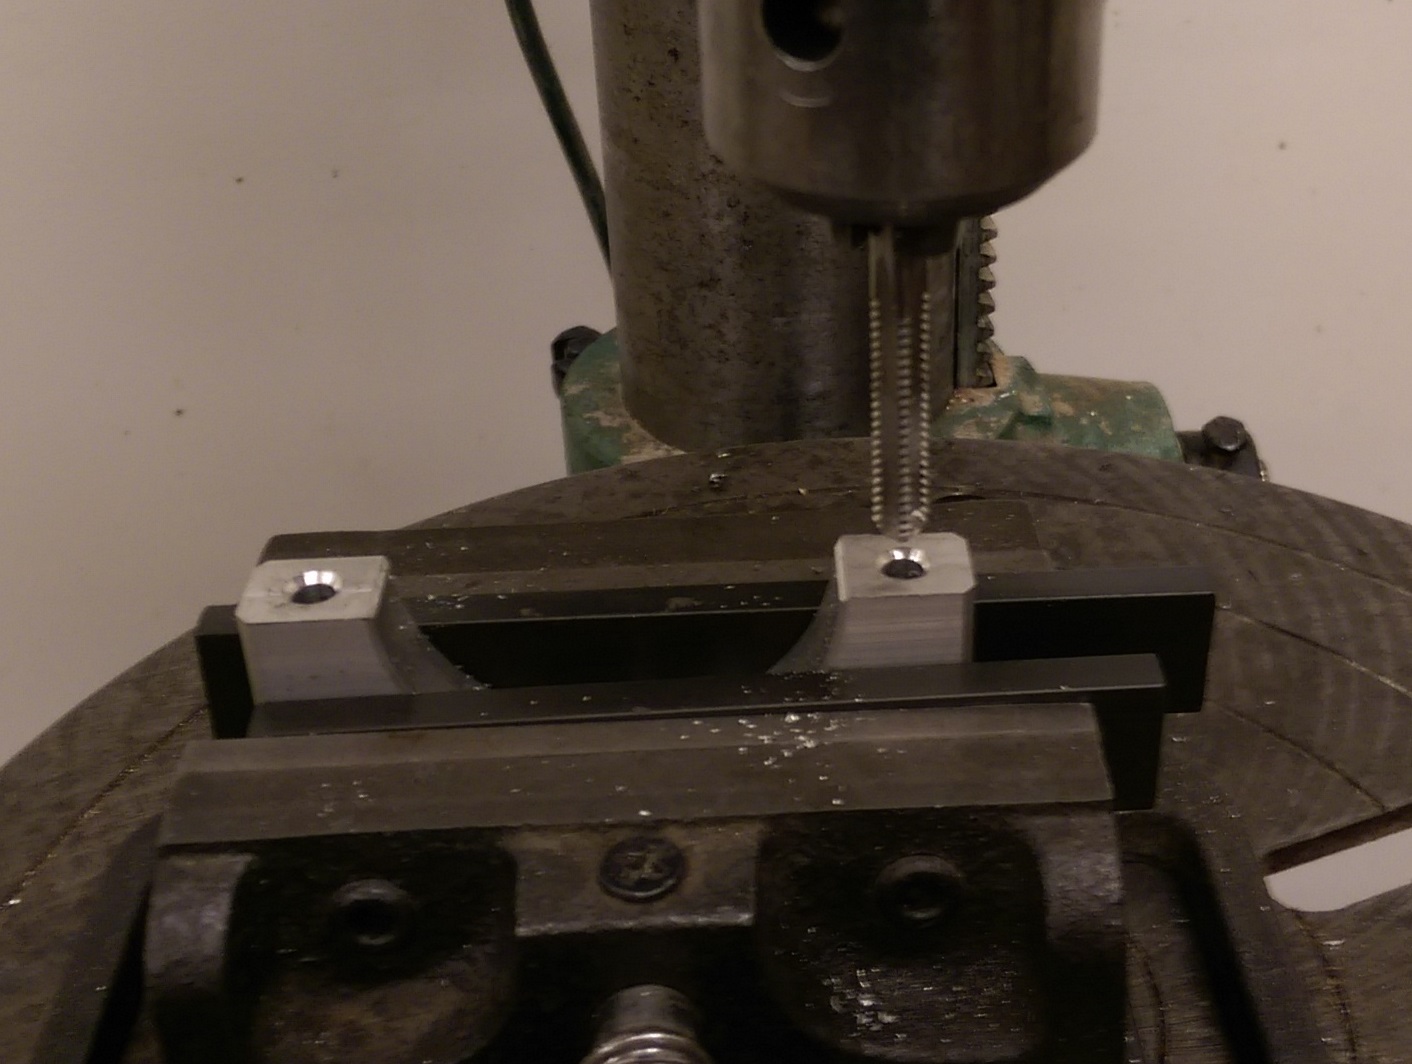
Proceed with milling outside contour of the bracket. Drill 6.8 mm diameter hole in the bracket before you completely will have cut the bracket from the plate and tap this hole with M8 thread

IMAG6244.jpg


IMAG6245.jpg


Mill the bracket out of the plate completely

IMAG6247.jpg


Predrill the clamping screws holes for 1/4-20 tread.

IMAG6248.jpg


Finish chamfering the part edges

IMAG6249.jpg


IMAG6250.jpg


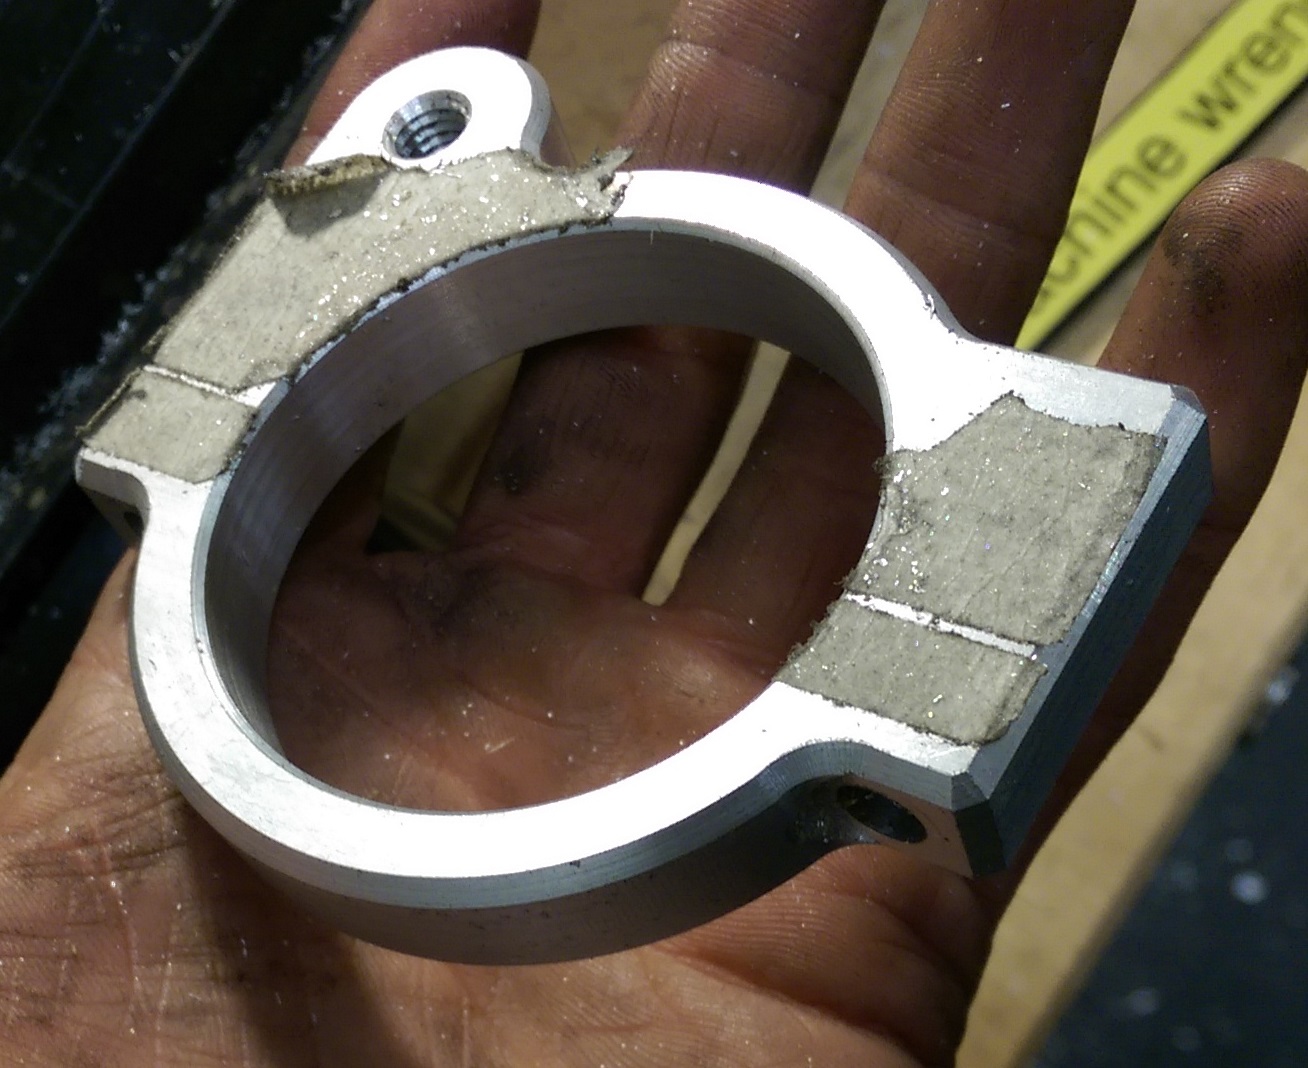
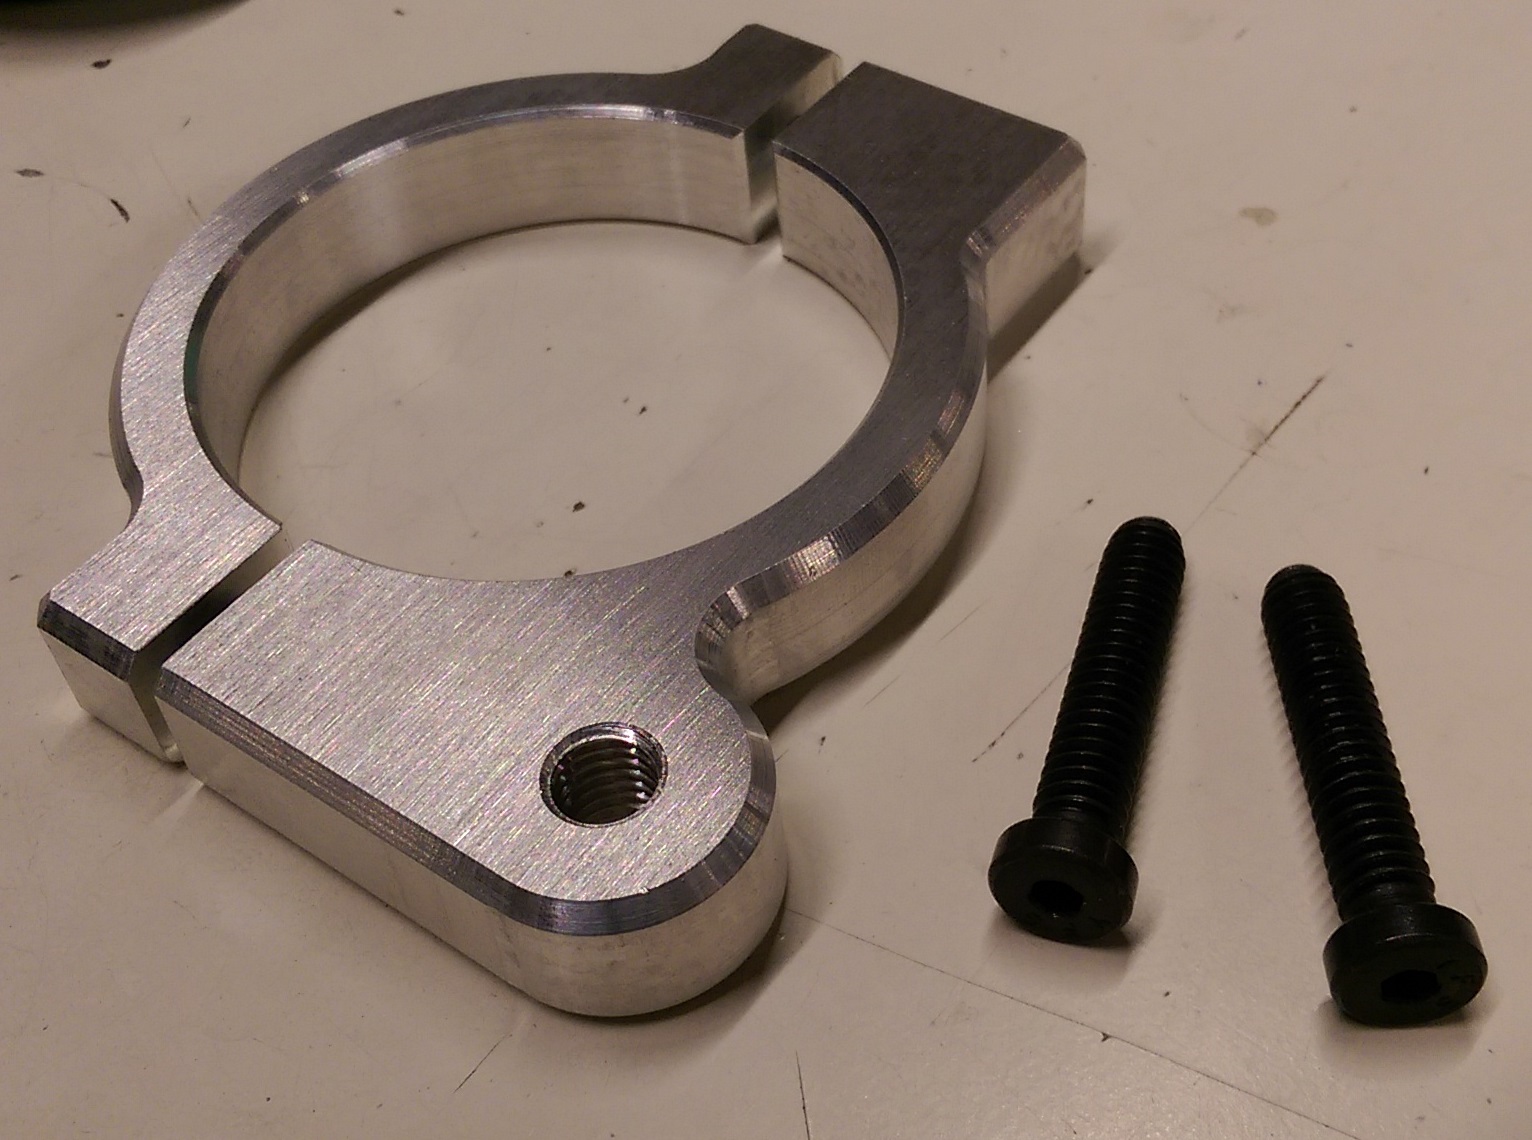
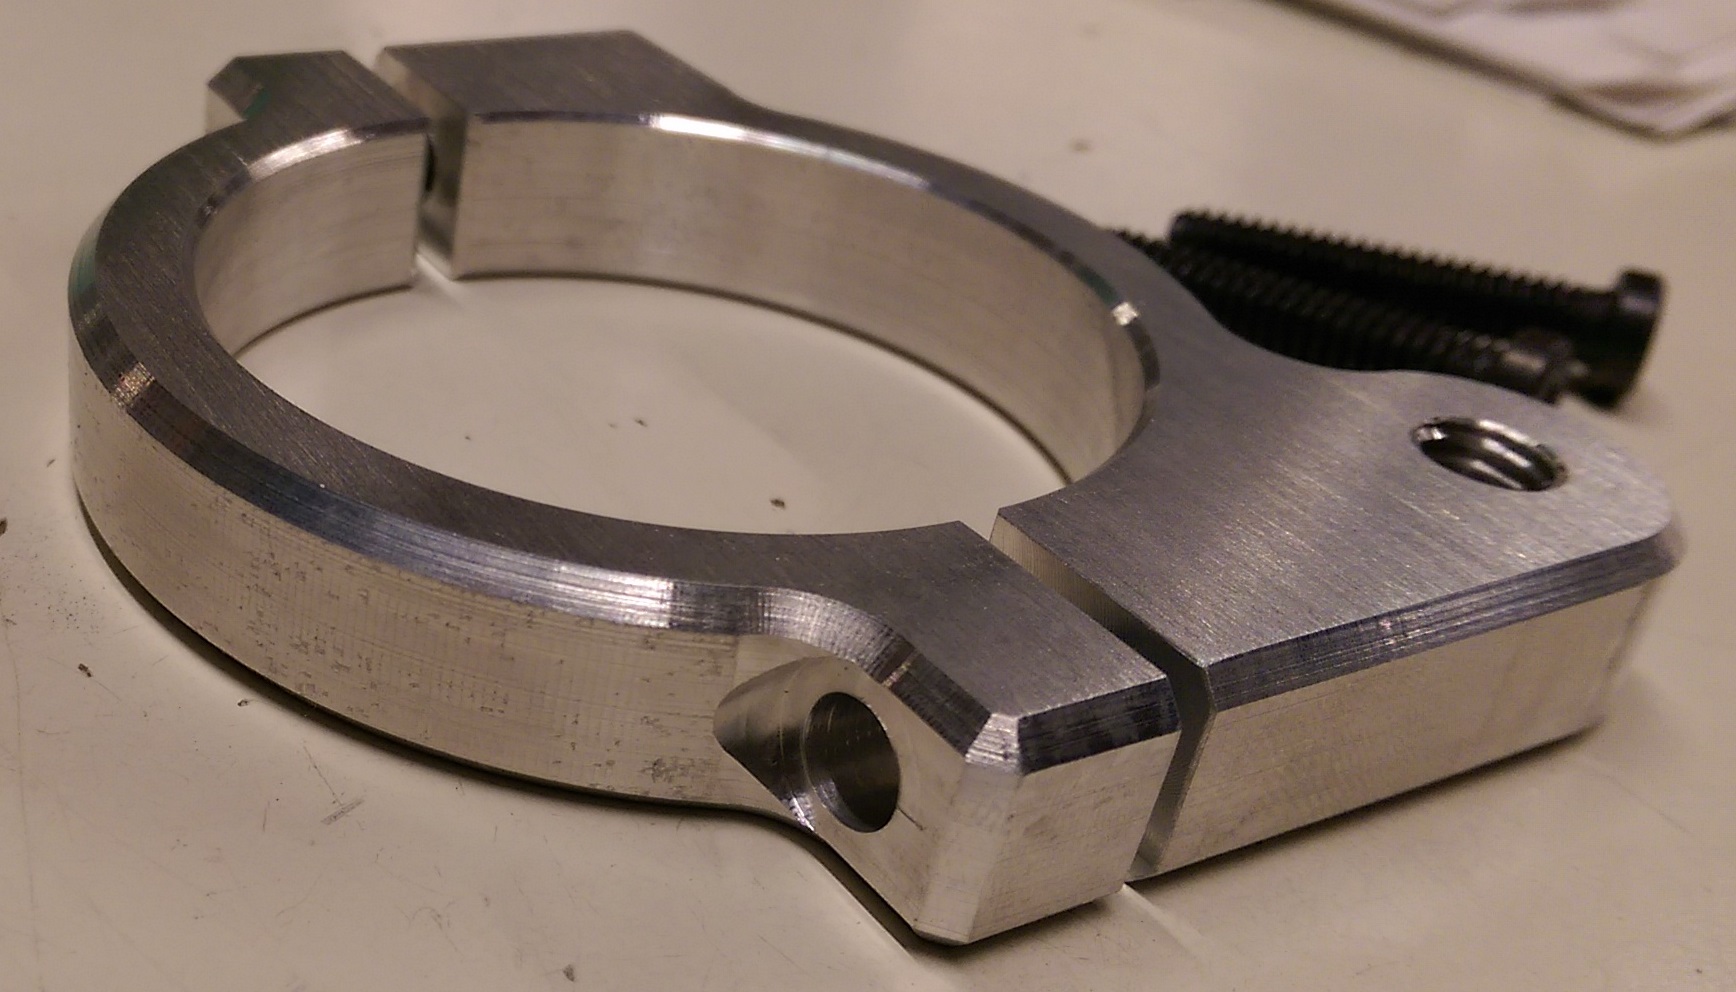
Cut the bracket on two half and finish each half individually.

Ground the split faces and drill out clearance holes for 1/4-20 screws in one half oft the bracket

IMAG6251.jpg


Ground the split faces and tap holes for 1/4-20 screws in opposite half of the bracket

IMAG6252.jpg
 
Done!

IMAG6255.jpg


IMAG6258.jpg


IMAG6259.jpg


IMAG6260.jpg


IMAG6270.jpg


Now you can start installing you steering damper.

First of all install you modified front isolator bolt.


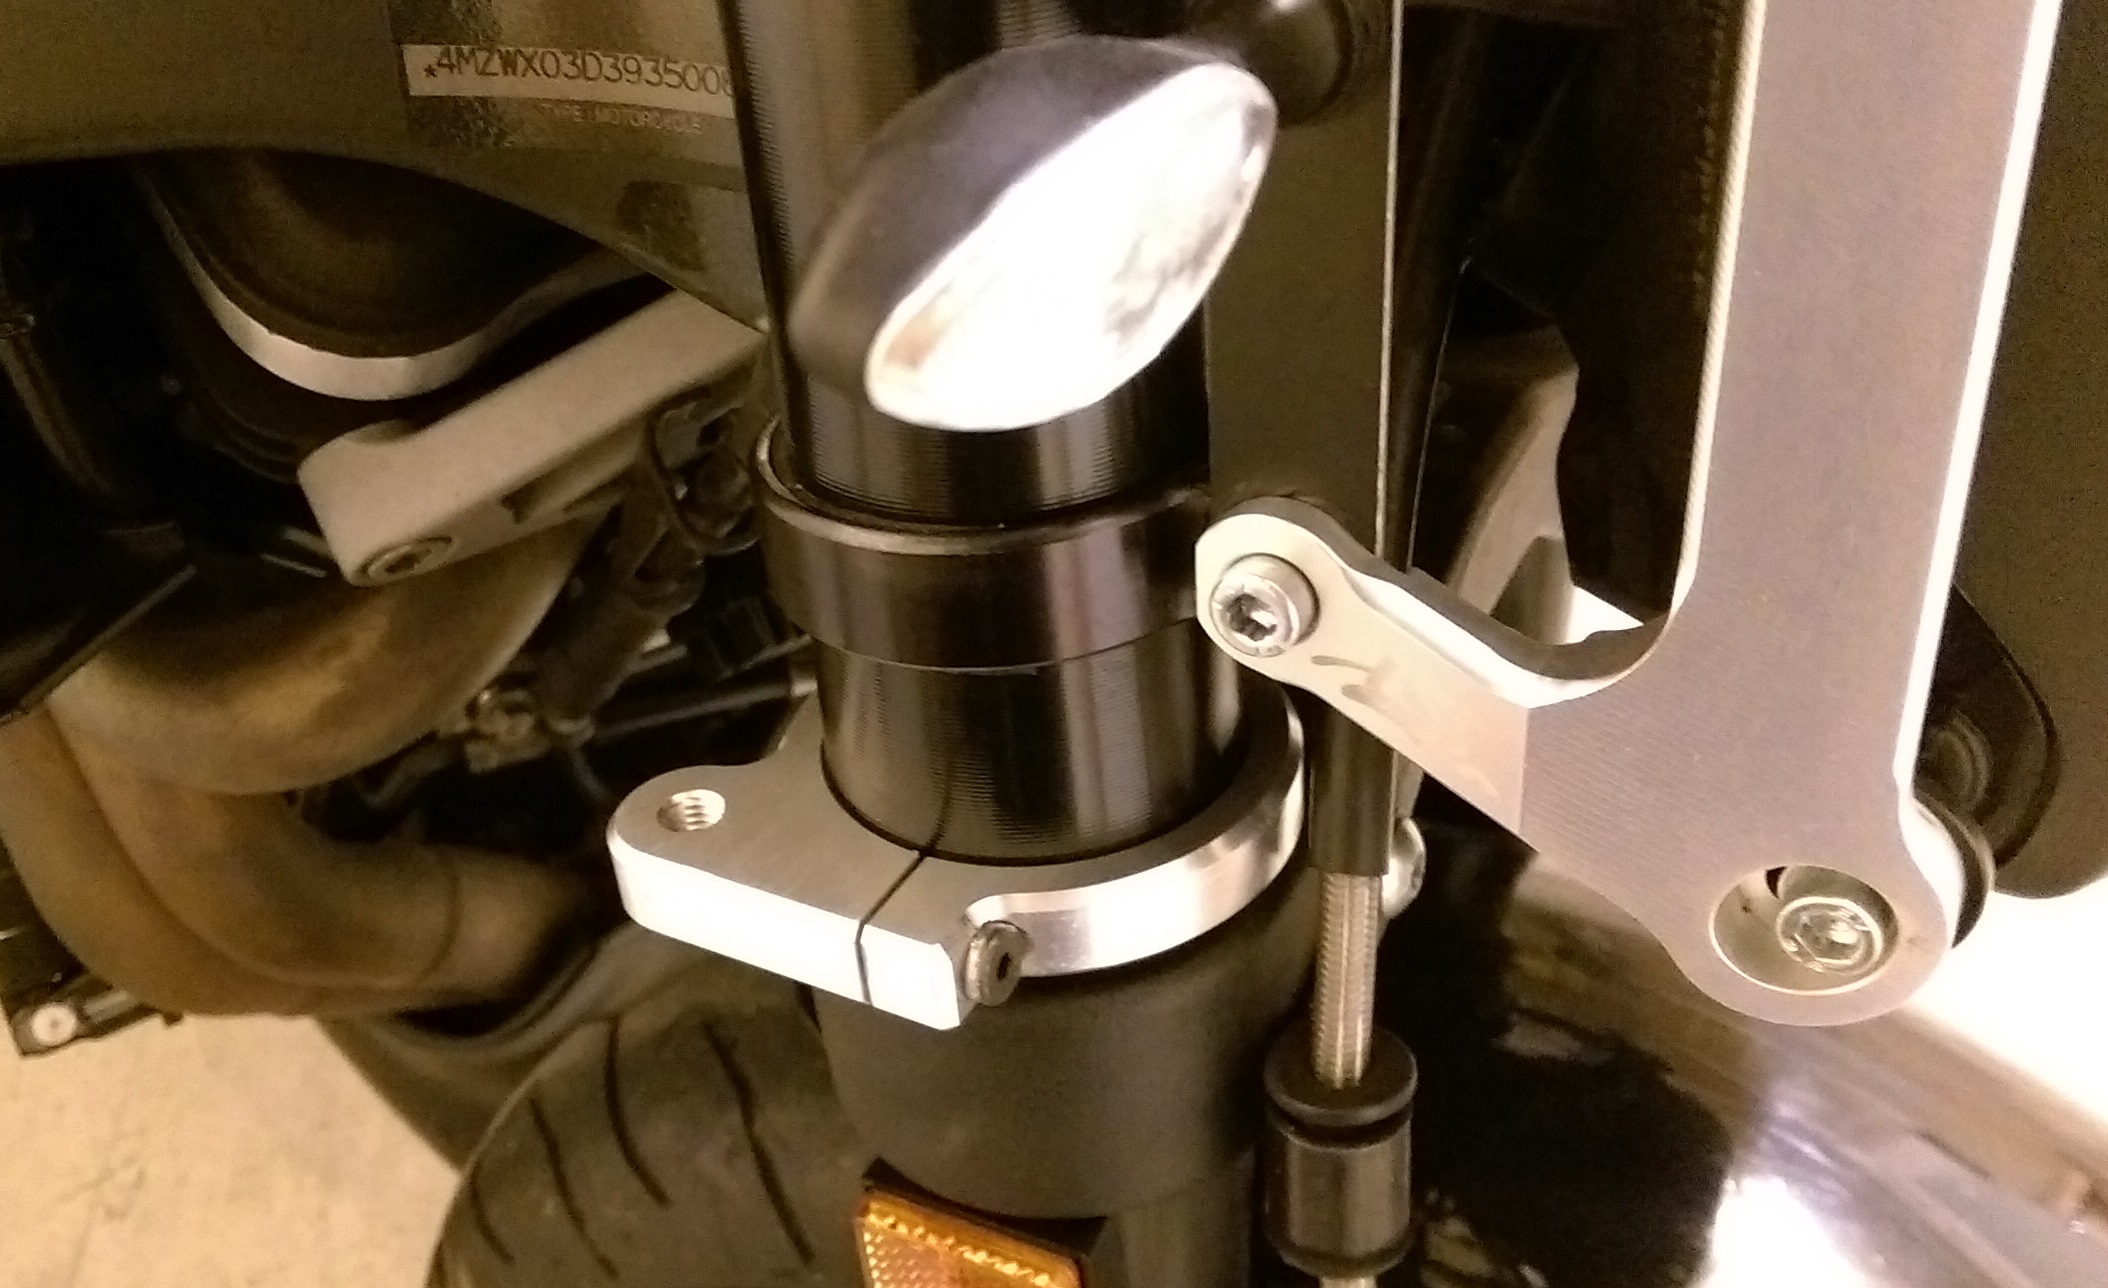
Then apply Loctite 272 Red on fork clamp screws and attach fork clamp to the right fork

IMAG6358.jpg


Assemble the damper and damper ball joint and allocate the ball joint bracket in particular place

IMAG6360.jpg


Attach bolt M8 x 1.25 mm Thread 45 mm Long, O-ring 3 mm Wide 12 mm ID, O-ring 2 mm Wide 12.5 mm ID and spacer 3/4" OD 1/4" Length for 5/16" Screw to the central ball joint like it showed on the picture below

IMAG6361.jpg


Apply Loctite 272 on the bolt you just preassembled and attach this end to the front isolator bolt

IMAG6364.jpg


Apply Loctite 272 and attach bolt M8 x 1.25 mm Thread 85 mm Long, O-ring 3 mm Wide 12 mm ID, O-ring 2 mm Wide 12.5 mm ID and spacer 3/4" OD 2" Length for 5/16" Screw to the rod ball joint like it showed on the picture below

IMAG6367.jpg


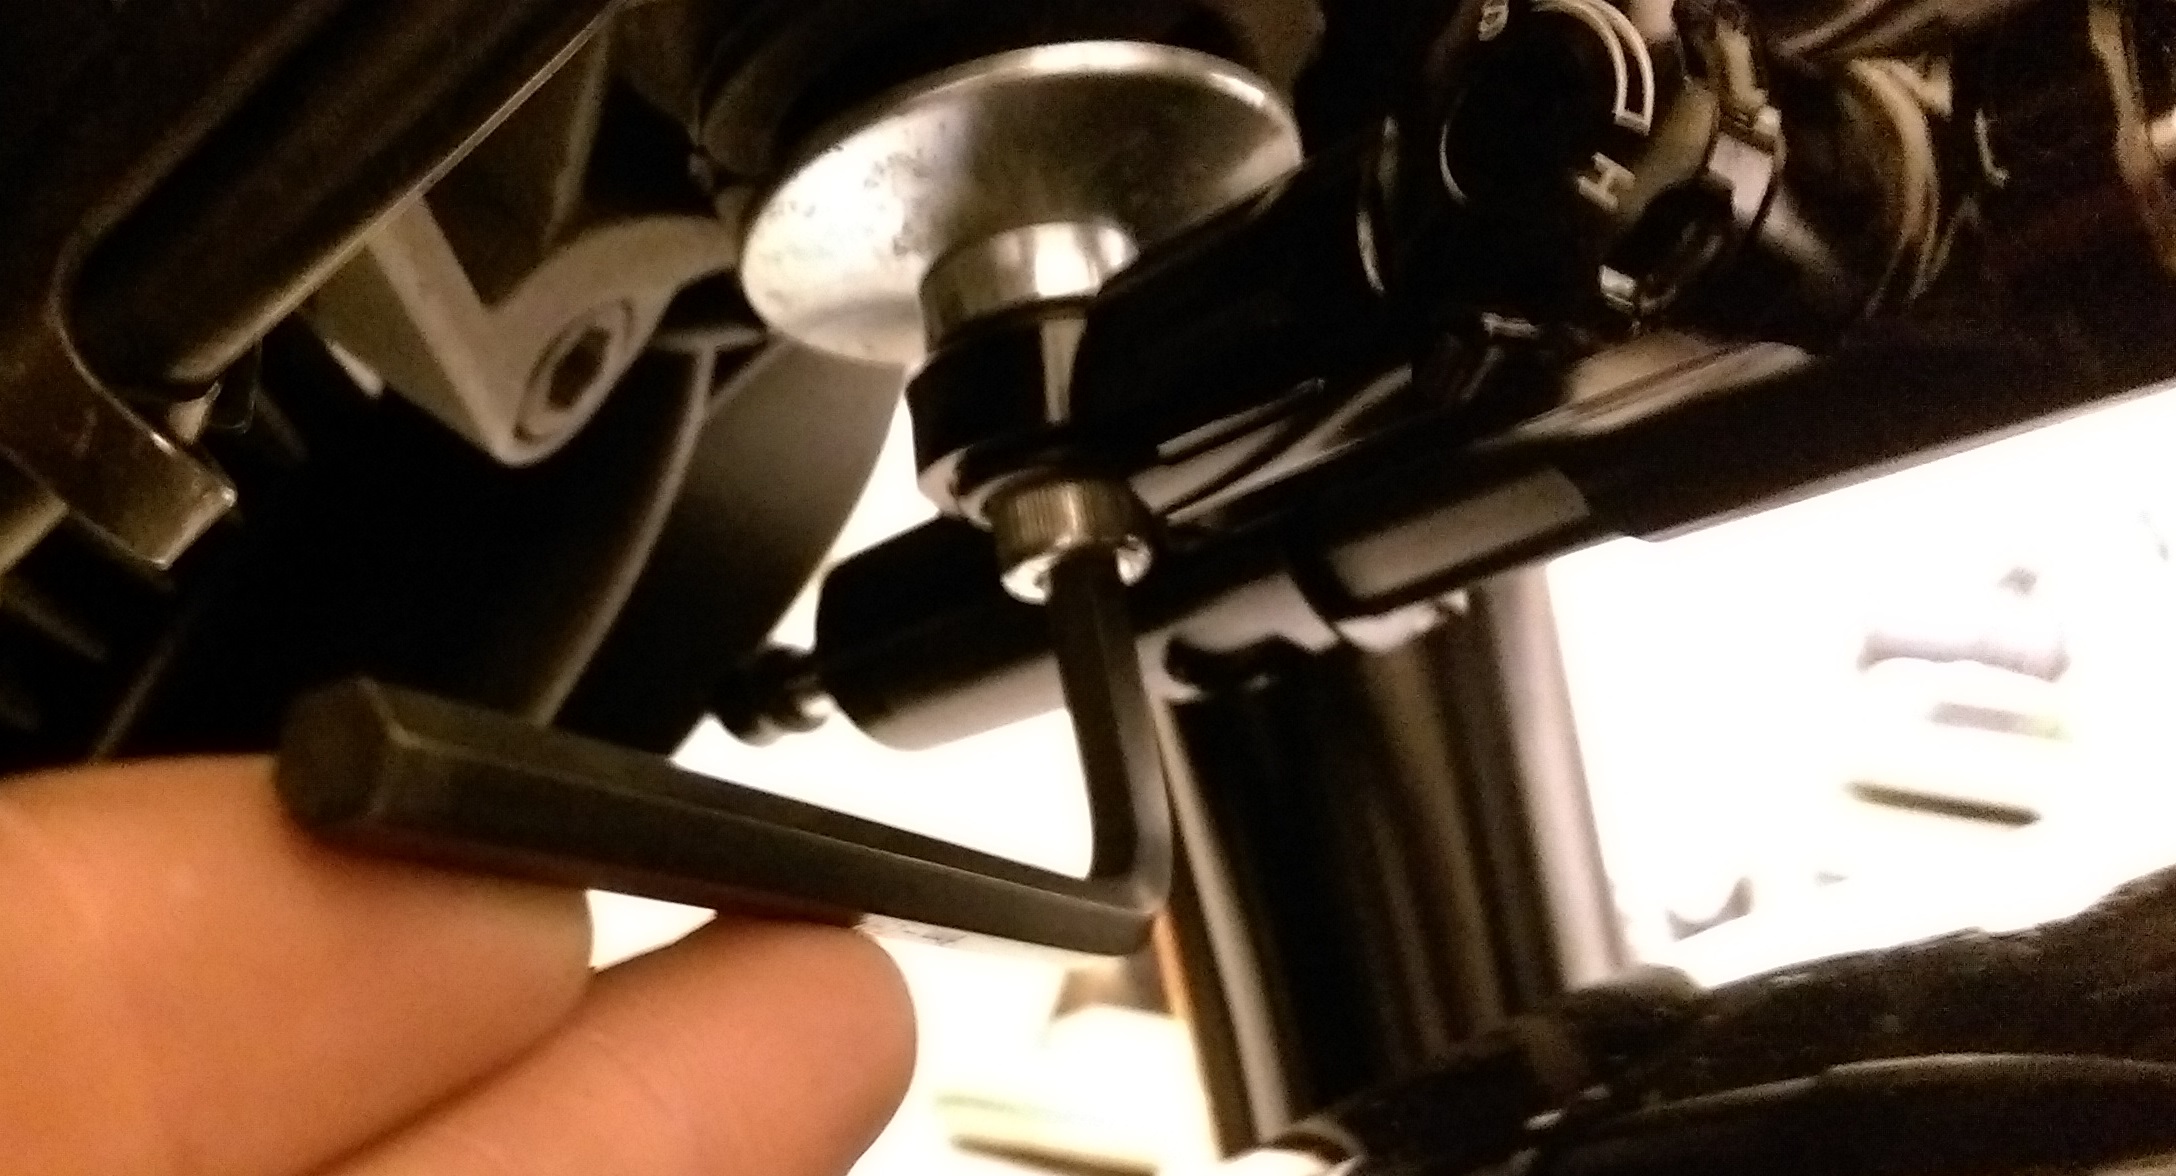
Attach nut M8 x 1.25 mm Thread with nilon insert to opposite side of the 85 mm Long bolt to jam it in the place.

IMAG6369.jpg


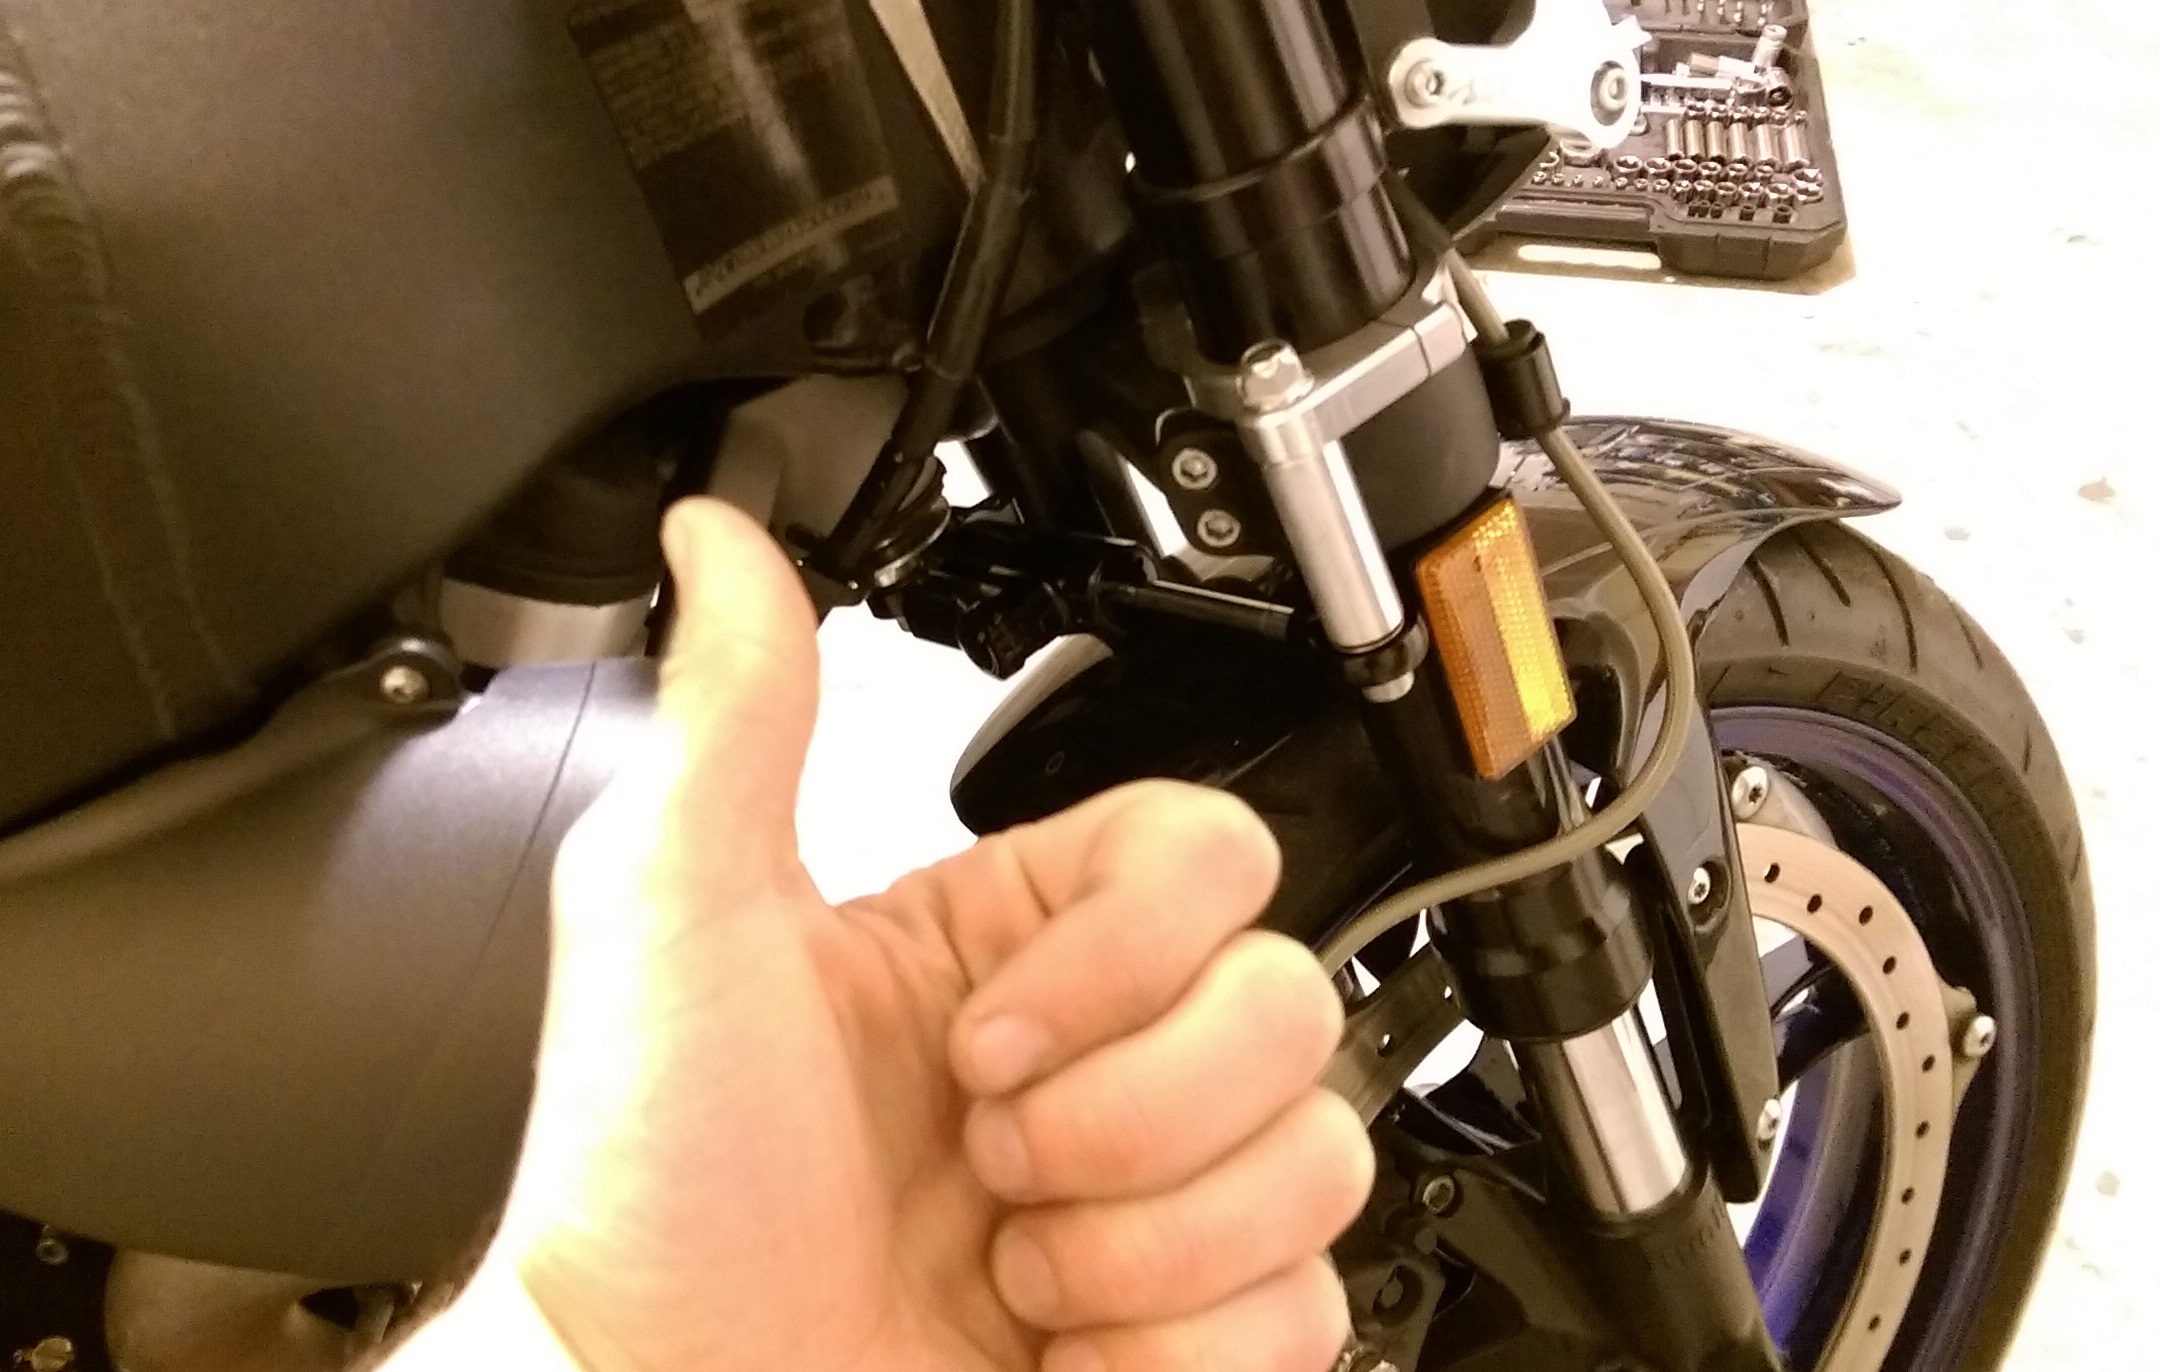
Done! Now you can enjoy a new piece of equipment on your Buell and ride your motorcycle without tank slapper anymore.

IMAG6382.jpg


IMAG6388.jpg


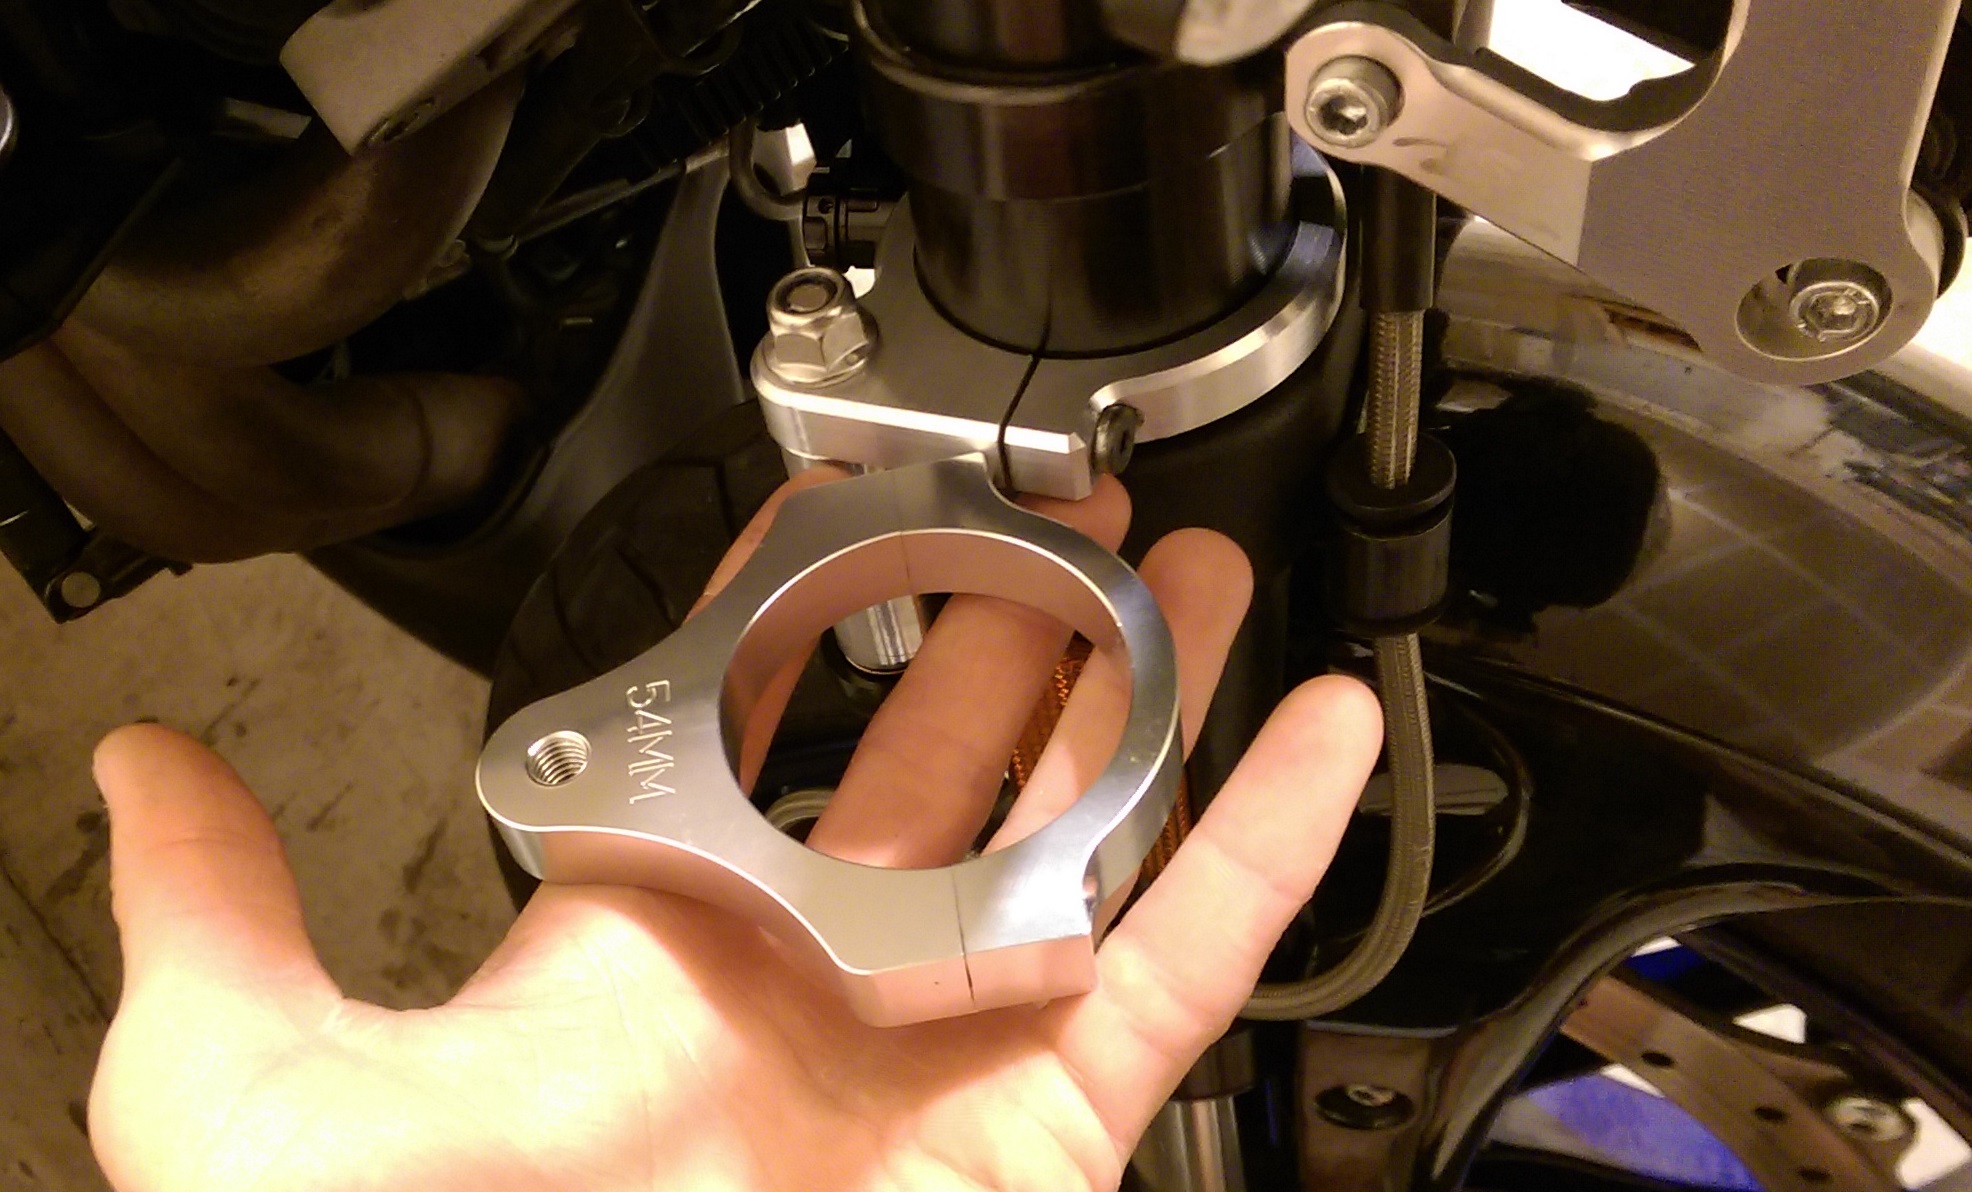
Here is 54 mm bracket from Amazon vs handmade bracket


IMAG6385.jpg
 
Last edited:
I KNEW you were working on that:) Haha! Good Job TPEHAK. Very well done. How does that brand of steering damper work for you? If you cycle it by hand is there a dead spot when you change direction?

I'll buy a 54mm bracket from you....
 
Very nicely done and written with good pictures.

I have question, what is " tank slap " ?

1. The “tankslapper” is a very frightening experience. Usually occuring when accelerating hard over bumpy pavement, a tankslapper ensues when the front tyre becomes airborne, then regains traction outside the rear tyre’s alignment. The resulting deflection bounces the tyre off to one side, followed by another bounce in the opposite direction as it contacts the pavement again. Unless the bike’s steering geometry is able to damp out the deflections quickly, the resulting oscillations from the front tyre as it bounces back and forth will swiftly gain in strength, causing the bars to swap from side to side with increasing ferocity. The oscillations can be violent enough to rip the bars out of your hands, and fling your feet off the pegs. You can guess what happens next.

2. The easy cure for this problem is a steering damper. Many sports bikes now come stock with one, as the radical steering geometry needed for quick handling can otherwise cause some instability in certain situations. While a steering damper is an easy fix, it shouldn’t be a cure-all; if you’re forced to adjust the steering damper’s stiffness (if available) until you can barely turn the bars in order to keep the bike’s handling stable, there is a problem somewhere in your chassis setup. A too-stiff steering damper can also cause handling problems by itself; if your steering damper is adjustable, and you find that your bike won’t hold a line (especially in slower corners), or gets into a small wobble or oscillation in high speed corners, try backing off the stiffness a little and see if it helps.

3. Not all sports bikes need a steering damper, however. Many have steering geometry setups that offer quick handling, while still providing the necessary stability to damp out any front-end oscillations. In most cases, one of the biggest contributors to a tankslapper is your body positioning and grip on the bars. Some people ride in a more upright position when carving corners, but when accelerating over bumpy pavement, that upright body position puts even more weight transfer to the rear, which causes the front end to get lighter. Also, the more upright torso means that your grip on the bars is tighter in order to stabilize your upper body. That firmer grip feeds more input into the front end, something it doesn’t need while it’s busy trying to damp out the inputs from the bouncing front tyre. It actually forms a vicious circle: you grip the bars tighter because they’re starting to flap back and forth, but that only feeds more input into the front end, compounding the problem further.

4. The easiest way to avoid tankslappers while accelerating over bumpy pavement is to—believe it or not—keep a relaxed grip on the bars. Relaxing your grip on the bars means you must lean forward in order to assist in keeping your torso stabilized. This helps put more weight on the front end, which keeps the front tyre on the pavement. Since you’re not using your arms to stabilize your upper body, get your weight onto the footpegs so that you can get your body as far forward as possible; this also allows you to grip the tank with your knees for more stability.

If you do get into a tankslapper, keep your weight forward and—as hard as this sounds—maintain a relaxed grip on the bars. Let the motorcycle’s chassis deal with damping out the oscillations. Don’t try to be a human steering damper; you’ll only make the problem worse. Tankslappers can definitely soil your undies; but if you’re able to deal with them correctly, you’ll usually ride through them before you know it.
 
Very cool. I am envious of your machine shop.
Curious, by drilling and tapping the isolator bolt does it mess with the structural integrity of the isolator? Or by installing another bolt within the isolator is it fine since there is material within it?
 
Thanks.

There is still plenty of material around the hole in front isolator bolt so it should be OK, just drill it in the middle and parallel to the bolt. LSL steering damper kit and another steering dampers kits for Buell mounted same way and have drilled front isolator bolt too and have no issues with it.

I had 2 of them in the past, worked well...just sold the bikes like a dumbass.....and finding the lsl now is like looking for a pot of gold, or needing a pot of gold to buy it....haha! I appreciate the review on the stabilizer, hard to buy a cheapie, but ill trust your review......or,

I can get a good look at a T-bone by sticking my head up a bull's ass, but I'd rather take a butcher's word for it. :D
 
it's terrifying. typically XB's do NOT suffer from it unless there's something wrong with the bike...suspension set up by an idiot who doesn't know what he's doing....or mis-matched tires.

riding high in the saddle and sitting loosely on the bike seems to upset my uly @ high speed.. (115+) not to the point of tank slapping, but bad enough. So, I'd like to add. idiotic riding position can also cause speed wobble. Tucked and clinched, happy as a clam to as fast as it'll go.
 
Very nicely done and written with good pictures.

I have question, what is " tank slap " ?

Kenny it can also be called "Head shake" just like the others said, front end goes ballistic under hard acceleration. It's not fun, happens on the race track all the time. On the track it usually happens on what most tracks call "wheelie hill" and it happens as you come off the apex and start rolling the bike up and rolling the throttle on and go up the elevation of "wheelie hill" fortunately on the track it goes away as fast as it came on, the vid John posted was very radical. On the street the first time it will make you wanna pull over and tell your wife to bring the trailer. You get used to it on the track. TPEHAK, nice job on this one. I like it.
 
Last edited:
Very impressive engineering and fabrication work, and great write up as usual.

I just see this as nothing more than eye candy on an XB.

Only time I've had anything remotely close to a head shake on my bike was when I had some really crappy tires(Shinko Ravens). That was the ONLY time. I "occasionally" hit speeds in excess of 110mph through sweepers and "occasionally" wheelie out of turns and have not had any tank slapper or head shake issues.

It looks great, but to me this mod is like a giant down force wing on a 4dr civic! I'm sure the owner thinks it's cool and adds performance but the truth is it's all looks. And that in and of itself is extremely objective.

If this was on an 1125 or 1190, I'd be all thumbs up!
 
Thanks guys, I'm still learning, even though I started riding back in 1965 !
My Triumph Explorer used to do this and, I had a feeling it was mostly because of the lack of weight on the front end ( I lowered the bike so I could handle the weight better, apparently I knocked something out of whack a little ) the new tires seemed to have made a big difference but, I still have to raise the back up a little. Like you guys explained, I did find out that if I relaxed my grip it was easier to bring back under control !
If I did track days I would consider this as it seems like an effective design and at the right price.

Again T, well done and thanks for posting up.

Live and learn.
 
Last edited:
A note to SCG owners:
Make sure you have enough suspension travel so the fender doesn't hit the damper at full compression! Measure between the fork seal and the wear mark on the tube and see if you have that much room (or MORE) between the damper body and the fender.


$39 for the damper, 54mm clamp(SEE EDIT!!!!!!!!!!!!), stainless bolts/washers, and 4 o-rings to seal the rod ends. A beer and a half in the shop and bang, done!
Drill:
40367148801_a128f5b903_c.jpg

Tap:
40367148181_36ab7ae6b8_c.jpg

And bolt on:
39469919125_2ddb26e34e_c.jpg

40321543742_e92873bcb2_c.jpg

39469918285_8fbcb4f776_c.jpg


Thanks again TPEHAK for the write-up! I used your guide but I did mine slightly differently, and not so 'Pro':)
I just stacked 3 stainless washers under the damper clamp at the isolator instead of making custom spacers.
I put the damper clamp in the same spot as yours but rotated the reservoir away from the head (suspension travel will clear it, its easier for me to adjust, and slightly away from heat).
I don't have fork reflectors so I put the fork clamp below the lower triple to negate the need for a spacer there.

Oddly, the 54mm clamp only fit my outer fork tubes on the taper? It should be OK, but I don't like it clamped like that. The flat part that the lower triple clamps to is actually 56mm (55.92mm). I'm having a hard time finding a chinese solution for that, so I'll go visit my friend with a mill and open up the 54mm one I got. The 56mm clamp I need will butt up against the bottom of the lower triple right at the flat part with the damper rod end on the bottom of the clamp:up:

It's a great addition to the STT or any Uly too! Perfect for any dirt riding with such a steep rake angle on a bike. For the same reason it makes the STT better with street tires on it because it doesn't get upset with mid-corner bumps nearly as much:up:

FYI, if you have head shake issues it's a problem that needs to be fixed (tires/ bearings, whatever). This is a band-aid for that, not a solution.

EDIT: I had issues getting the 54mm clamp to stay put on the tapered part of the fork leg without rotating. I made a 56mm clamp to fit the flat part of the forks just under the lower triple and drill/tapped a 1/4"-20 set screw in it. with the damper cranked up and jerking the bars as hard as I can, it stays put just fine now. The fork leg is especially thick there, I would have liked to dimple it for the set screw, but no need.

Here's pics:
IMG_3154 by Cooter!, on Flickr IMG_3155 by Cooter!, on Flickr IMG_3153 by Cooter!, on Flickr IMG_3152 by Cooter!, on Flickr IMG_3151 by Cooter!, on Flickr
 
Last edited:
Back
Top