Trying to adjust valves. Questions for understanding.

Buellxb Forum

Help Support Buellxb Forum:

Loki

Well-known member
Joined
Aug 10, 2010
Messages
3,356
For anyone who knows more then me OR has done this themselves (Dean) I would like to make sure i am understanding how to do it right before I mess anything up.
From the picture am i understanding this all right?

Note: The picture is of the rear head.
2013-02-21%2017.47.59.jpg


Also the manual states the min and max tolerance the valves should be, but what is best to be closet to?
I would assume the min. I mainly need to know cause my feeler gauge doesnt have the exact tolerance but has ones that fit in the min-max tolerance.

Also the book confuses me on the shims, arent we able to adjust the shims on the bike with a screw or should i actually have a set of shims to put in place.

For anyone who response thank you. I want to make sure I dont **** anything up too bad. :D
 
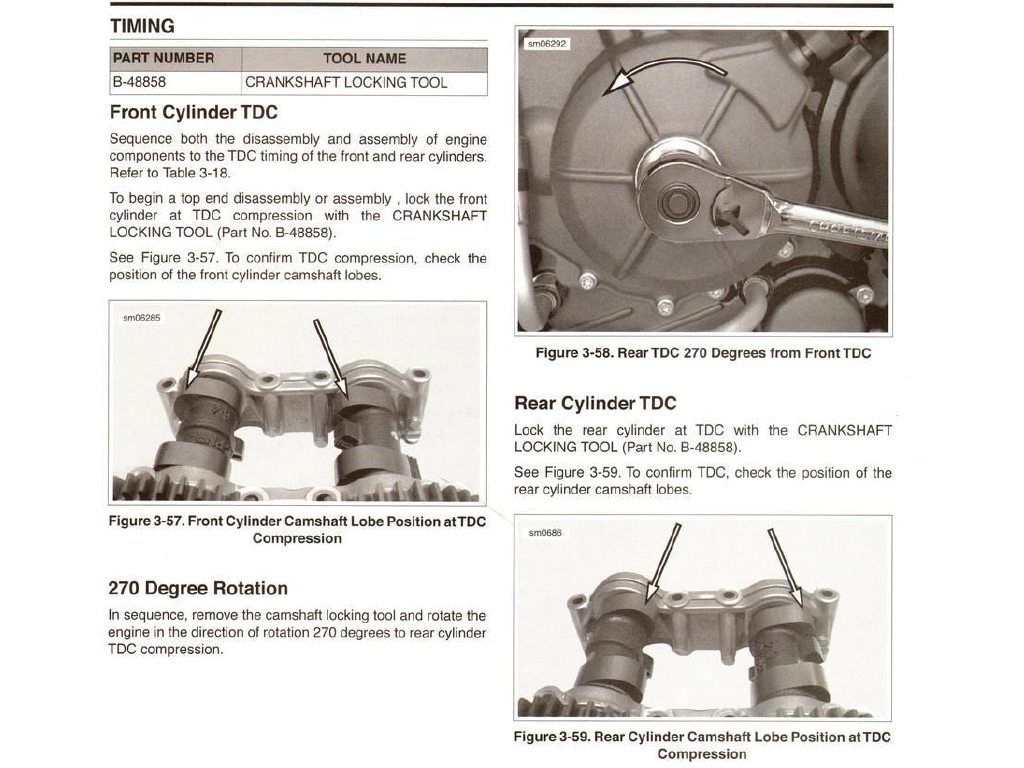
Rotate it a little more, both lobes on intake and exhaust should be pointing up, a bit to the rear of the bike. You check it at TDC, so both intake and exhaust are done at the same time, one cylinder at a time. Do the rear, then do the front since you've got it apart already.

Set it to anywhere inside the specified range, I'd go to the loose side myself, valves recede up into the head and tighten the clearances over time. Shims are meant to be replaced with new or swapped with one that's the correct size if you have them handy. The last time I had to adjust mine, 7 of 8 were out of spec. There's a little brown colored piece that will flip up and can be popped out to slide the cam follower over to one side, it will leave the shim exposed. It sits down in a pocket on top of the valve spring. Use a strong magnet to pull them out. STUFF A CLEAN RAG DOWN INTO THE CAM CHAIN GUIDE CHANNEL. Trust me, you do NOT want shims falling into the bottom end. I lost one on the front head when I did mine, thought it fell down the hole. I got lucky and that's why I pull the frame to do the valve check now. It's 100x easier to work on the motor with the frame out of the way.

You will need to measure everything, record all the clearances. Then, you need to pull each shim to measure it. From there, you need to figure out which way you need to go to get the proper clearance. Shims will be marked in metric, ie; 255, 260, 265, etc. They're about $8 each from HD or you can order an entire shim kit from stores online. http://www.procycle.us/bikepages/ktm.html has them for $70.


Just to be clear, the "lobes" are indicated in this pic below. It's not that little tab in the center, that has nothing to do with the valves or any adjustment. I really don't know what it's purpose is.


TDC_zps5a69daa9.png
 
I have one, and I am also changing the oil to. I can use the TW for the oil drain plug too.
 
I agree with Dean about the range of the valves. Set them on the loose side. When I first checked mine at 12000 miles, most of them were in spec, but on the tight side. I changed all of them out since they were 2 or 3 bucks apiece at the harley shop. The shims used are the same as the vrod shims. Also, don't forget to change your spark plugs while you are in there.
 
Also, don't forget to change your spark plugs while you are in there.
Already did! Shes getting an oil change too.

I will post a new picture later asking if i have the lobes right.
 
Ok, both of these pictures are the same just at a different angle.

I rotated the engine and this seems to be as close as possible i can get for the two lobes to face the same way. Is this correct?
2013-02-26%2017.10.13.jpg


2013-02-26%2017.10.37.jpg
 
Yes, that will work. Basically, the lobes have to point away from the cam followers so there's a small amount of clearance to measure. Take the measurement, pop out the little hard plastic retainer, take each shim out and measure what it is. Put each one back in after it gets taken out and measured. Record all measurements, both clearance of each valve and the shim itself. If it's tight, you need a smaller shim size, if it's loose, then a larger one is required to tighten it up some. If it's borderline on the loose side, leave it as is.
 
Thanks Dean, Ill get looking into this throughout the weekend and will puts up when i need more help. Which I bet i will ;)
 
Ok, just to make sure I'm still doing this right, here's the clearances and shim sizes from the bike.
Pardon the crappy notes/drawings, I did it and it's not pretty.

Just to clarify, left is kickstand side as sitting on the bike and looking down.

IMG_20130318_191027_zpscbcfa969.jpg


Now, with all that info, here's the conversions on what goes where, with final (assumed) clearances and shim sizes. It appears that 3 new shims are required.

IMG_20130318_191037_zpsdc3181d7.jpg


Any corrections?
 
Here is my copy.
DSC04761.JPG

The way i did mine appears backwards from Deans. Dean also helped so everything should match.
 
[confused] Thank god you guys under stand it.Guys like me just pay the $250 and get it done.LOL
 
I would have given up if Dean wasnt willing to help me. He is a top notch guy and has been availble to help with any problems I have. Even said he would come help in person if I needed it and paid his way (understandably). Its not as hard as it looks actually and HD makes it harder then it needs to be.

I will admit though that at first it is HUGELY overwhelming, but if you want to be able to do all your own work like me then this is fun (when it works). So far the hardest thing doing was disconnecting everything from the bike and engine. I just hope I can put it back together!
 
So Dean sounds like you are the "king of the wrench" when it comes to buells tell me your in west michigan. I need a good mech. That I can trust.
 
Back
Top