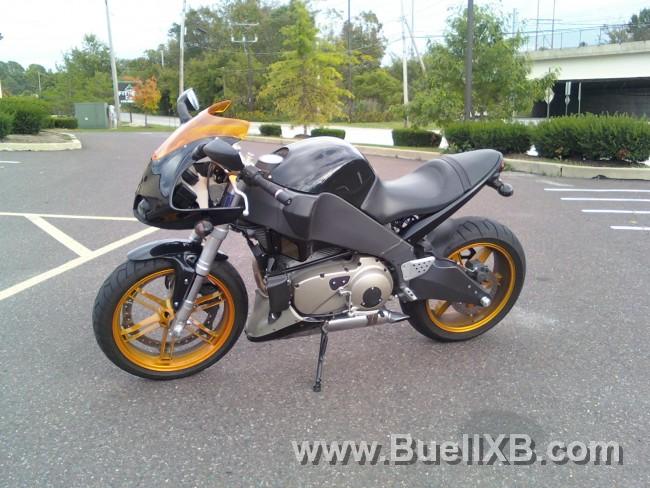
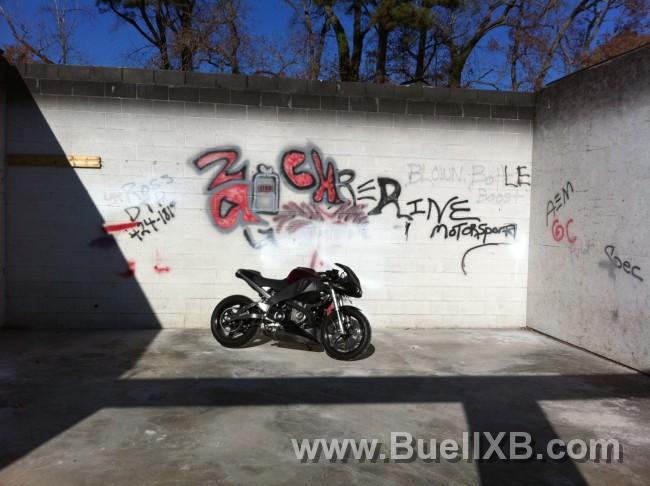
Alright here it goes!
Parts needed:
- fairing
- fairing stay
- head lights with bracket
- upper triple
- handle bars
- ignition
Reusable parts:
- grips
- instrument panel
Tools needed:
- allen wrench set
- socket wrench set
- torque bits, if you do not already have a set buy the temper proof with the hole in the center ( specifically a t45)
- electrical tape
- rubber mallet
- phillips screw dirver
- masking tape ( label parts)
My bike is a 2007 Buell Xb12SS, if the swap worked for the different rake of the SS I imagine it will work for all Lightnings.

Good idea to put the bike in a rear stand or both if you have them, I only used a rear.
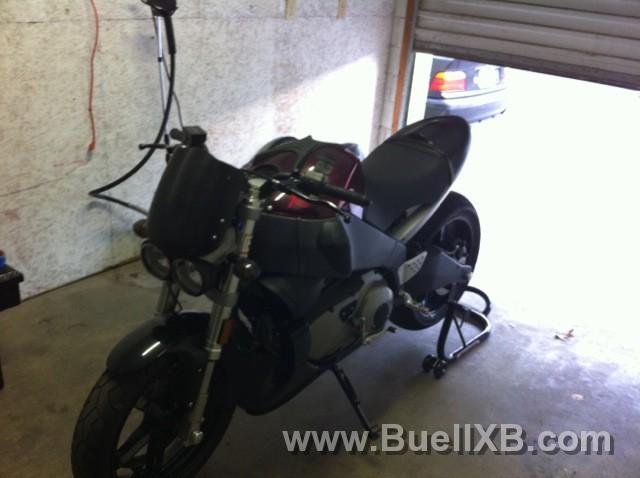
Also smart to disconnect the negative terminal on the battery to get rid of any surprises.

Remove the windscreen, blinkers ( label), speedo, headlights and horn (label), disconnect the flasher and the clutch, pull the clutch cable through the fairing bracket.
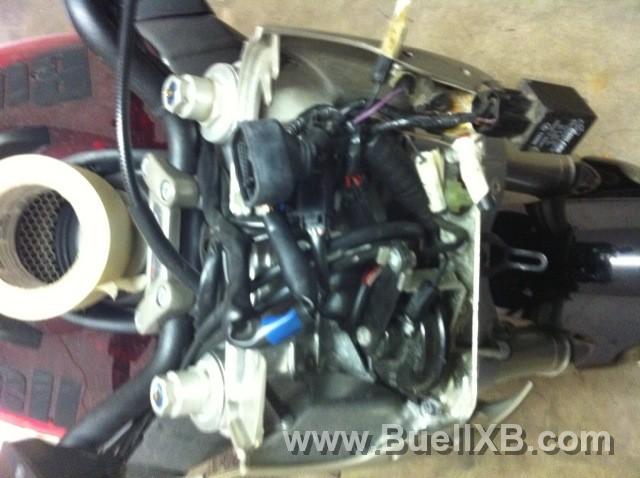
Cut the zip ties ( 3 total) holding the wires together.
Disconnect the brake switch, the ignition box, and the lights on the handlebars. Remove the controls on the handlebars, the left grip needs to be taken off to remove the clutch lever mount.
Find something to suspend the front brake fluid reservoir.
Label the pull and return cables on the throttle.
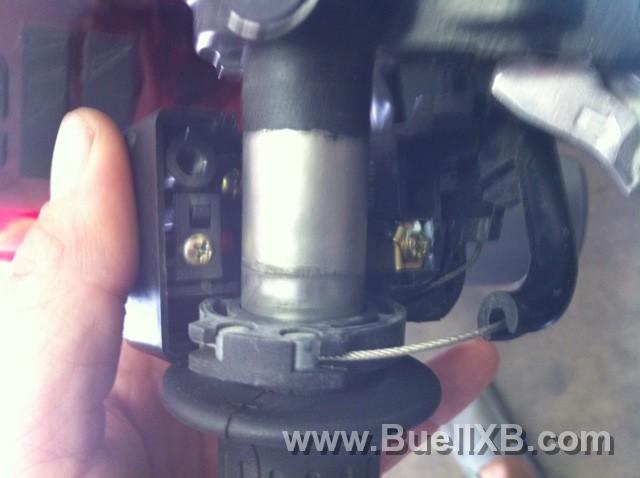
Remove the mount/support bracket for the horn and headlights.
Next sit down with a cold beer or gentlemen drink of choice because-
Now comes the fun t45 temper proof torque bit.
There are two holding the ignition and the left and right fairing barckets to the triple tree.
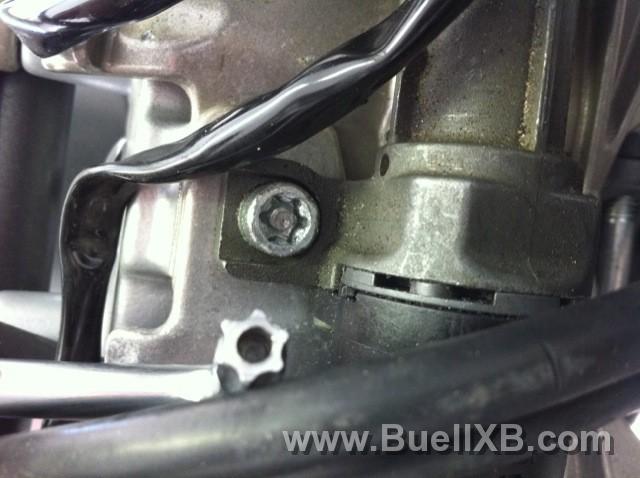
These two bolts are the only two I've come into contact with on the entire bike and I think next to Buell going into business with Harley, they are the dumbest idea Buell had.
I hope you have more success than I did with them.
Once those are off the ignition will come off. ( Remove the bottom of the ignition and place it on the R ignition)
Two more bolts and the left and right panels come off.
Next the clamp and handlebars can be taken off.
Then final piece, the top triple tree.
There are three pinch bolts and the center bolt connecting the top triple to the bottom. ( center pinch bolt must be removed before this can come out)
Rubber mallet may be needed to free the triple from the forks.

Then finally a Naked bike
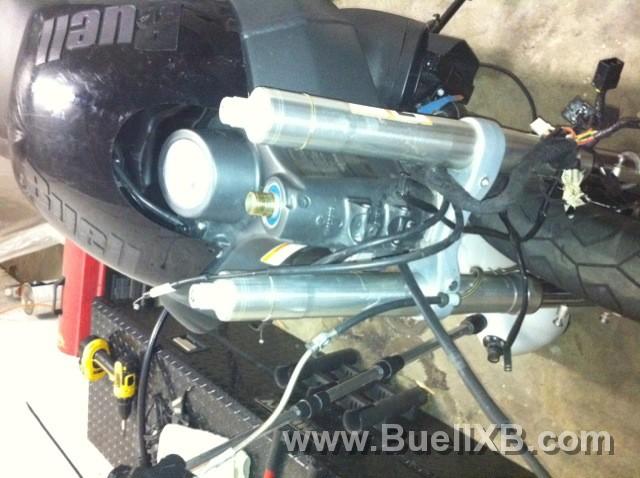
Now place the new R triple on the forks.
The rubber mallet will be the precision tool of choice here.
Place the pinch bolts and the lower triple bolt in with a bead of blue lock tight. The r pinch bolt is larger than the s pinch bolt in the center, I stole one from the passenger pegs.
Mount the ignition.
Screw in the handlebars. (lock tight)
Now the throttle, ignition box, levers, cables, wires, brake reservoir and grips can be attached.
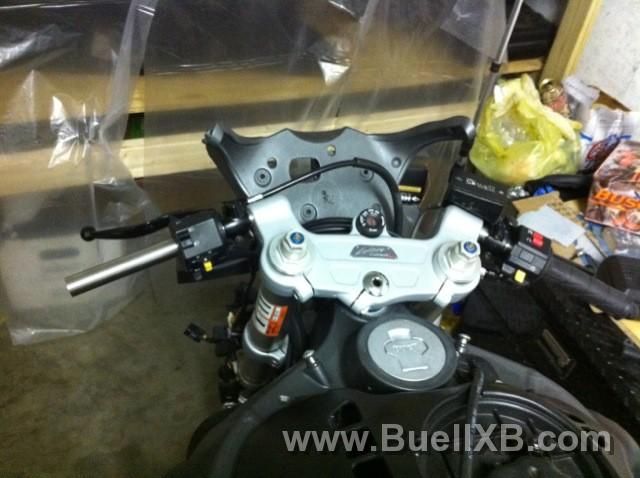
The brake line is to long and rather than buy a new one just try and make it work.
In the next photo you can see the brake line tucked away and a few wires zip tied to keep out of the way of the fairing stay.

Then the fairing stay can be attached to the frame.
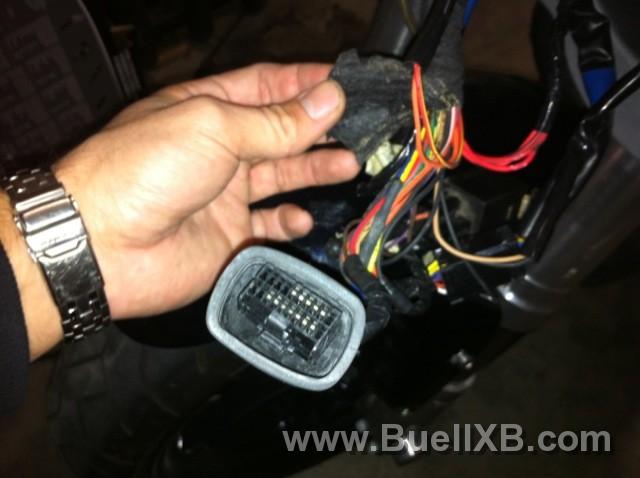
Followed by the gauge cluster and lights. ( reconnect the computer before mounting the lights. ( the adapter on the lights are swapped around, you can either hack up the s headlights or just hard wire them to the bike)
The head lights need a spacer which i will measure and post later.
The rest is plug and play, however the wiring harness needs to be peeled back in order to reach what they need to reach.

Good luck to anyone if anyone tries the project. I enjoyed it and didn't find it that challenging.
Thanks for stopping in!!
Parts needed:
- fairing
- fairing stay
- head lights with bracket
- upper triple
- handle bars
- ignition
Reusable parts:
- grips
- instrument panel
Tools needed:
- allen wrench set
- socket wrench set
- torque bits, if you do not already have a set buy the temper proof with the hole in the center ( specifically a t45)
- electrical tape
- rubber mallet
- phillips screw dirver
- masking tape ( label parts)
My bike is a 2007 Buell Xb12SS, if the swap worked for the different rake of the SS I imagine it will work for all Lightnings.

Good idea to put the bike in a rear stand or both if you have them, I only used a rear.

Also smart to disconnect the negative terminal on the battery to get rid of any surprises.

Remove the windscreen, blinkers ( label), speedo, headlights and horn (label), disconnect the flasher and the clutch, pull the clutch cable through the fairing bracket.

Cut the zip ties ( 3 total) holding the wires together.
Disconnect the brake switch, the ignition box, and the lights on the handlebars. Remove the controls on the handlebars, the left grip needs to be taken off to remove the clutch lever mount.
Find something to suspend the front brake fluid reservoir.
Label the pull and return cables on the throttle.

Remove the mount/support bracket for the horn and headlights.
Next sit down with a cold beer or gentlemen drink of choice because-
Now comes the fun t45 temper proof torque bit.
There are two holding the ignition and the left and right fairing barckets to the triple tree.

These two bolts are the only two I've come into contact with on the entire bike and I think next to Buell going into business with Harley, they are the dumbest idea Buell had.
I hope you have more success than I did with them.
Once those are off the ignition will come off. ( Remove the bottom of the ignition and place it on the R ignition)
Two more bolts and the left and right panels come off.
Next the clamp and handlebars can be taken off.
Then final piece, the top triple tree.
There are three pinch bolts and the center bolt connecting the top triple to the bottom. ( center pinch bolt must be removed before this can come out)
Rubber mallet may be needed to free the triple from the forks.

Then finally a Naked bike

Now place the new R triple on the forks.
The rubber mallet will be the precision tool of choice here.
Place the pinch bolts and the lower triple bolt in with a bead of blue lock tight. The r pinch bolt is larger than the s pinch bolt in the center, I stole one from the passenger pegs.
Mount the ignition.
Screw in the handlebars. (lock tight)
Now the throttle, ignition box, levers, cables, wires, brake reservoir and grips can be attached.

The brake line is to long and rather than buy a new one just try and make it work.
In the next photo you can see the brake line tucked away and a few wires zip tied to keep out of the way of the fairing stay.

Then the fairing stay can be attached to the frame.
Followed by the gauge cluster and lights. ( reconnect the computer before mounting the lights. ( the adapter on the lights are swapped around, you can either hack up the s headlights or just hard wire them to the bike)
The head lights need a spacer which i will measure and post later.
The rest is plug and play, however the wiring harness needs to be peeled back in order to reach what they need to reach.


Good luck to anyone if anyone tries the project. I enjoyed it and didn't find it that challenging.
Thanks for stopping in!!


