LSL Superbike Conversion Instructions?

Buellxb Forum

Help Support Buellxb Forum:

piratius

Member
Joined
Feb 14, 2013
Messages
17
Hey all, I recently bought a LSL superbike conversion kit to get the bars up a little higher on the Firebolt, as the riding position was too low for me.

However, I bought it used from a forum member, and it didn't come with instructions. Does anyone with this kit still have their instruction sheet? If so, can you take a couple of pictures and post them so I can verify I'm doing this right? I would call Speigler, but they're closed for the weekend! Argh!

Thanks in advance!
Brad
 
Yeah, it sucks I found out I didn't have the instructions (and they're not readily available on the web) on a Friday night at midnight [mad]

Ok, so the old clamp comes off fairly easily. First up, clip the zip-ties on either side of the ignition switch that hold the clutch and brake cables captive. Then you loosen the fork tube pinch bolts, the center hub pinch bolt, and then tap the underside with a rubber mallet. They'll start wiggling and coming up. Then, you just loosen the bars/clipons/whatever (but don't take them out quite yet!). It'll be a lot easier to finish pulling the top clamp if you grab the bars and wiggle back and forth. Once the top clamp is mostly off, remove the bars, then pull the clamp off. You'll have to muck with it a bit, and eventually it'll flip over forwards, exposing the tamper-resistant Torx bolts holding the ignition switch on the bike. Remove those, and remove the ignition switch.

Pull the top triple tree off the bike, then place the LSL one on. If you're doing this with the bike on the side-stand, you'll need to jack up the bike from the front to align the steering stem hole, as the whole assembly will sag slightly with the top clamp removed. If you're doing it with the bike jacked up, and the front wheel in a stand, then this may not be a problem.

Slip the clamp down over the tubes and center step, and then start the center nut. You can use the center nut to pull down the clamp over the tubes.

This is where I stopped - I don't know how far down to go. I left mine at the second of the two alignment marks at the top of the tube, and I figured I'd get in touch with LSL/Speigler/ASB or someone who's done this to make sure I don't muck it up!
 
Alright guys, I'm following up on this!

The guys at Spiegler USA are awesome. Very cool German dude answered the phone, got him to send me a PDF file of the instructions. It turned out I was missing a bushing/spacer, and got the previous owner of the kit to send it out to me. Going to go back and finish it up now!

You can get the instructions here:
http://s000.tinyupload.com/index.php?file_id=52964816257777317743

Or Here (hosted on another Buell Forum, I figured redundancy was best was best)
http://buellridersonline.com/forum/attachment.php?attachmentid=3649&d=1398444134
-Brad
 
The cable routing they suggest is a little wonky - I'm going to look at what other people have done, and see if it's possible to come up with a better solution. I've bought a Lightning clutch cable, which should let me keep stock routing while compensating for the added height (they want the cable to go through a double S bend around stuff, it's not really elegant and will probably cause extra wear). I'll post what I find.

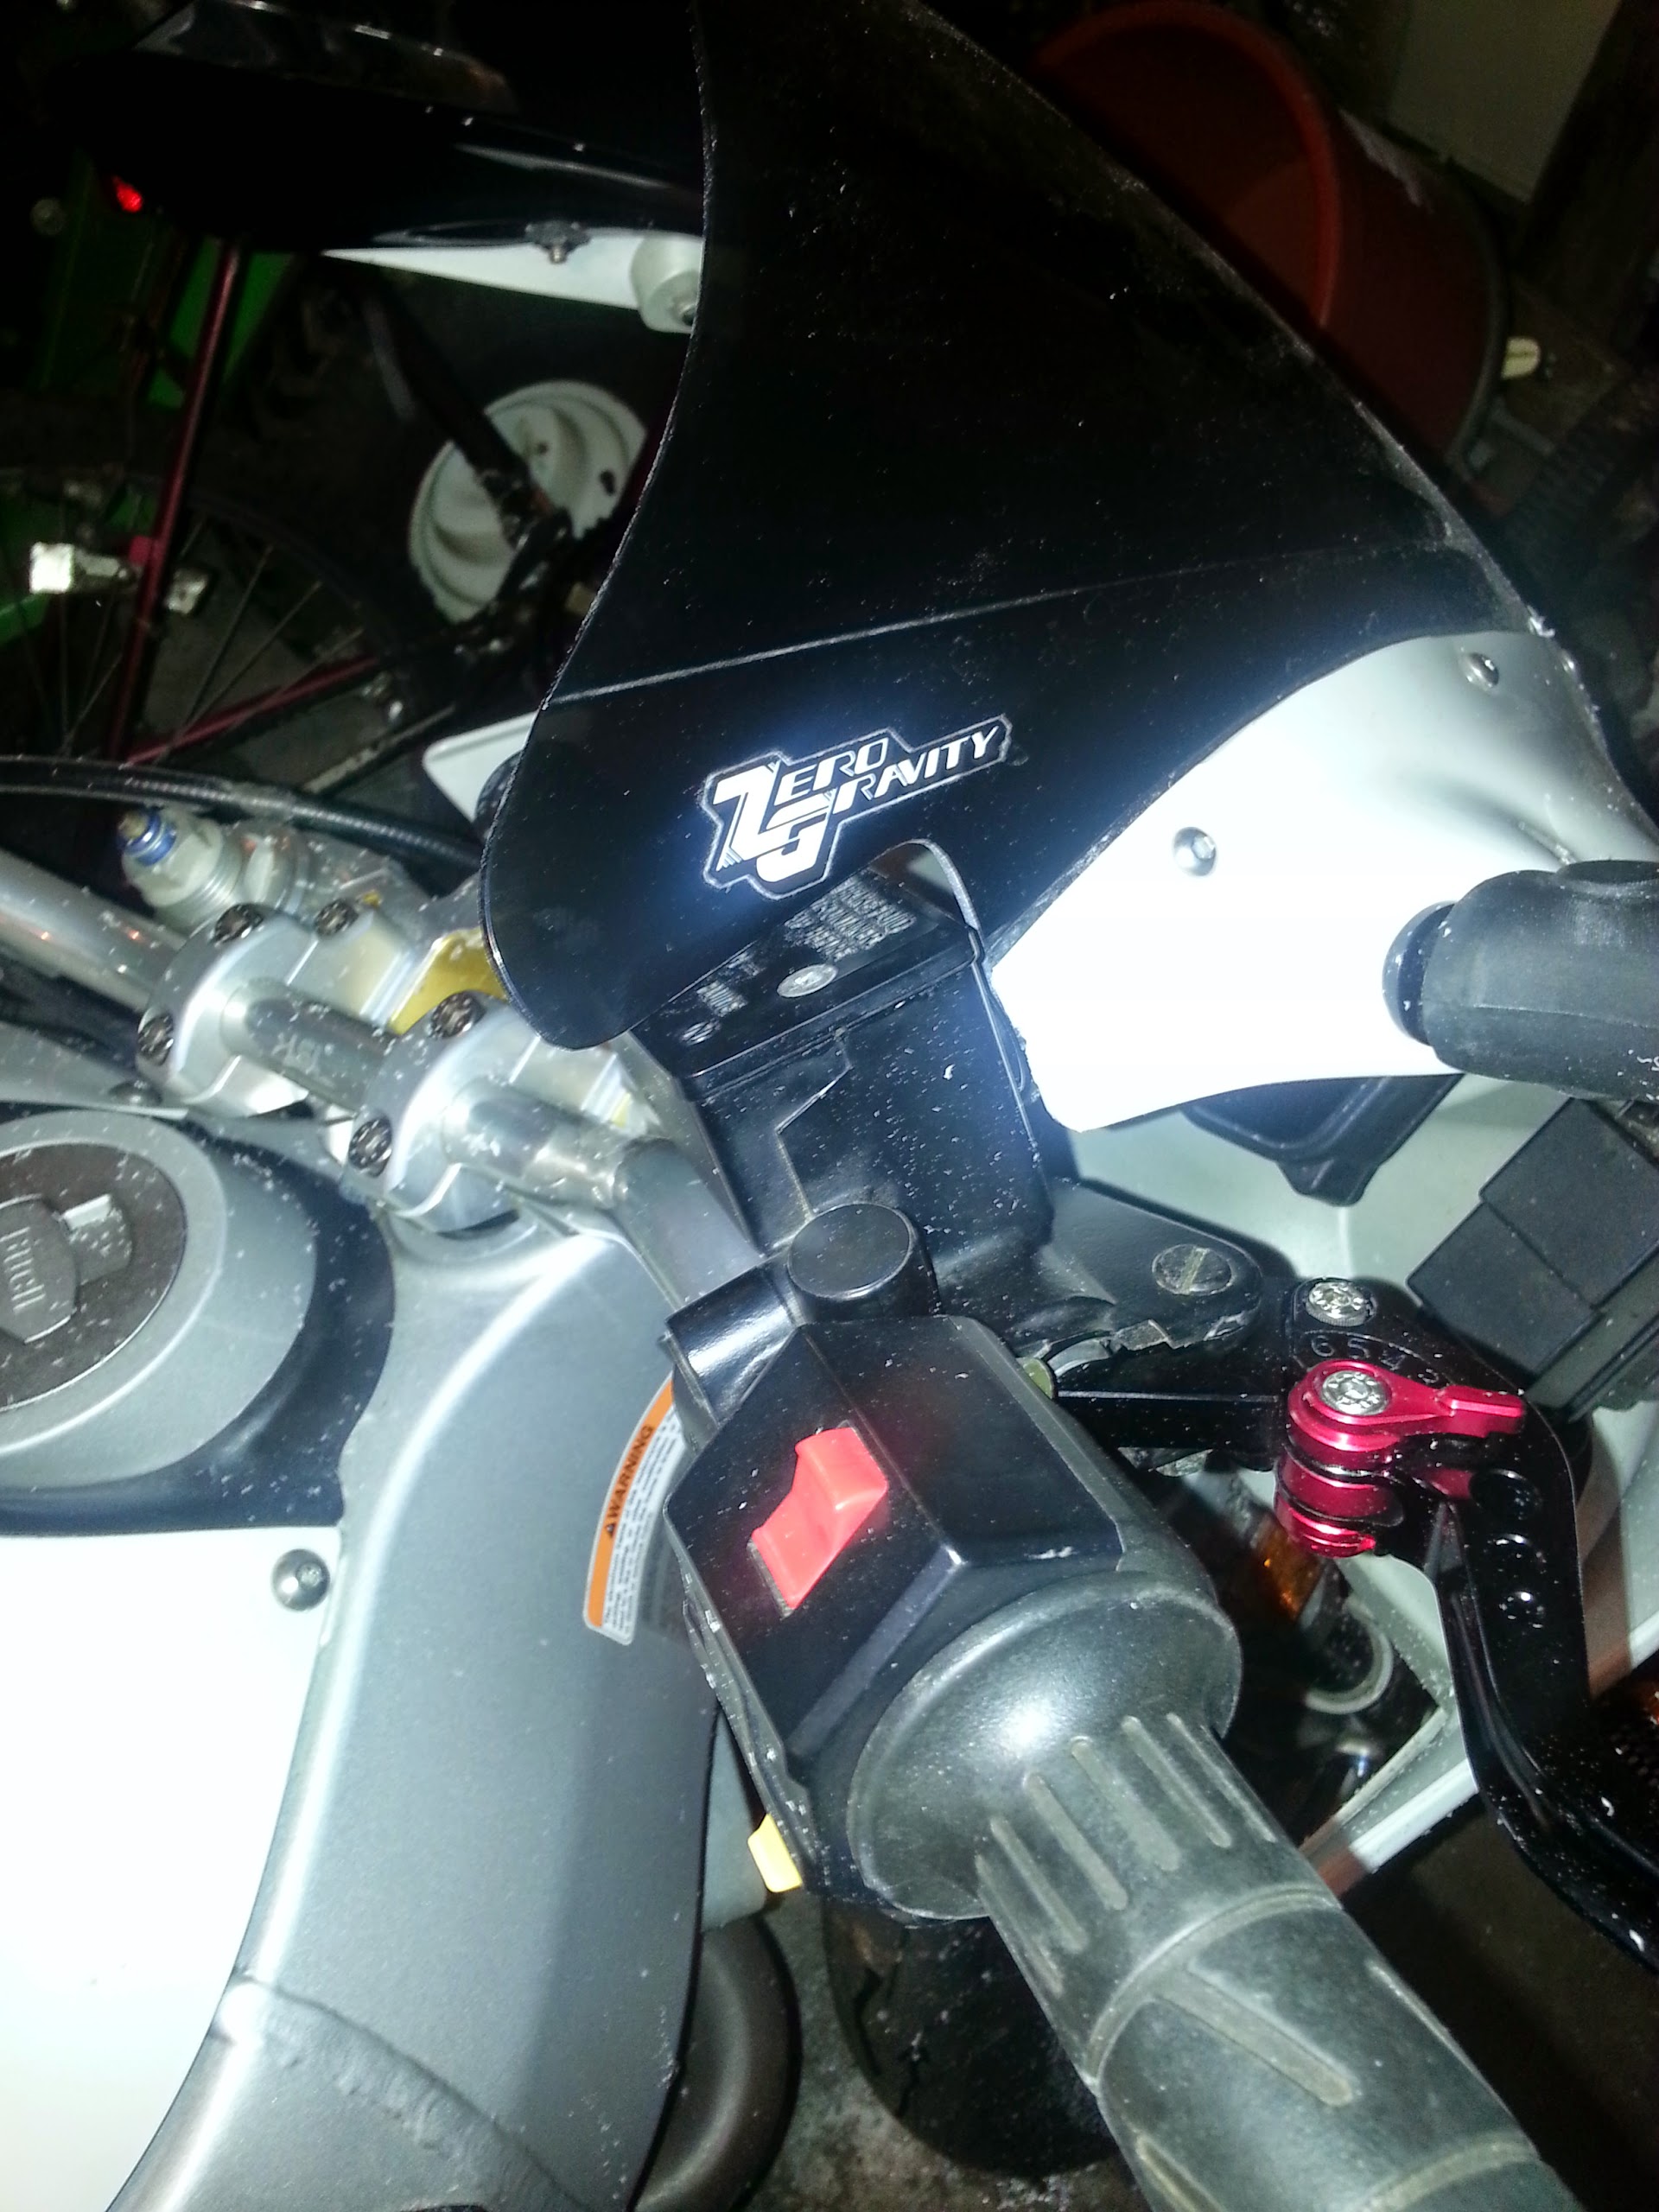
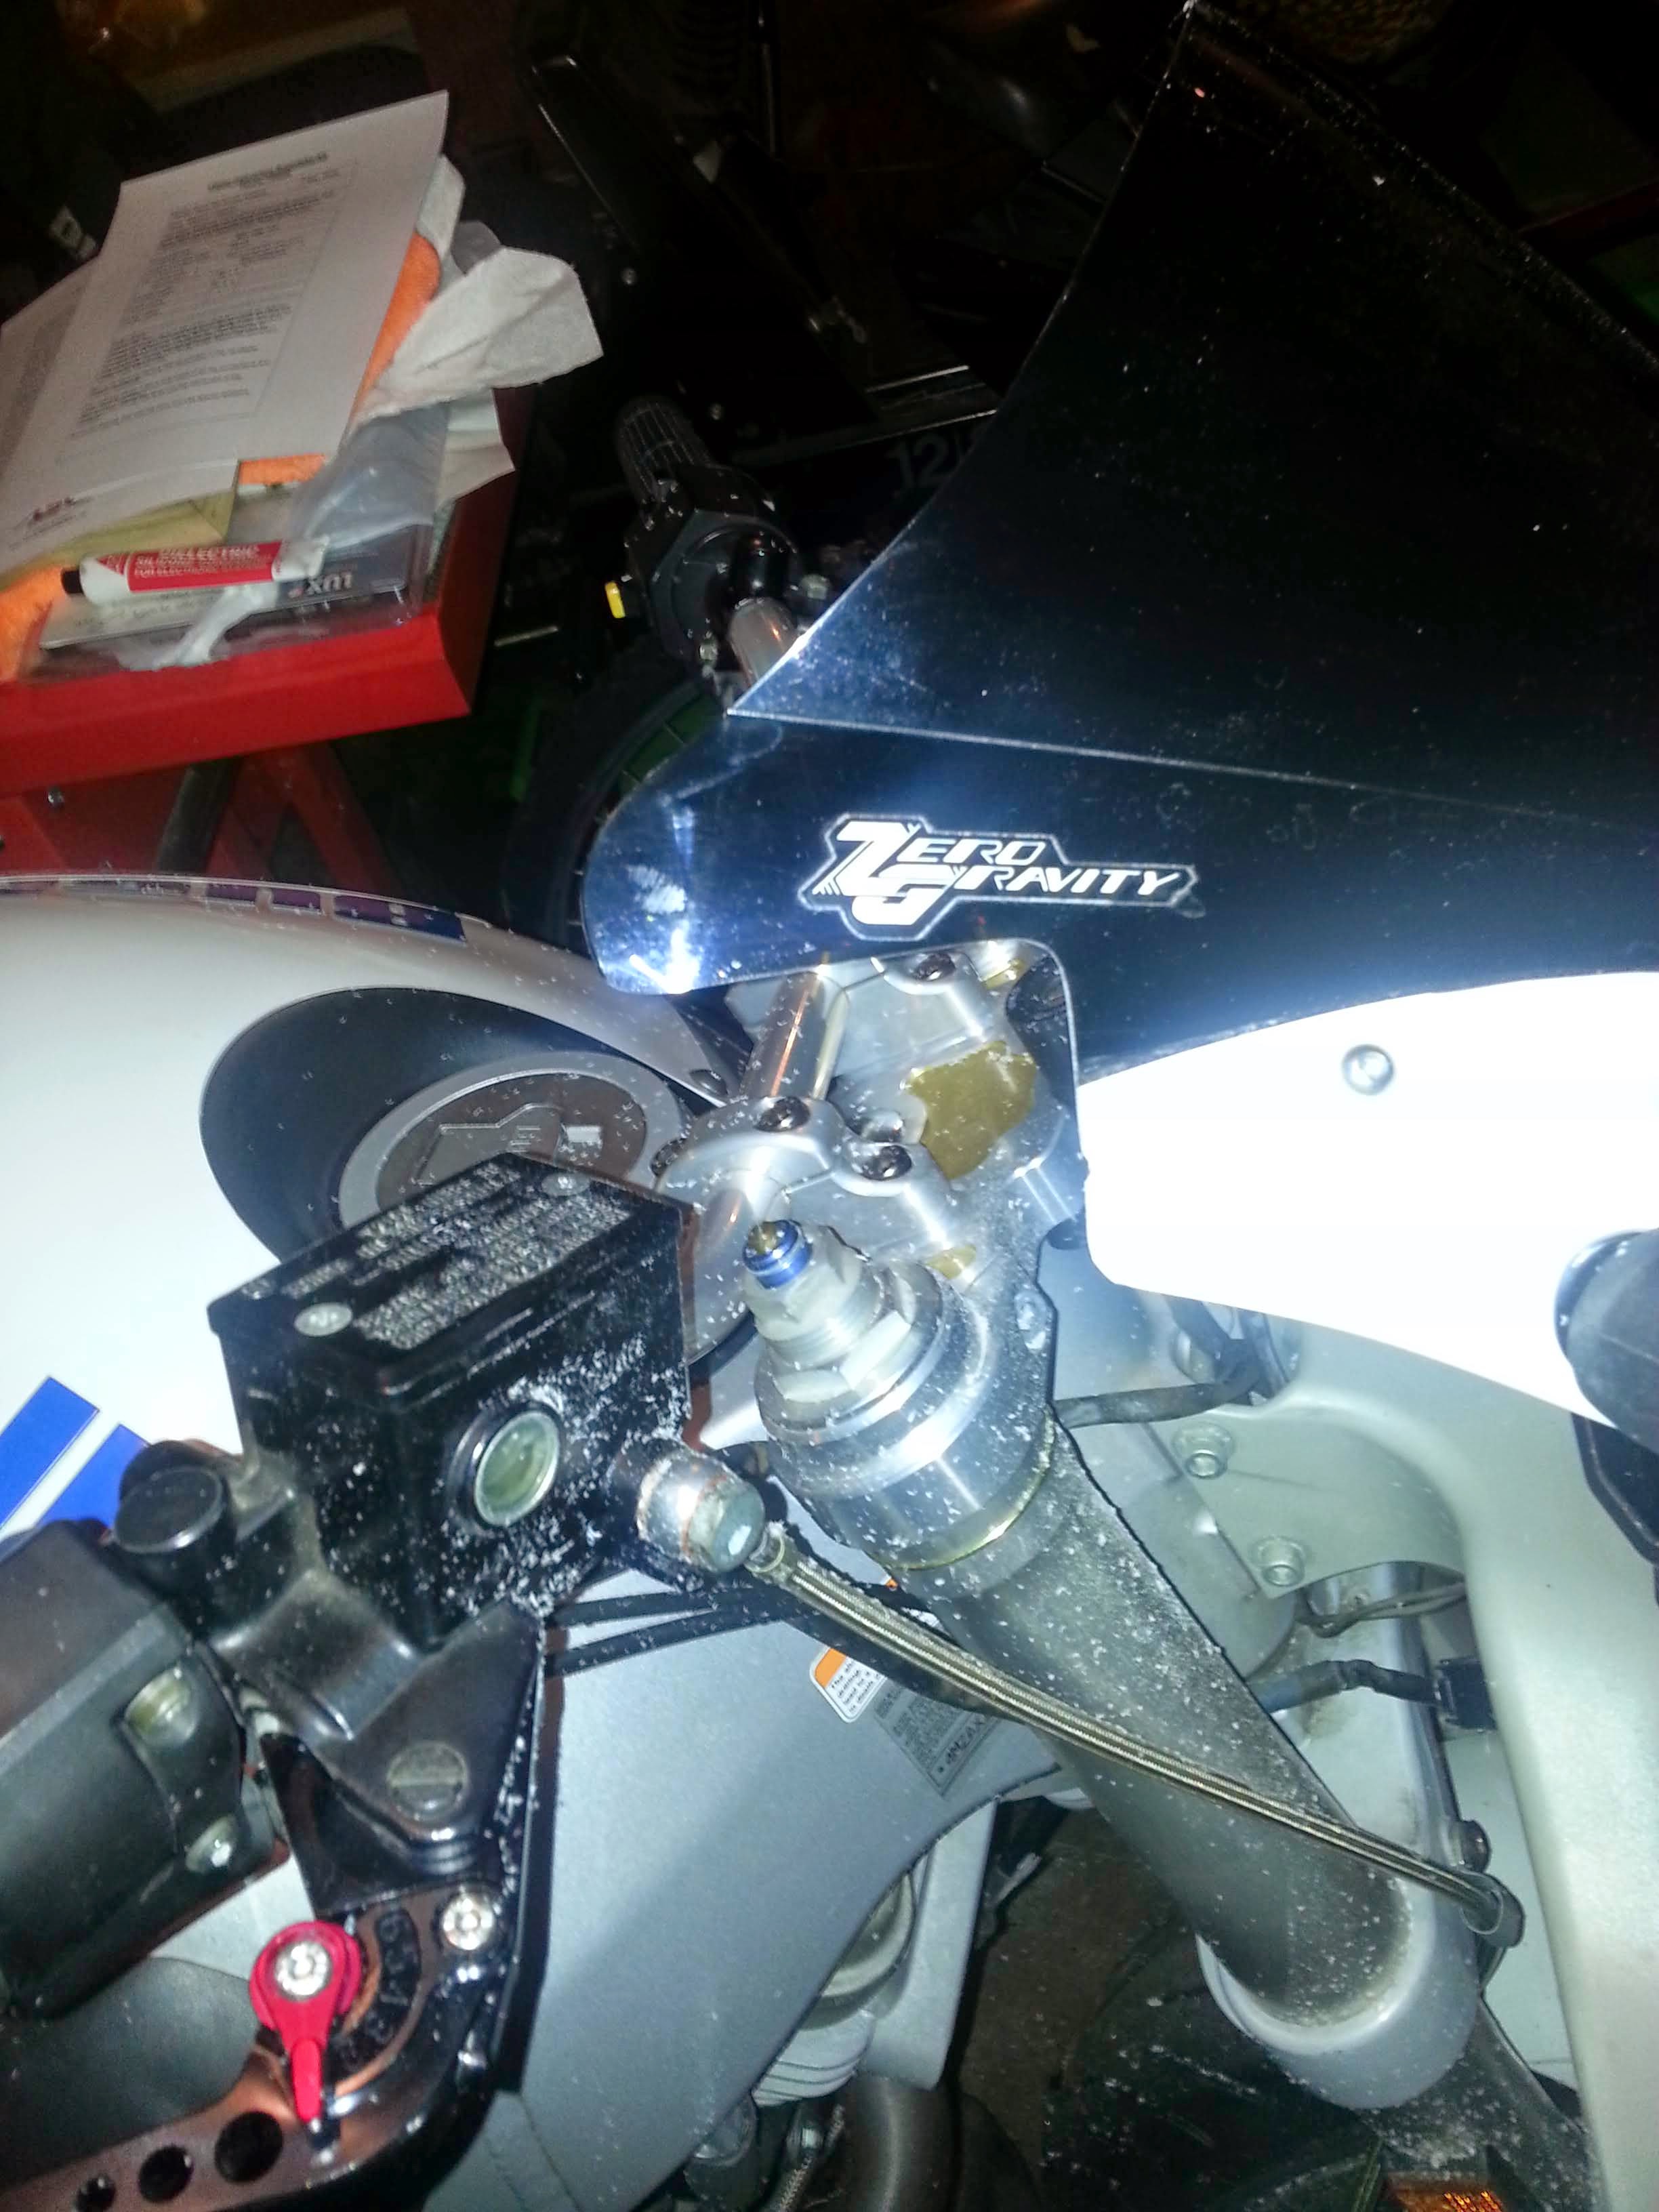
Trimming the windshield is definitely a necessity. When cut, it should look something like this:
20140428_012549.jpg

And this (with the master cylinder out of the way)
20140428_012611.jpg


Sorry for all the dust on everything, cutting the plastic makes quite a mess! The best way to do it, from trial and error, seems to be chucking a sharp 1/8" drill bit into a dremel tool, setting the speed to medium, and then using the SIDE of the bit to cut through the plastic. Be careful, the bit will want to wander EVERYWHERE. Don't try to make one big cut the first time. Start small - rotate the bars, mark where it bumps/contacts, cut a little. Rotate the bars, see where it bumps, cut more. This will let you get a feel for the process as well as keep you from cutting waayyyyy too much out on accident.

After you've cut it, put a piece of 150 grit sand paper in a sanding block (I like the Hard Rubber 3M ones) and same down. Use the block to bevel the edges and make sure everything is super smooth. if you get it right, you can barely tell it wasn't factory!

Sorry for the potato quality, it was really bright and I didn't have a good camera to take pictures with!
c1xfDIxrdGRAIj-KMUN19IoT2OtQa6KkW2uJhy69I2U=s0
 
Nonsense? Well Ich, then I guess I did it wrong! The directions I got from LSL are vague on specific installation tips for the Firebolt (bar angle, handlebar position, etc). Some detailed pictures showing what angle the bars and controls should be mounted would be greatly appreciated if you have them and are willing to share.

From what I saw during installation, if I rotate the bars further back, the steering won't go to lock. If I rotate the bars further forward, it would make it worse! I have the brake and clutch levers installed at the same points relative to the grips as they were on the factory bars, and at the same geometry for my arms. If you have some pictures, or can give me some pointers on how to correct my installation, I would be very happy to fix it!

As it stands, I got a lightning clutch line from ASB, got it installed and routed to my satisfaction. (I wasn't happy with the new routing with the stock Firebolt line). I've also cleaned up and moved some of the wires so they won't bend as much as I ride.

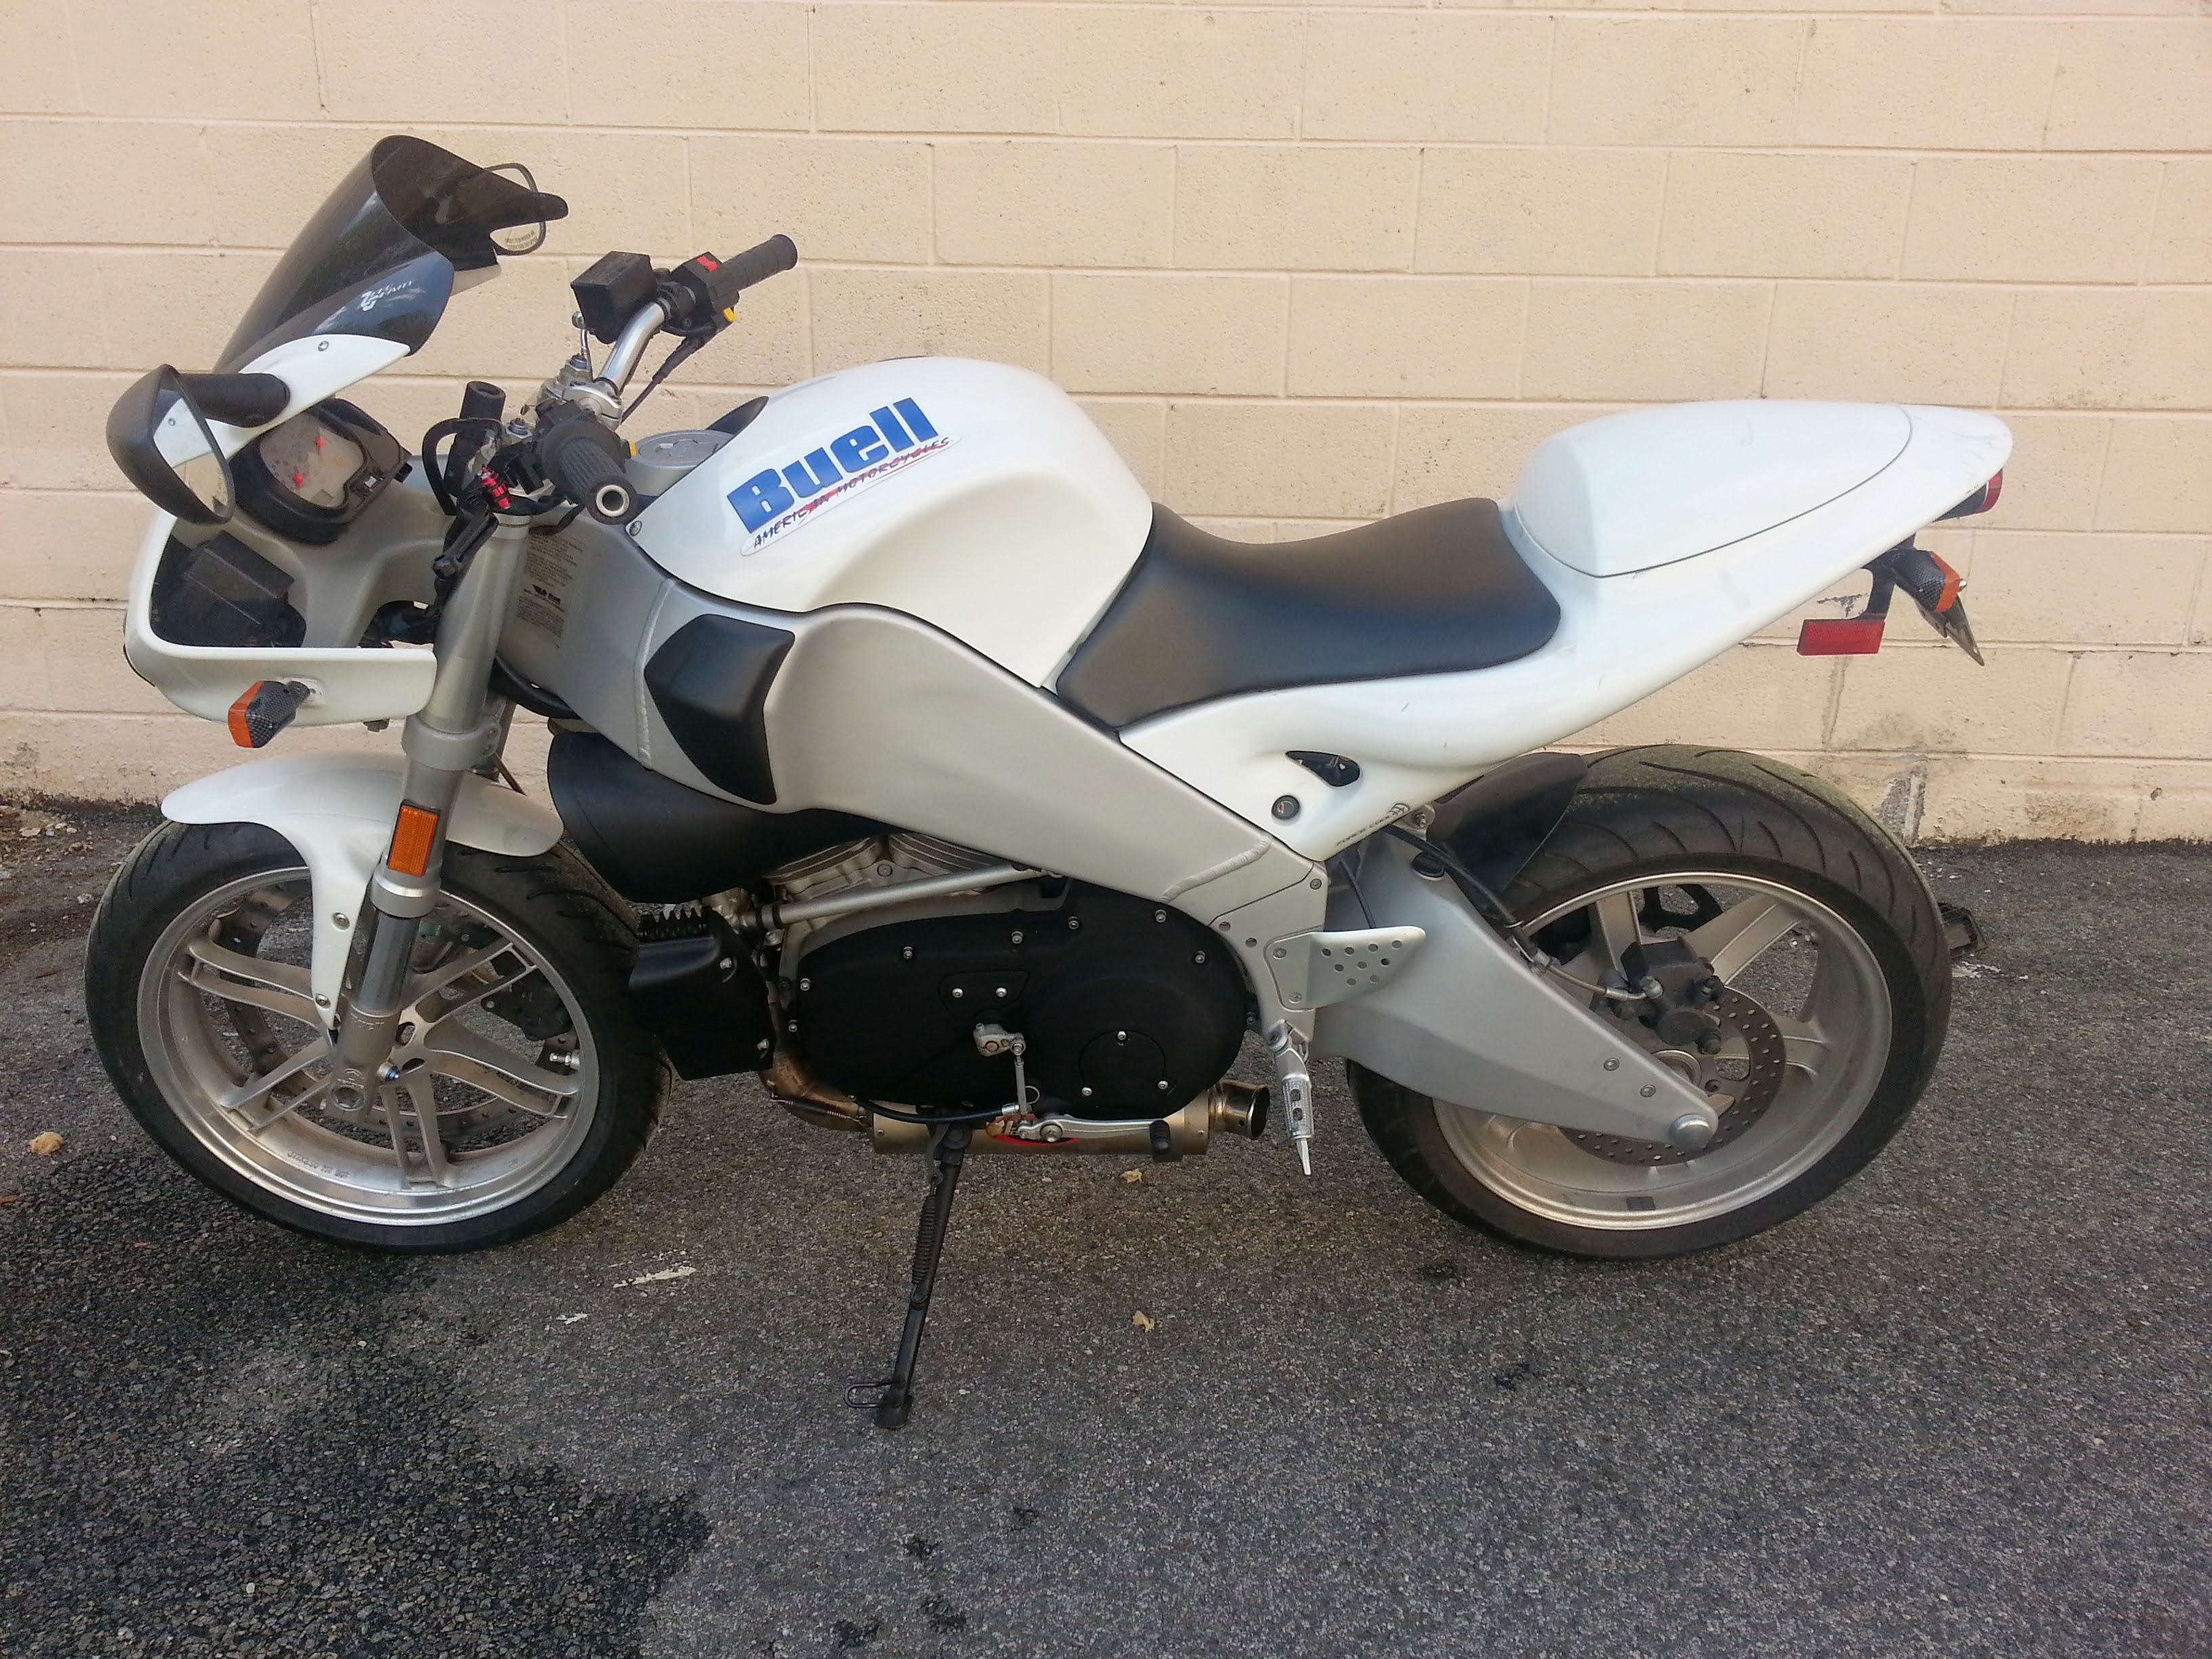
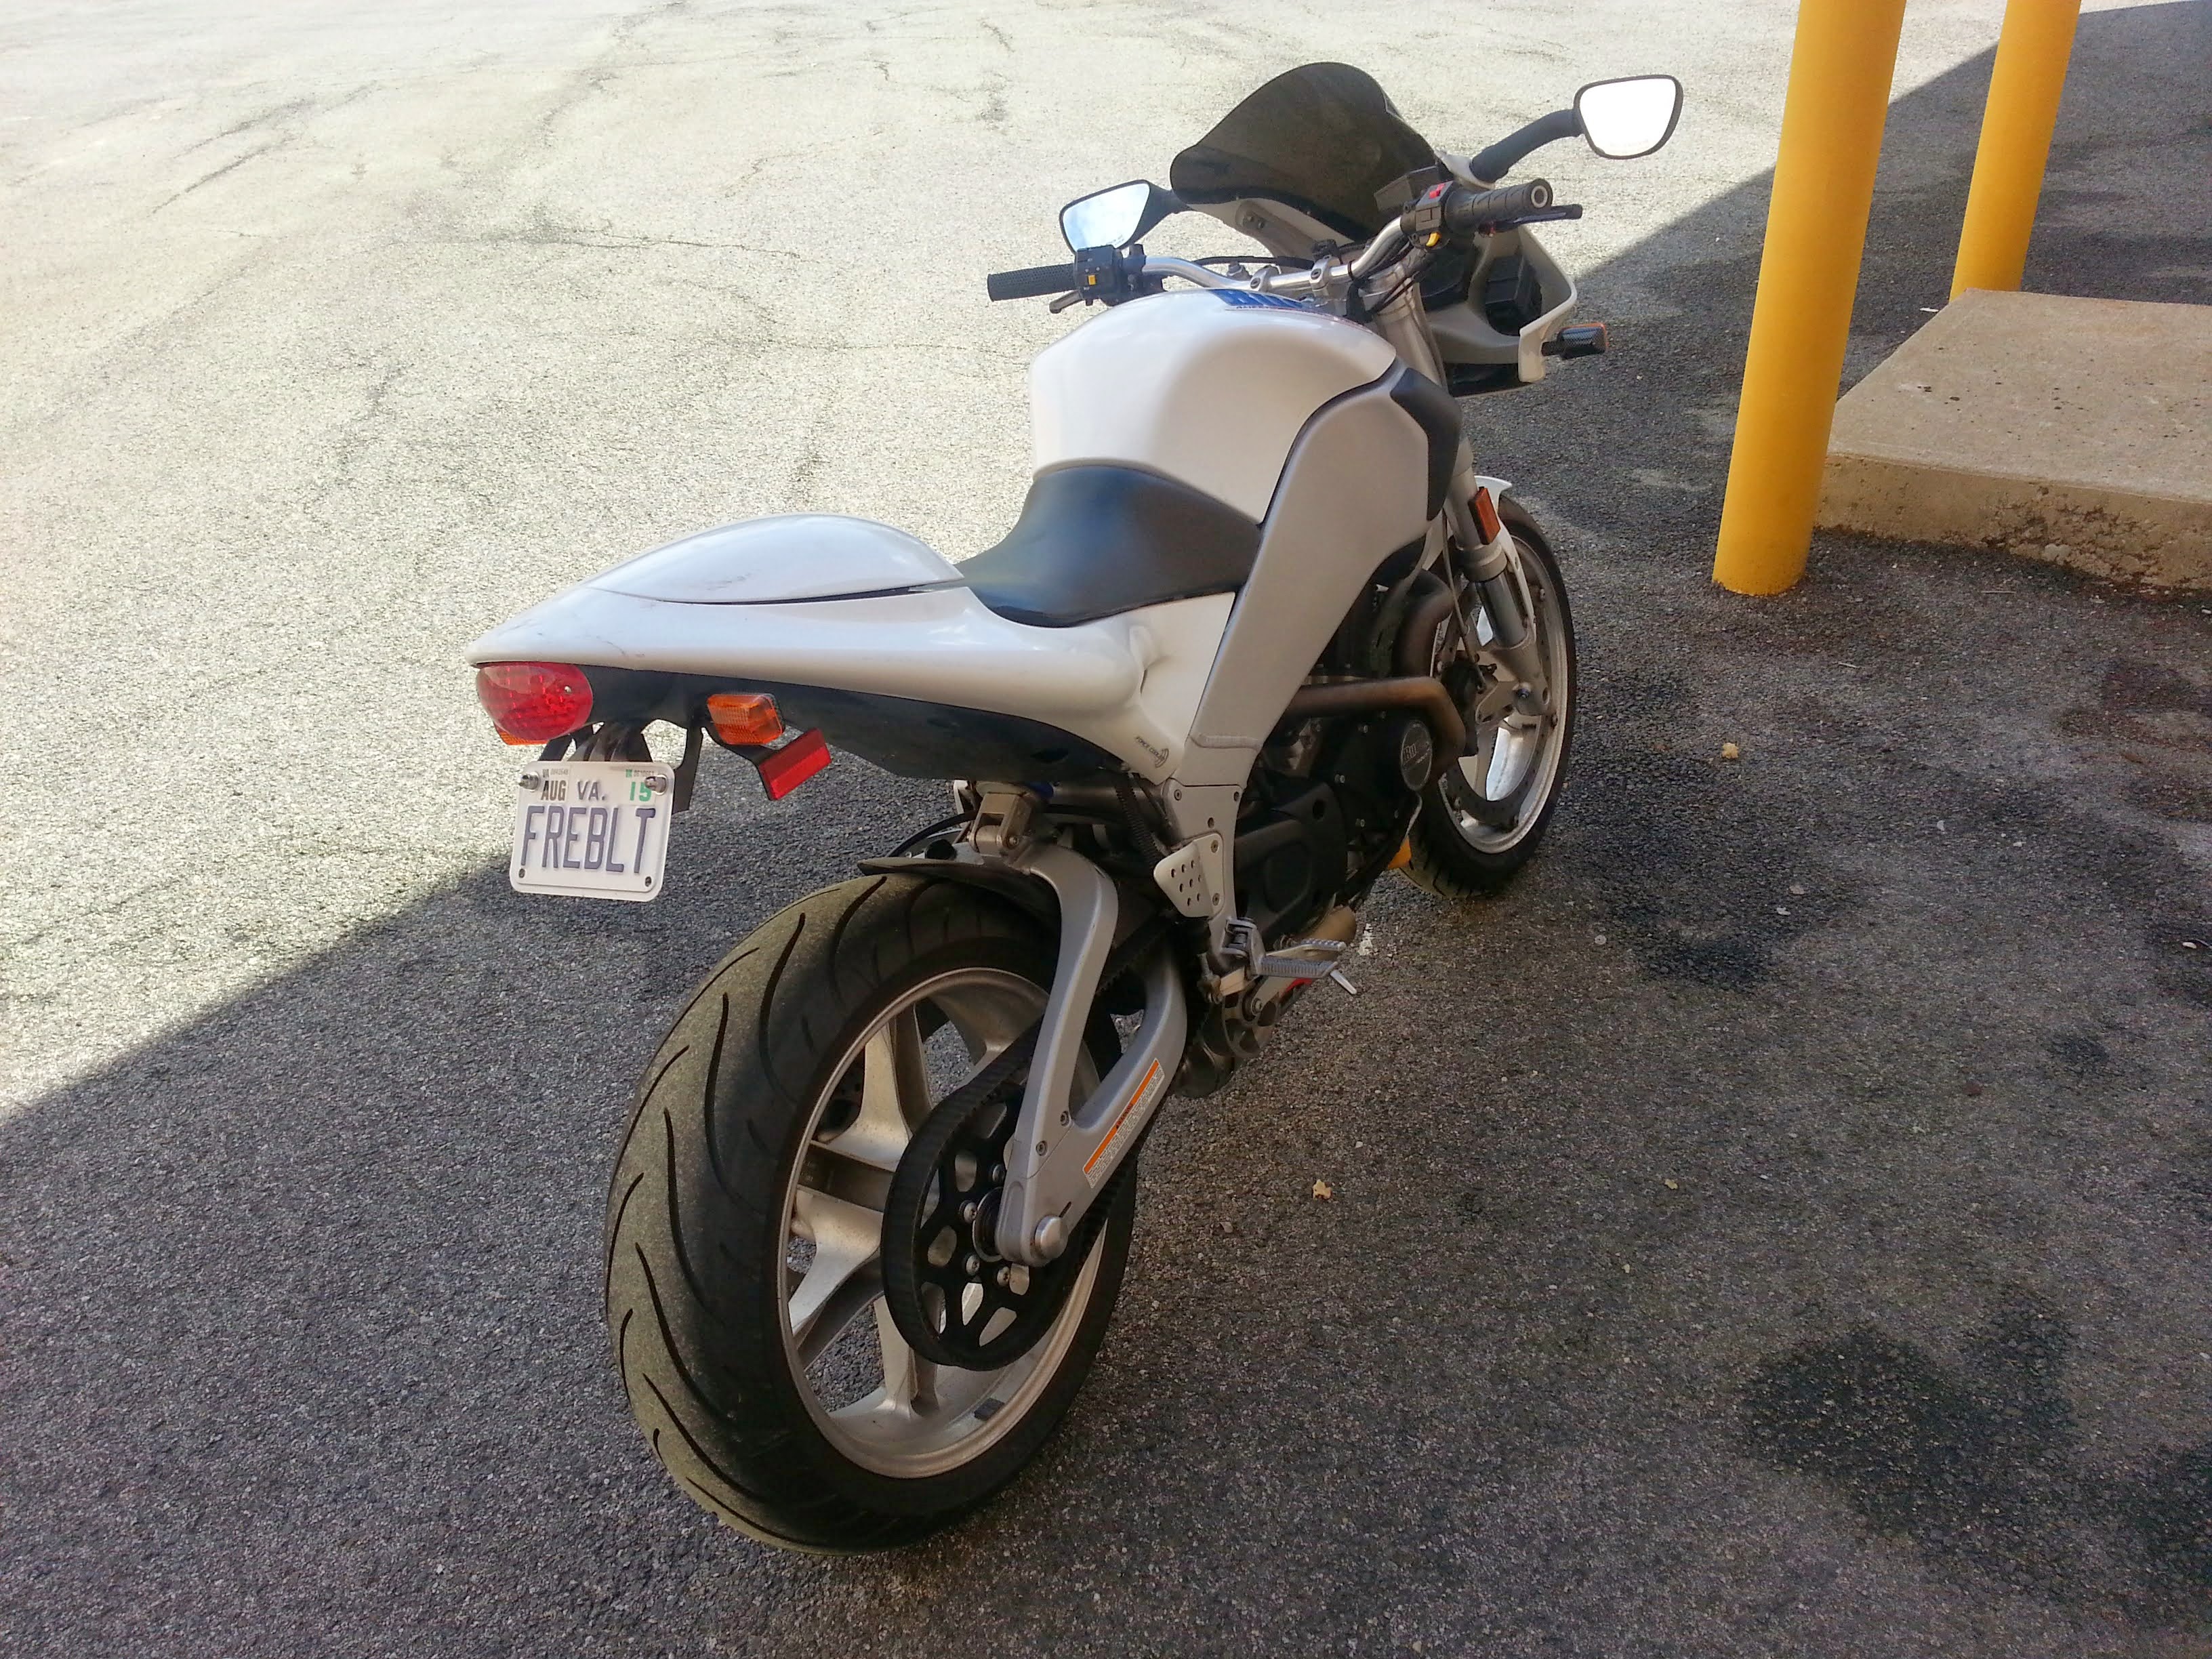
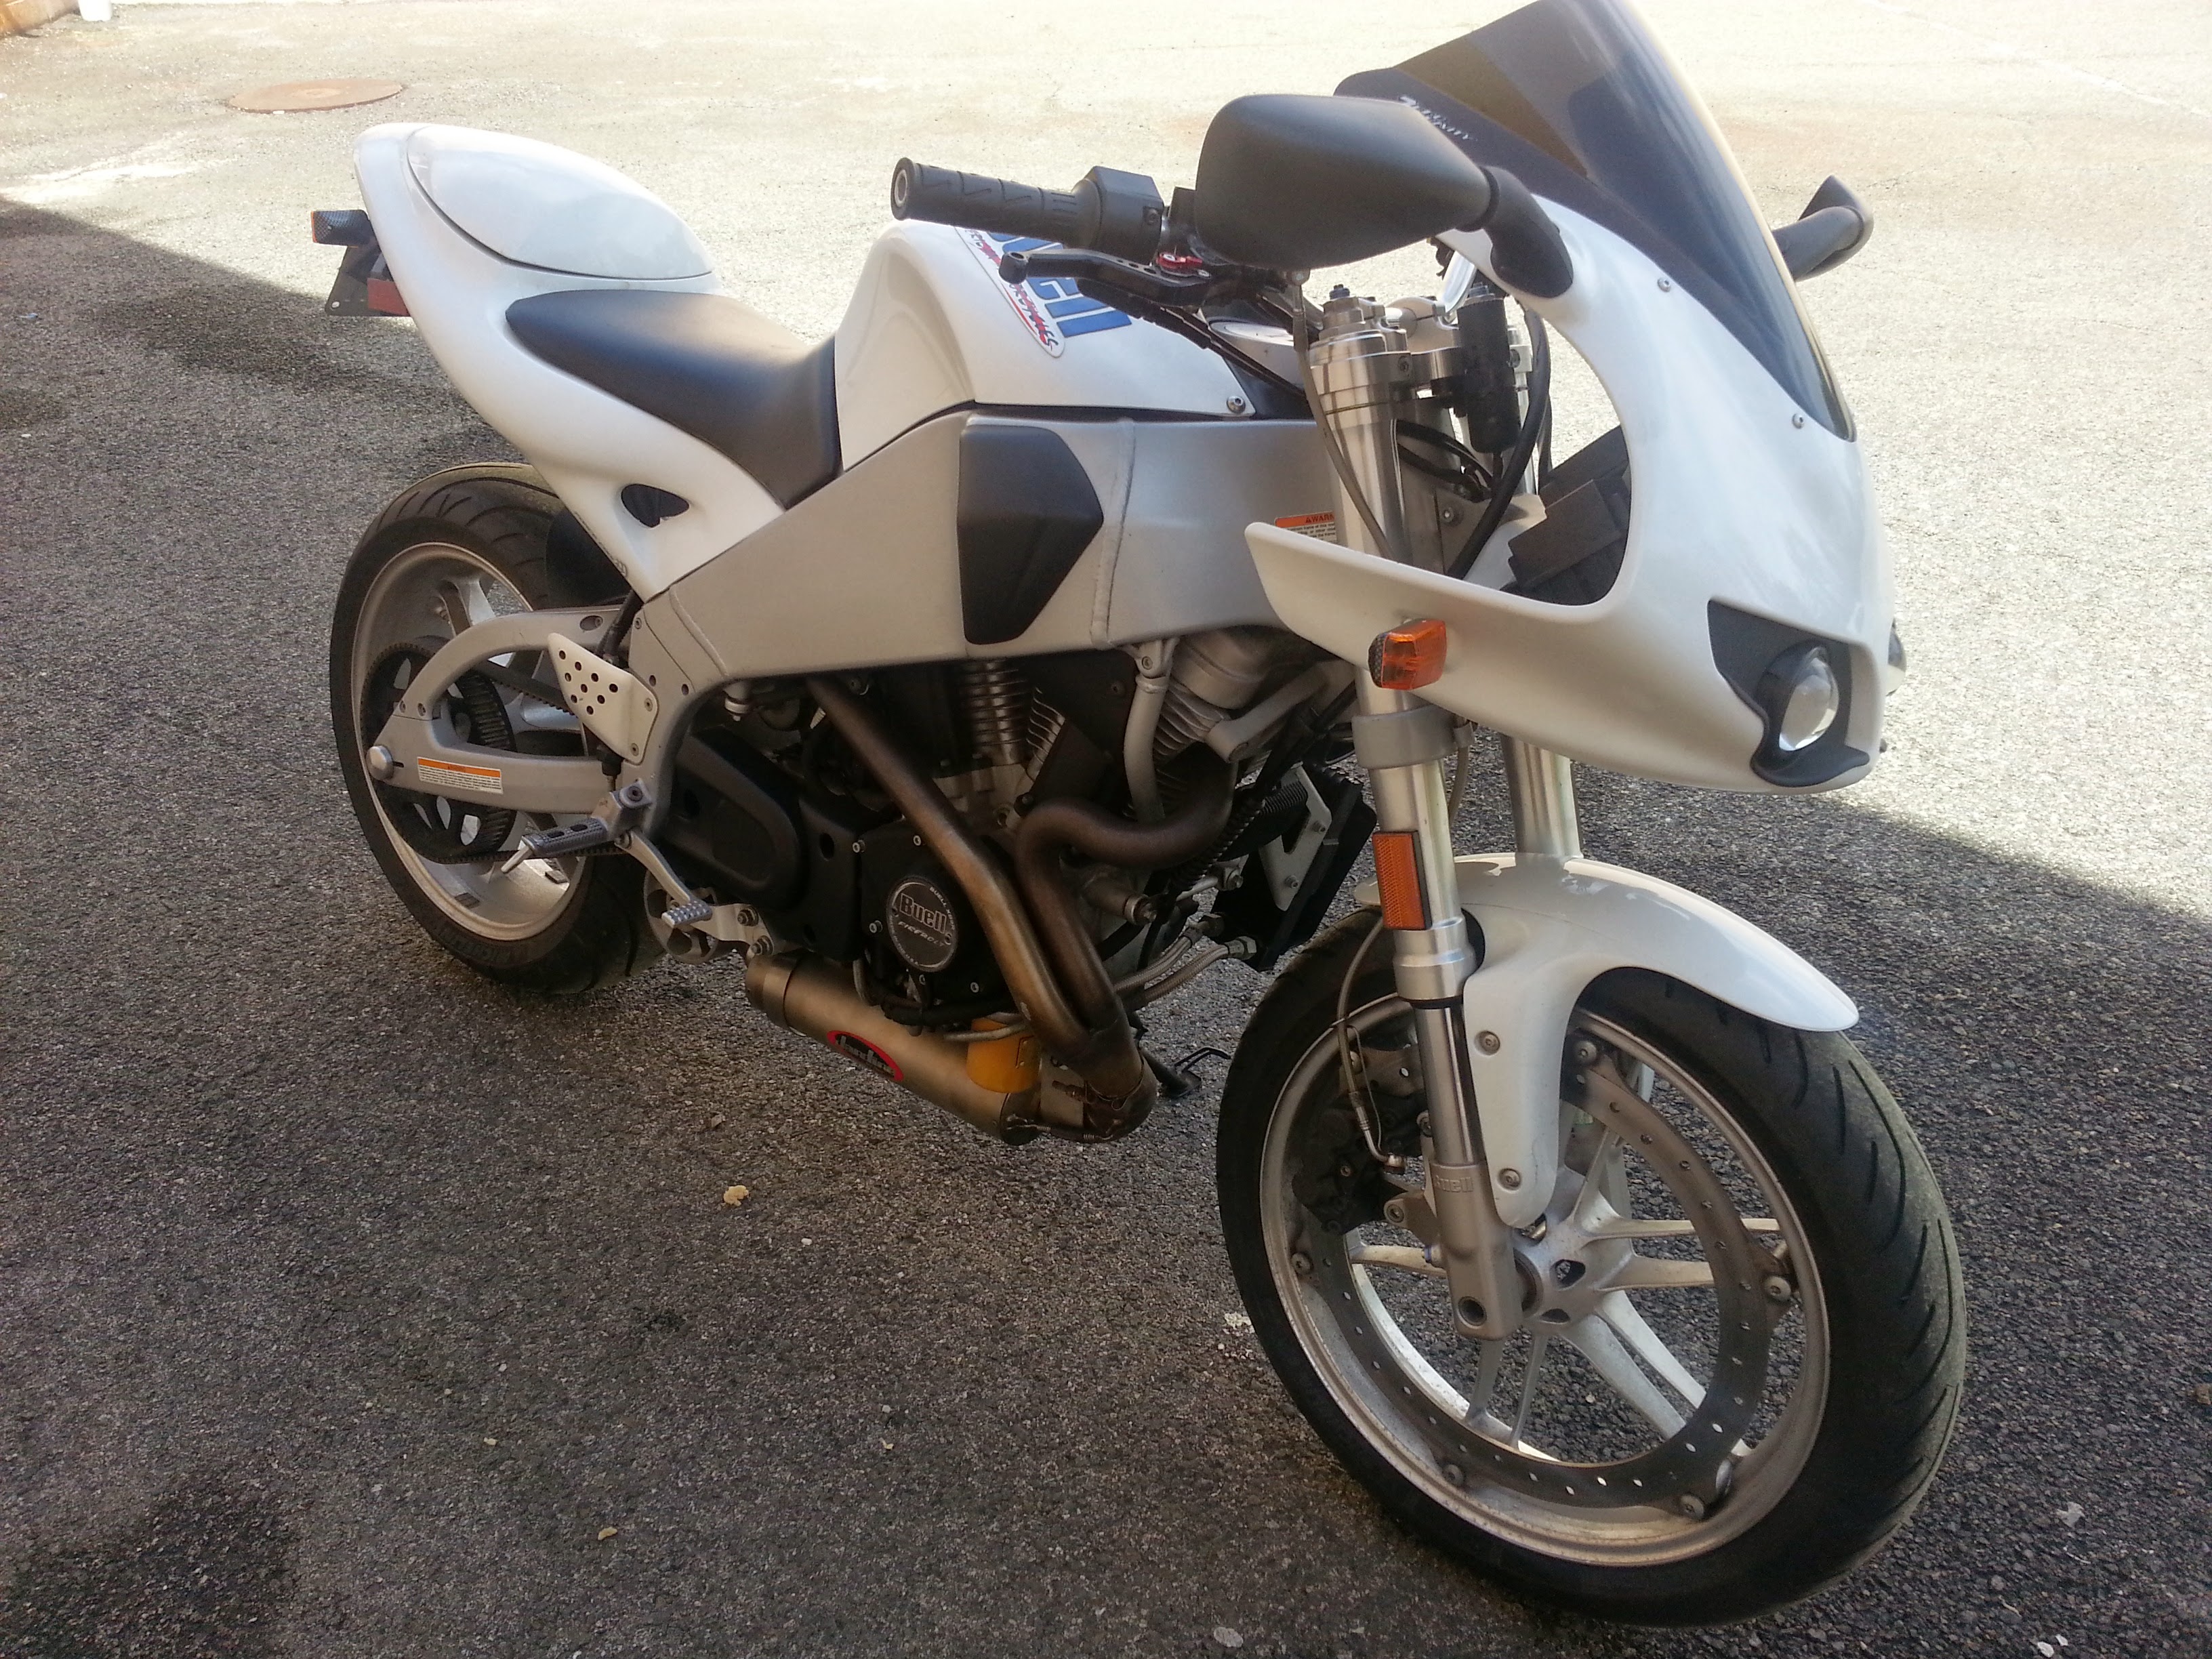
Here are a few more pictures, just for fun (also a new-to-me exhaust, Jardine RT-1 titanium with about 4,000 miles on it!)
20140502_104659.jpg

20140502_104711.jpg

20140502_104721.jpg
 
Ich, while I understand that the current generation isn't up to your standards, do know I've rebuilt motors and done a lot of extensive work on cars and motorcycles in the past, and is the first time I've ever had to resort to cutting stock pieces to make something work. I'm also in my 30's, and don't believe that I really fit into the "younger generation".

The pictures you've shown have several things in common. The first is that the levers for brake and clutch are pointed very sharply down - I don't think I'd be able to ride with the levers like that. The second thing - with the levers rolled that far forward, flushing the brake fluid would require loosening the bar clamps and rolling the bars back. That's not a dealbreaker, it's just an extra step in what should be simple process. Lastly, the picture from LSL shows a fair amount of bar-end sticking through the grips. The first few times I looked at the pictures on their site, I thought it was a fancy bar-end. Now I realize that it's the end of the bar, and they didn't cut it off. All of the other pictures I've seen online (and the three you linked) have the bar ends cut down after the installation when the levers were moved further inwards. This isn't mentioned by LSL anywhere (or by any forum members), and so how was I supposed to know? It's supposed to be an install almost identical to stock - and stock doesn't have the bars sticking out the ends of the grips.

I'll mess around with it more and see if I can make it clear. If I can, I may install another fairing sometime in the future if it bothers me.

Thanks for your help, even if you were intending it to be sarcastic, or backhandedly insulting.
 
Back
Top