well life bit me again, front wheel bearings went out last night on the way home, so this morning I decided to post up a few pics and my experiences of changing them out.
Here is the general tools needed,
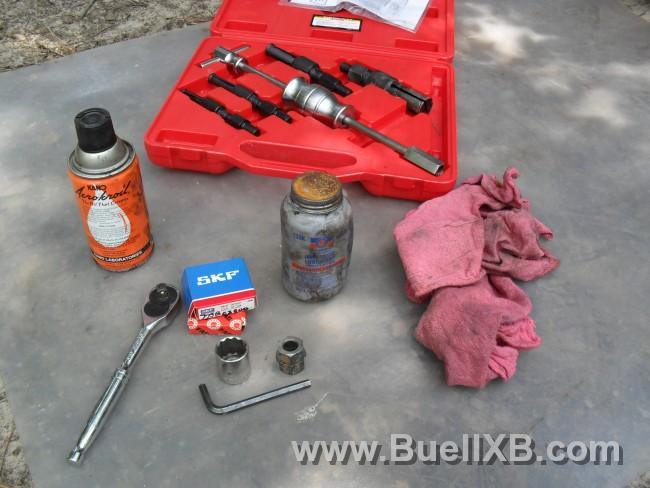
good penetrating oil
Anti-Sieze
Rachet and axle tool
2 Allen wrenches from tool kit
t25 tork bit, for taking off front fender
Blind bearing puller kit
couple of rags
brake parts cleaner
1) Remove Axle pinch bolts
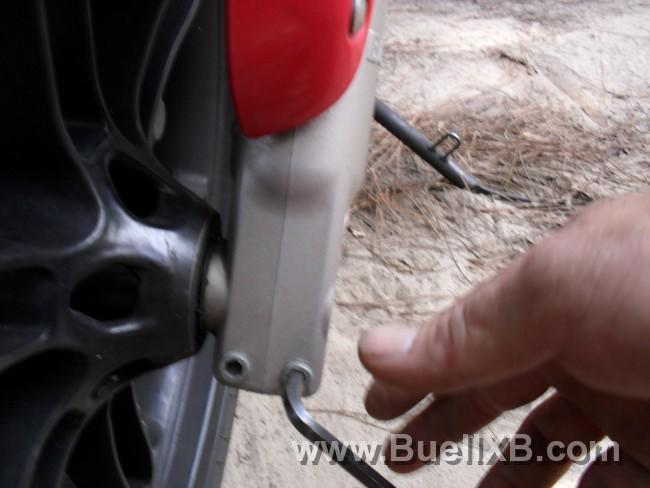
2) Remove front fender
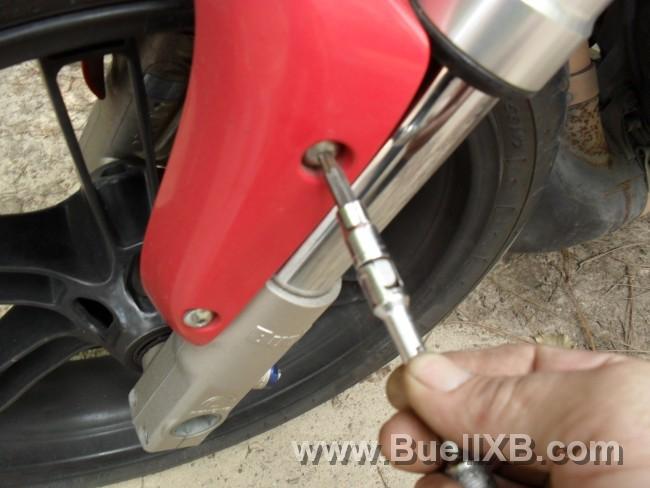
3) Raise and properly support the bike so the front wheel is off the ground a couple of inches
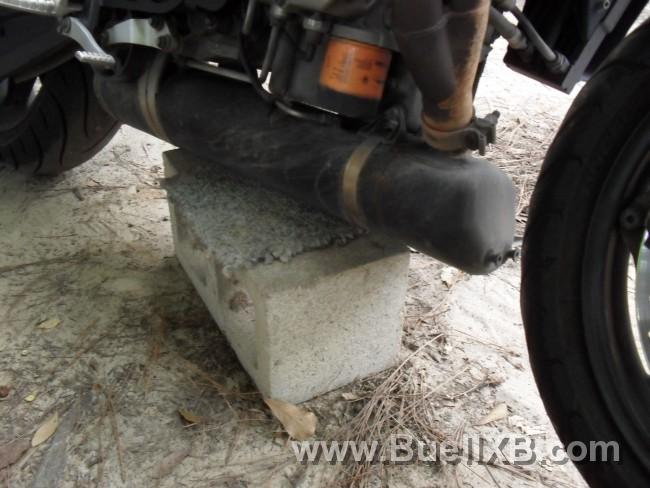
4) Remove front axle, remember it has left handed threads, righty loosey
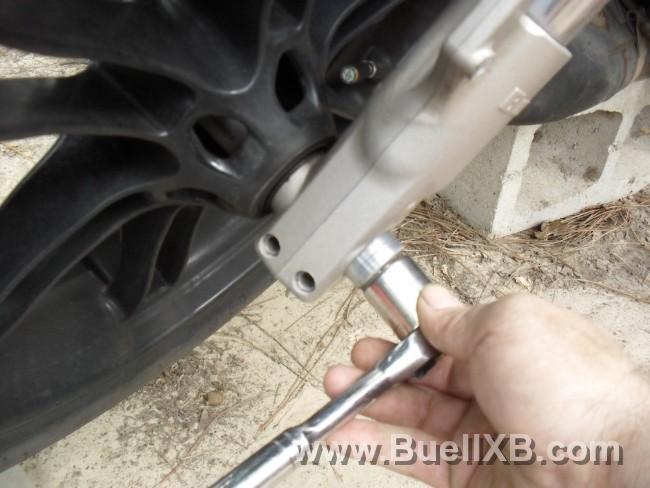
4) Don't forget to remove the lower bolt in the caliper mount
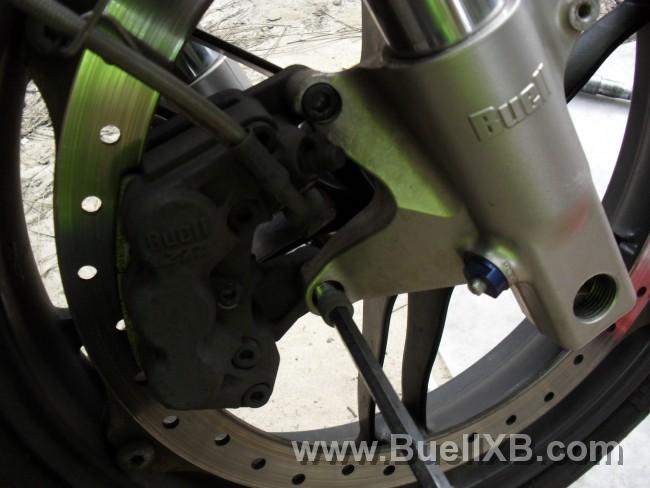
5) Rotate wheel so the gap in the spokes lines up with the caliper and rotate the caliper in as close to the hub as it will go
6) Push the wheel back towards the motor to clear the rotor and rotate the caliper outwards, gently lower the wheel to the ground
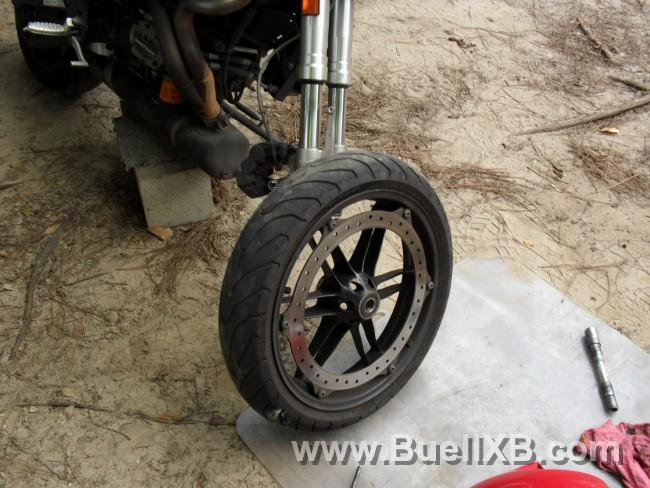
7) here it is on the ground, maybe 10 minutes time for removal
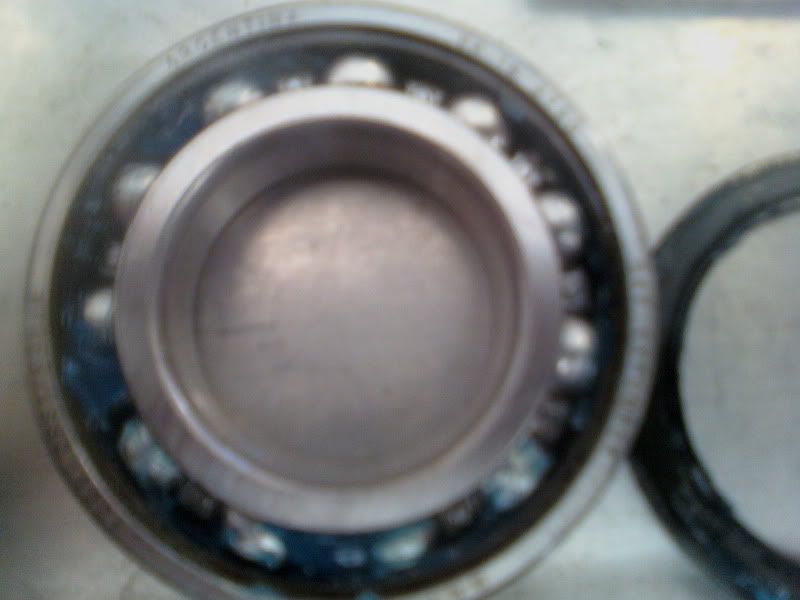
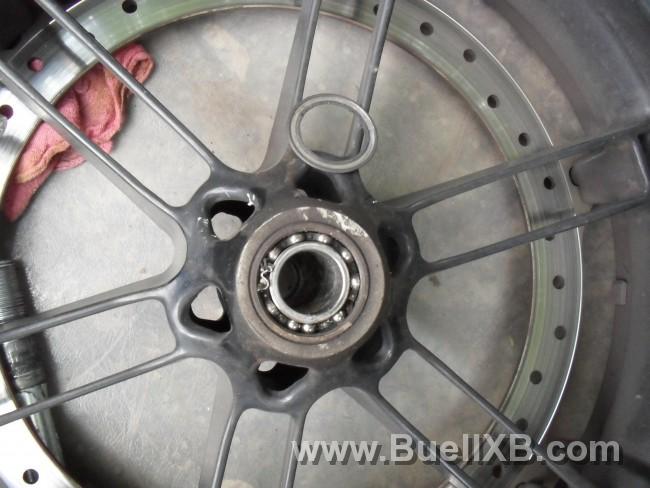
8) close up of major bearing failure
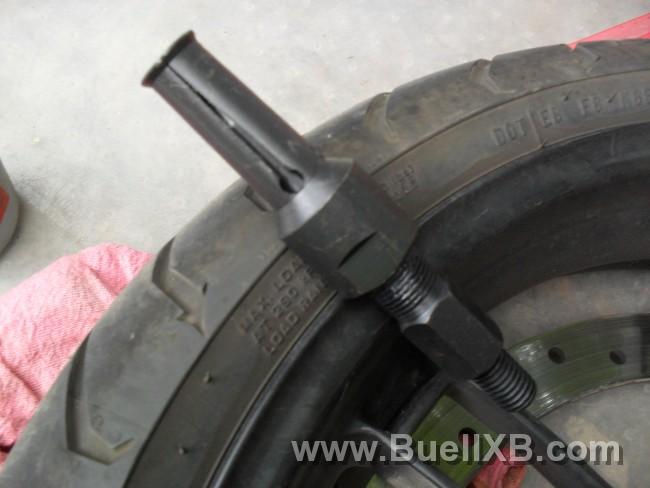
9) Preferred removal tool
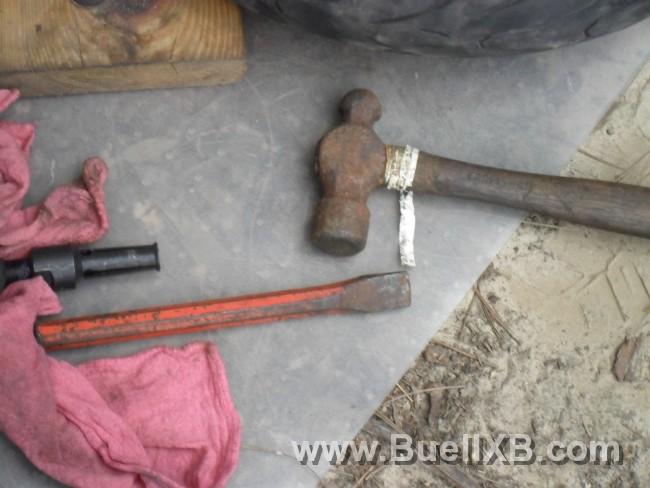
9A) Actual removal tools, BFH and cold chisel
Note: Blind bearing puller was too big to fit the front bearing, slightly smaller axle
10) If using the hammer and punch method, work slowly and use plenty of penetrating oil, you can be somewhat aggressive with the removal, just be sure to work all the way around the bearing so that it comes out straight without binding or cocking to one side
11) Getting the first bearing out is pretty tough because of the spacer, it is difficult to get a good hit on the bearing, again, go slow
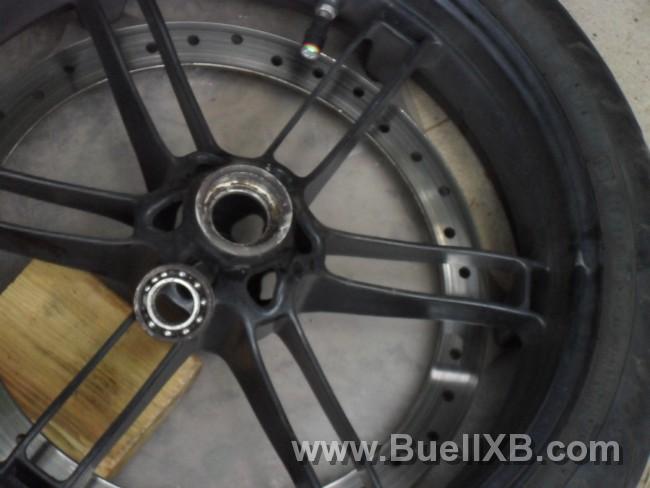
but it will come out, slide the spacer out and then drive the other side out
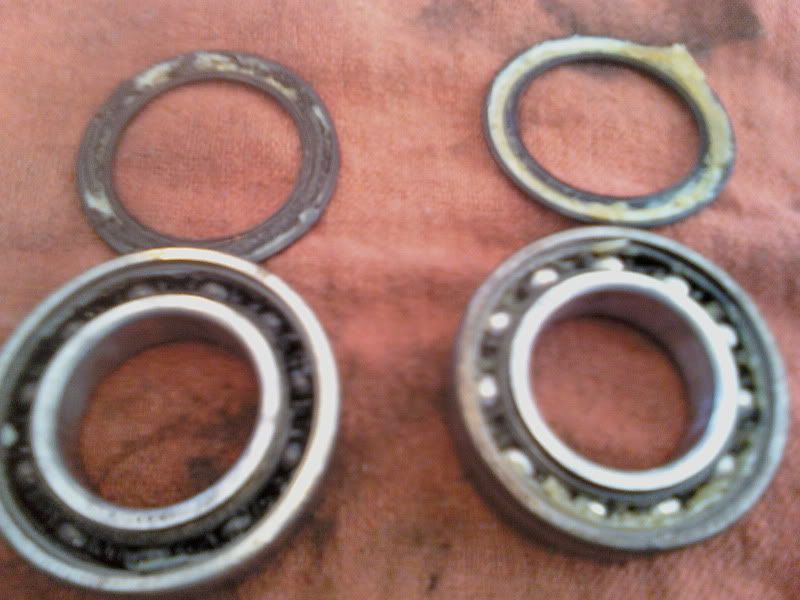
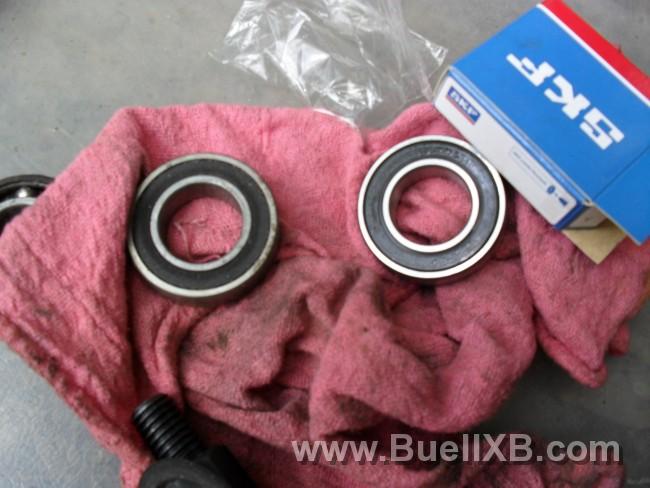
12) Now to install the new bearings, new one on the right
13) Big chunk of copper, I think it come from an electrical distribution bus bar, I got it from an Outside Machinist at work
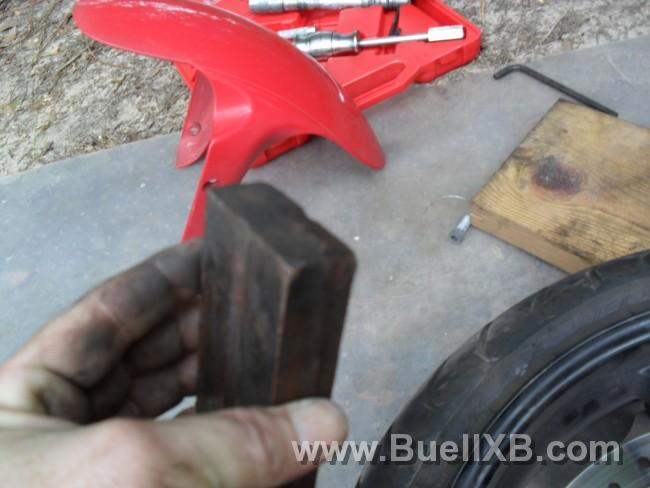
Note: you can use anything that is softer than the steel bearing, even a piece of good wood, 2x4 or such, to drive in the new bearing
14) LIGHT coating of anti-sieze in the cleaned bearing pocket
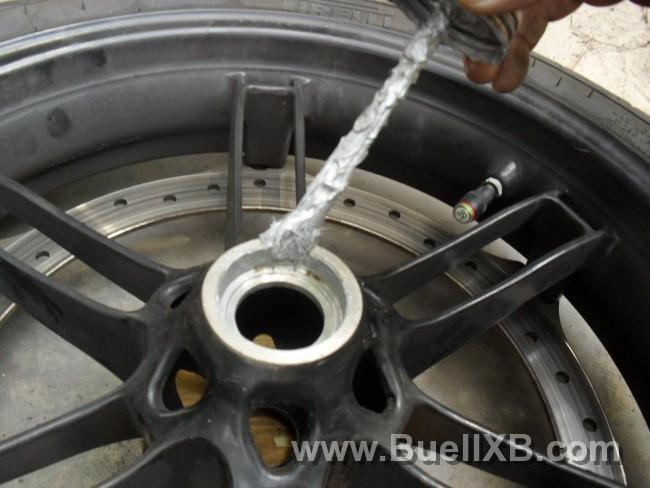
15) Couple of light taps with hammer and driver to start the bearing, make sure it is going in straight
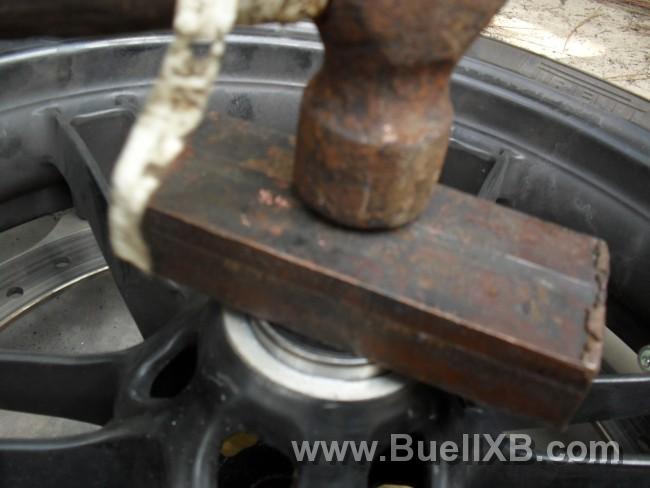
16) Work your way slowly around the bearing checking frequently to make sure it is going in straight, and you should stop when the first bearing is slightly above the hub
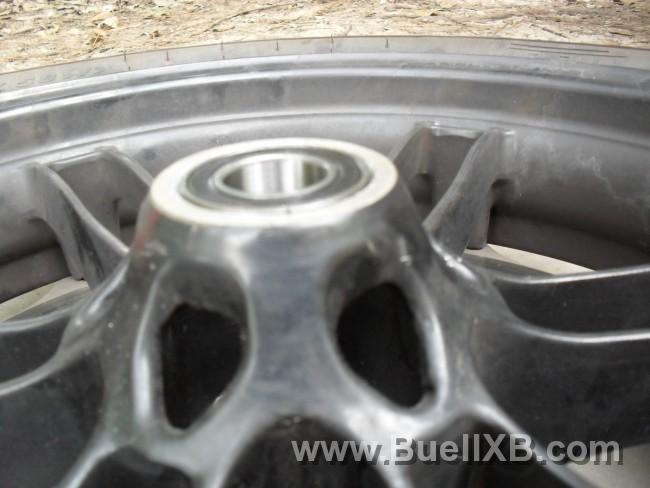
17) Slide in the axle spacer from the opposite side making sure it is centered in the first bearing
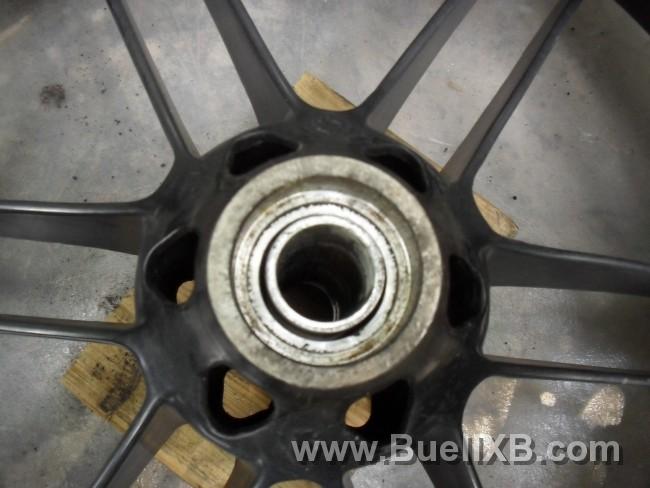
18) repeat the same steps for the 2nd bearing, leaving it also a little above the hub, now tap both sides up nice and tight so that they are even in the hub and tight against the spacer.
It actually took me more time to post this than it did to change the bearings, 45 minutes total, including pics, hope this helps some of yall out
Here is the general tools needed,

good penetrating oil
Anti-Sieze
Rachet and axle tool
2 Allen wrenches from tool kit
t25 tork bit, for taking off front fender
Blind bearing puller kit
couple of rags
brake parts cleaner
1) Remove Axle pinch bolts

2) Remove front fender

3) Raise and properly support the bike so the front wheel is off the ground a couple of inches

4) Remove front axle, remember it has left handed threads, righty loosey

4) Don't forget to remove the lower bolt in the caliper mount

5) Rotate wheel so the gap in the spokes lines up with the caliper and rotate the caliper in as close to the hub as it will go
6) Push the wheel back towards the motor to clear the rotor and rotate the caliper outwards, gently lower the wheel to the ground
7) here it is on the ground, maybe 10 minutes time for removal

8) close up of major bearing failure

9) Preferred removal tool

9A) Actual removal tools, BFH and cold chisel

Note: Blind bearing puller was too big to fit the front bearing, slightly smaller axle
10) If using the hammer and punch method, work slowly and use plenty of penetrating oil, you can be somewhat aggressive with the removal, just be sure to work all the way around the bearing so that it comes out straight without binding or cocking to one side
11) Getting the first bearing out is pretty tough because of the spacer, it is difficult to get a good hit on the bearing, again, go slow

but it will come out, slide the spacer out and then drive the other side out
12) Now to install the new bearings, new one on the right

13) Big chunk of copper, I think it come from an electrical distribution bus bar, I got it from an Outside Machinist at work

Note: you can use anything that is softer than the steel bearing, even a piece of good wood, 2x4 or such, to drive in the new bearing
14) LIGHT coating of anti-sieze in the cleaned bearing pocket

15) Couple of light taps with hammer and driver to start the bearing, make sure it is going in straight

16) Work your way slowly around the bearing checking frequently to make sure it is going in straight, and you should stop when the first bearing is slightly above the hub

17) Slide in the axle spacer from the opposite side making sure it is centered in the first bearing

18) repeat the same steps for the 2nd bearing, leaving it also a little above the hub, now tap both sides up nice and tight so that they are even in the hub and tight against the spacer.
It actually took me more time to post this than it did to change the bearings, 45 minutes total, including pics, hope this helps some of yall out

