• You are currently viewing our boards as a guest which gives you limited access to view most discussions and access our other features. By joining our free community you will see less advertisements, have access to post topics, communicate privately with other members (PM), respond to polls, upload content and access many other special features. Registration is fast, simple and absolutely free so please, join our community today!

    If you have any problems with the registration process or your account login, please contact us.

XB Fighter

Buellxb Forum

Help Support Buellxb Forum:

Oh, well it looked like there was one in the picture, may just be a shadow but it's a completely different looking color
 
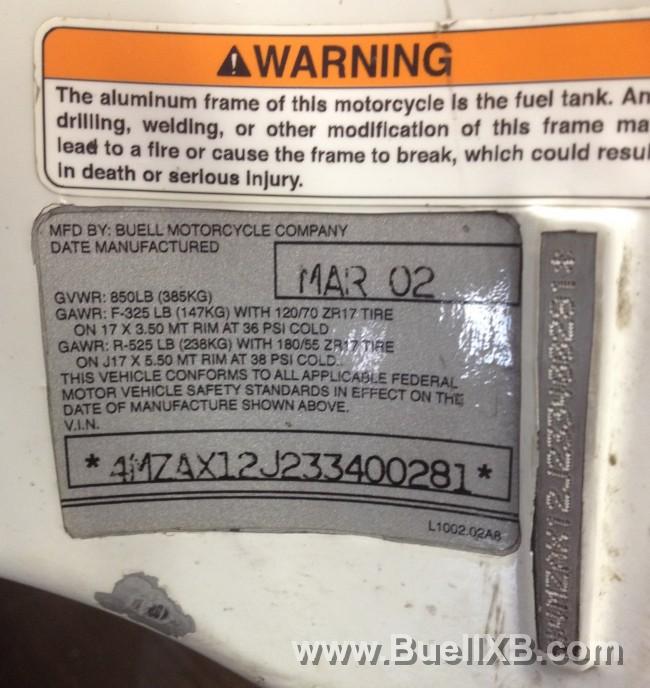
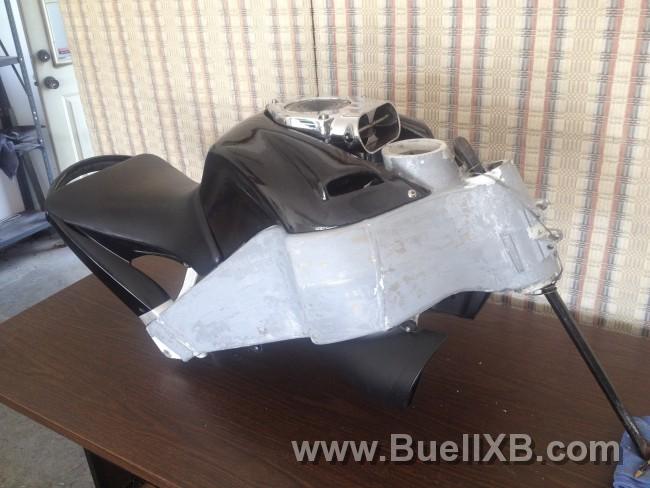
OK...I finally made it home to get a closer look at everything here. The frame is white painted over silver. The vin sticker is transparent and hard to get off without damaging it. You might also be able to see where is has been masked off.
10688_20140528164751_L.jpg

So, I'm going to have no issues what so ever about repainting this one. I apologize for any drama this color caused. The frame color just wasn't my focus since I figured it was all getting repainted anyway. I'm glad you guys are taking a look though. I hope you'll stick with me. This project will take a while.
 
Yep, obvious respray haha

SEXT9 lets see a picture of the cut of the seat rails if you don't mind. Are you planning to "cap" off of some sort with a light located there?

Also you might want to look into hosting your pictures with photobucket or some other site as the quality (viewable photos on this site) will be much better I've found. Another good thing about it is you can have a main folder with your bike and then sub folders with various sections/stages of the bike, or that is how I do it anyway, makes it easy to keep track of what I did and when I did it. It also gives me access to my pictures from any computer or phone wherever I am.

Example:
main folder would be "Buell"
sub folder would be "tail section 5/29/04"
sub folder would be "03' XB9 frame respray 5/29/04"

Can't wait to see what you come up with this time. I first stumbled across your CR swapped XB through a google search seeing if it had been done before. You are a master craftsmen and do very informative threads/write-ups on the work you have done, so thank you for being a part of this forum and sharing with us all!
 
I'll look into some picture management. When I started here, I didn't think I'd have so many.

And thanks for the compliment on my work. I just really enjoy tinkering with these bikes. I've been trying to break down the projects into threads instead of clogging up one big bike build thread. So, the tail project is on another thread: Firebolt Seat / Lightning Tail Project

I plan on working with the tail some more tonight. If you're thinking it looks unfinished, you're correct, its not finished. There will be a flat mounting base at the end going between the rails. Once the mounting base is complete this evening. I'll layout the base design on the computer. Then, I plan to use my 3D printer and print the end section for the lighting and plate.
 
Here's my broke SCG tail rail. Right side, pass peg mount is still good.
Email or PM me for it. I'd be open to offers but if it saves cutting a rail I'll be happy :)


16000_20140601182212_L.jpg
 
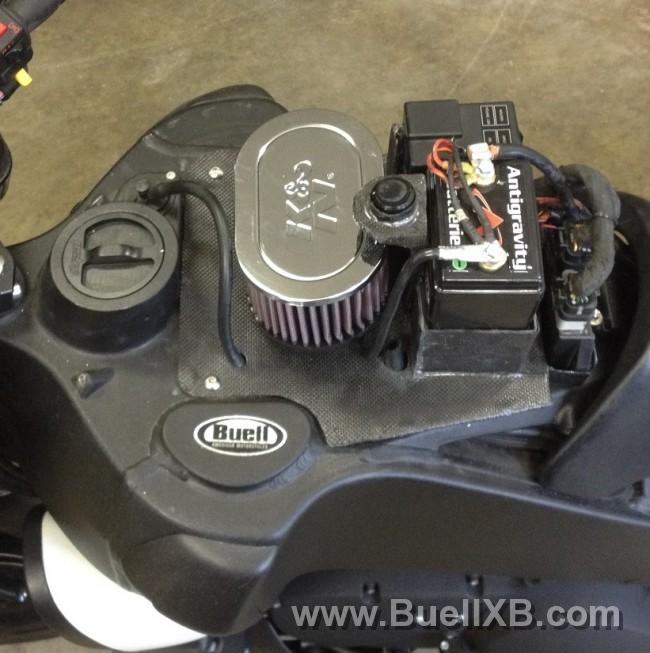
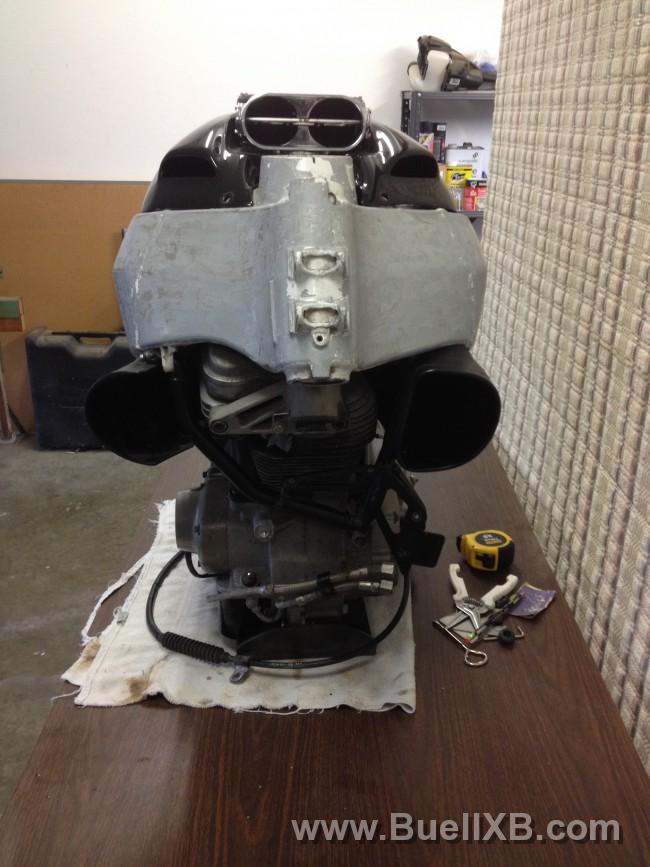
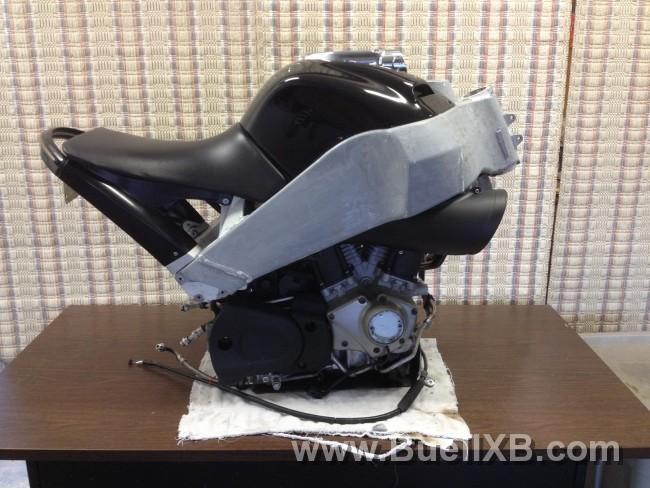
Here's a little update on this project from over the weekend. I spent most of last week working on the tail end. Over the weekend I also tore into a carbon fiber air box cover I had laying around. I'm working on installing a HyperCharger filter. I doubt it'll perform better. I just like the look.
10688_20140616185353_L.jpg
 
I've been working away at this project. The Radiantz lighting for the tail is on order. They should be here Tuesday. I've been laying up carbon fiber for the HyperCharger insert. I intend to mount the electronics in the airbox as I did in the following picture. It's from another project HERE. But the HyperCharger takes up more space.

10688_20140517081458_L.jpg


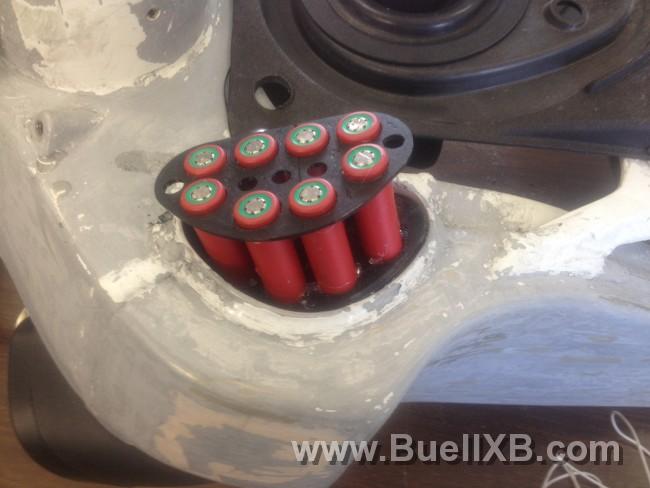
The battery from that project probably will not fit. So, I'm going another route. I've been exploring different battery technologies. I built an electric drift trike HERE to study them. With the lack of battery space on this project, I needed to get creative. The 03-05 frames have the hole in the frame we all know about. So, I've been exploring the idea of building a battery pack to fit in that hole.

So, I tore apart a old laptop battery pack to get to the 18650 cells. I then got back on the computer to print out some battery spacers. Here's the result.
10688_20140621102714_L.jpg


This is a test pack for fitting. And as you can see, they do fit! Each pack of 8 is 2.5" high. That hole is 7.5"-8" depending on if your measuring the front or back of it. So I'll be dropping in it 3 packs of 8 cells for a total of 24 cells. They will be wired as 4S6P to give an average of 12 volts. I would be using new cells of course. In theory it should all work out. My Antigravity battery has 16 18650 cells in it. It starts my other bike fine.

When I start that project, I start a new thread for it and log my progress.
 
Oh that's awesome !! ... can those things accept a charge from our bikes ? ... I know that might sound like a stupid question but I'm genuinely curious ... I figured laptop batteries would need some kinda low current charger to work without issues .... (absolutely no working knowledge on that subject) ...
 
They can definitely accept a charge from our bikes. There are over 6 thousand of these in the Tesla. Automotive Li-Ion battery manufacturers use these cells too. A battery management system will control the charge and discharge cutoff voltages.
 
..... Excellent ... Good to know ... What's the CCA output for something like that ? ... and does the running environment affect their service life any??
 
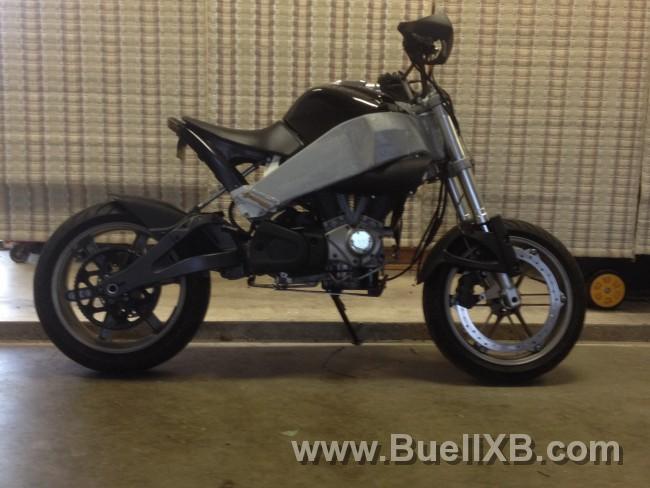
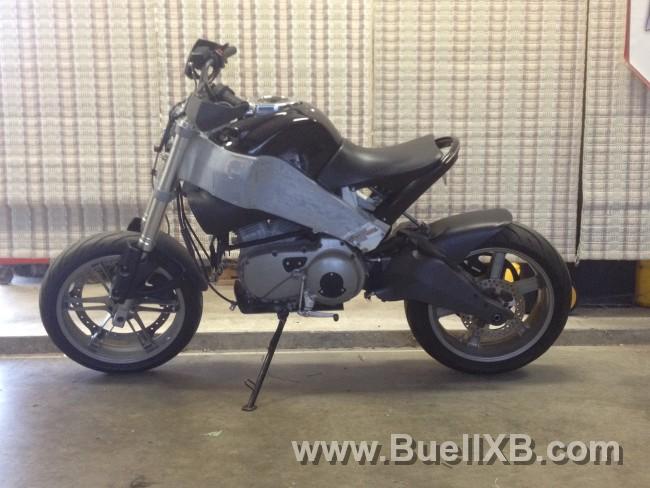
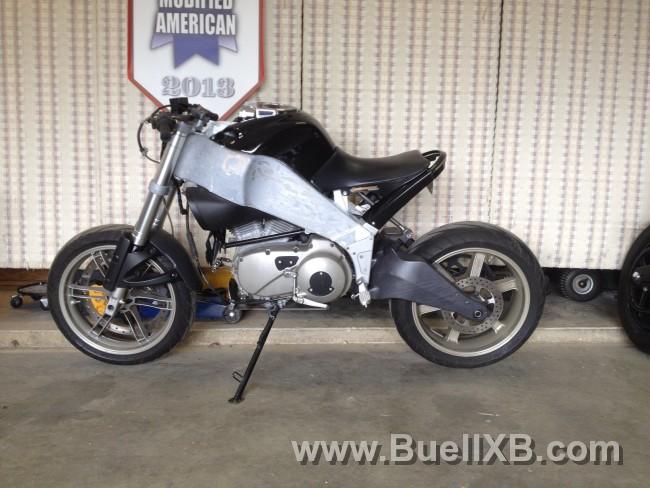
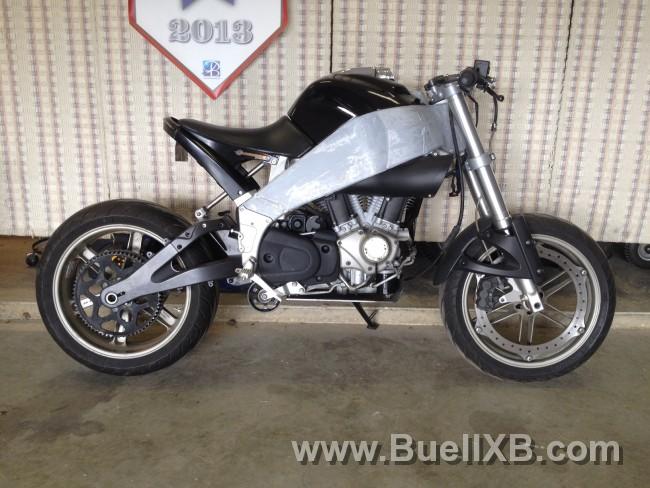
I've still been at work on this project. Last week I went and picked up the running gear a guy nearby was parting out. Last night I fabricated a skid plate for the bottom. I still have a lot of work to do. Here's the progress:

10688_20140710190831_L.jpg

10688_20140710190843_L.jpg
 
When I started this project I wasn't sure if I wanted to go up or down with the suspension. I figured my other Buell is an SCG. It as low as I wanted to go. So I took this Buell to the other extreme with a Ulysses drive train.

10688_20140713181439_L.jpg
10688_20140713181428_L.jpg


I wanted to mock it up and try to get the length for the rear shock. I plan to order a shock since I have the X swing arm and the S chassis. I don't want to modify either component to get as much travel as possible. I also want to go without a remote reservoir. So, I'm left custom ordering a shock.

The combination looks pretty rough. But, it'll clean up. I still have a long way to go to get what I'm envisioning. However, it is neat to have something I can at least sit on for now.
 
Thanks for the heads up on the rear shock Nicholas. I've been talking to Chris @ Hagon about getting one made.

10688_20140719161736_L.jpg

10688_20140719161756_L.jpg


Here's the current status of the bike. I removed the rear fender and hand guards. I ordered a 7/8" clubman style handle bars of eBay. They came with a 4-1/2" drop. I could see that would be crazy for my wrists. So I flattened them to a 1-1/2" drop. I also shaved 1" off each end. They feel much better.

I also removed the Ulysses shifter bracket and shortened the linkage to the standard Firebolt or Lightning length. The rear sets came in this week and got installed.

This week I will be doing brake caliper and master cylinder changes. Be safe all!
 
Back
Top