thrstrmech's S to R conversion in work

Buellxb Forum

Help Support Buellxb Forum:

thrstrmech

Well-known member
Joined
Jun 30, 2011
Messages
5,382
Location
Arizona
first off, I'd like to thank the following people for the help in getting me this far into my build:

wolfo
iman501
buellxb9rs
matter
Snrusnak
jakestoler
gtp3800
Route0766

10624_20121103114500_L.jpg


10624_20121103114437_L.jpg


10624_20121124092257_L.jpg


10624_20121124092212_L.jpg


10624_20121206144352_L.jpg


10624_20121211084605_L.jpg


10624_20121211084710_L.jpg


10624_20121211084737_L.jpg


10624_20121223124318_L.jpg


10624_20121223124241_L.jpg


10624_20121223124353_L.jpg


10624_20121223124414_L.jpg


10624_20121110122648_L.jpg


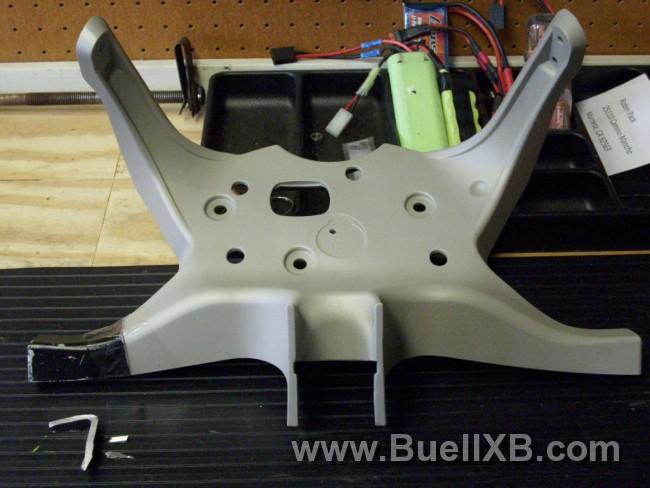
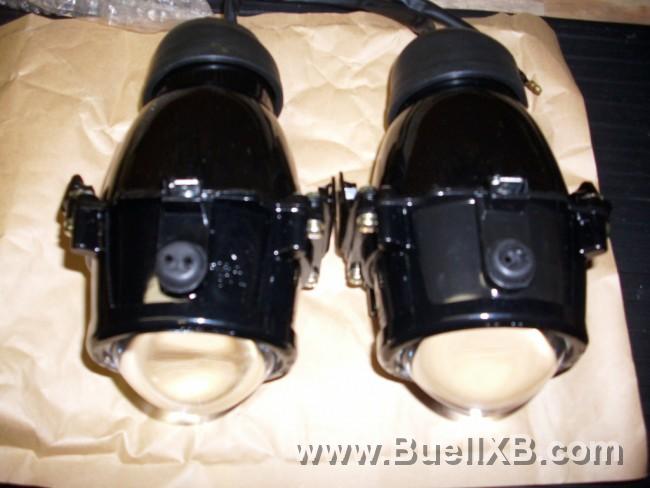
working on getting keys made for the ignition, translucent paint for the clear windscreen, connector and pins for the headlight harness to have on hand the complete package before mounting it all on...
 
thanks guys...this is what the fairing began as:

10624_20121223152824_L.jpg


used 600 grit to scuff her up, followed by 1200 grit wet sanding several times over to smooth it out before hitting her with several coats of epoxy paint...one bezel had the lower edge broken off, so I used 3M Hysol to reconstruct it, broke the other in two places while removing it, had to do some plastic welding to put her back together, sanded both and painted with Krylon Fusion Sunbeam yellow which is a dang close match to the rest of the original plastics.
 
thinking about the translucent paint, dunno if it will be too much yellow...another thought is to paint the rider side of the windscreen chrome to match the airbox decals and tie it together that way...decisions :p
 
thanks, the bezel was the hardest part I think to get the contour back, look closely at the fairing before it got painted, you can just make out the broken lower edge of the left one, right about the 6-7 o'clock position, it was about an 1-1/2" of the edge that was missing, the picture doesn't really show the finish, it's kinda textured and matches the rest of the black plastics parts on the bike, purely accidental, was going for the smooth gloss finish...oh well, it still looks great:p

used the same epoxy paint from the stay on the fairing, also the mirrors...the left mirror had road rash on it, a fine file and sand paper took care of it

itching to get it all mounted
 
Nice progress! If you decide to use translucent on your windscreen, or for that matter what ever you decide to try on it, do a test or two on some clear plastic scrap (plexiglass or ?) to see how you will like it. Translucent can be tricky to spray and not end up blotchy, especially with a spray bomb and no base color! I can send you another decal or spray mask in reverse also so you can apply it on the inside to keep the smooth outside too if you would like. Also, be sure to prep the windscreen with a gray scotchbrite pad on the riders side you are going to paint. Don't worry, the scuffing wont be visible on the outside after you paint the scuffed side. Again, try it on some plastic scrap first to see.

Matt
 
just bought the female connector and pins on evilbay for less than 7 bucks shipped avoiding the dealer, it's the OEM female connector and male pins used on the Lightning headlight assy, going to remove and replace both the pins and connector on the Firebolt's headlight harness assy with 'em, make it a "plug and play" installation
 
make it a "plug and play" installation

thats the issue I had, it took me a couple hours to get the wires right and ended up cutting off the switches and just hard wiring it together. I kept getting only one bulb or the other on. it was a pain!!
 
did lots of research to find the right connector since the parts catalog doesn't list the connector on the headlight wire harness at all, have posted the part numbers on two other threads, so I'll do it here as well...make sure that the female one is a 4 position connector, cause it will also show up as a 3 position one. the two P/N's listed below are the ones used on S and R model headlight wire harnesses and main wire harnesses, reiterate both are 4 position connectors.

male connector P/N: 73154-96WE

female connector P/N: 73104-96BK

male pins P/N: 73190-96

female pins P/N: 73191-96
 
the itch is killing me:D keys are the only thing left to get before starting the conversion...probably in the next couple of weeks I'll get that done...shifting focus some to finding a new job, recently transferred to a new station which I'm having to fight to get 40 hrs a week which is by far much more active than the last, but was able to get 40 hrs there without a hassle, wth? so job hunting will be tops, but if somewhere along the way things workout, I'd be head over heels getting the conversion done.
 
thanks RamAir, so had a talk with the wife over finances and got the [up] to get the keys made at local locksmith:D will take the ignition down either tomorrow or Wednesday, and maybe have her completed by end of the week, all hinges on the locksmith...fingers crossed :D
 
Back
Top