XB12R cafe conversion

Buellxb Forum

Help Support Buellxb Forum:

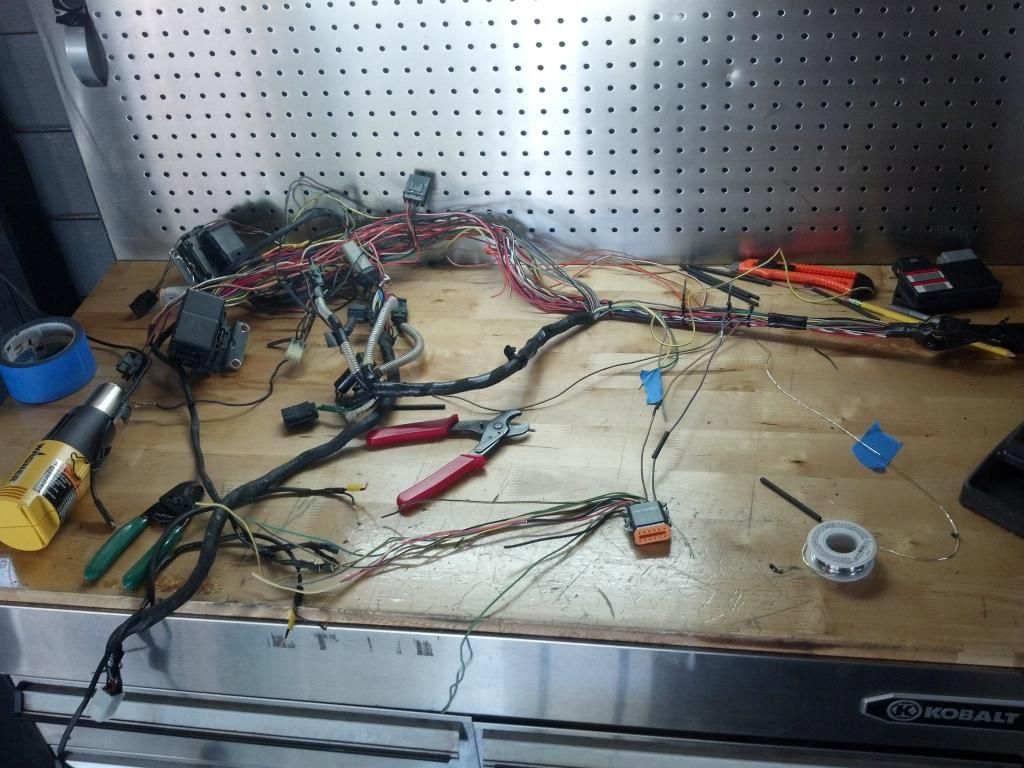
Now that the bike is all apart I see some improvements I can make with the wiring harness. It was real difficult wiring with the engine in the bike. So I split the harness apart to make some changes.

IMG_20140606_105529_713.jpg


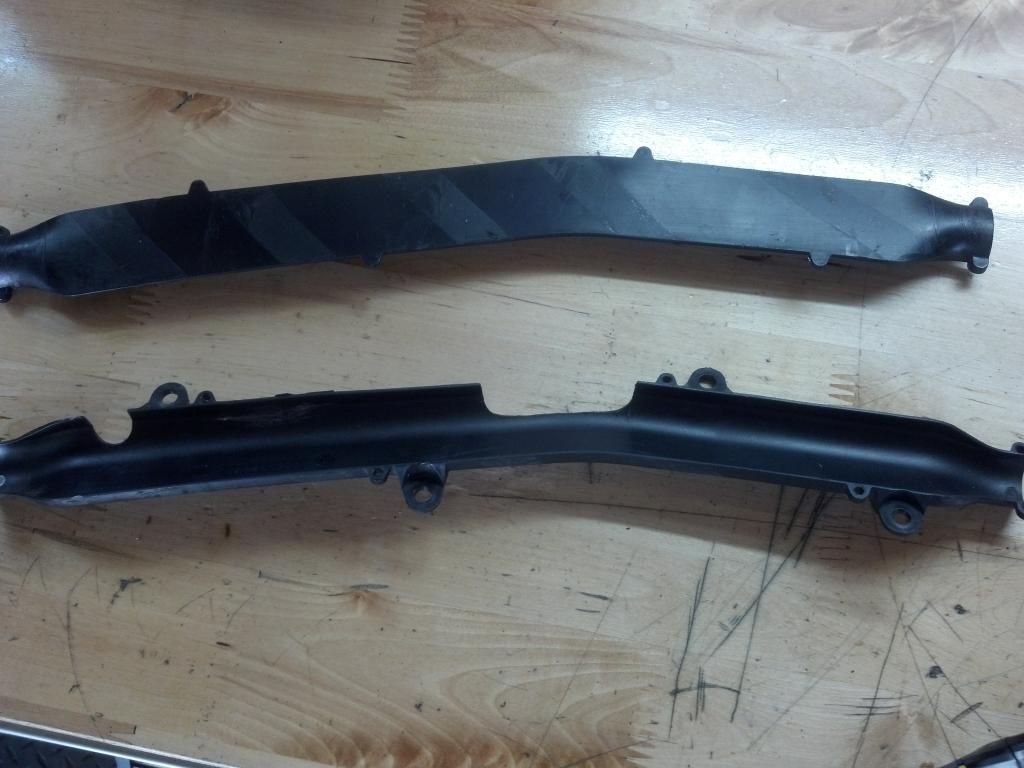
Now I can have my new sub harness come out of the plastic frame holder straight up to the ecm and fuse/relay boxes. I cut a large notch in the plastic harness holder for it to exit.

IMG_20140610_130401_508.jpg


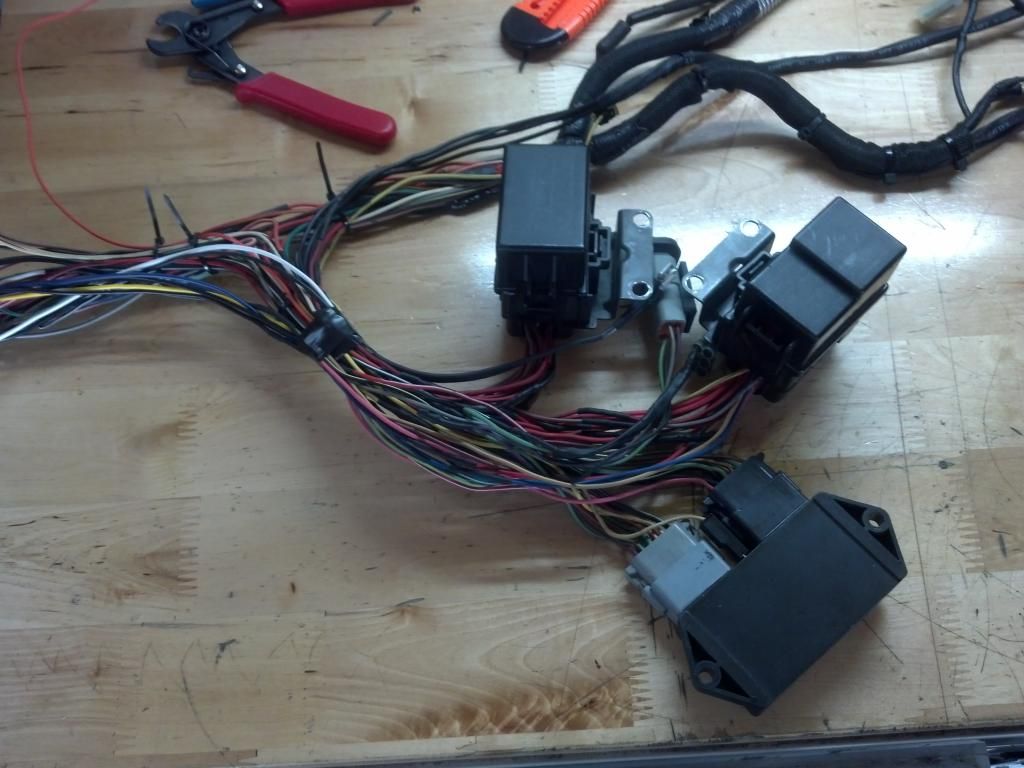
Then I started measuring cutting and splicing. I like to have all the wires exactly the right length, it takes some time. Here it is getting close. I zip tie it as I go keeping everything tight. Solder and shrink wrap.

IMG_20140610_122835_336.jpg


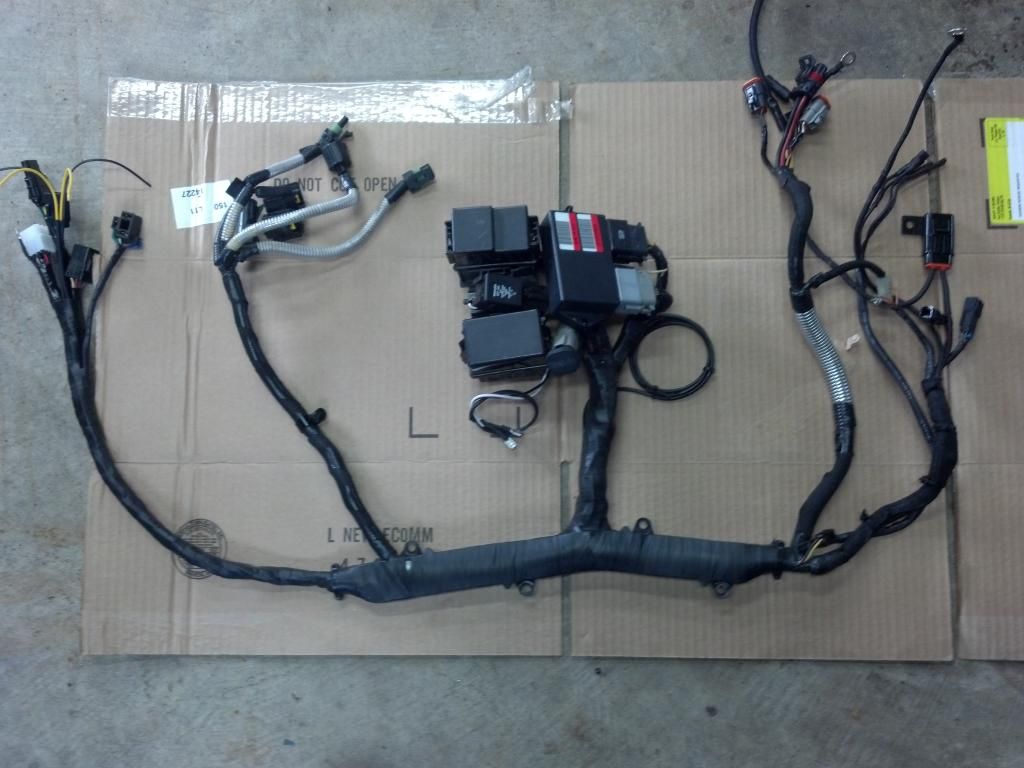
Then I tape it up and snap the plastic harness holder. As I tape I cut off the zip ties. To tape a harness I like to use weather proof cold shrink tape. Its not sticky like electrical tape, it just sticks to itself. It ends up much better looking, and real flexible. It has a factory look.

Here is my new harness. The only parts of it that are factory are the connectors.

IMG_20140613_171526_339_1.jpg


Now I feel good about it and on to something else. The harness mounts to the frame with little plastic push pins. I think I'm going to tap those holes and bolt the harness to the frame.
 
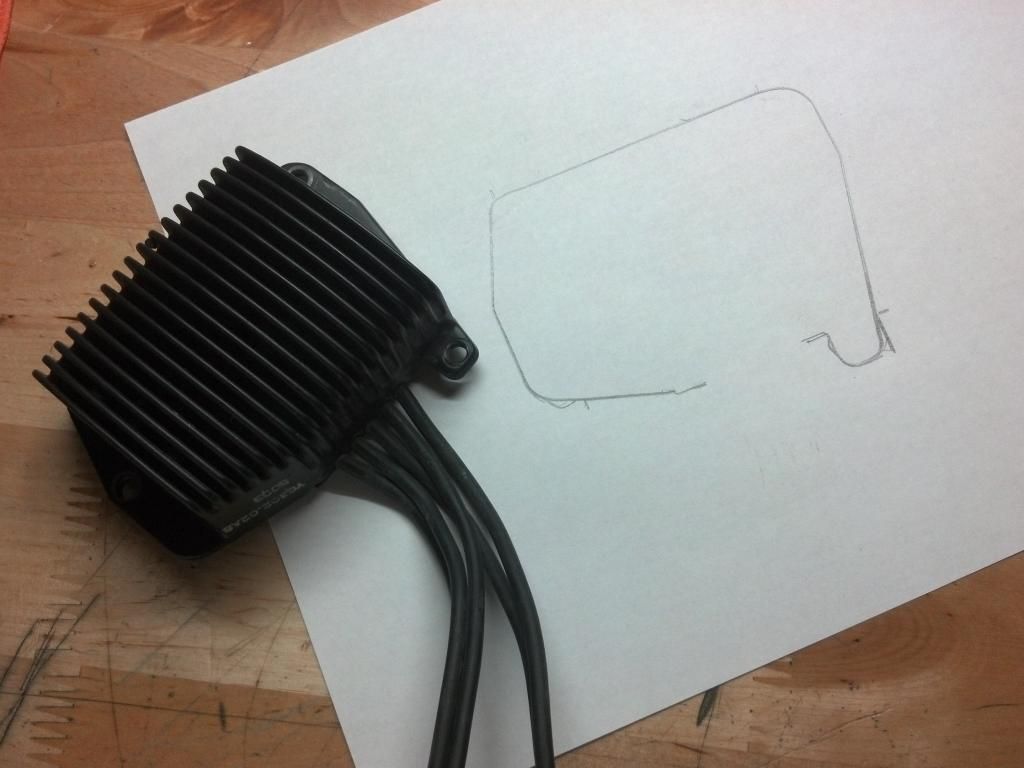
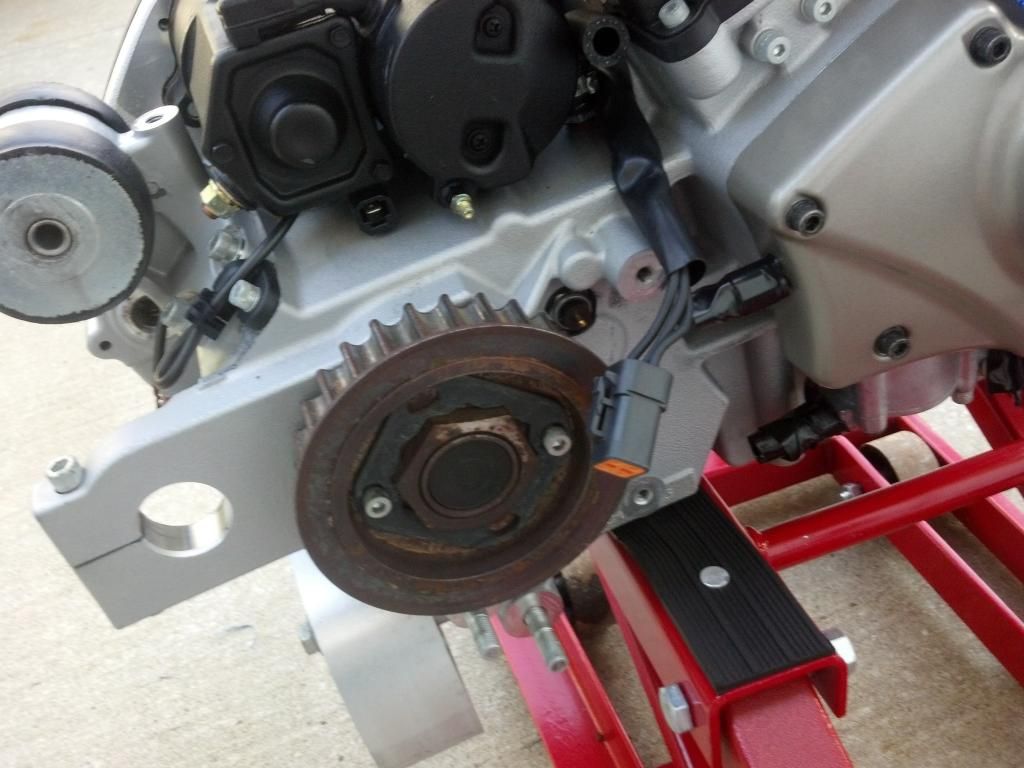
I decided to relocate the voltage regulator. This will clean up the front of the engine a bit, but mostly will relocate all that wiring by the front sprocket under tail.

First a tracing:

IMG_20140613_201458_945.jpg


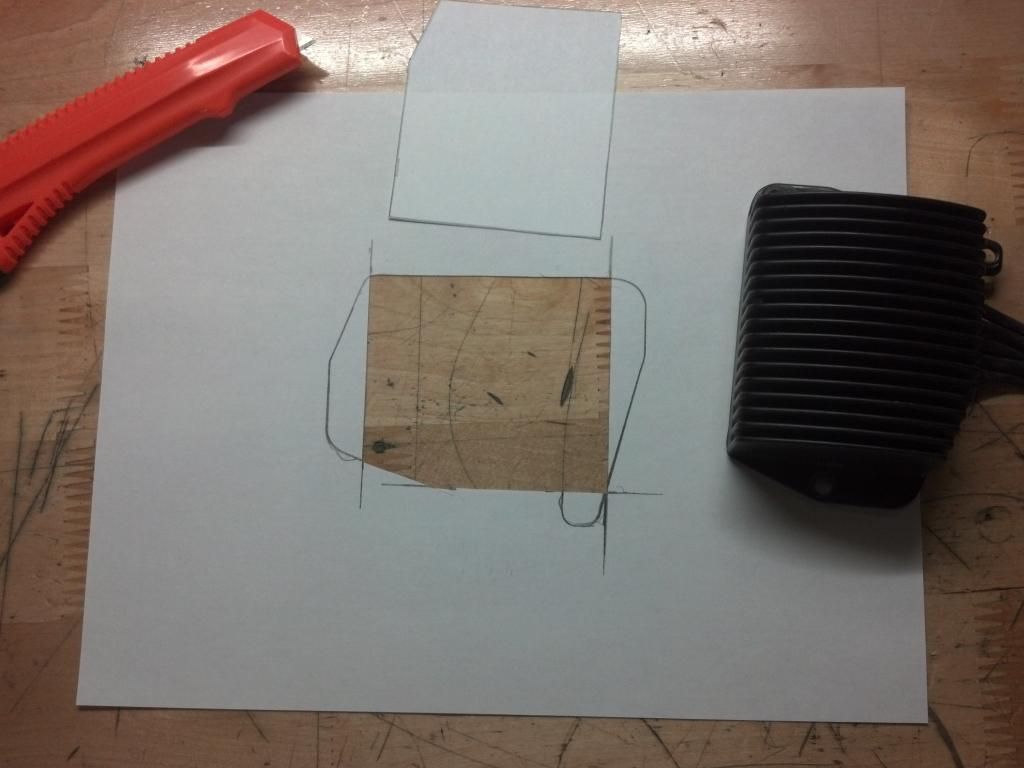
I want the fins to drop down through the tail and keep the mounting flange under the seat for a cleaner look. So I mark the location of the "body" of the regulator and just remove that section.

IMG_20140613_201827_857.jpg


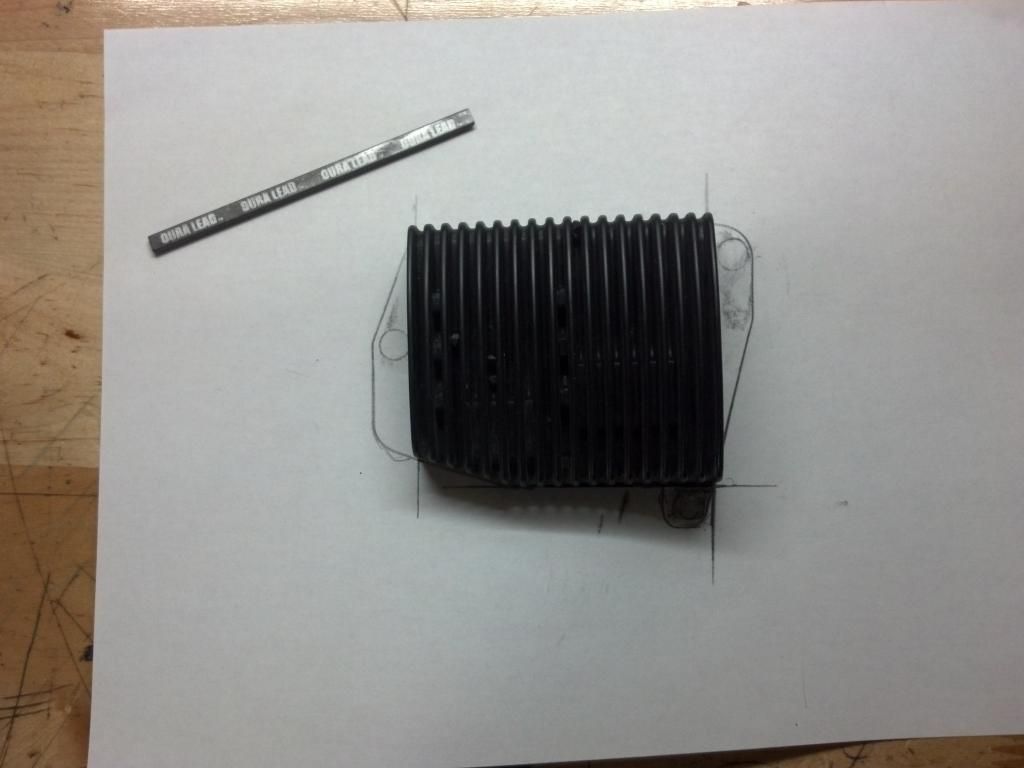
Then set the reg through the hole and make a few adjustments to my template. I rub out the mounting holes with pencil lead. Then I transfer that to the steel and cut it out.

IMG_20140613_202059_813.jpg


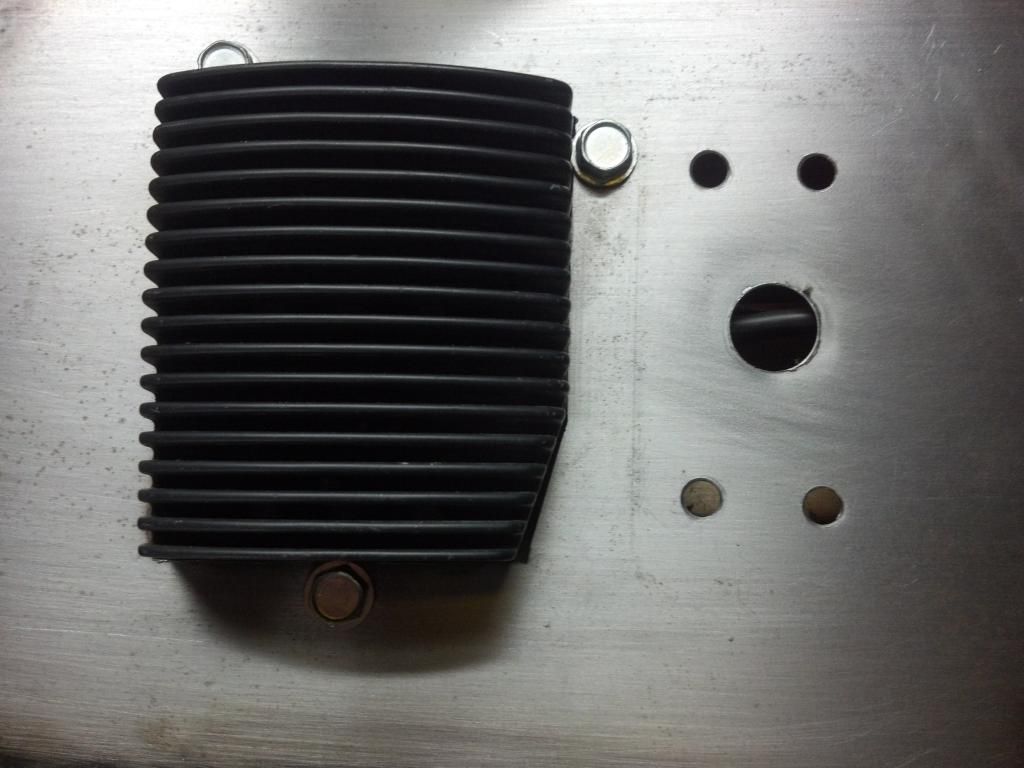
Temporary mounted with scrap bolts.

IMG_20140613_232847_285.jpg


IMG_20140613_232658_822.jpg


Originally I wanted to keep the under side of the subframe clean, and decided against putting the reg under it. But I changed my mind. I think cleaning up the wiring by the sprocket will be better. Gives me more options for a cover, or none at all.
 
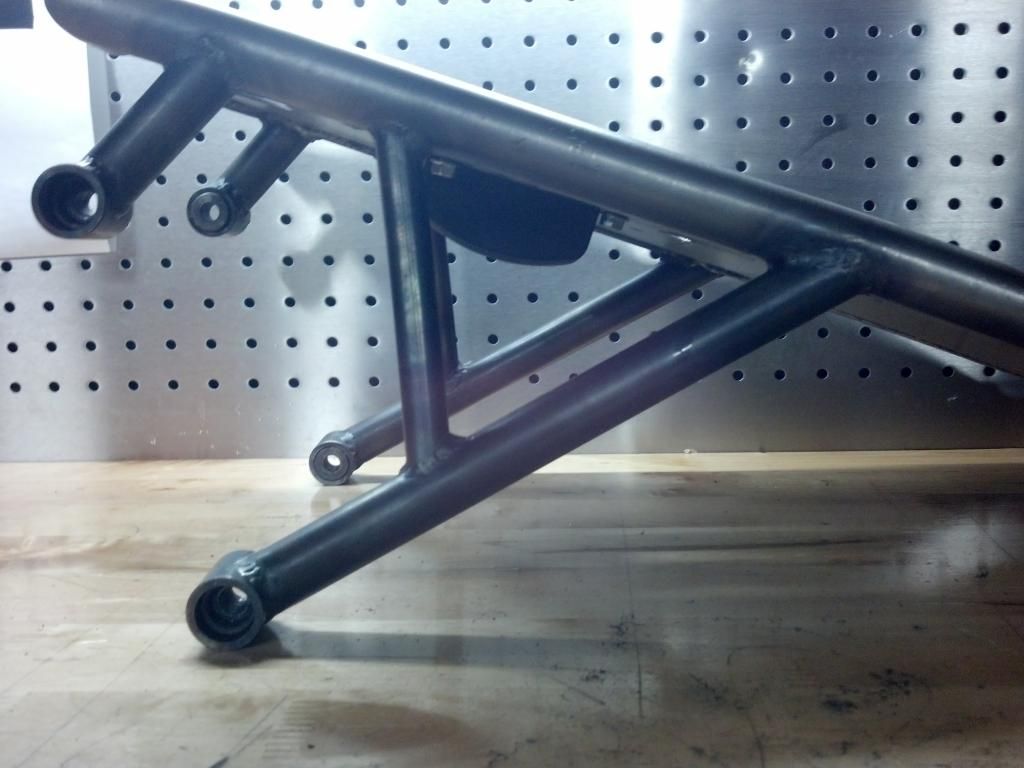
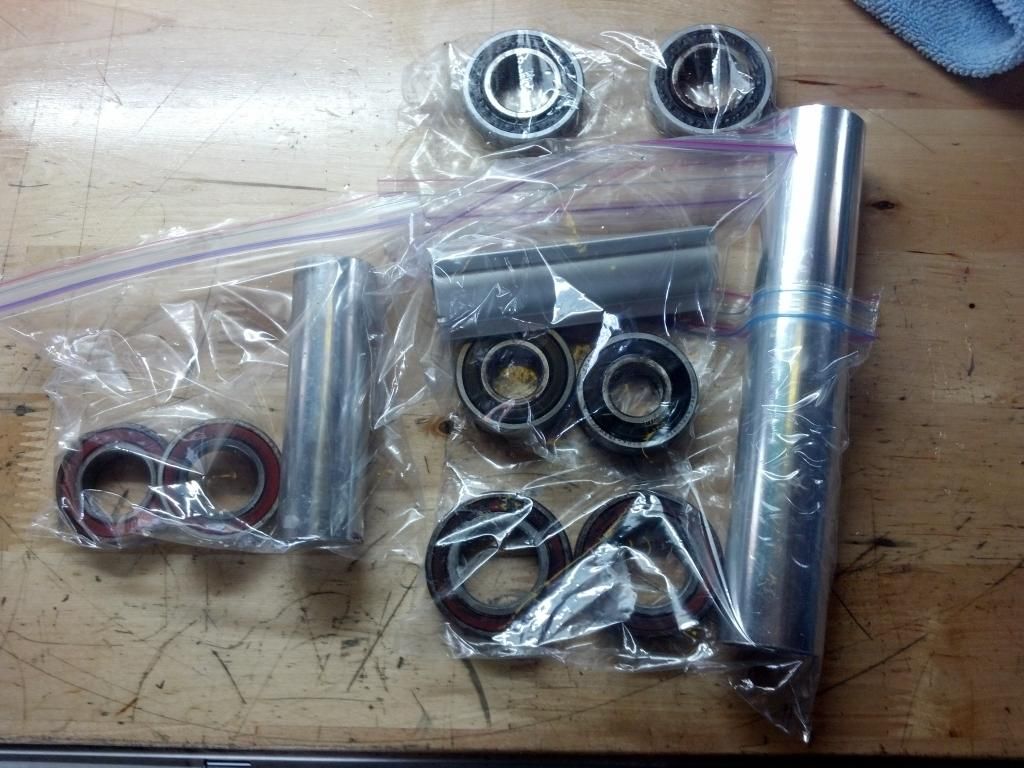
I popped out all the bearings. Steering head, front and rear wheel, swingarm. A blind bearing puller made small work of it. I saved all the old bearings so I can come up with some installation tools, which I'll probably make. One step closer to getting the stuff out to the powder coater.

IMG_20140625_121200_938.jpg


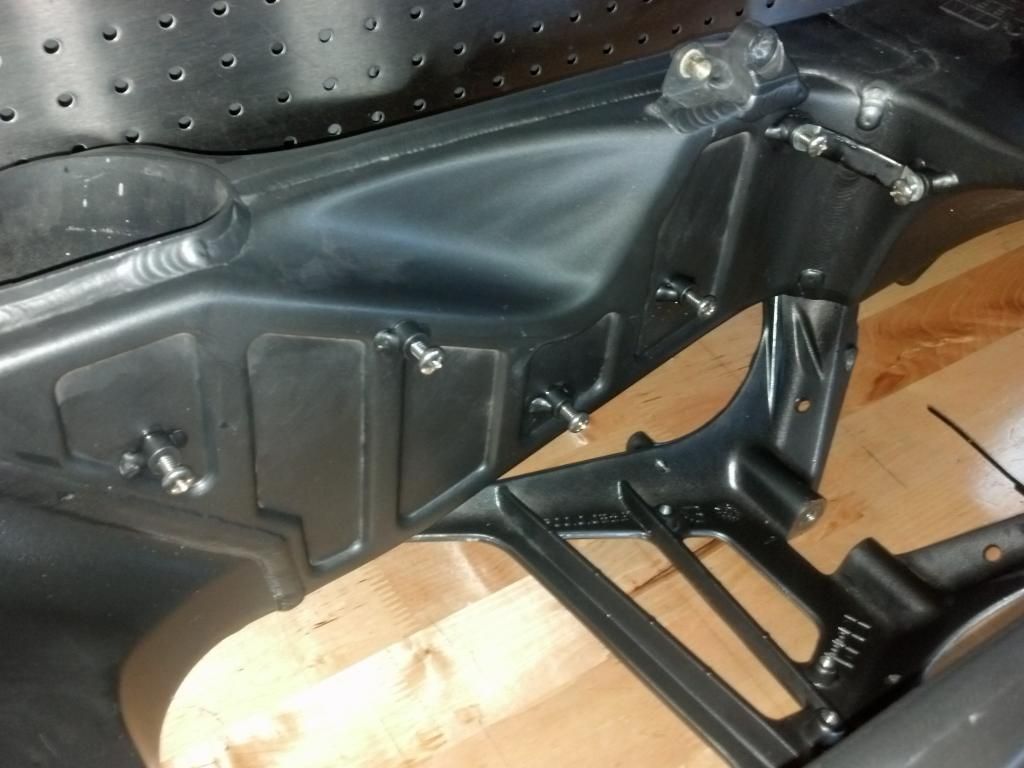
Then I went ahead and tapped the bushings that hold the wiring harness onto the frame, and the little strap in the corner of the frame that holds the battery cable and other wiring.
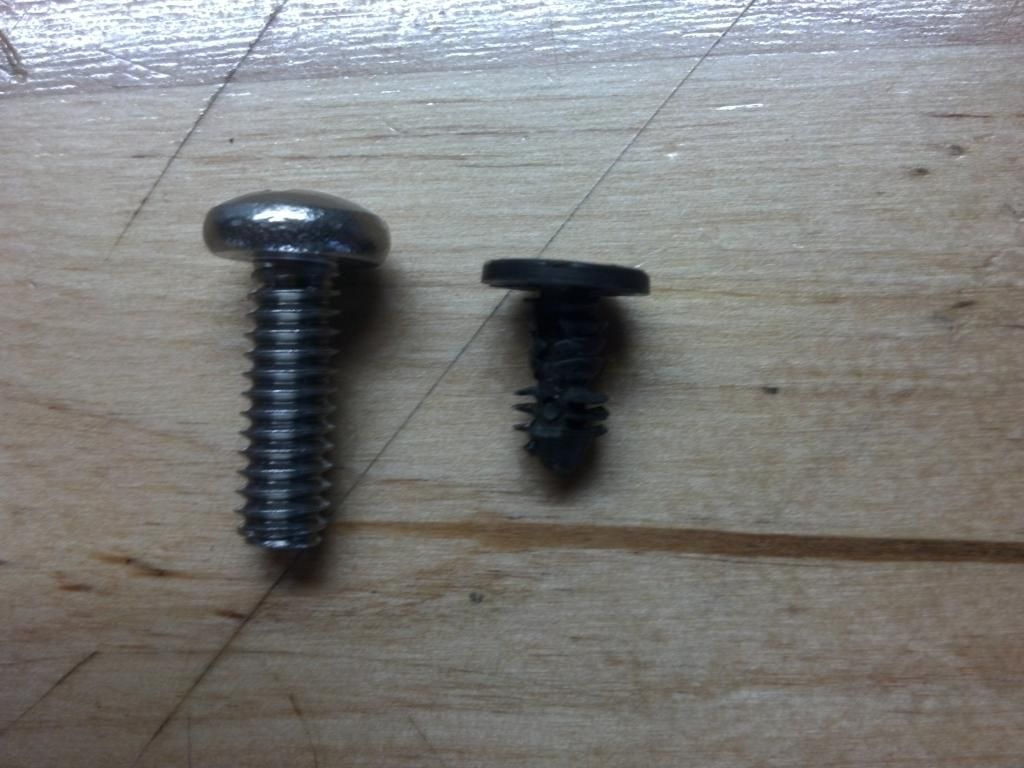
I suppose there is nothing wrong with the factory push pins, but mine are mangled up and it was quicker to just tap them than try to find push pins. It will be more secure too.

Plastic in vs. Stainless bolt:
IMG_20140627_190627_808.jpg


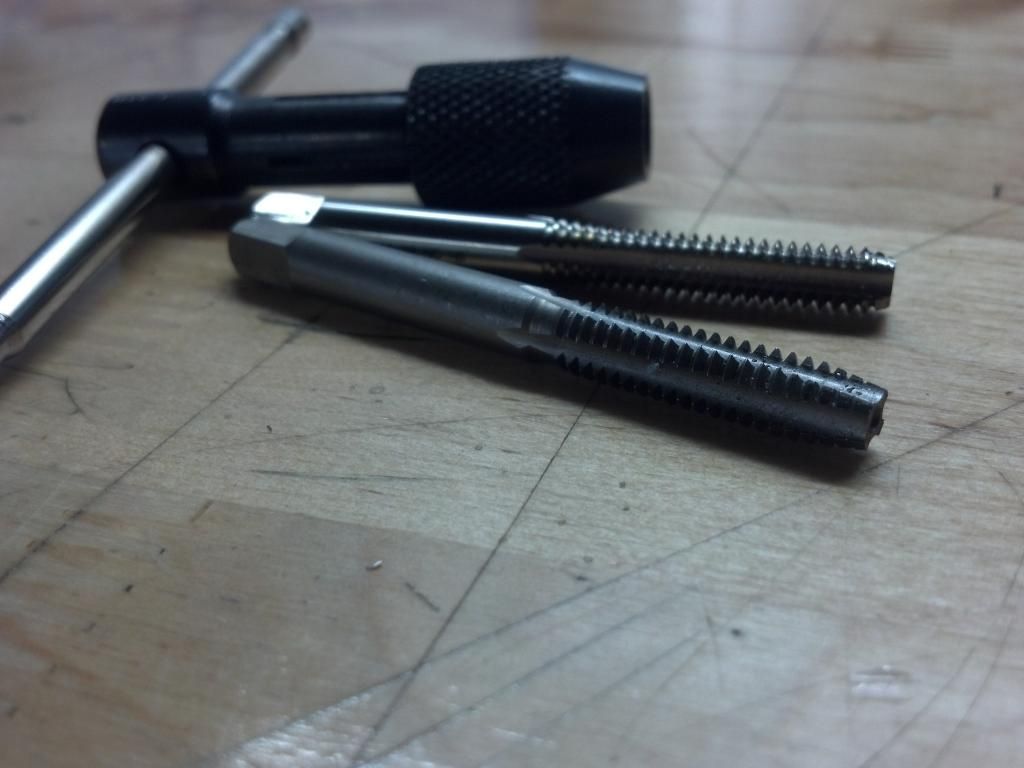
I used 1/4-20 taps. They are blind holes to I used a two step tapping sequence. First I used a run of the mill plug tap. These are tapered and help start the hole straight, but because of the taper only leave a few good threads in a blind hole. To get the threads all the way to the bottom of the hole, I followed up with a 1/4-20 bottoming tap. The end of the tap is flat and threads all the way to the bottom.

The taps look like this:
IMG_20140627_190534_290.jpg


I threaded some screws in, I'll have to pick up some shorter ones though.
IMG_20140627_190049_427.jpg


Next I have a bunch of brackets to cut off the frame that are no longer needed, then I should be able to get it out to the coater. Going with the ultra black chrome on the frame and swing arm. The wheels, and engine parts I will polish my self.
 
Next I have to take down the engine and pull the rocker boxes to remove the cam cover. There are some other parts that have to come off for coating or polishing too.

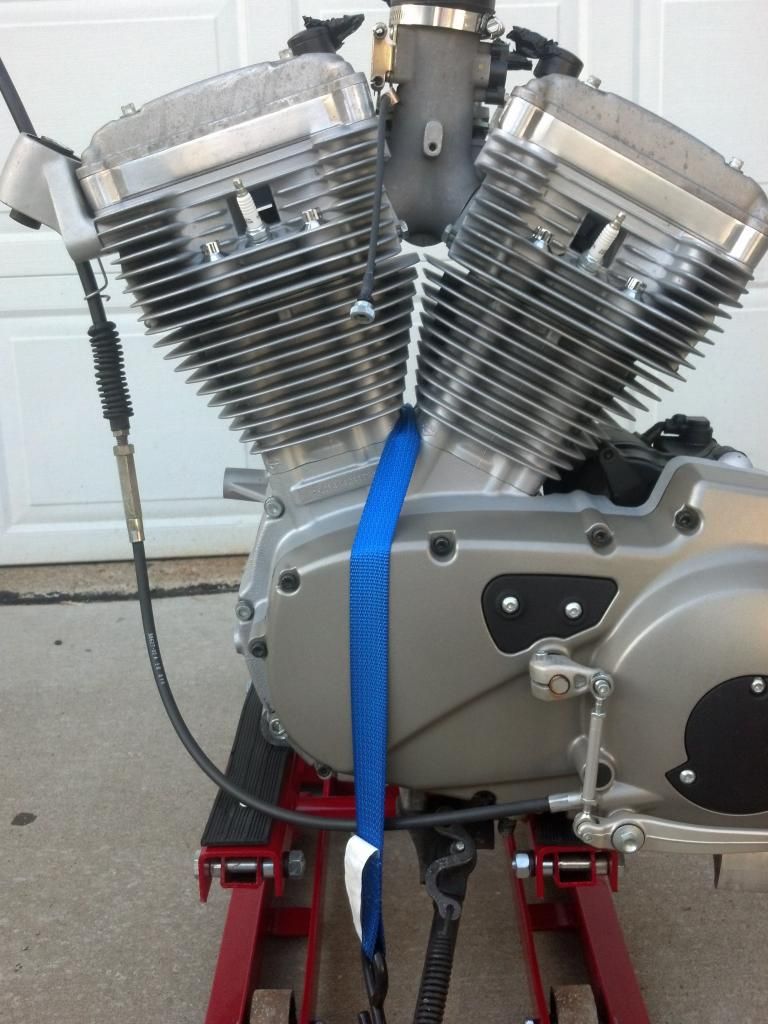
But while it was still all assembled I decided to clean it up some. It was really grimey and dirty. I'll clean it up more as I strip parts off, just wanted to get the majority of the scuz off. I plugged all the oil holes and entry points for water. And sprayed the **** out of it with simple green. Let it set for a while and scrubbed it with a green scotch brite pad. I didn't touch the rocker covers as they will be polished anyway. Then hosed it off with some low pressure water. It really cleaned up a BUNCH! I did a few more simple green and scrubbing, looks like this now ( I really should have taken a before pic). That simple green is my favorite stuff.

IMG_20140627_193854_454.jpg


IMG_20140627_193833_905.jpg
 
Simple Green is pretty good. My favorite by far though is POR15 Marine Clean - that stuff will take stink of ****! :D

In any case - that motor looks really good!
 
Thanks man. I never heard of that stuff. I'll give it a try one of these days.

Now that the frame is getting ready for powder coat I need to strip off the VIN sticker. I want to reuse it. I'll put it on the subframe once its powder coated under the seat.

To do this I have a method. It required some adjustments at the Buell VIN sticker is real thin.

I used a heat gun to warm the sticker. Because its mounted to a rather large slab of aluminum it will take some serious heat. I keep warming it up until it is almost too hot to touch. Then I let it cool down. I repeat this 2 or three times. Then when I feel the sticky is loosened I heat it back up to the "almost too hot to touch". Then its time to peel it off.

I start a corner with a small hobby exacto knife. Once I get enough to grab it I slowly start to peel it up. I try to be real careful not to stretch it too much. Slow and steady. Don't worry about finger prints, just don't let the sticker stick to its self.

When I get it off it is a bit deformed. That doesn't matter (with in reason) and can be fixed. First I need to remove the adhesive. I spray a piece of waxed paper with WD40 and set the sticker sticky side down in the oil.

I slide it around on the waxed paper for a while. Then flip it over and spray it directly with the WD40. I do this until it seems that all the stickum is off.

Now I take it to the kitchen sink. Keep in mind that now that the sticker isn't stuck to a huge aluminum heat sink it no longer is able to take much heat. I set the faucet to warm. Too hot will shrivel it up. I use a little Dawn dish soap and WARM water. As I clean it up I gently stretch it back into shape adjusting the water temp as needed. With my fingers I stretch it back into shape. When it is good I hit it with cold water to set the shape.

I set it on a new piece of waxed paper. I like to pour a little water on the situation and shape up the sticker like you would window tint. Once I'm happy with it I fold the waxed paper over the top and put it in a heavy book. It will stay there until ready to reinstall.

When I reattach it I'll use some new clear adhesive and spread it flat with a squeegee. It's almost like a super thin sheet of rubber and I will be able to shape it nice and straight.

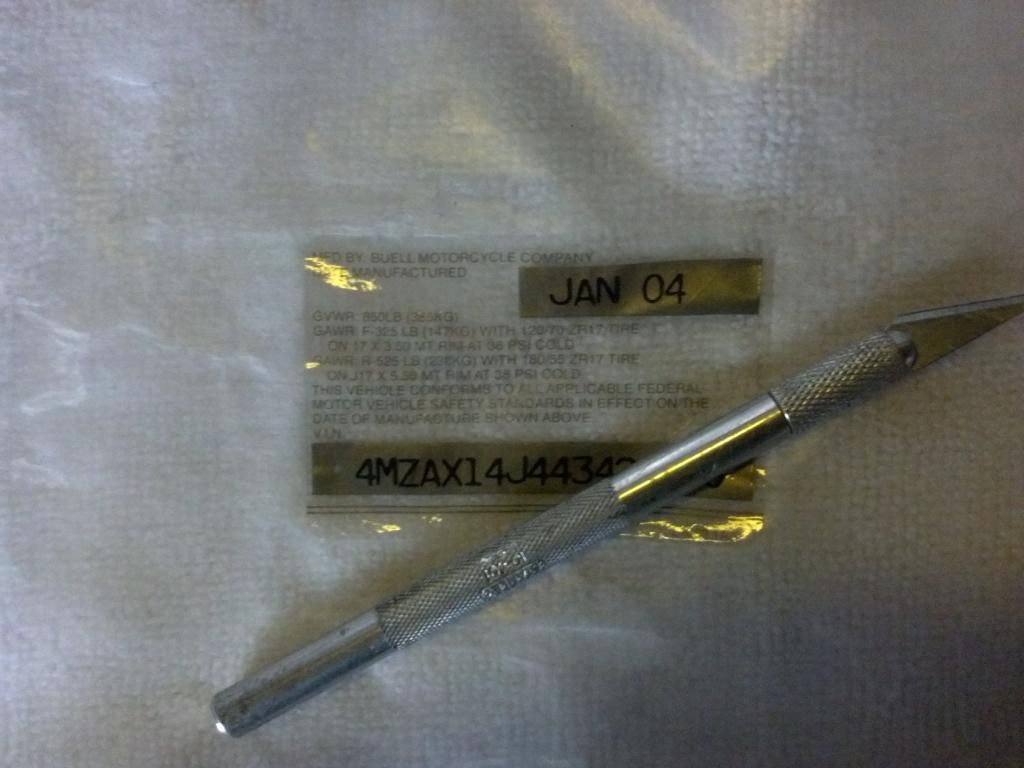
I took a picture of the removed sticker. It's set on the waxed paper which sets on a white towel.

IMG_20140627_222659_180.jpg
 
Getting stuff ready for the powder coater and cutting off unneeded mounts and cleaning up the brackets that I've made.

Here is one example. The mounts that were cast into the front of the frame. They were getting in the way of my headlight, and the wiring.

A cutoff wheel, followed with a flap wheel, then file and some sanding. Guess I own this frame now ha ha.

IMG_20140704_202439_511.jpg
 
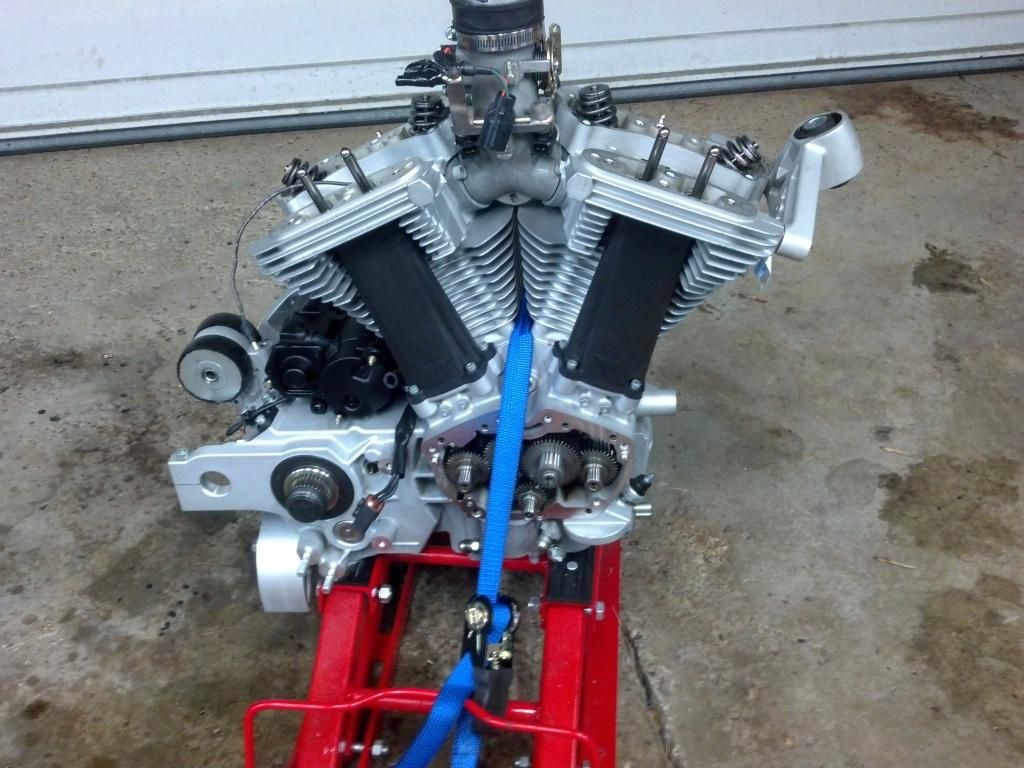
I got the engine disassembled as far as I need. It ran well and had good compression, but did have a rear rocker box leak.

IMG_20140707_125642_983.jpg


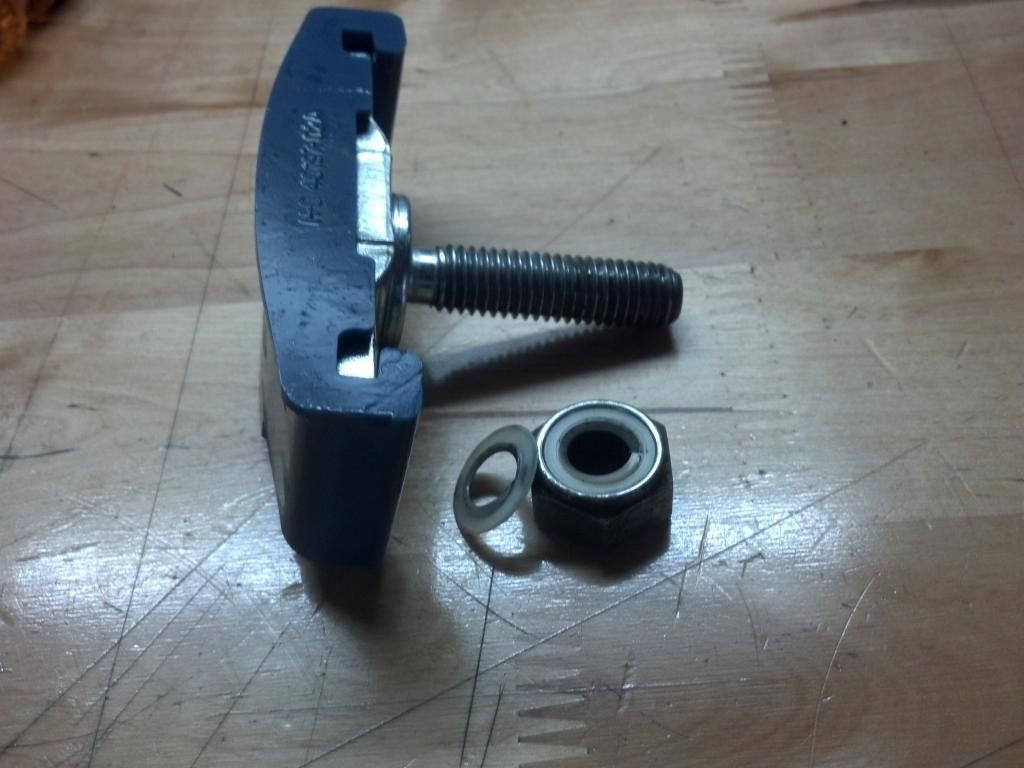
I do have a question about a leak around the primary chain tension adjuster. It was all covered with junk. The shop manual doesn't show a seal? But says to install the nut with the locking fiber facing the cover. It's a little vague. Im guessing that the fiber in the nut is the seal?

This is a pic of my nut lol, the fiber "gasket" was busted and part of it stuck to the primary cover. It's leaning up against the nut in the picture.

IMG_20140707_162157_007.jpg


I'm guessing I just need a new nut? Anyone have a clue on a part # ? Or a different fix? All my searches didn't come up with much. Thanks for any help.
 
Yes, I have a brand new one in the package, and it is just one piece, not two! p/n 7804
Turns out I don't need this one, so if you PM me your address, I'll send it to you FOC!
 
^ PM sent. Thanks jstav

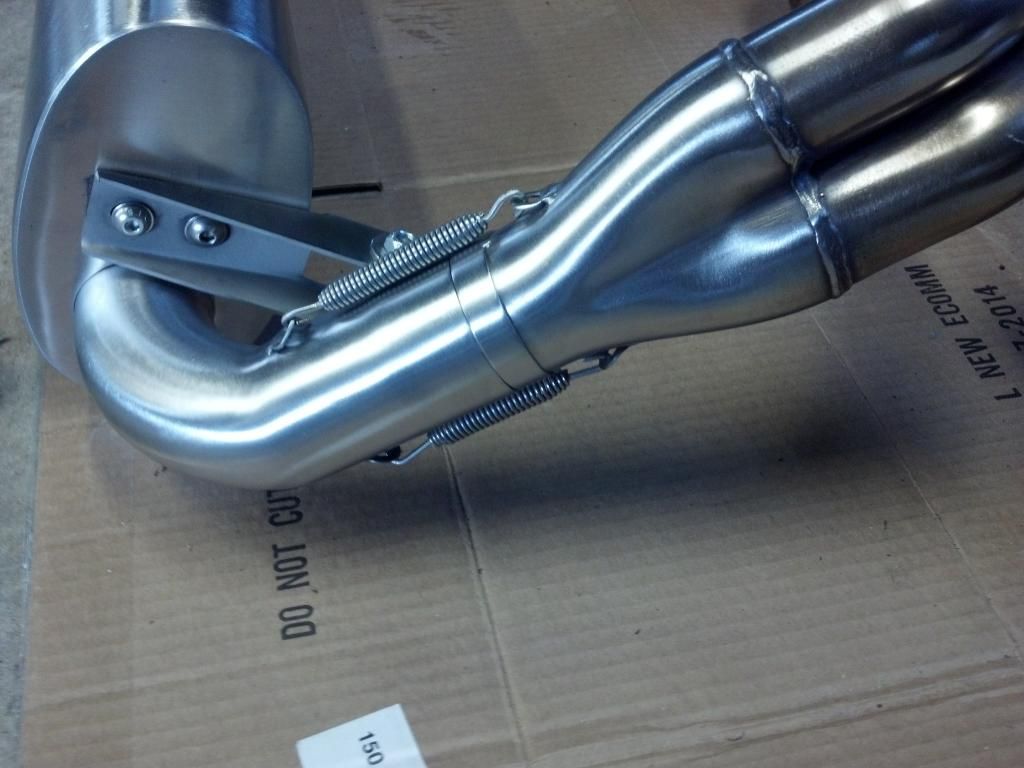
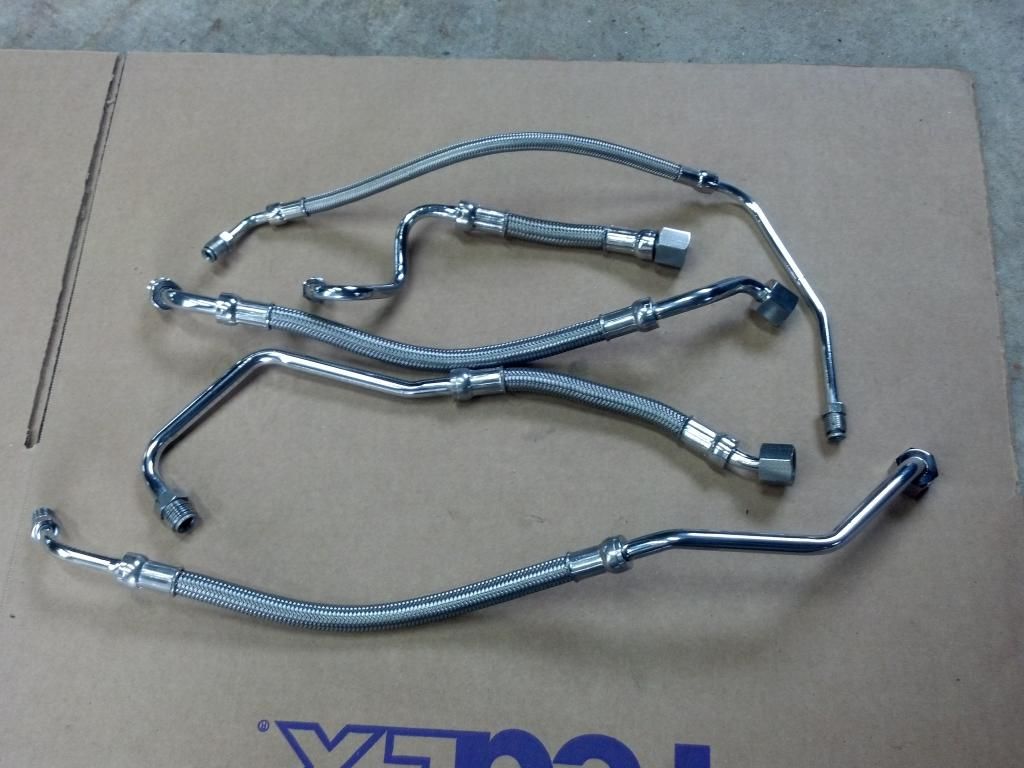
I can't take credit for this one. I was going to do it myself, and Kevin from KDfab was super cool and sent me all the stainless tubing I needed. But I'm not set up to weld stainless, and a new gas tank and stainless wire is expensive. Maybe on the next project I'll learn how to do that.

I sent my header and drummer ss muffler to him. A few days and 60 bucks later....

IMG_20140711_181207_227.jpg
 
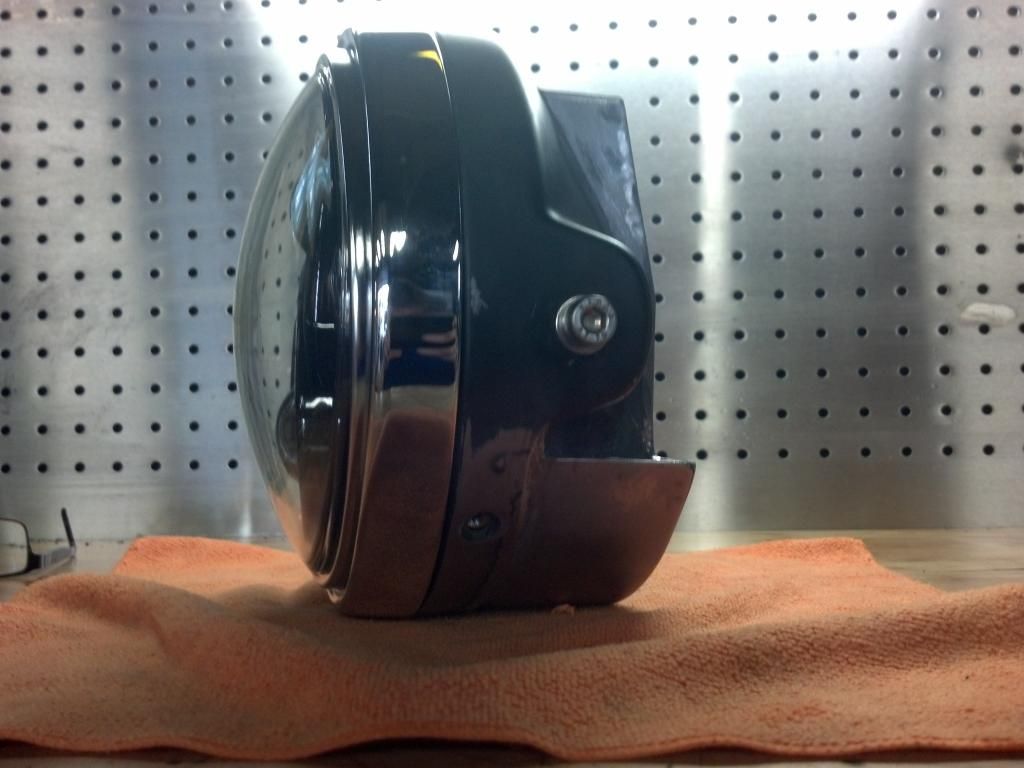
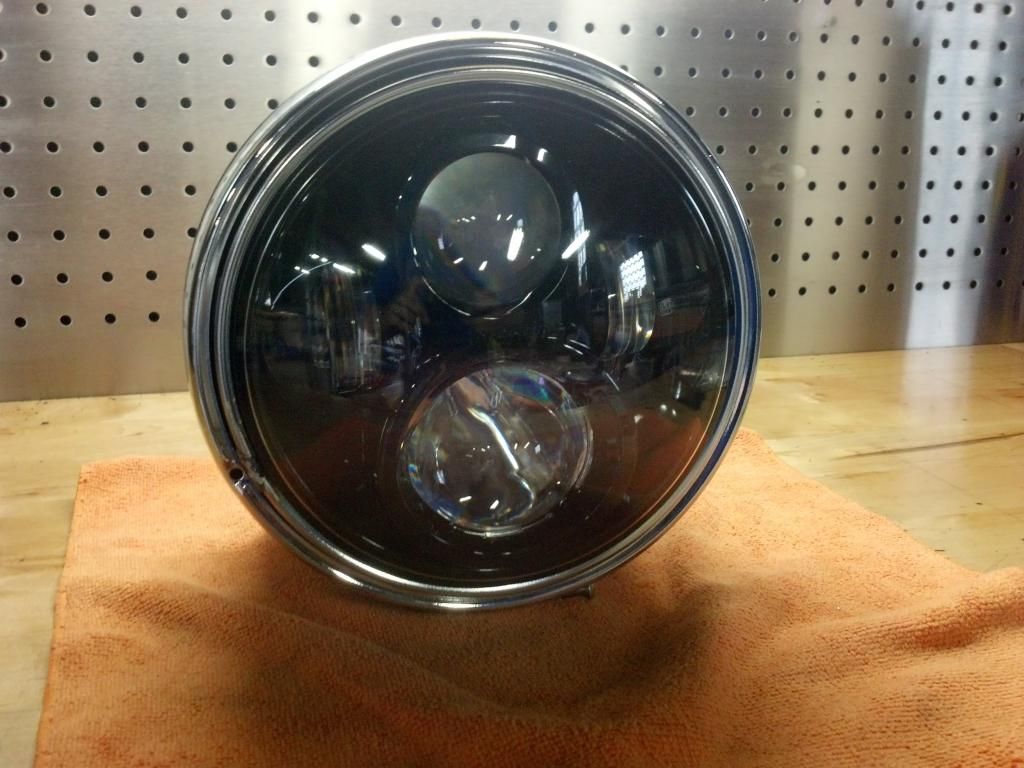
I decided to try a different headlight. It's an LED headlight. I wasn't sure if it would fit, or how much modding I'd have to do. Worst case I put it my Harley.

Well.... I didn't fit at all, not even close. The light itself was too big for the retaining ring, and the light was so deep it took up all the room to stash my wiring. I had a junk dented up headlight bucket so figured I'd give it a go

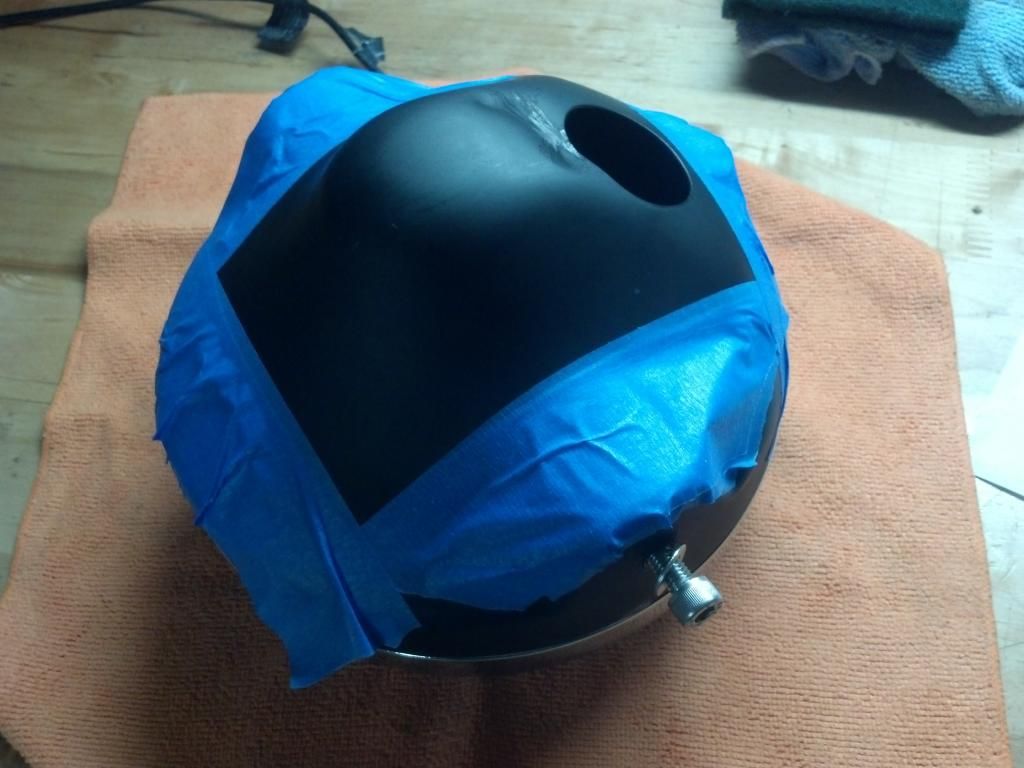
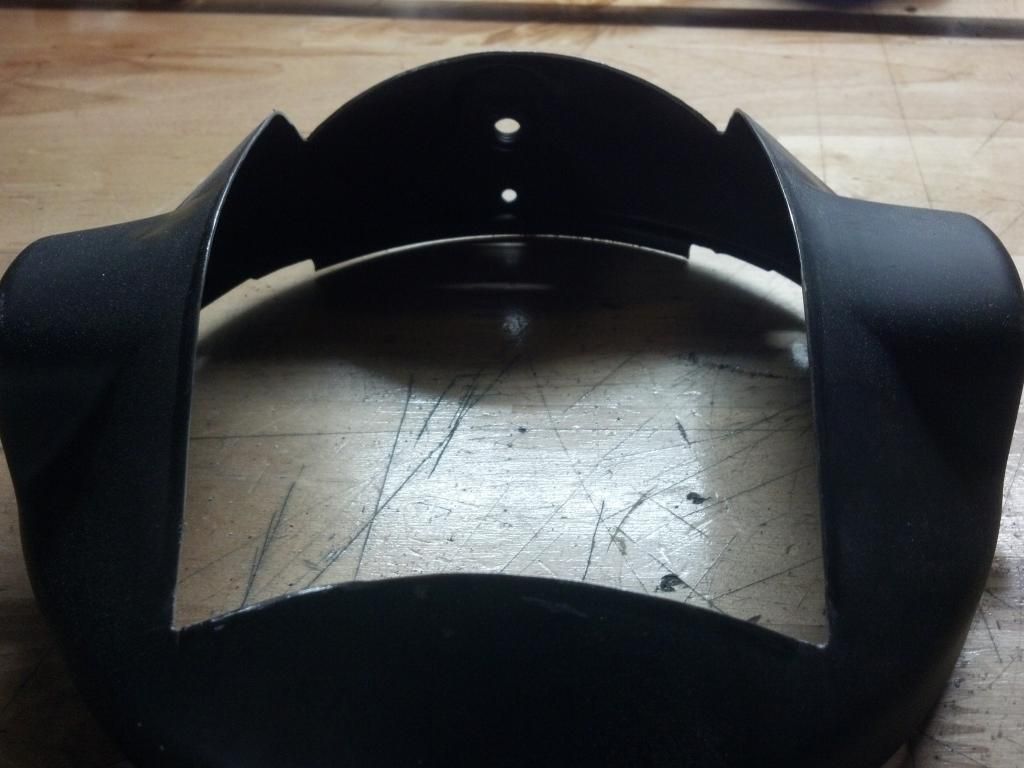
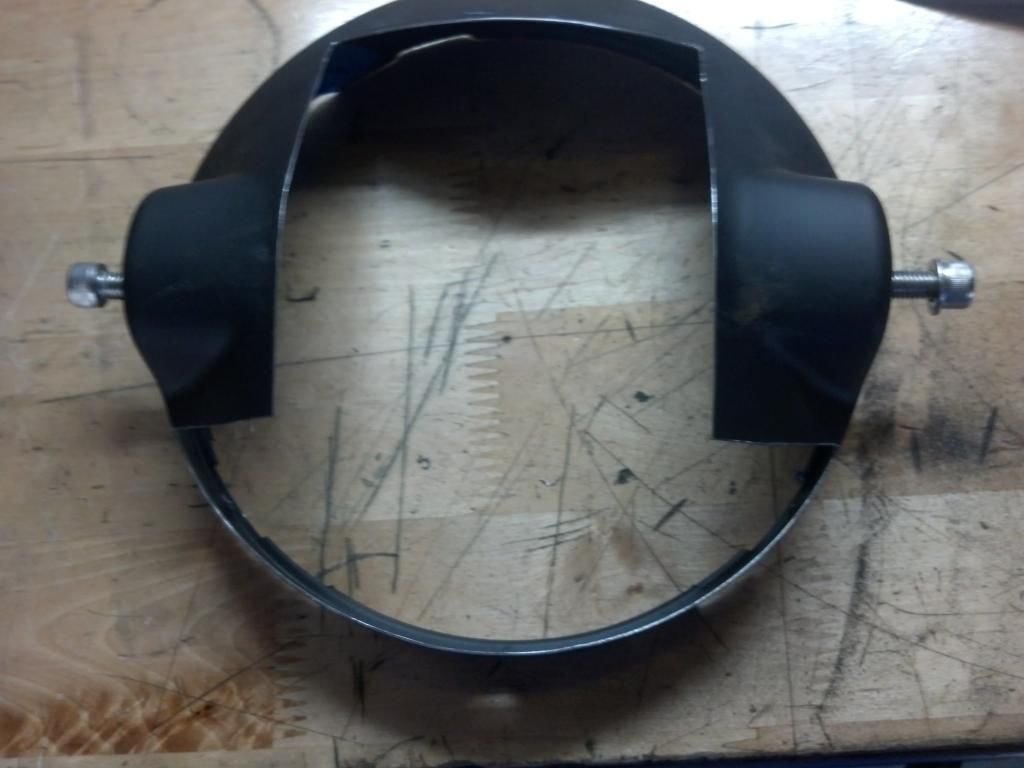
I cut the retaining ring with a dremel and welded in a piece about 1/4" to enlarge the ring. Worked good. Then I had to make the bucket deeper and build in a cubby hole for my wiring. Here's some pics. It came out well. It still needs some finish work and I have to pop a hole in it for the wiring to pass. But my beer light's on. I'll clean it up tomorrow.


IMG_20140711_220844_966.jpg


IMG_20140713_130930_004.jpg


This was a good start, but still not enough room to stash my wiring. These LED lights run hot and I don't want any wire melting going on.... gotta make more room.

IMG_20140713_144819_813.jpg


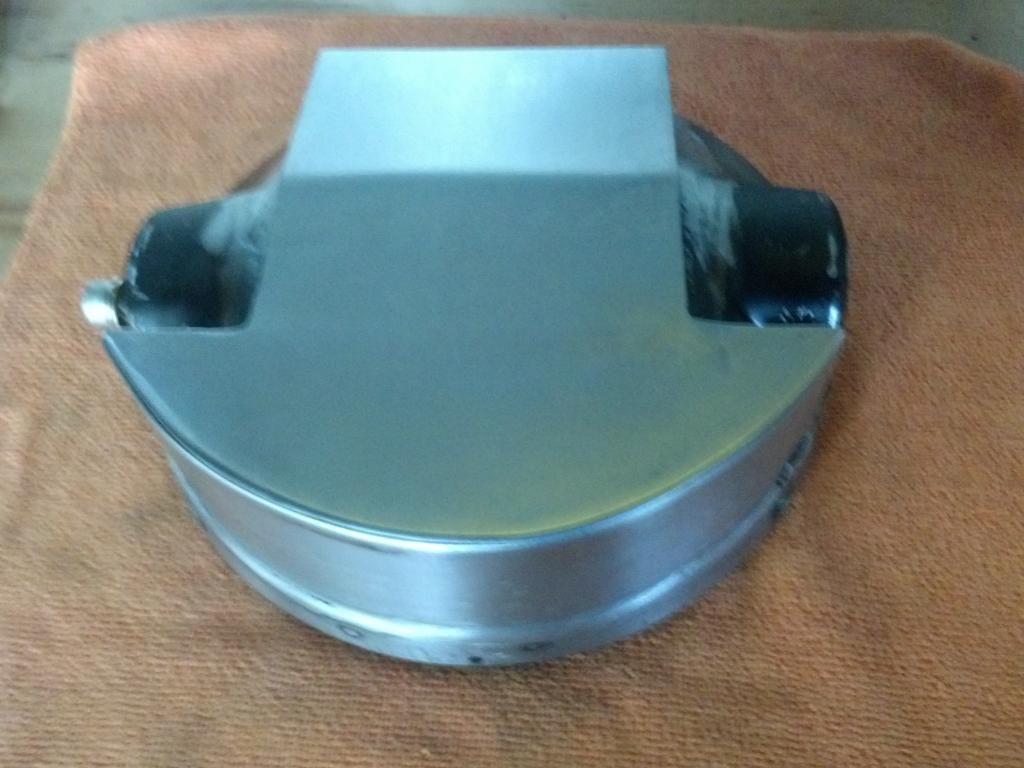
This will do. So I made up some sheet metal to fill the hole and welded it in.

IMG_20140713_191644_326.jpg


IMG_20140713_192343_639.jpg


IMG_20140713_192423_848.jpg
 
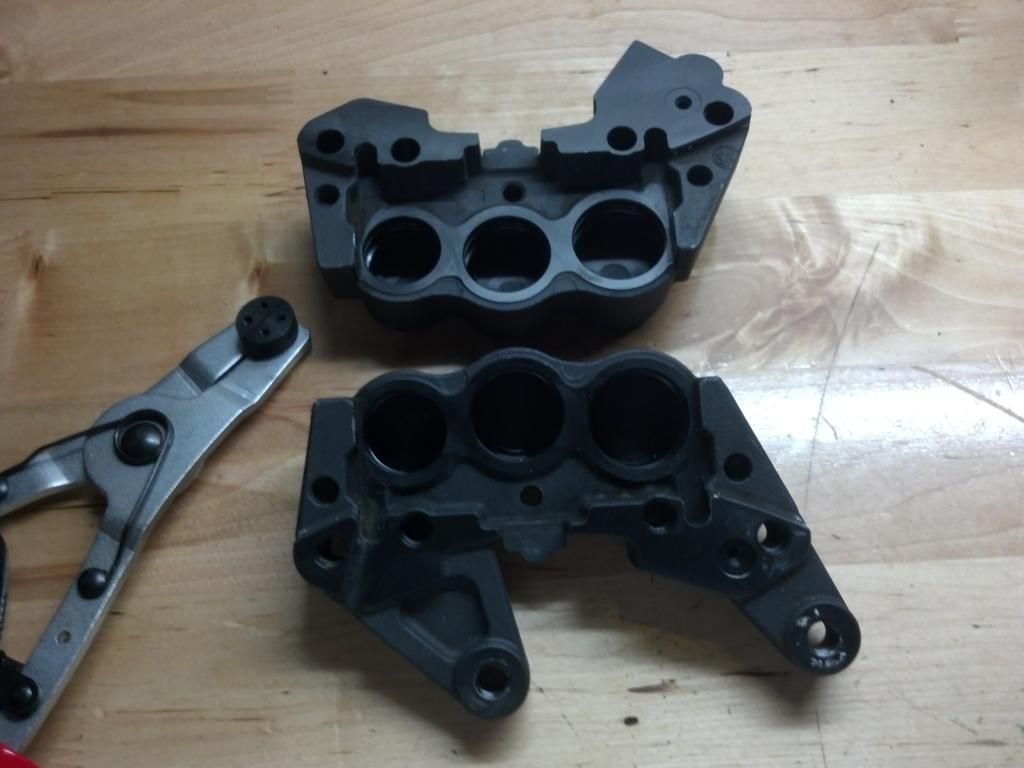
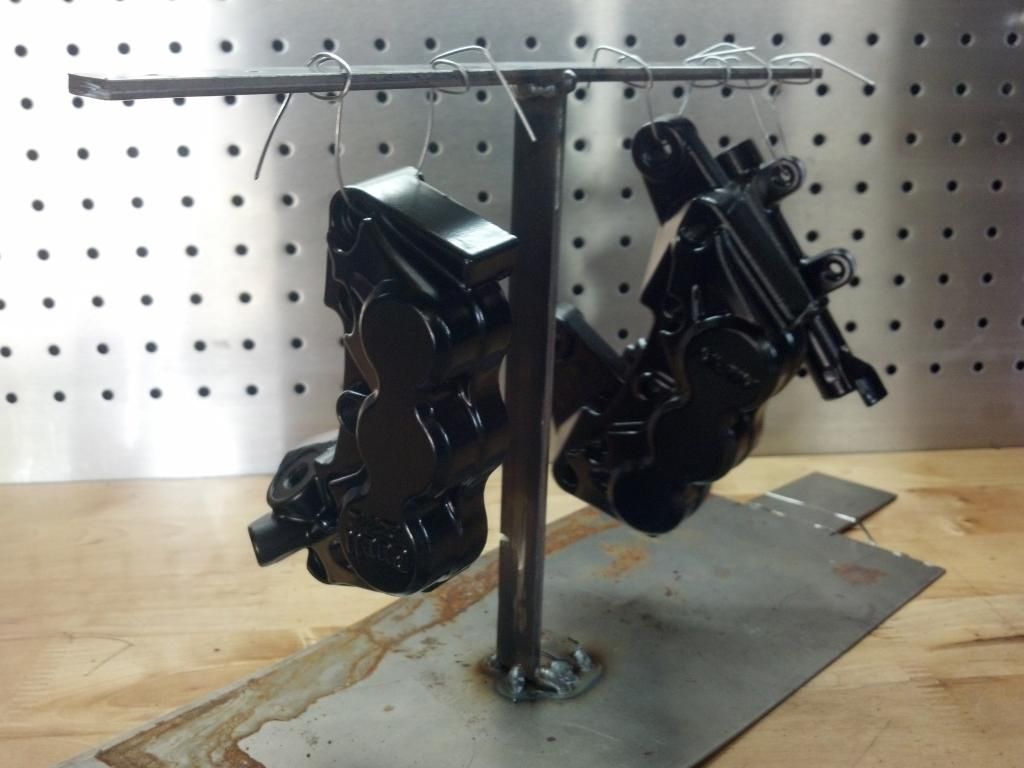
Front caliper ready for powder coat. Found a stuck piston. Might explain the horribly warped rotor.

IMG_20140724_200808_454.jpg


Dropping all my stuff off for PC tomorrow. The frame and swing arm are are blasted and ready for pickup. Gonna finish sand them before coating.
 
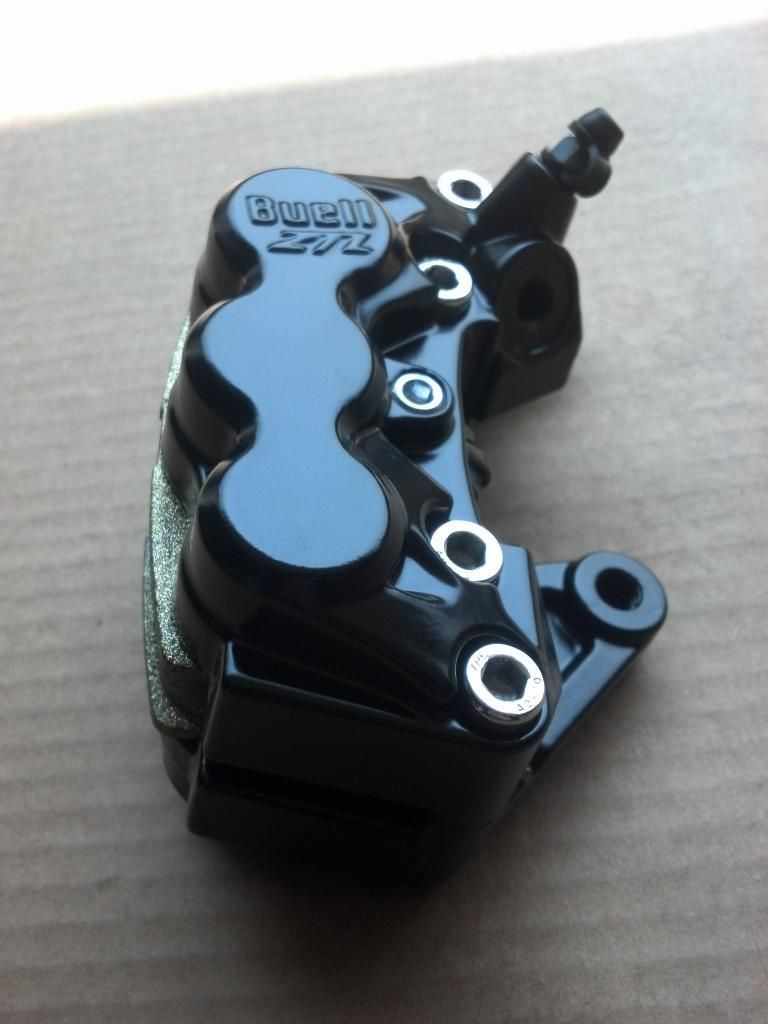
I ended up painting the caliper my self. I've had good luck with caliper paint as long as it's prepped well and cured. I let the paint set up for a week, then while the wife was away....

Bake at 200° for an hour.
IMG_20140801_115848_632.jpg


Then I installed new seals and pistons and reassembled. I used Lyndal Gold pads, a new slide bolt, and replaced the caliper half bolts with stainless.

IMG_20140801_140817_635.jpg


I also painted and rebuilt the rear master cylinder. The rear caliper and front master cylinder are new brembo, so they will stay as is. I sent my front brake line into Spiegler for a shorter replacement to be made. Brakes are ready....

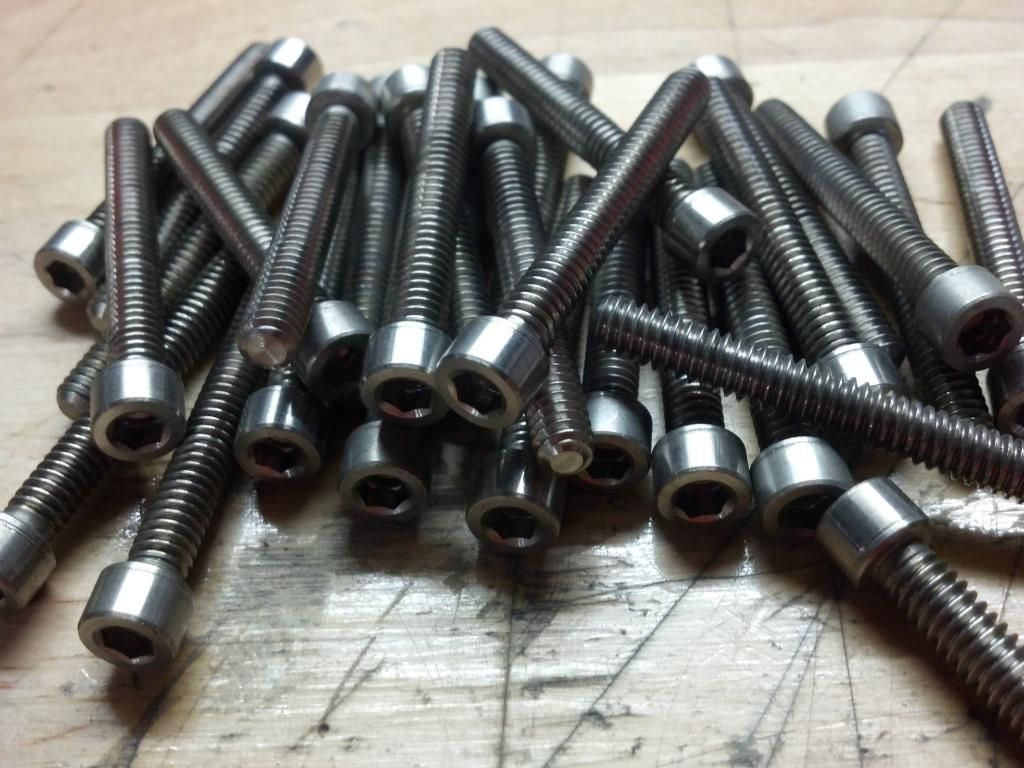
I also got some Titanium bolts for the engine covers and other locations.

IMG_20140728_120658_729_1.jpg


Now back to polishing the wheels and covers... polishing....I hates polishing....
 
My new engine mounts came in. The front, other than polishing the bolt will do as is. The flat steel surface on the rear mount was bugging me in my mock up. Some careful masking, then I painted it flat black with engine paint. Just want it to disappear.

IMG_20140801_173938_951.jpg
 
Back
Top