You are using an out of date browser. It may not display this or other websites correctly.
You should upgrade or use an alternative browser.
You should upgrade or use an alternative browser.
XB12R cafe conversion
- Thread starter nicholas900
- Start date

Help Support Buellxb Forum:
nicholas900
Well-known member
LoneStarBeer
Well-known member
- Joined
- Nov 21, 2013
- Messages
- 86
Wow.
DrogeN Omen
Well-known member
wow....! i just came in my pants......!
that is ******* sexy **** right there....
i cant wait to see it all together.
that is ******* sexy **** right there....
i cant wait to see it all together.
heagachongoose
Well-known member
All that shiny.... It's going to look like a real Harley! 
Lol. Looks killer man. Can't wait to see it finished. Going to be super classy.
Lol. Looks killer man. Can't wait to see it finished. Going to be super classy.
heagachongoose
Well-known member
You'll like the Q3's. I just scrubbed a new set in on the track last night, and am very pleased with them.
I am halfway through my 2nd set and 3rd rear this season. I love these tires. Such a good feel to them. Just wish they'd last a bit longer. I barely got 2000 miles out of my last rear [sad] but for the price and the rebate they're tough to beat.
Anyways back to the topic. Sorry for the thread jack
nicholas900
Well-known member
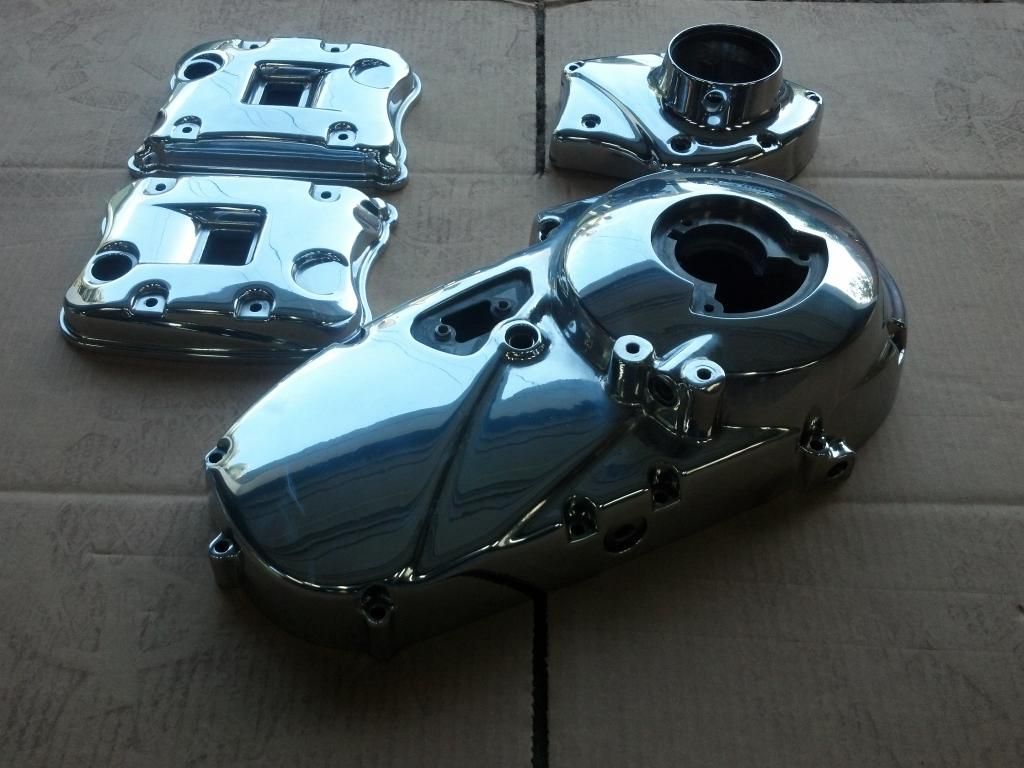
I put the engine back together. To install the rockers I had to be able to spin the crank. So I needed to put the pulley on and use the nut to spin the engine. I asked the powder coater to blast the whole sprocket, but not to coat the teeth.
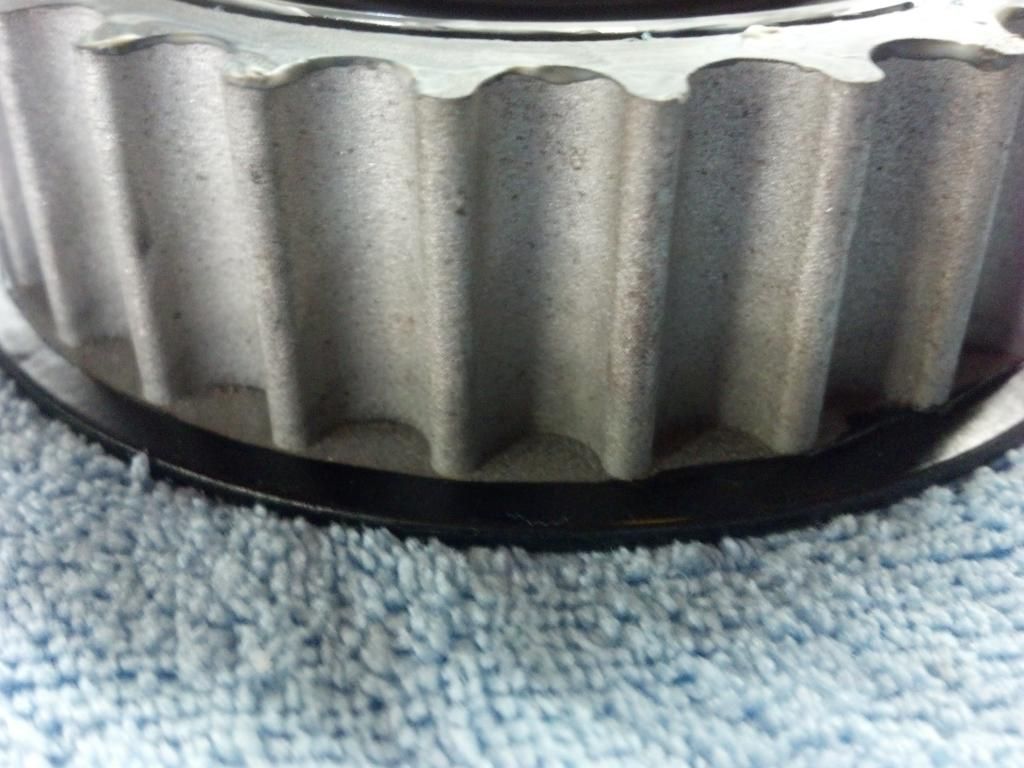
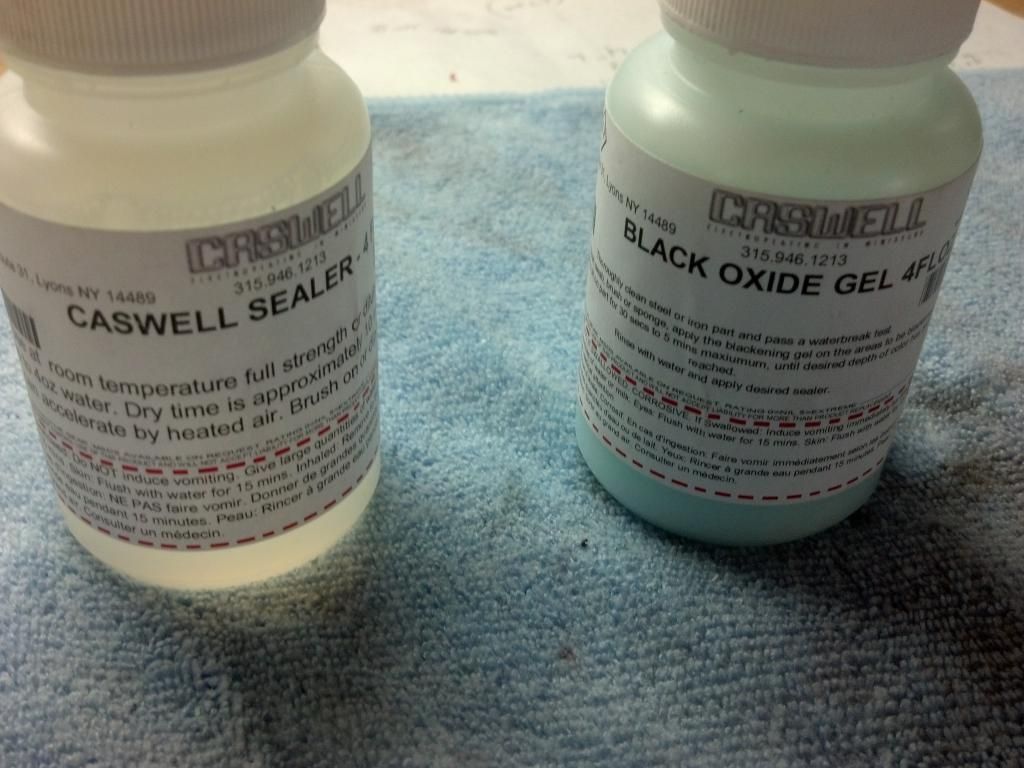
It looks nice, but would rust almost immediately. So to protect the steel I applied a black oxide finish. Its real easy. Just wipe on the gel, wait a few minutes and wash it off with water. Then apply the sealant.
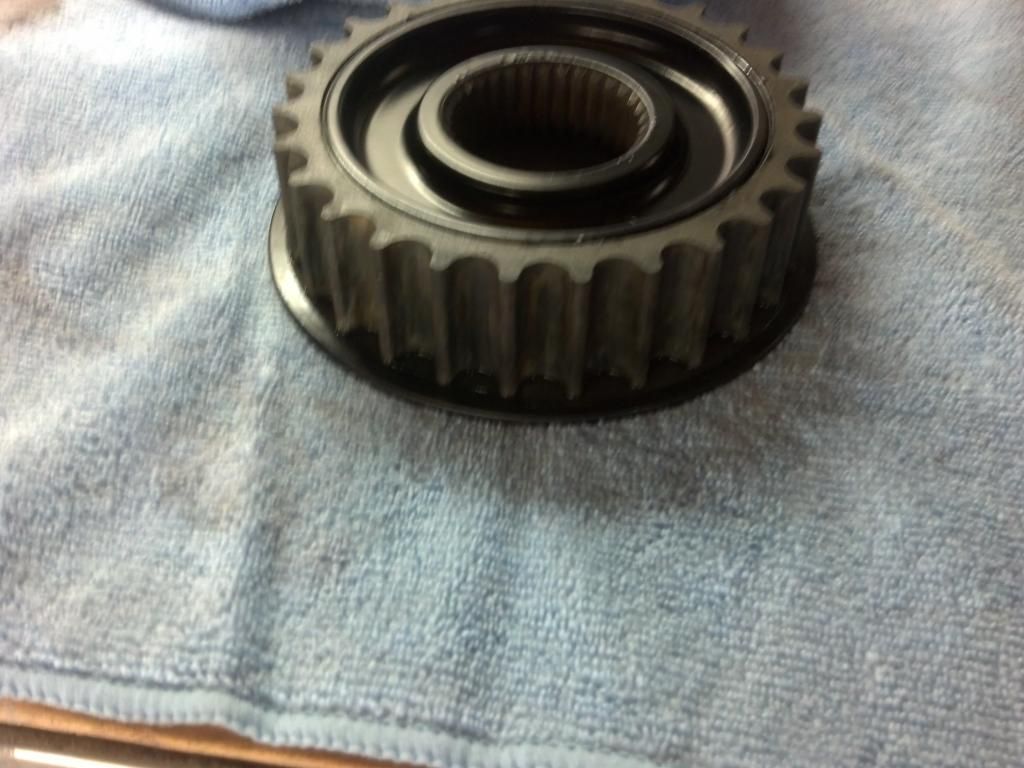
Then I installed the pulley with a JIMS nut. Looks better than the square factory job. Then installed the engine covers.
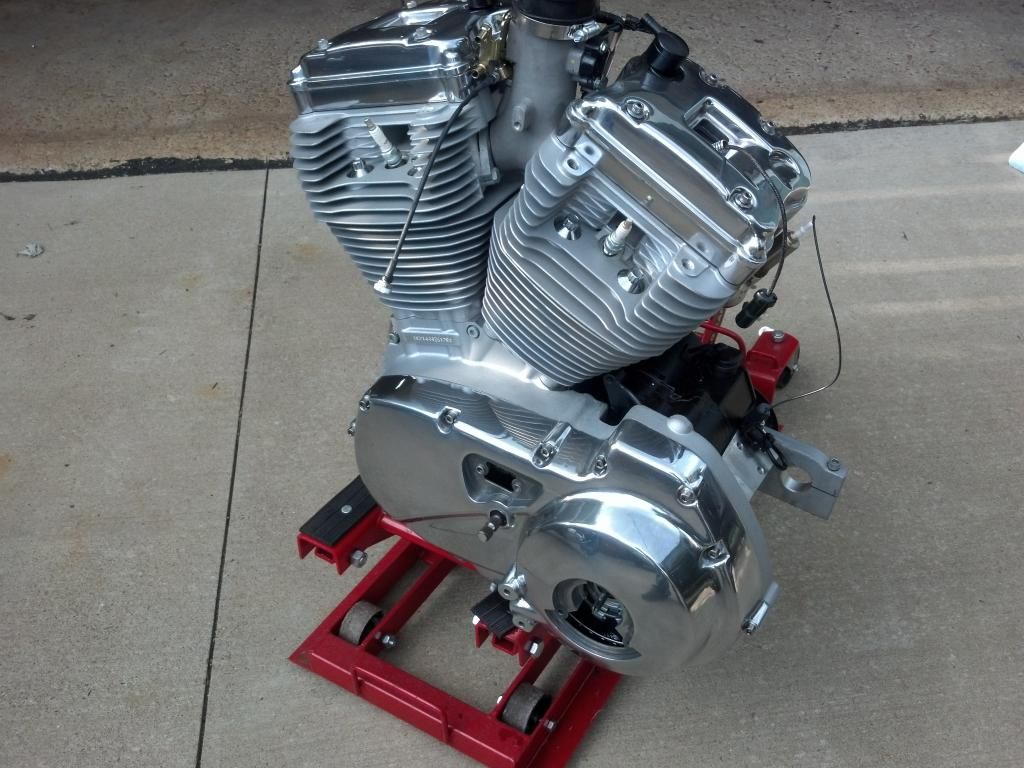
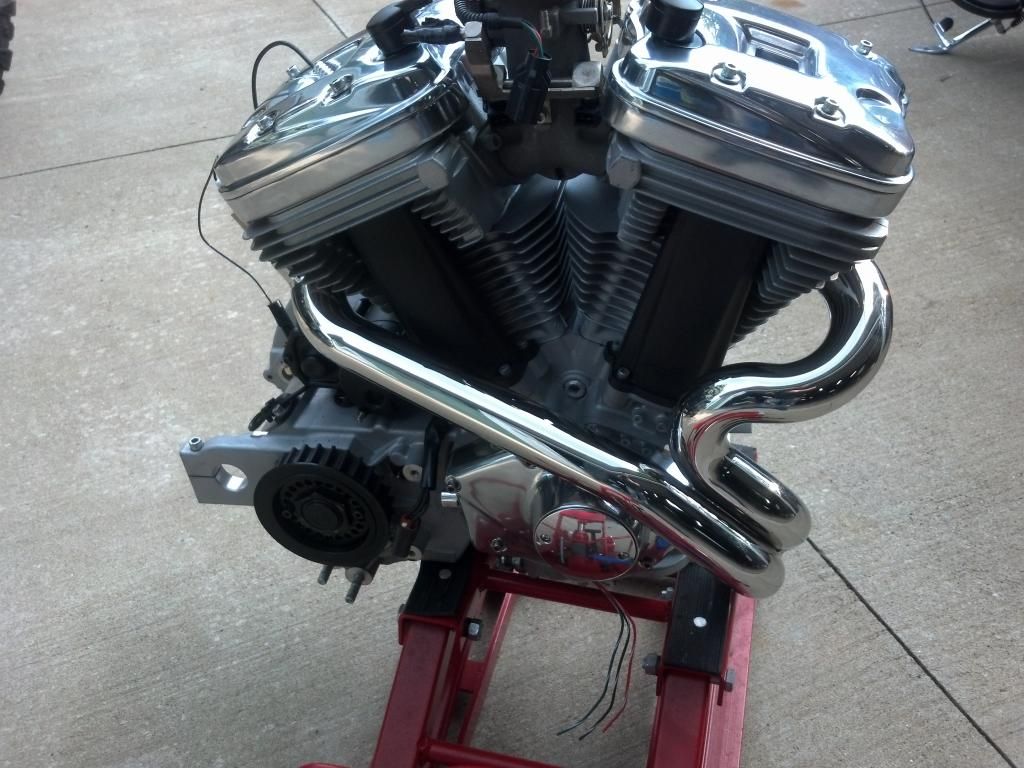

It looks nice, but would rust almost immediately. So to protect the steel I applied a black oxide finish. Its real easy. Just wipe on the gel, wait a few minutes and wash it off with water. Then apply the sealant.


Then I installed the pulley with a JIMS nut. Looks better than the square factory job. Then installed the engine covers.


nicholas900
Well-known member
Thanks for all the kind comments/compliments.
I got my brake lines back from Spiegler. The translucent smoke cover over the braided stainless looks a lot more transparent in person. Really nice looking lines and a tight product. I ordered some new banjo bolts and some speed bleeders.
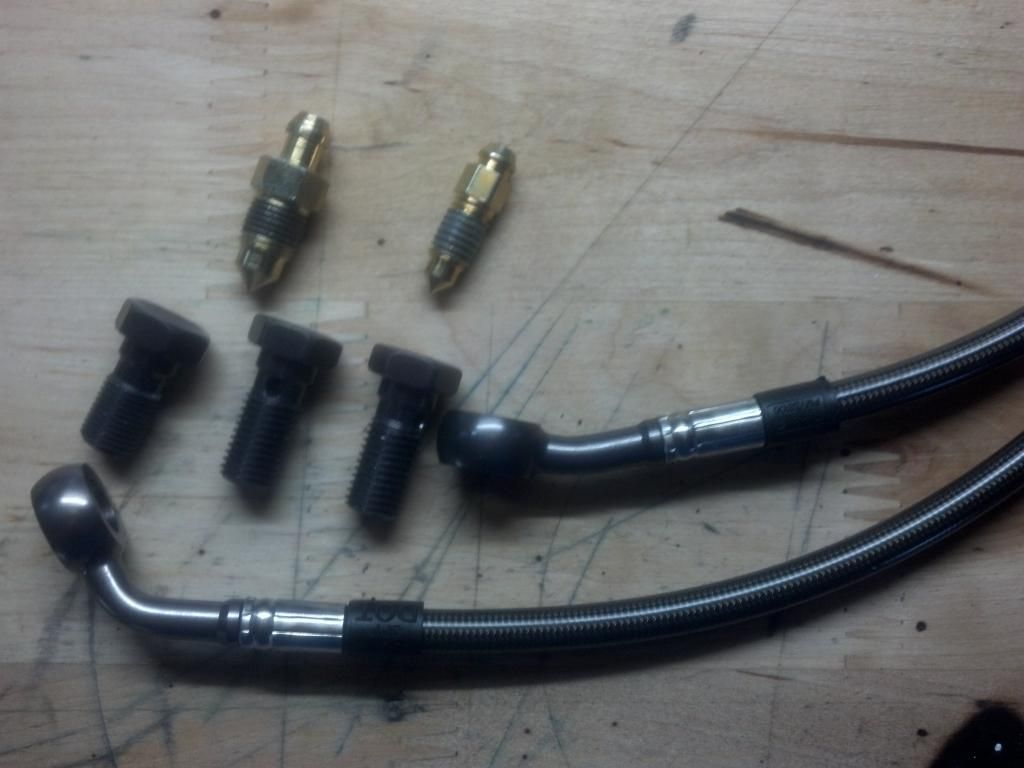
I took a few days off work to make for a long weekend. As long as I didn't forget to order anything I'm hoping to have it on the road next week.
I got my brake lines back from Spiegler. The translucent smoke cover over the braided stainless looks a lot more transparent in person. Really nice looking lines and a tight product. I ordered some new banjo bolts and some speed bleeders.

I took a few days off work to make for a long weekend. As long as I didn't forget to order anything I'm hoping to have it on the road next week.
nicholas900
Well-known member
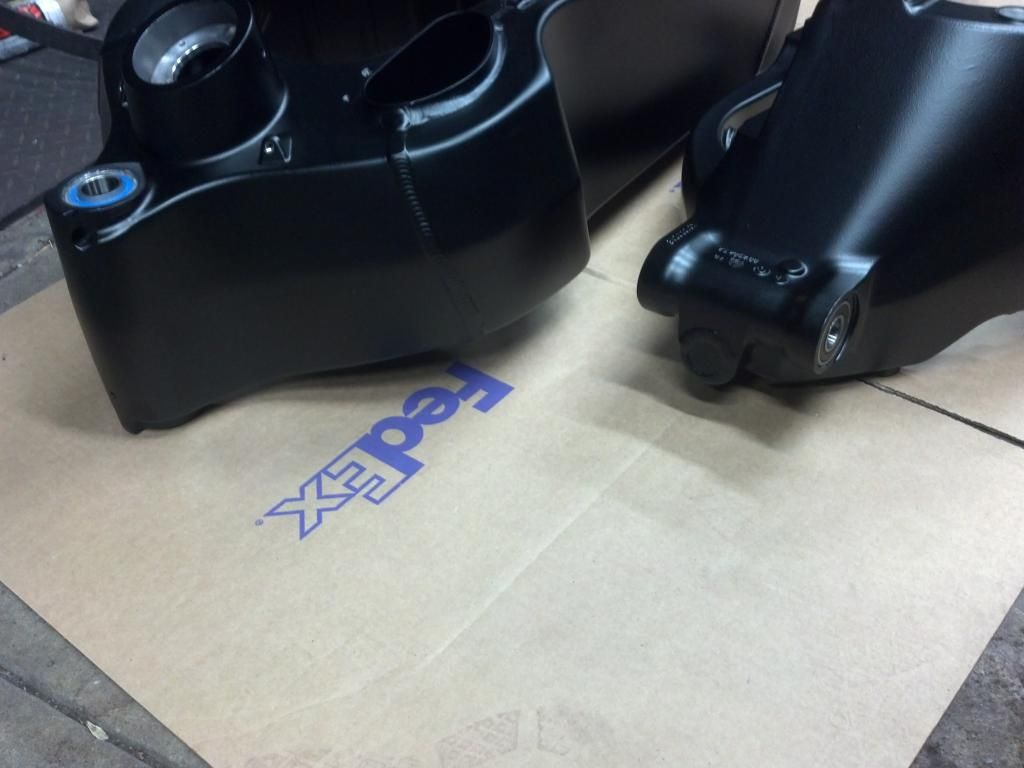
I cleaned up any left over blast media from the frame and swingarm. Used kerosene and some BB's. Shake well. There really wasn't much debris in either. The P/C did a nice job plugging everything up. Better safe than sorry.
I pressed in all new bearings. Steering head, swingarm. Managed to get them all in without any scratches or chips to the powder coat.
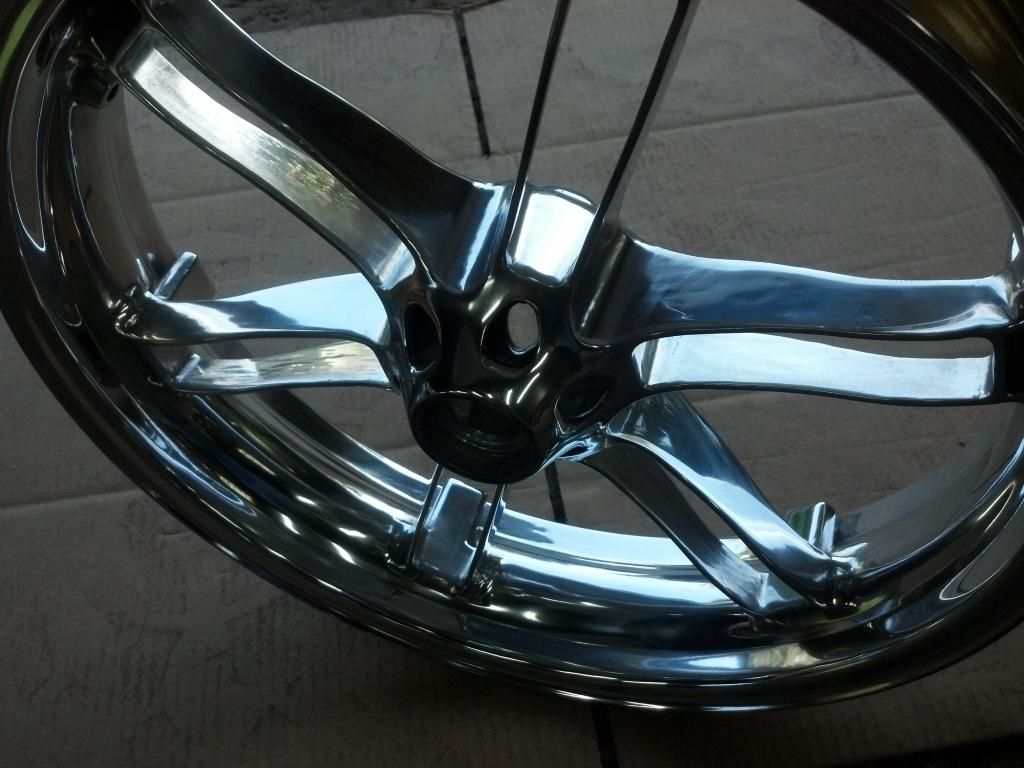
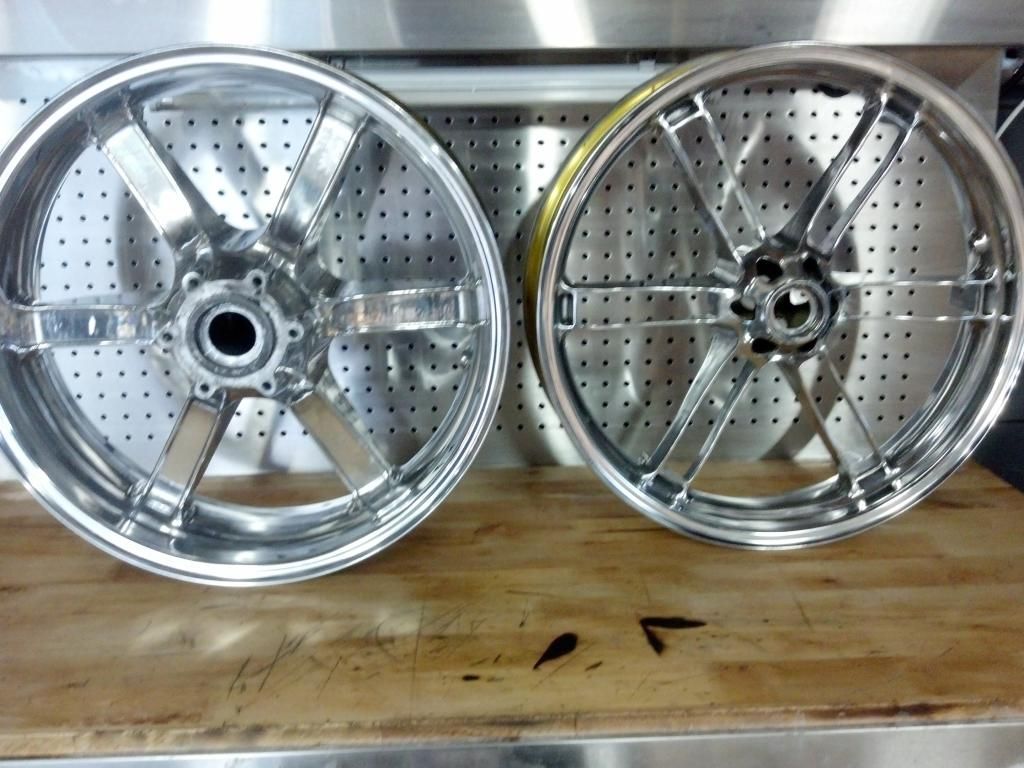
Wheels dressed up with new rubber, bearings/spacer tubes, rotors and sprocket.
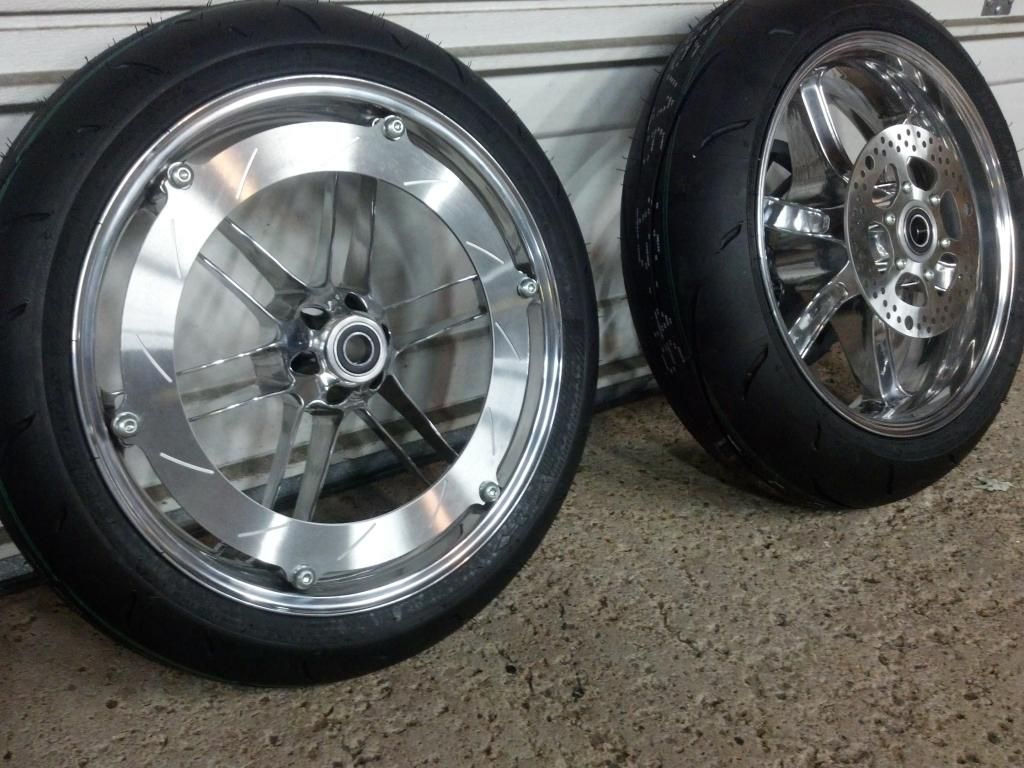
I pressed in all new bearings. Steering head, swingarm. Managed to get them all in without any scratches or chips to the powder coat.

Wheels dressed up with new rubber, bearings/spacer tubes, rotors and sprocket.

nicholas900
Well-known member
^they are. I bought them when I first started this right before the odd (double) price increase. The new hardware seems better too.
9lbHammer
Well-known member
I think the polished wheel sets the EBR rotor off. Doesn't quite look the same on my amber wheel. Nice Job.
nicholas900
Well-known member
Nice Job
Thanks
nicholas900
Well-known member
Little more progress. I changed up the grounding scheme because I'm using a steel subframe. I am using one of the rear isolator bolts as the main ground and ran my negitive cable directly to it. I installed a new fuel pump and bolted my harness to the frame and mounted it to the engine.
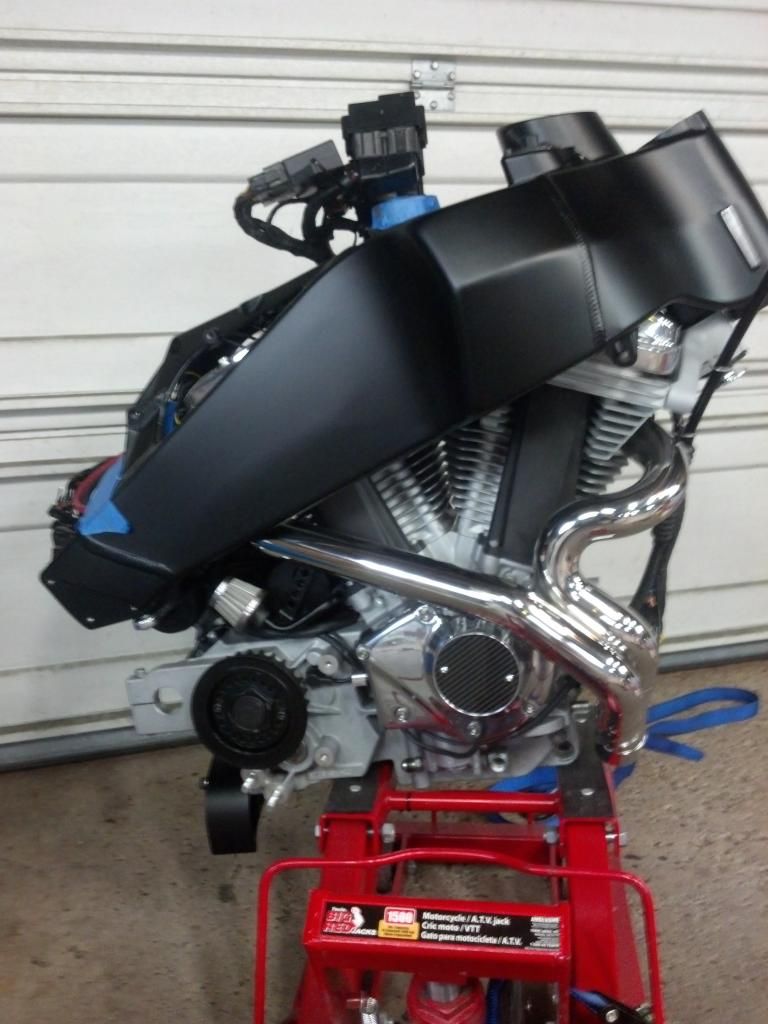
I cleaned up all the connectors that were originally behind the pulley cover. I made up new harnesses for the stator, VSS, cam sensor, neutral switch and oil pressure switch. These harnesses will use the factory connectors but be relocated under seat.
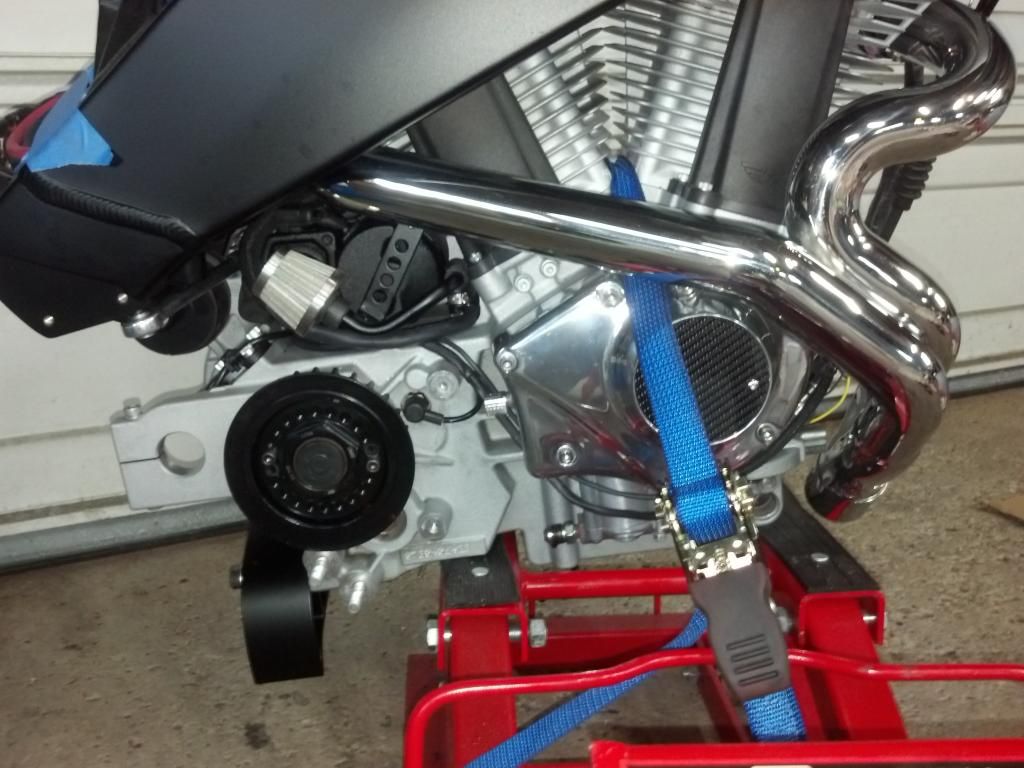
All these new harnesses and the extra battery cable fit nice in the original hold down behind the fan. I used bolts instead of the factory push pins, so no worry about anything popping out. I used heat resistant shrink wrap on everything and placed woven wire protectors by any edges or where its close to the exhaust.
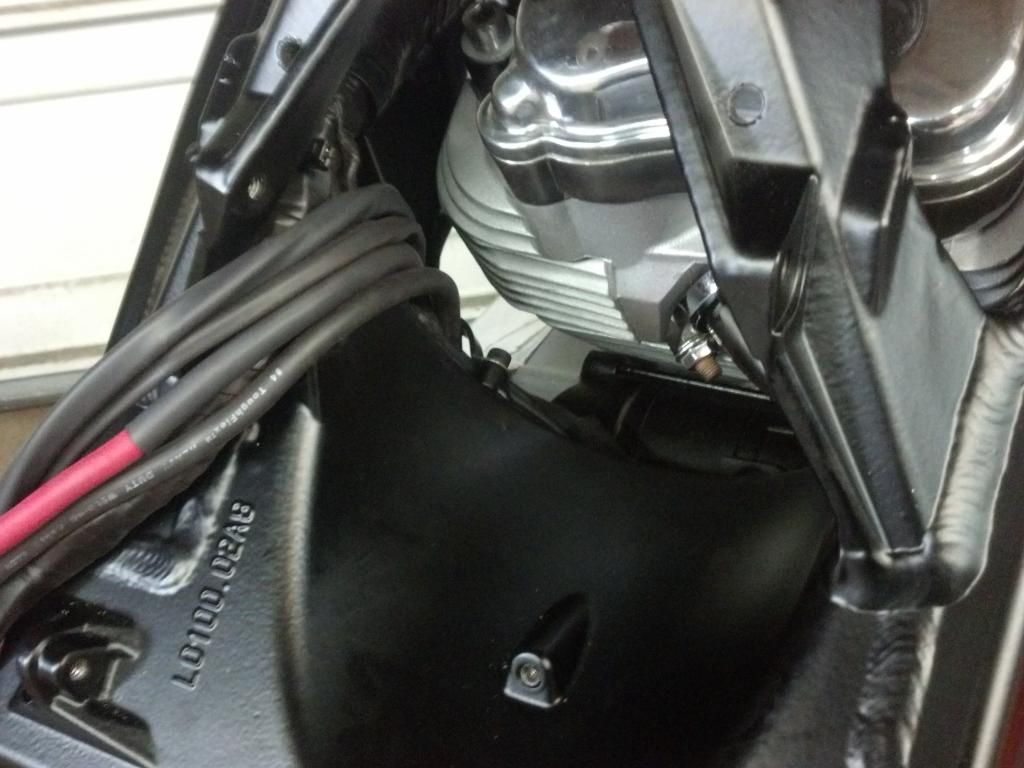

I cleaned up all the connectors that were originally behind the pulley cover. I made up new harnesses for the stator, VSS, cam sensor, neutral switch and oil pressure switch. These harnesses will use the factory connectors but be relocated under seat.

All these new harnesses and the extra battery cable fit nice in the original hold down behind the fan. I used bolts instead of the factory push pins, so no worry about anything popping out. I used heat resistant shrink wrap on everything and placed woven wire protectors by any edges or where its close to the exhaust.

nicholas900
Well-known member
rchuff
Well-known member
LOOKS AWESOME SO FAR! [up][up]
nicholas900
Well-known member
^ lol. You got good eyes!
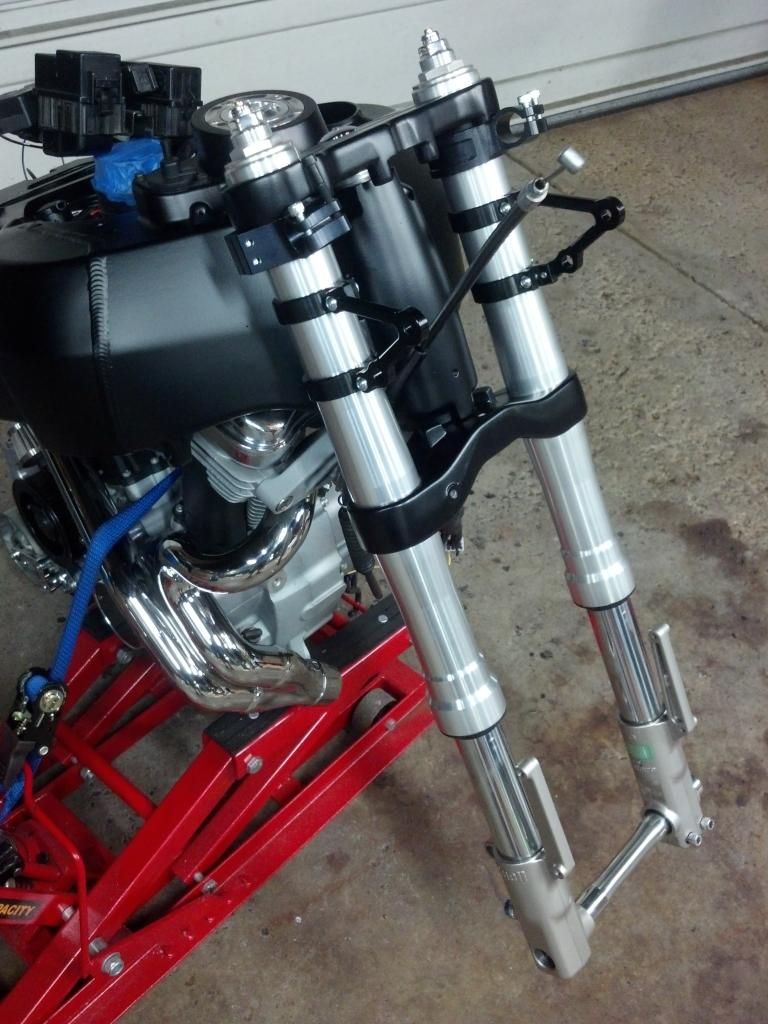
I got the front end mounted up. I slid the tubes into the bottom clamp on my workbench. Then slip on the headlight ears and clipons. The headlight ears are a bitch because they are sized for the skinny part of the fork tube. Gotta stretch em out and slip them on. I snugged everything down in the ball bark positions so nothing slips and scratches something. Then mount the assembly to the bike.
Once it's in I carefully measure the height of the tubes through the top clamp and snug everything down per manual. To check my work I put in the axle bolt. If it didn't line up and thread in easy with my fingers I would need to make adjustments. But it went right in. Perfect.

Similar threads
Motorcycle For Sale
2008 Buell Ulysses Tour with extras fire sale
- Replies
- 4
- Views
- 496
- Replies
- 5
- Views
- 24K
- Replies
- 26
- Views
- 7K

